I like pasta. Hold up. Rewind, I LOVE pasta. Call it an indoctrination from childhood that completely took hold of my taste buds. Since I enjoy eating this multi-shaped, multi-useful, molto delicious carb I’m always looking for new sauces, toppings or items to toss into my favorite comfort food.
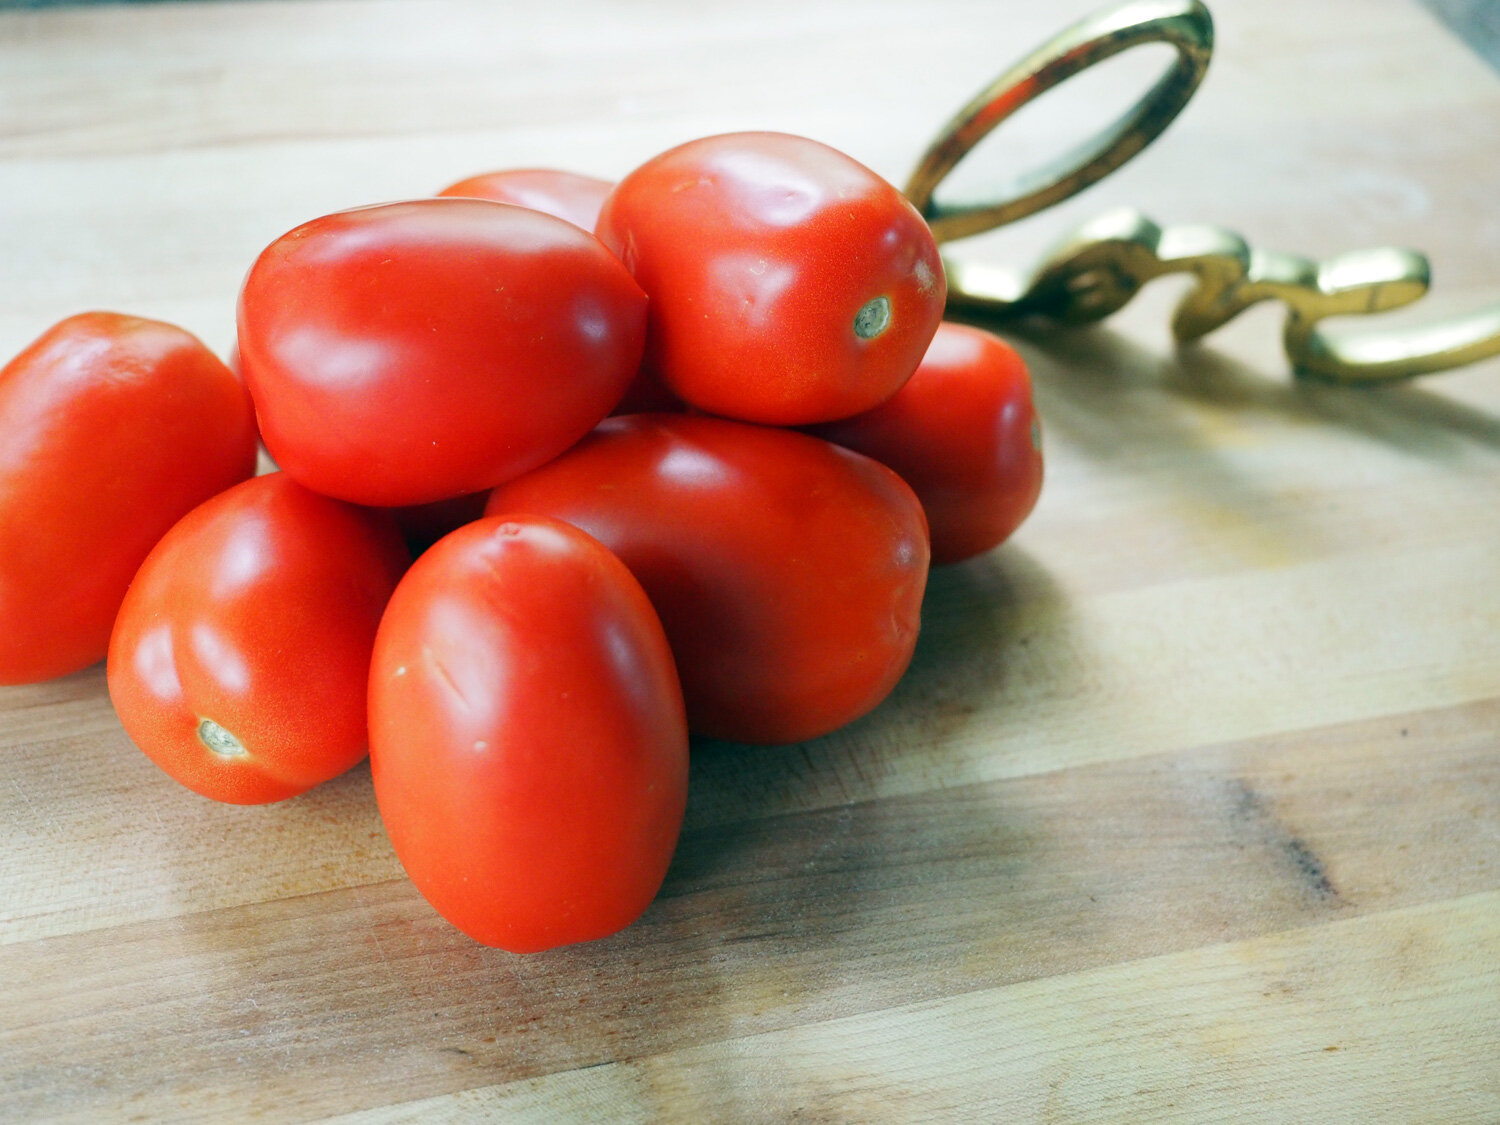
Oodles of years ago during my crazy life in the world of television production, I needed quick and easy meals to make. Call it a self fulfilling prophecy but pasta makes for quick and easy meals. Besides a variety of pasta shapes, I always made sure to keep my pantry stocked with items that I could quickly toss into the pasta. Peas, beans, canned tomatoes, capers, anchovies were among the regulars, and jars of roasted red peppers were also their constant companion. When push came to shove, I would boil pasta and then without even sautéing them in garlic and oil I would just throw them on top, add cheese and happily consume. Sounds pathetic, but on particularly long work days even taking that extra step to cook the topping was seemingly too long. But they did their job, and given the chance, roasted peppers can be much more useful and handy. So take my word, keep them stocked in your pantry as a must have staple.
That’s the way I roll. I buy them. My mom, on the other hand, always roasted her own red peppers, and then placed in plastic bags into the freezer. Let me tell you, they were delicious. I literally can still smell their sweet aromas as I ponder her peeling off the skins. But not even that extraordinary olfactory experience arms me with the patience to make them myself. There are some homemade foods I don’t mind taking the time and effort to make. And there are others I am willing to concede buying a store bought version. I will admit that homemade roasted peppers are the bomb, still I’m not motivated. I take the easy way out. (Note: It is funny how some tasks seem too much for one person while for another it’s not problem at all. I get it now when I say something is easy for me it might not be that easy for someone else, no matter how easy I think it is.)
Dreaming of my mom’s peppers made me think of the dip I made a while back using roasted red peppers, walnuts and goat cheese. I featured it in a post entitled: 3 Dips a Dipping. It dawned on me that that combo could create a creamy, no cook sauce that would melt into a big bowl of steaming hot pasta. And even though the dip has walnuts, I think the texture will be great. I do you one further. Toast some extra nuts to sprinkle on top of the pasta to amp up the crunch and bring another level of nutty flavor to the dish. Then I thought that this dish might need some extra zing. So, I made a gremolata to finish it off. The parsley, lemon and garlic are sure to add that fresh zip to the creaminess of the sauce. Now you have had a sneak peak into how my little brain conjures up dishes that my tummy approves. So let’s get started because I’m hungry now.
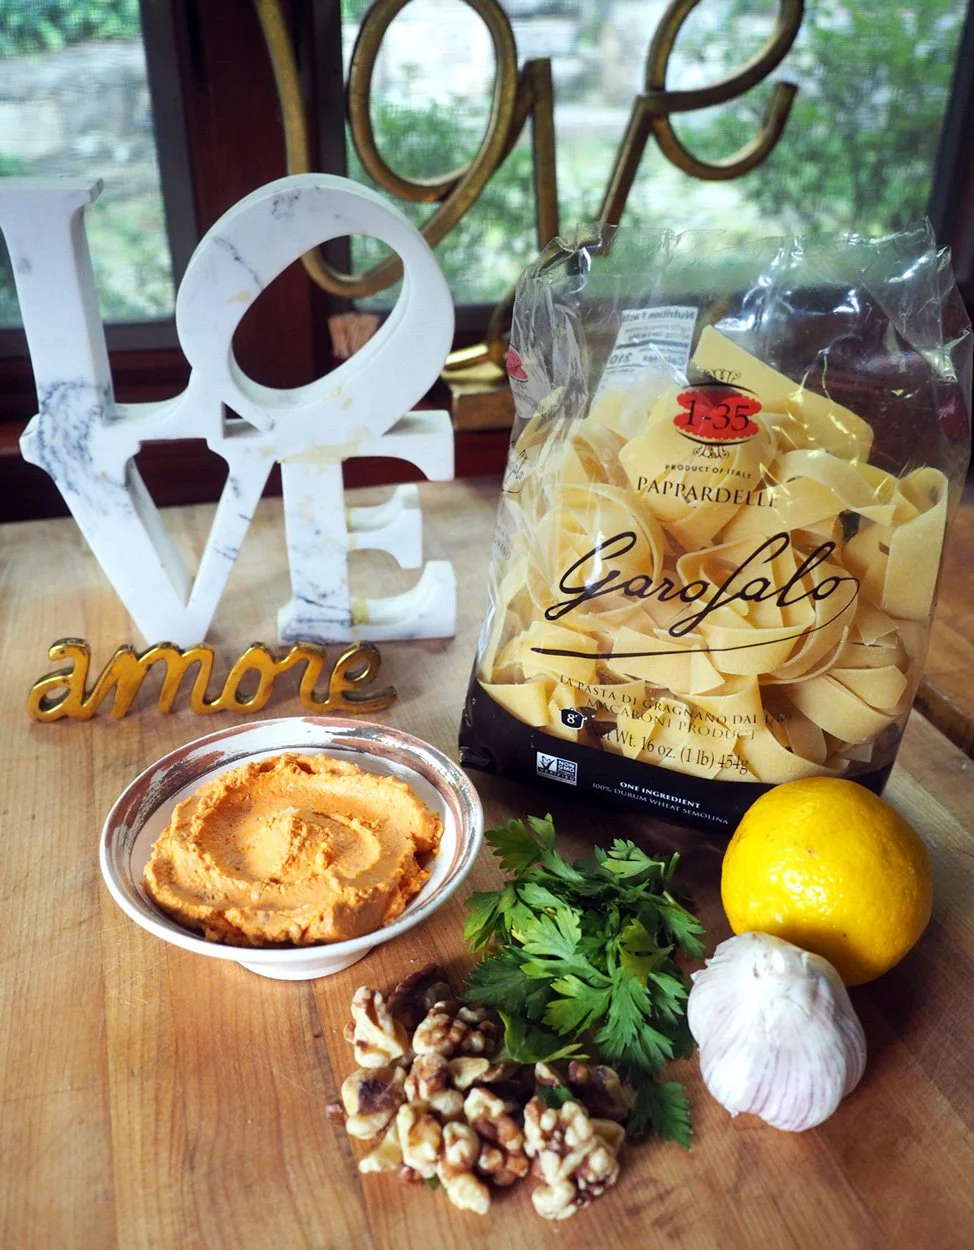
Roasted Pepper Sauce Pasta set up
Ingredients
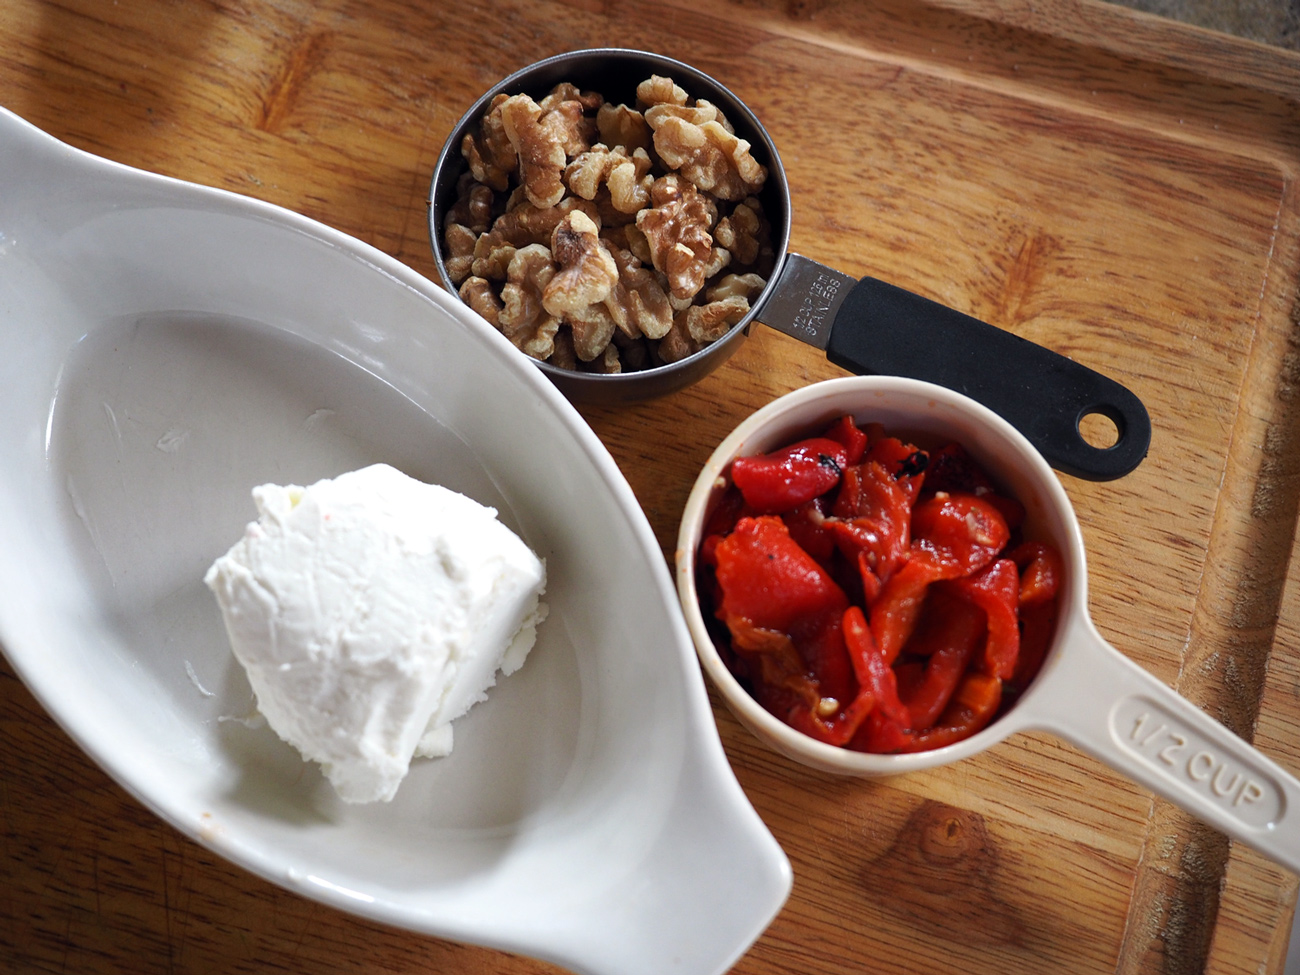
1 c marinated roasted red peppers
1 1/3 c goat cheese
2/3 c walnuts, roasted
1 lb. pasta
1/2- 1 c pasta water reserved
Olive oil
1/2 t salt
1/4 - 1/2 t red pepper flakes, to your taste
Gremolata (optional)
Remaining Walnuts, chopped
3 T parsley, minced
1/4 t garlic, grated or crushed
1/2 t lemon zest
1 T lemon juice
3 T olive oil
Salt/pepper to taste
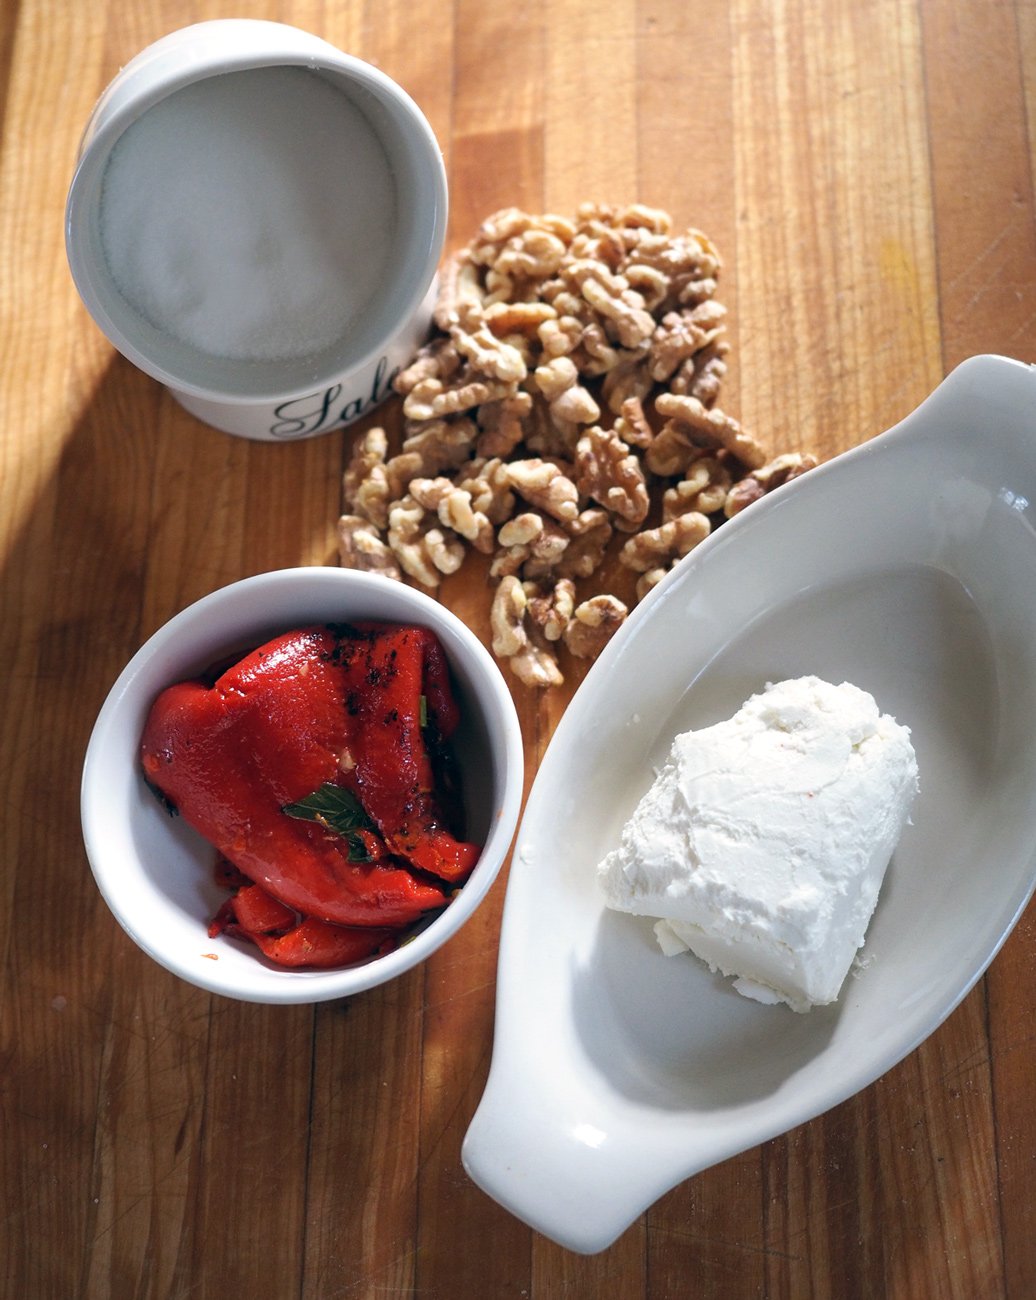
Roasted pepper, goat cheese, walnuts
Instructions
Toast the walnuts in a pan over low heat or on a baking sheet for 5-7 minutes until lightly toasted. Be careful not to burn them. Set aside to cool.

Roasting any nuts releases the oils and brings out their nutty flavor.
2. Boil your favorite pasta. (I think this dish works best with a shape that the sauce can find its way into nooks and crannies like rigatoni, bow tie or fusilli. I had Papparedelle on hand, so used that.)
3. In a food processor, buzz up the walnuts to a chunky consistency. You don’t want a fine grind. (Remember to reserved the remaining nuts to sprinkle on top.) Remove them from the blender and set aside, Of course, you can rough chop them with a knife.
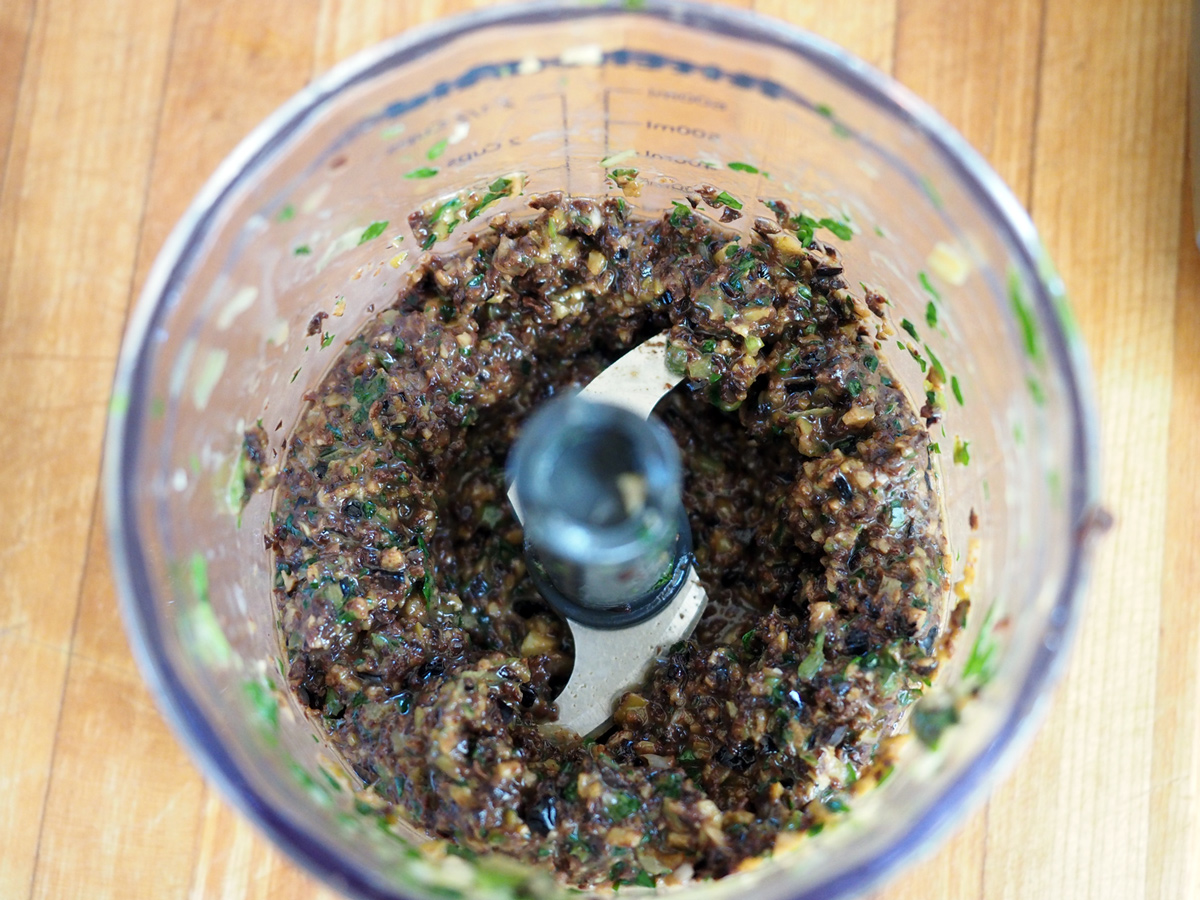
4. Add the roasted peppers, goat cheese, salt and red pepper flakes. You can add splash of olive oil until you get a paste.

Roasted peppers and goat cheese.

You want a creamy consistency to the roasted pepper/goat cheese mixture.
5. Add the walnuts back in and pulse only until combined or simply stir them in.
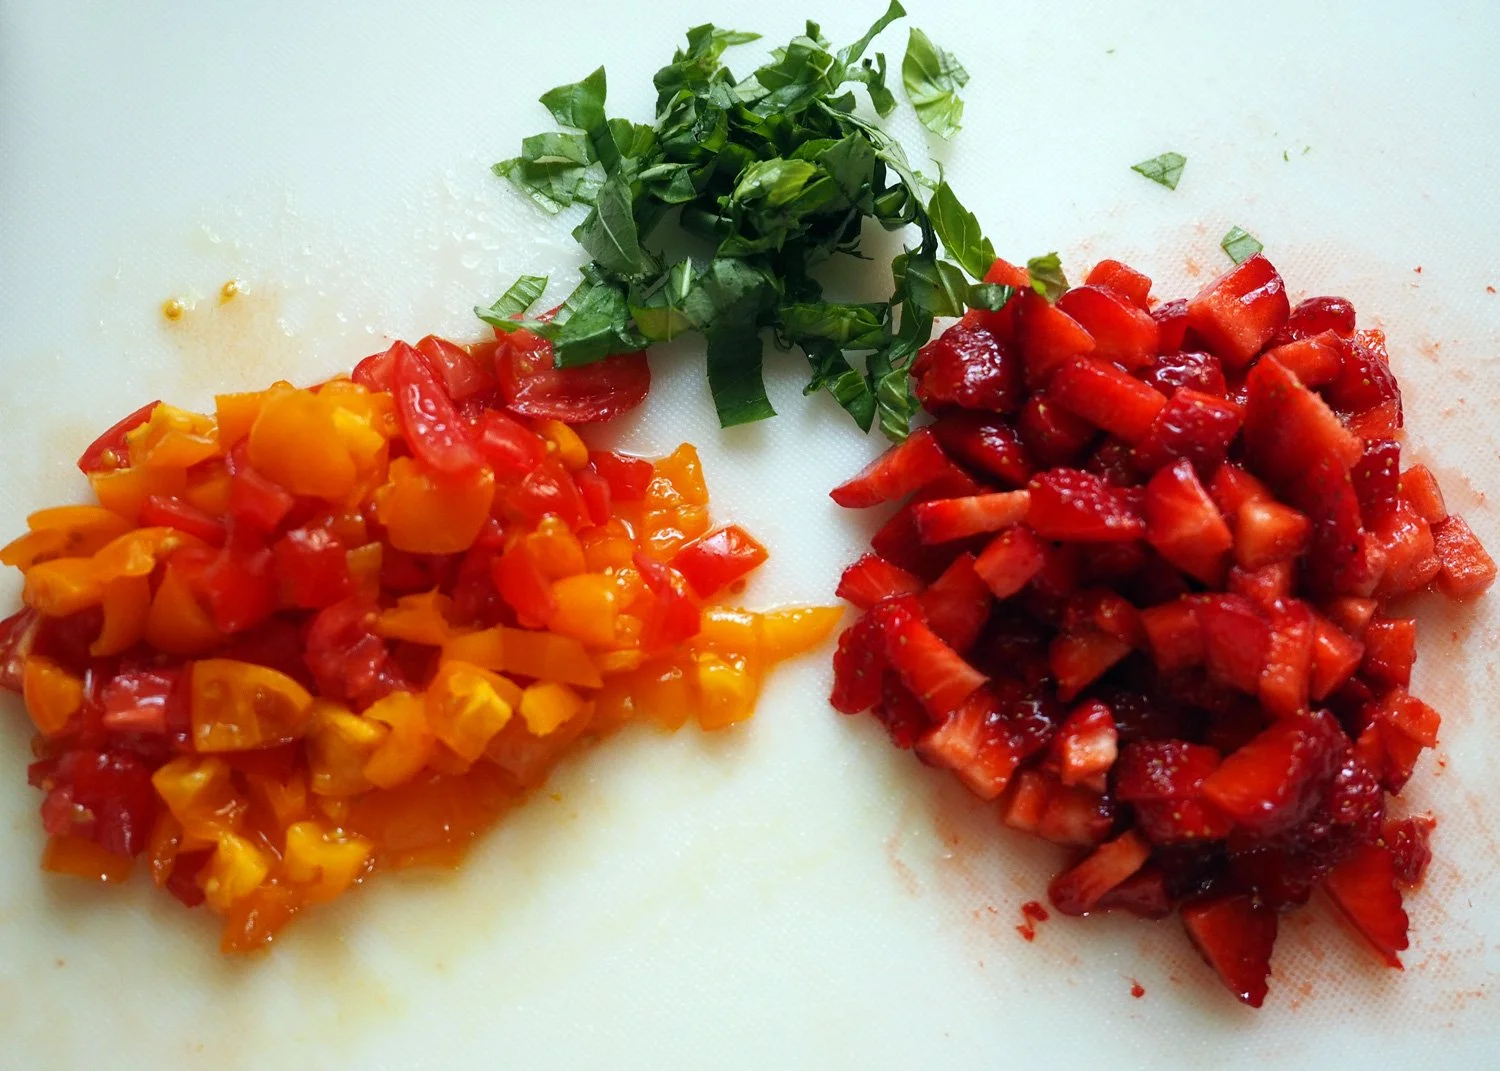
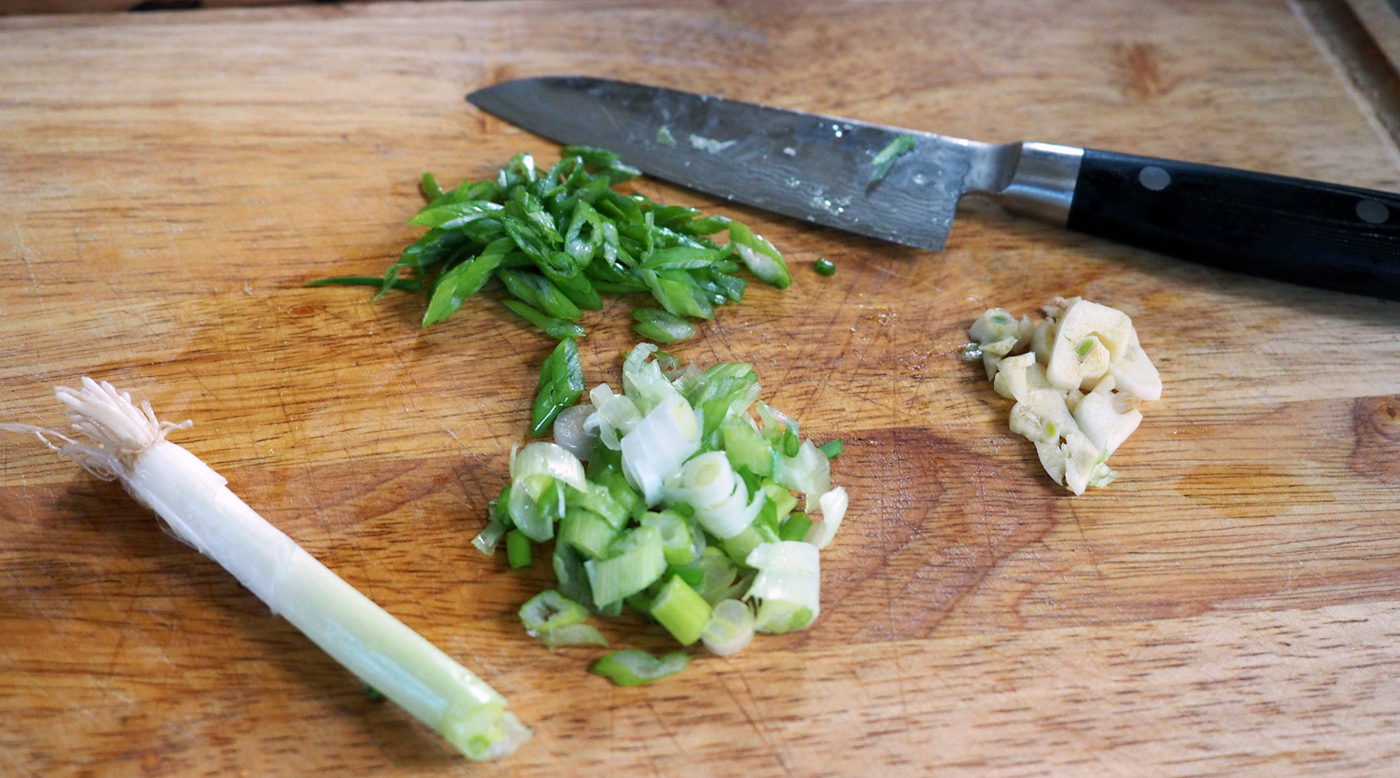
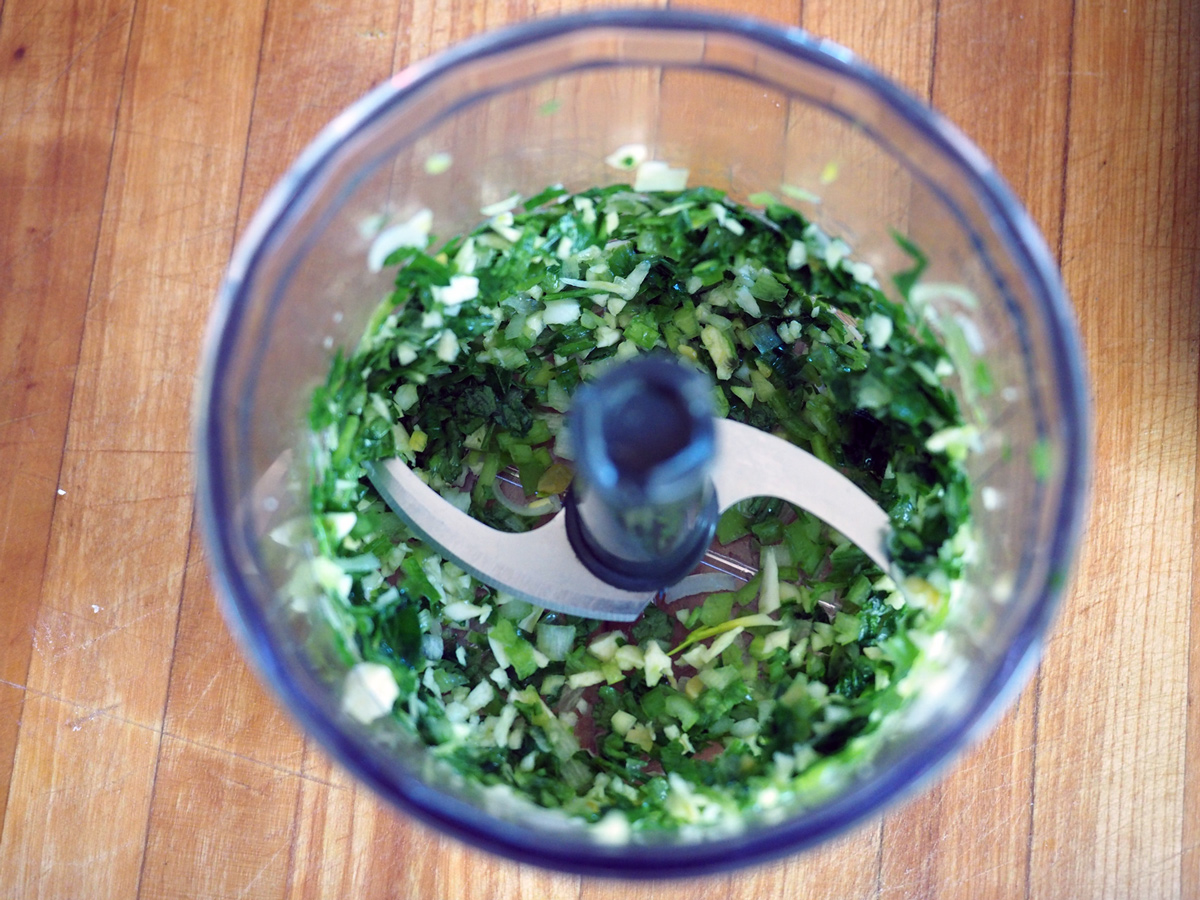
6. Meanwhile, chop up the parsley, walnuts, grate the garlic, lemon zest and combine together with lemon juice and olive oil to make the gremolata.

parsely, lemon, walnuts, garlic
7. Once the pasta is done, drain making sure to reserve about a cup of the pasta water. Place the pasta back in the pot and add the sauce and gently fold together. Add the pasta water as needed to help emulsify the mixture. Or you can put the sauce in the bowl, whisk in the pasta water and then toss the pasta.

Ready all your elements to toss together.

Thin out the roasted red pepper sauce by whisking in pasta water. Add as much or as little to your liking.
8. If you aren’t into the gremolata idea, plate and top with the toasted walnuts.

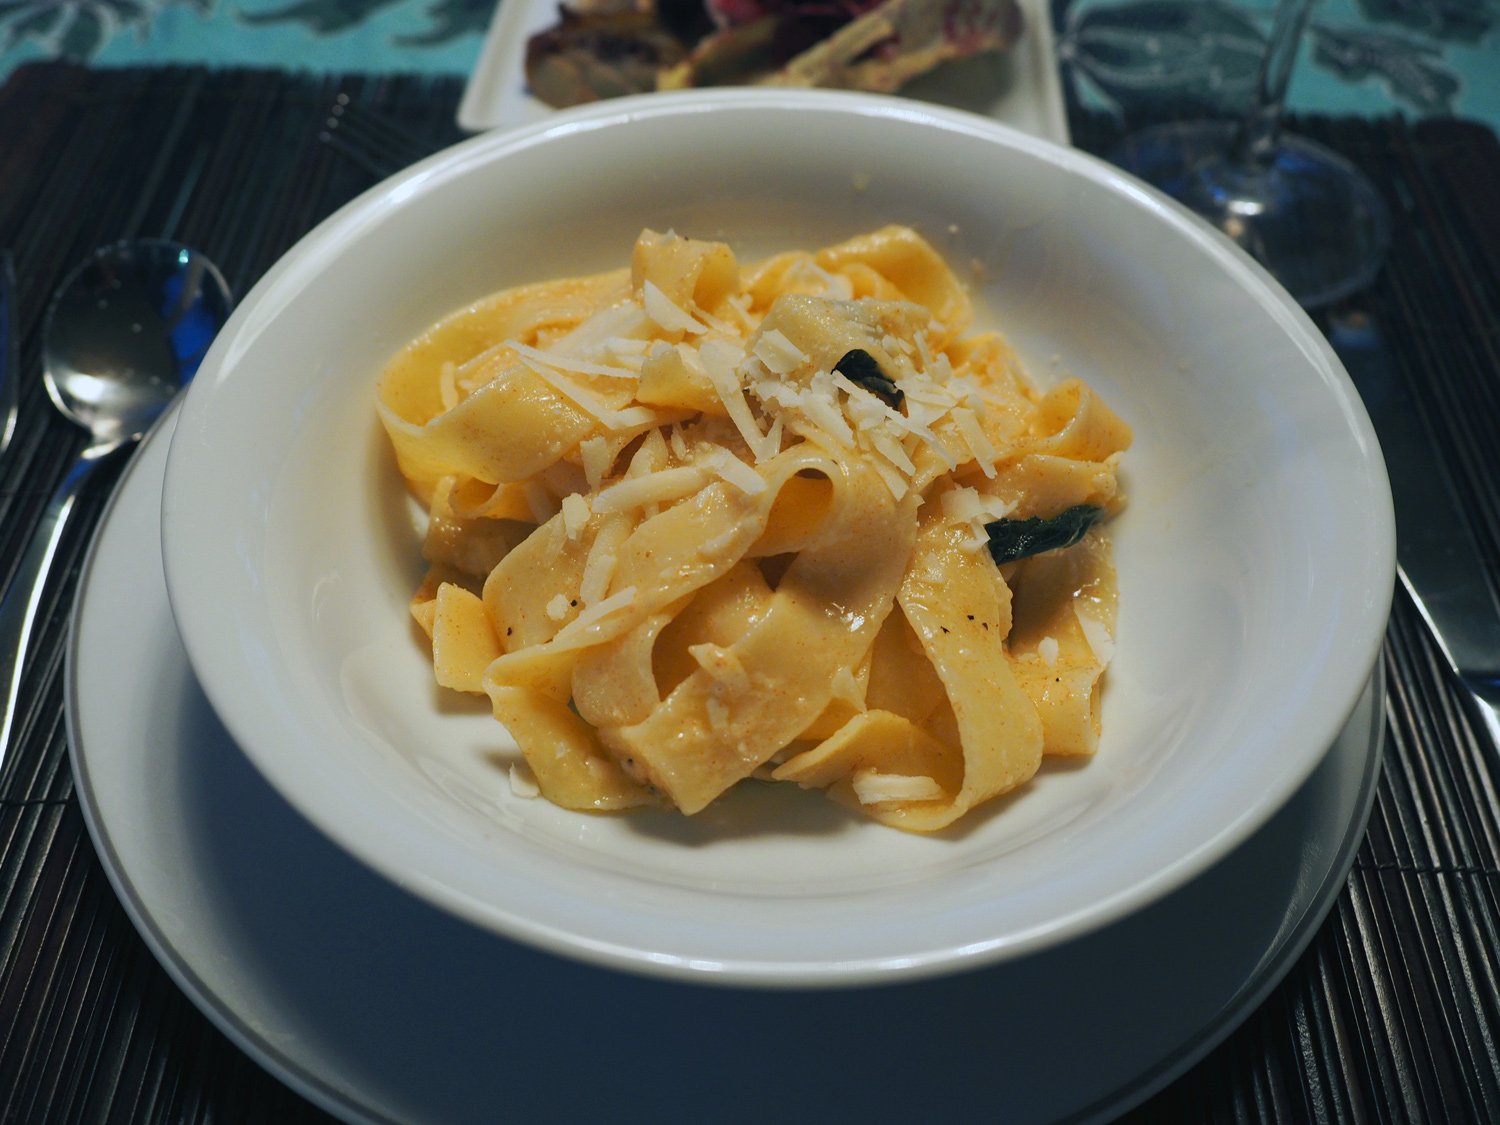
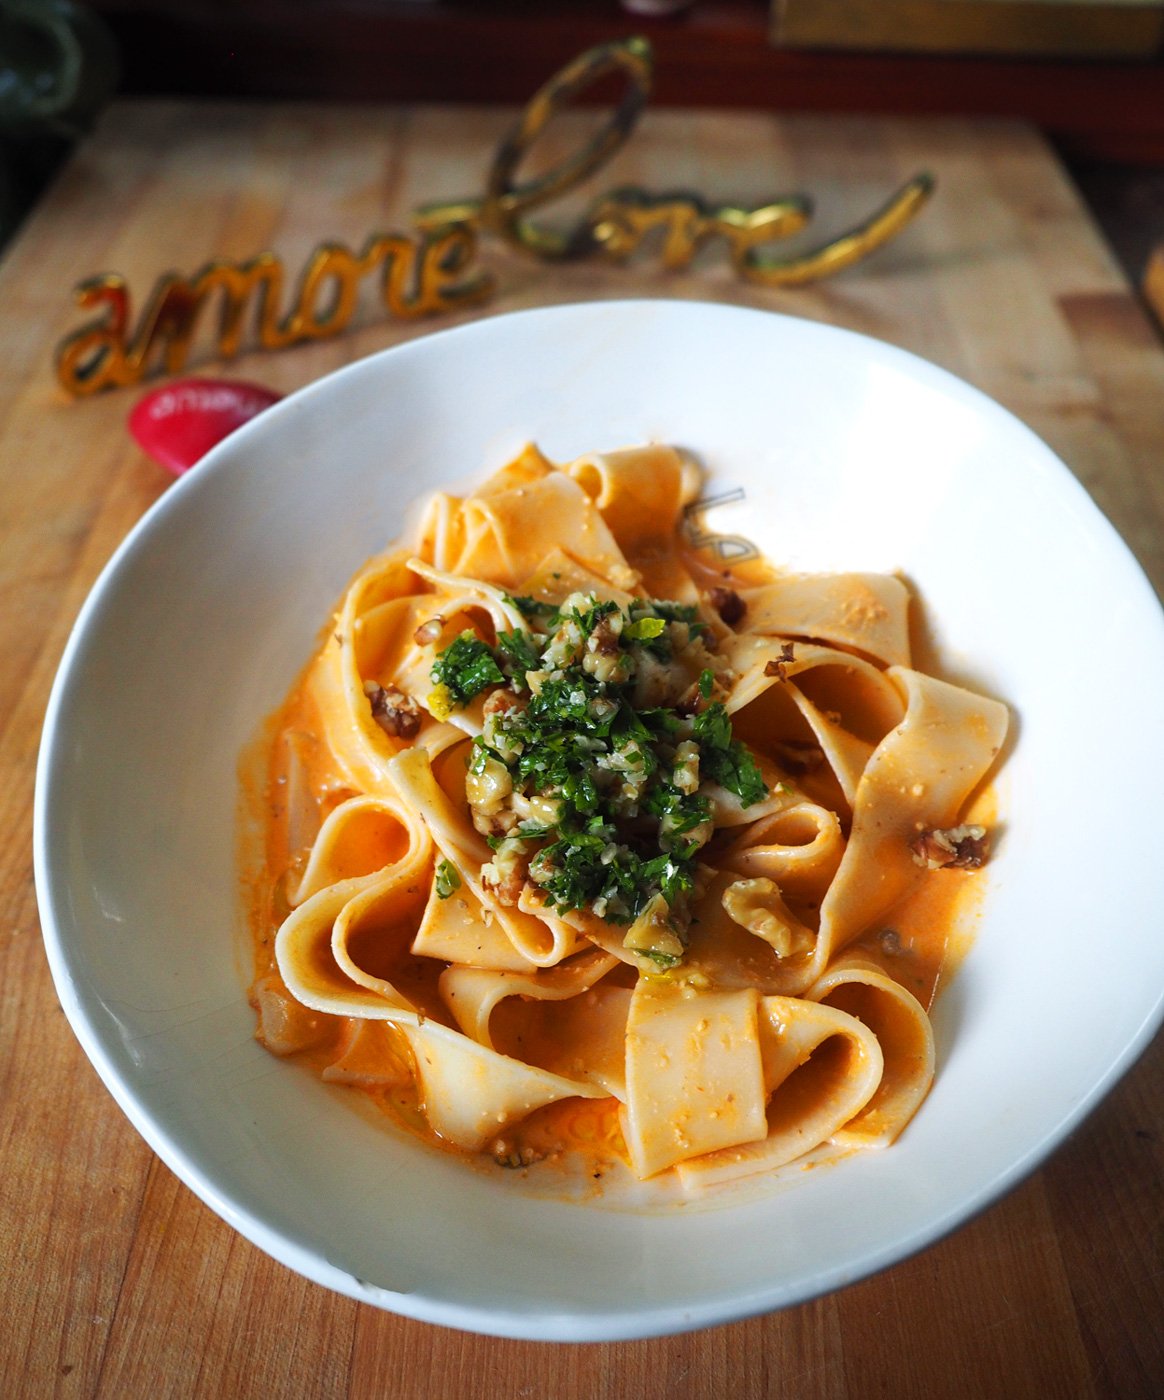
Roasted Red Pepper Pasta topped with walnuts.
But if you want to add a little extra ‘sum-ting sum-ting’, dollop the gremolata on top as well. I love it both ways, but will attest that the garlic lemony-ness of the gremolata adds a lovely zing that cuts through the creamy sauce.

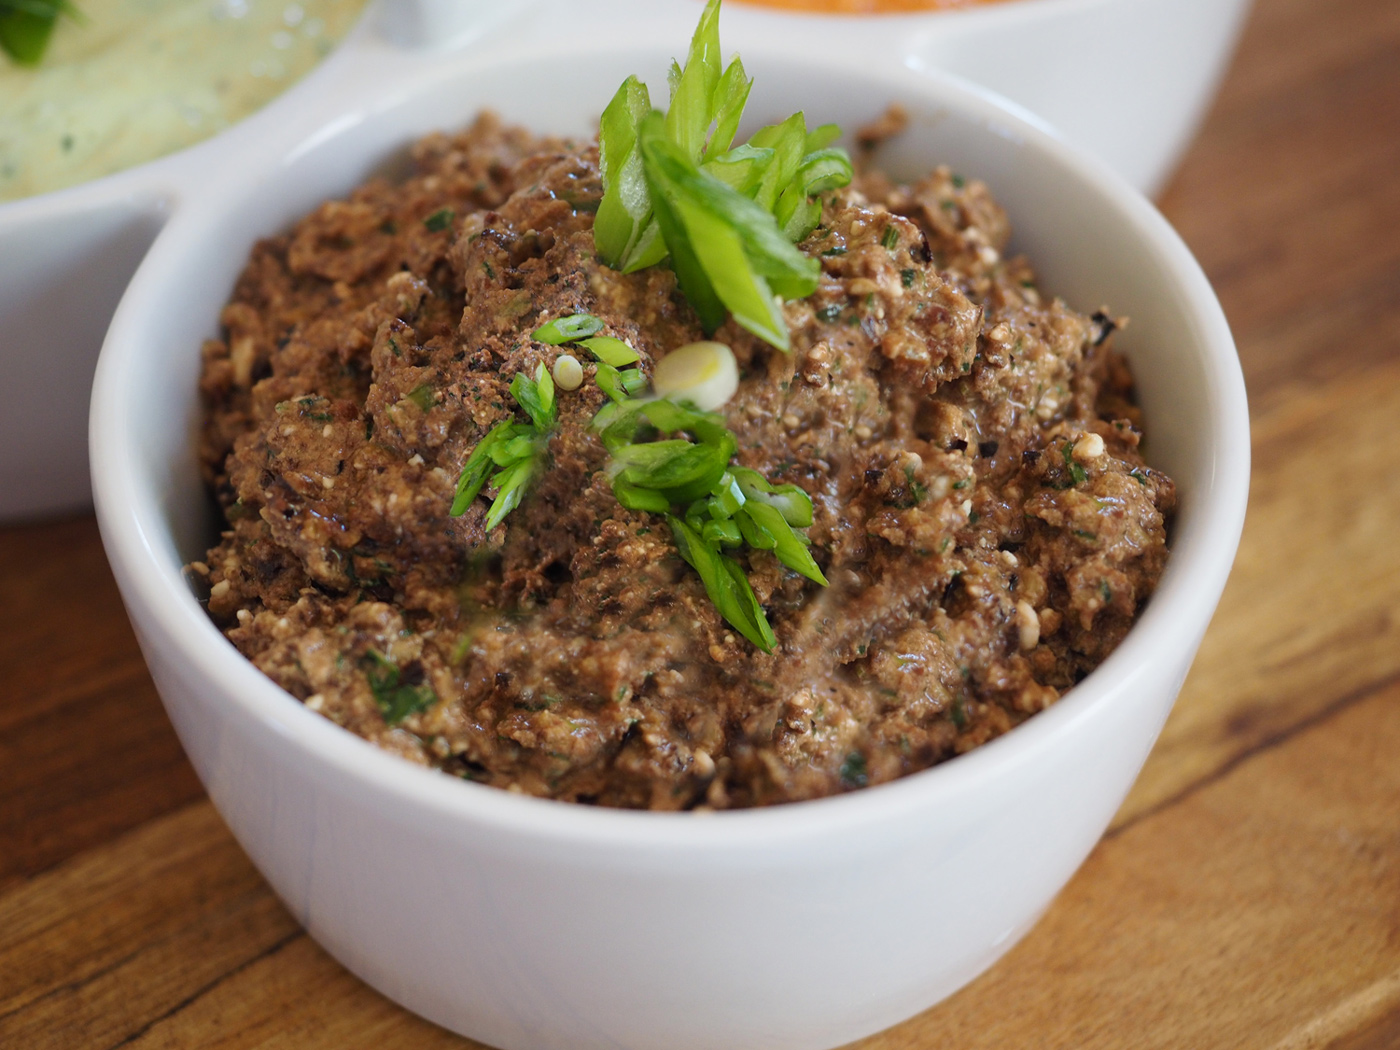
Roasted Red Pepper Pasta topped with parsley, garlic, lemon, walnut gremolata.
Yup, that simple. A no cook sauce that is creamy and delicious, and also packs some crunch.
The best part about this is that you can make the Roasted Red Pepper as a dip and then use the leftovers for pasta. Or the reverse. Either way, you get twice the benefit.
Postscript: After making all that hubbaloo about how roasting peppers from scratch was too much work, I decided to take it on. I have a very competitive nature and one that thrives on a challenge. So, of course I had to roast my own peppers. WHAT??? Plus, how could I go on and on about the aroma and not tackle the task myself. But true to form it was just as time consuming, and a labor of love process as I had imagined. But that aroma was unmatched. That said, not sure I will repeat that task again, but at least I have a recent try under my belt. Maybe my mom will just give me some of hers next time.