Espresso Ice Cream

I recently had the awesome opportunity to work as an intern in the prep kitchen for a James Beard Award winning restaurant group.  I know, pinch me, I’m a lucky woman.  I will definitely write more about that experience, and share some of the many pastry items I made, but first since it’s summer, let’s start with ice cream.  I made several ice creams during my 4 week residency.  Two of my absolute favorites were Popcorn Ice Cream. Yes, you read that correctly.  And Espresso Ice Cream.  Both were made using a traditional cream base then whisking in egg yolks, cooking them to temperature, then using an ice cream machine.  Velvety smooth result.

Since I don’t have one of those big hunky things in my home, I searched for easier ways to bring home the flavor, and make my hubby happy. He loves ice cream, and devoured both those flavors when I brought home samples.
In researching homemade methods, it seems that without using an ice cream machine, most recipes eliminate the yolks. Just as well.  No yolks. No stress. Without the eggs, the whole process is much easier, since tempering the eggs, then cooking them slowly is a lengthy and delicate process. In a split second you can end up with scrambled eggs. (Although, then you would have a complete breakfast - espresso right inside your scrambled eggs.) 
A no egg ice cream is just as yummy and 10 times easier.  I think we can all agree that making our lives simpler is a good thing. Believe me when I say, I am always looking for more efficient ways to do anything. (As a matter of fact, during my time in the kitchen there, I came up with a different ways to punch donuts. And they were gracious enough to let me reorganized the menu books.  Reorganized the utensil and gadget areas.  And were open to a suggestion on assembling the coconut cakes. I am an efficiency junky.)  So, let's get right to making this eye opening Espresso Ice Cream, shall we?  Just in time for the 4th of July weekend.

Ingredients

2.5 c whole milk
4 c heavy cream
1 c sugar
1 t vanilla
4 T instant espresso , diluted
pinch salt

But a few ingredients, and all mixed together. You can't get easier than that, my friends.

But a few ingredients, and all mixed together. You can't get easier than that, my friends.

Instructions

Mix all the ingredients in a mixer.  Whisk until combined. I diluted the espresso powder with a couple tablespoons of warm water. 

Pour in the cream and milk

Pour in the cream and milk

Sugar

Sugar

Espresso and vanilla.

Espresso and vanilla.

Whisk it all together. Seems silly to show you but I have a thing for telling a story with images.

Whisk it all together. Seems silly to show you but I have a thing for telling a story with images.

For the next step, there are a few different methods to get it to soft ice cream state. Some people eat the ice cream at that stage. It seemed a bit too soupy for me. Mine went into freezer so the mixture to get to a harder consistency. I split my batch into two so I could use two methods for comparison. (Experimentation is hard work but I'm willing to do it for you to bring the best results. Who I am kidding? The end result was ice cream!!)

Shake Until Your Arms Scream Method:
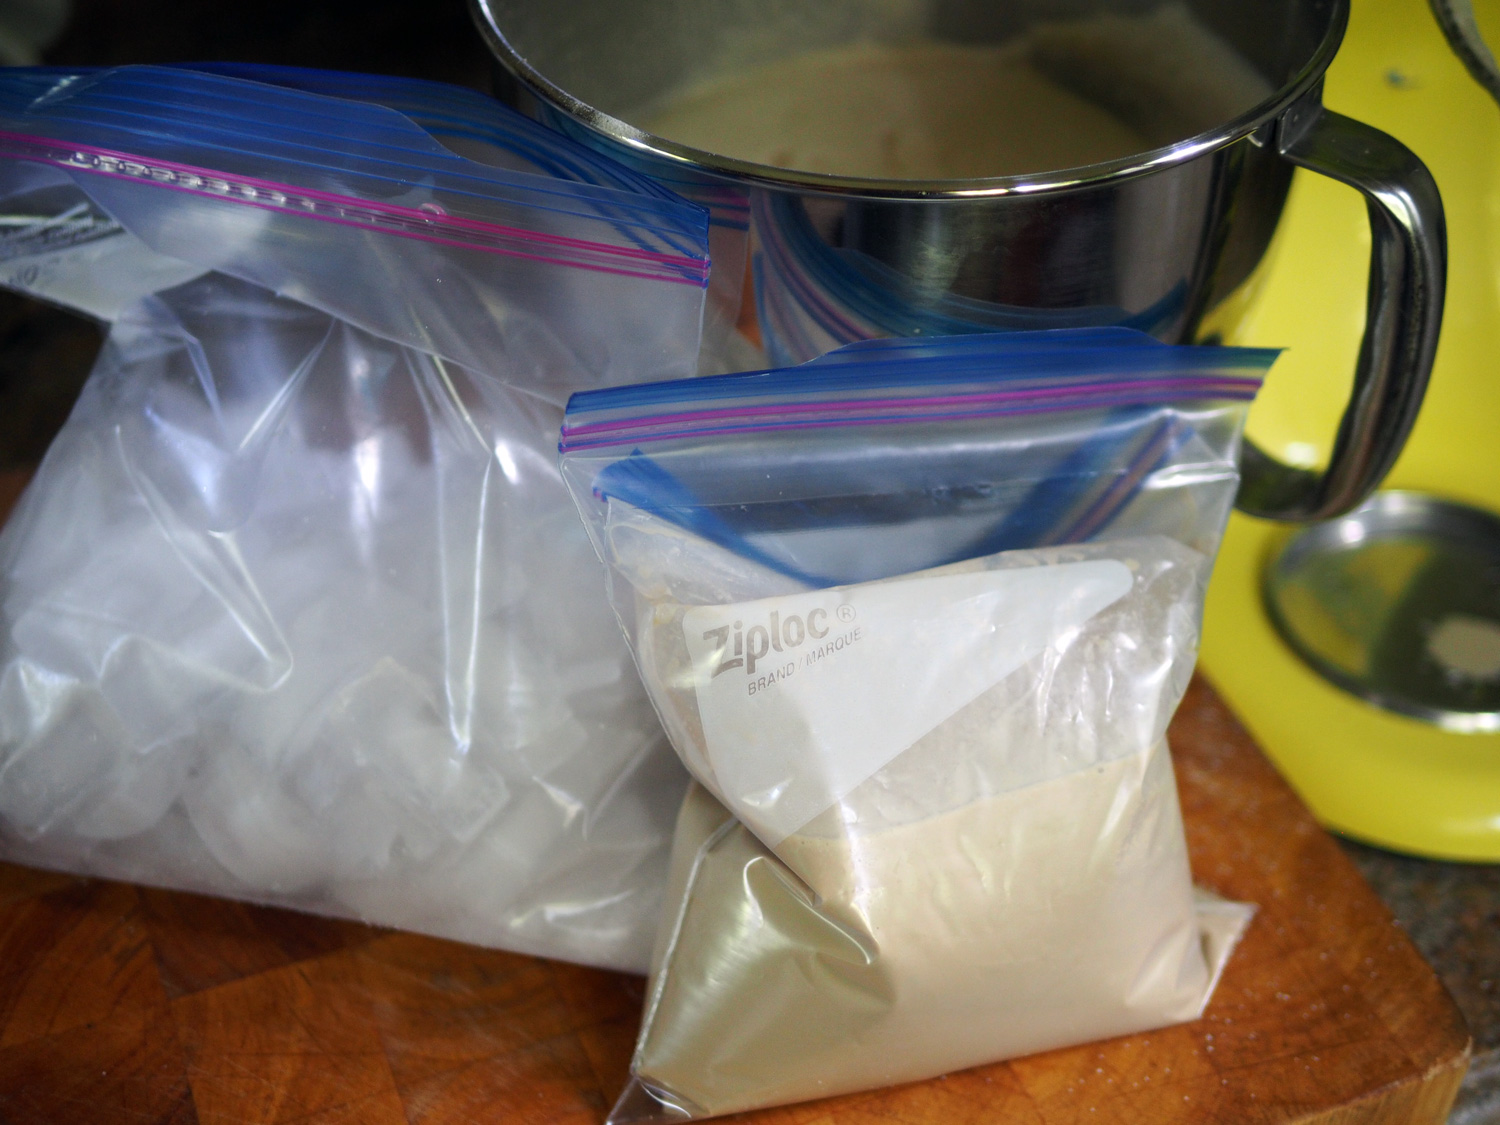
The first method I used was the plastic bag method. I poured the liquid in a quart plastic bag, and doubled the bag to prevent leakage. Then placed that bag into a gallon plastic bag with 4 T coarse salt and 4 cups of ice cubes.  Sealed and vigorously shook it for 10 minutes. This was a work out for sure. I never knew how long 10 minutes lasted until my arms screamed out, "Is it ice cream, YET?" Once thickened, I poured the semi soft ice cream into a container and placed in the freezer to allow it to harden more. 

ice.cream.bags.jpg

That version seemed tiring, so I was thrilled that the other method was much less strenuous. 

The Lazy, Just Freeze It Method:
I continued to whisk the mixture until it thickened.  Then I place it in a glass loaf pan with plastic wrap covering the surface to prevent freezer burn. Then surrounded by ice and placed in the freezer. My arms thanked me.  However, I forgot to continue to mix it every 1/2 hour or so as was suggested, but it seemed to freeze up just fine.  So this is truly the lazy way, all benefits version.

Here are a few videos for you to watch.

Ice Cream in a Bag

Ice Cream without Machine

Freeze and Whisk Method

In the end, everyone seemed to love both versions. So you pick. 

  • Work out with benefits.

  • Or straight up benefits.

Either way, this ice cream will get you raring to go. Other huge benefit ...bringing joy to your loved ones.  I know it did mine.

JuanCarlos trying to eat with moderation.

JuanCarlos trying to eat with moderation.

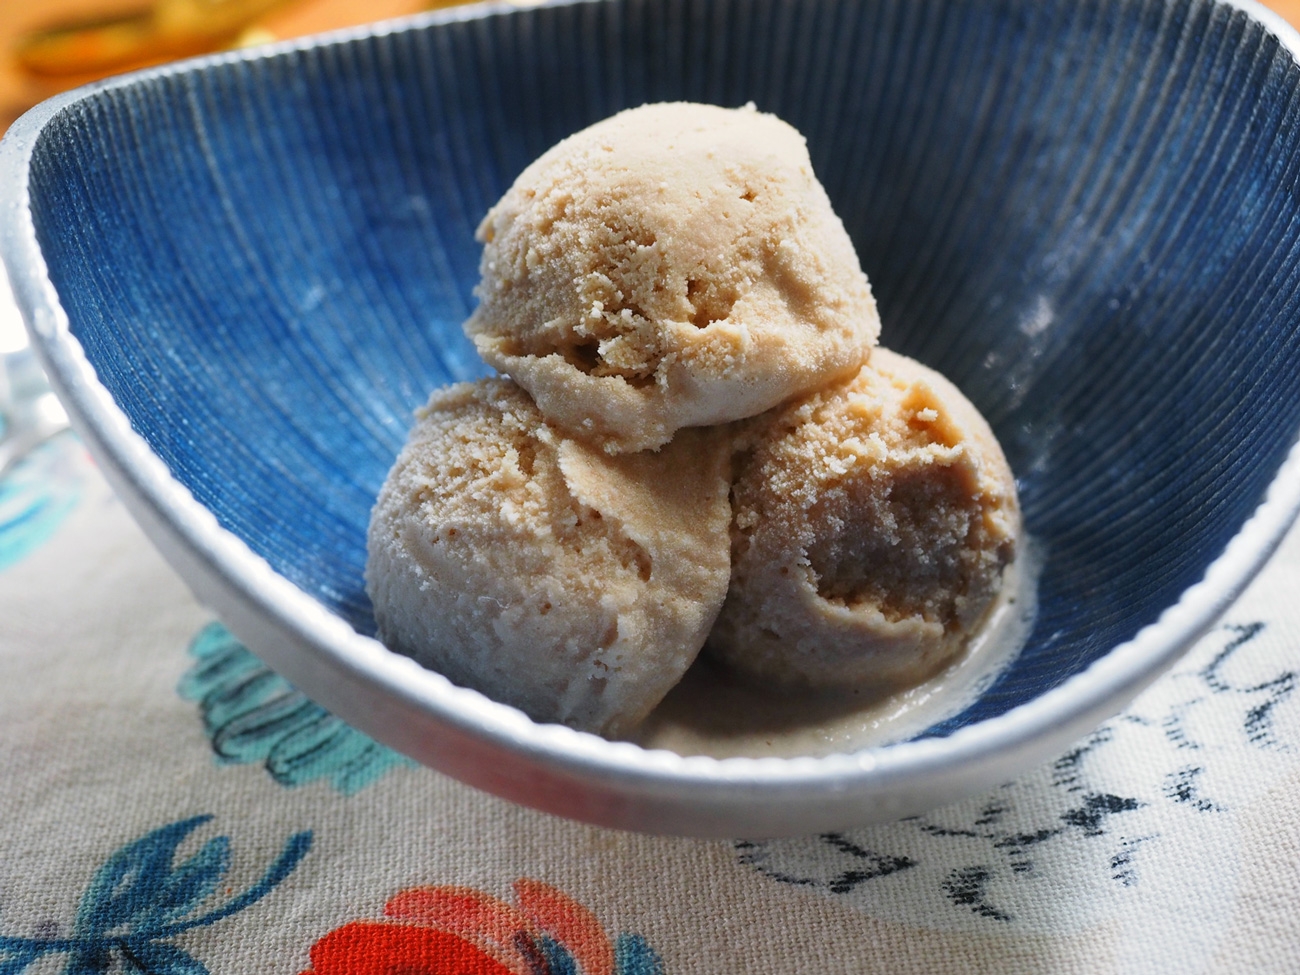
Espresso ice cream scoops

Espresso ice cream scoops

My handsome husband enjoying a bowl of espresso ice cream with his other latest favorite, red wine from Châteauneuf-du-Pape.

My handsome husband enjoying a bowl of espresso ice cream with his other latest favorite, red wine from Châteauneuf-du-Pape.

Happy 4th, and summertime fun!


Fried Polenta Topped with Mushrooms & Goat Cheese

final.polenta2.jpg

Oh, how I love mushrooms.  Oh, how I love polenta.  So, is it any wonder that, oh, how I love this appetizer.  I have made these tasty bites for many an occasion. Be it a formal dinner party, a buffet for a crowd or a simple first bite to a meal. They look impressive on a platter, but they are even more pleasing to the palate.  

You've heard me rave about polenta before.  It can dished out in an abundance of ways.  Creamy and soft, molded and fried.  For breakfast instead of grits or crumbled up on a salad instead of croutons.  As an app or a main meal. Some foods are just like that, they give and give like the famous tree in children's book, The Giving Tree.  "Here boy, take my stone ground corn and make magic with them."   I love that book, and I love polenta.  Did I say that already?  Well, I do.

Keeping with the abundant uses mode, you can top polenta with other veggies or even proteins like shrimp or pulled pork.  But today's recipe features earthy mushrooms. That's what I had available, so that's what I made.  I only had Creminis on hand but I have made this with a combo of mushrooms.  I implore you to explore and mix and match to suit your taste buds.

mushroom.setup.jpg

Ingredients

2 c polenta
2 T butter
6-7 c mushrooms, sliced
2-3 garlic cloves, sliced
1/3 c parsley, chopped
1 T rosemary, chopped
Magic 3 (Olive oil, salt, pepper)
Lemon zest
7 oz goat cheese
 

Instructions

Cook the polenta according to the package.  Whisking as you slowly pour it in to avoid any lumps.  

cook.polenta.jpg

Once it is cooked and reached a thick consistency, add salt, pepper to taste and stir in the butter until melted.

making.polenta.jpg

Then pour the polenta out onto a buttered baking sheet.  Using a spatula, spread the polenta evenly out.  I usually use a larger sheet pan so the entire polenta base is thinner.  But I was at my mom's house and her pan was smaller, so these were thicker.  In the end, I liked the size of these. You can choose the thickness according to whatever floats your boat.  

Since I was taking the photos, I enlisted my mom to help out with the action shots. It's fun cooking with her.

Since I was taking the photos, I enlisted my mom to help out with the action shots. It's fun cooking with her.

Spread it out to create an even layer.

Spread it out to create an even layer.

Once the polenta is evenly spread, cover it with plastic wrap and allow it to set in the refrigerator. Meanwhile, start cooking the mushrooms by adding 2 tablespoons of oil to the pan.  I like using a cast iron pan as it retains high heat and gets a good sear on the mushrooms.  The key to mushroom cooking is let them cook on one side without moving them around.  This allows them to get nicely browned.  Also, salt them when they have browned.  If you add salt too early to the cooking process it makes the mushrooms release water.

mushrooms.cook.jpg

I also cook mushrooms in batches in order to avoid crowding the pan.  Too many reduces the pan heat and they begin to steam instead of sear.  Once all the batches are done, remove the mushrooms and cook the garlic, rosemary and parsley in more oil.  Then add to the mushrooms.  I grated some lemon zest over the mushrooms which brightens the flavor.  (you can also zest more once you assemble the whole dish.) Set aside while you continue preparing the polenta.

garlic.parsley.jpg

Once the polenta is firm, cut into squares or use a cutter.  I was going to cut these into my usual small squares using a knife, but I found a round ravioli cutter in one of my mom's drawers and thought it would be fun to use especially because it had a scalloped edge. 

This time I got my sister, Alyssa, to help with the action shots. Of course, using a square cutter or a knife will eliminate waste, but I liked the rounds.

This time I got my sister, Alyssa, to help with the action shots. Of course, using a square cutter or a knife will eliminate waste, but I liked the rounds.

And don't worry, I didn't waste all the leftover cut outs. I fried them up and added them to my salad.

And don't worry, I didn't waste all the leftover cut outs. I fried them up and added them to my salad.

Using the same cast iron pan, add oil to coat the pan and fry the polenta rounds in batches until crispy and golden brown.  These are already cooked, so you just want to get them crispy.  Remember, varying textures make food more interesting.  Crunchy outside with soft inside.

Once done, place them on a baking sheet, so you can keep them in a warm oven until all have been fried.  Then top them with dollops of goat cheese, and with a spoonful of mushrooms.

You can see that some of the rosemary from the cooking the mushrooms snuck onto the polenta. That is less of a problem and more of a blessing.

You can see that some of the rosemary from the cooking the mushrooms snuck onto the polenta. That is less of a problem and more of a blessing.

Little drops of goat cheese to add creaminess to the crunch,

Little drops of goat cheese to add creaminess to the crunch,

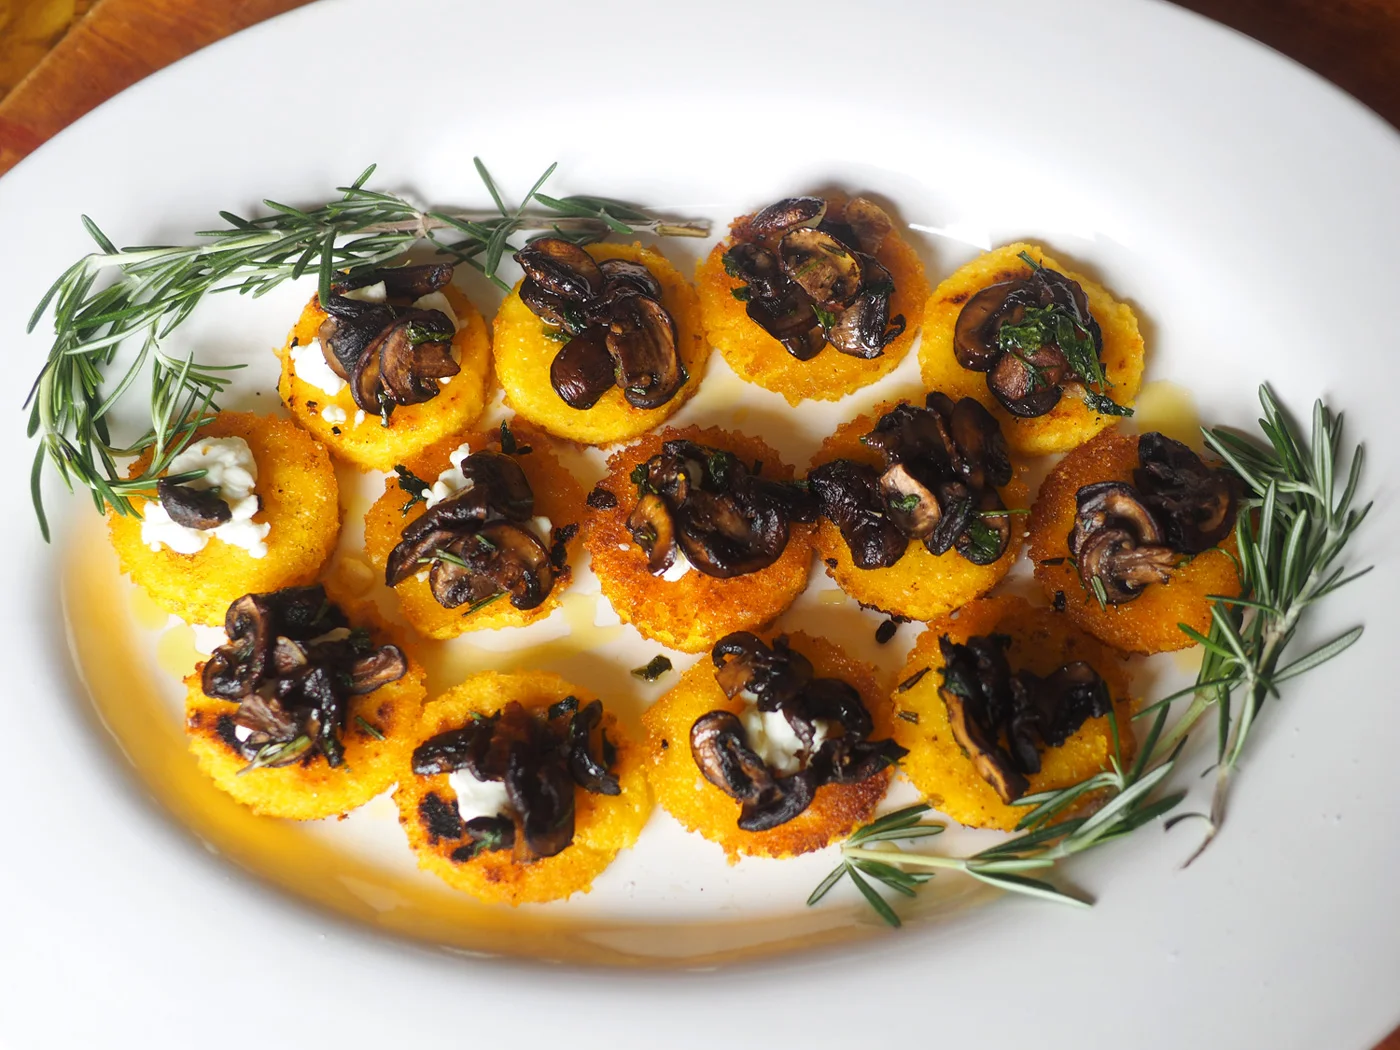
Make the platter look pretty by using the rosemary sprigs as adornment.

Make the platter look pretty by using the rosemary sprigs as adornment.

We had some roasted red peppers also as an appetizer.  It made a wonderful partner to this earthy, crispy bite.  

Side note:  Using a 2" ravioli cutter,  I got about 18-20 pieces.  You can get more if you cut the pieces smaller and in squares.   Also, this is an appetizer than can be prepped ahead of time.  You can make, and even fry the polenta ahead of time.  Then when you are ready to serve, pop them in the oven to warm them up and assembly.  Enjoy polenta, the giving tree of corn!

final.polenta.round.jpg
 
DP-stirredwlove-ID1.jpg