Sorry folks, I know it’s been a while since I’ve given you a new recipe, or entertaining ideas. As you know I usually post once a week. This has actually been the longest stretch of no posting; but not without reason. Sure, there is always life’s busyness getting in the way, but I’m usually able to work through all that and post something. This last stretch made it particularly difficult to properly document any of my food adventures.
Reason #1, I was busying helping my parents through my mom’s hip replacement. Not much opportunity for taking good photos while waiting in hospitals and making multiple meals to freeze for them to eat. Although I must admit that the preparing of several recipes simultaneously in order to package and freeze for future use was something I especially wanted to share. I feel it would be useful and much appreciated for many of my readers. Alas, I was unable to photograph the process in any decent, presentable way. I will do my best to recreate the process and share with you in the future.
Reason #2, and truly the big one for the lack of posting… Refreshing the look and function of our kitchen. This has been a long time coming. Due to budget considerations, and having realistic goals, we opted for small updates. And even though the changes were supposed to be minor (replace backsplash, floor and move a cabinet up) not a gut reno; turns out every little thing becomes major work. There was literally no way I could cook anything from scratch. And I didn’t think you needed a lesson in how to warm up leftovers!
For years I have been dreaming up schemes on taking down a wall, rearranging the entire layout and ripping out all the materials I dislike, which would be everything. But those dreams were way too big and costly. So I had very low expectations for a “refresh”. Much to my delight and surprise, this “refresh” turned out way better, and beyond what I could have imagined. Although this will never be my dream kitchen (Gosh, I know that sounds really bratty and ungrateful), these updates took it from a ill conceived layout with poorly chosen materials and ineffectual functioning space to an incredibly pleasing, increased useable space and more enjoyable for cooking and entertaining. I couldn’t be happier.
So given all the work that has been going on in the kitchen, it was impossible to bring you anything new and exciting. But we did need to eat, and clean out the fridge. I got to these “greens” before they started to turn another color. Unfortunately for the actual lettuce, that had already turned on the color wheel to a shade let’s just say inedible. So parsley leaves stepped in to save the day. Refrigerator remnants salad is my way to continue to encourage you to grab what you have and lovingly slice it up and toss it together. Therefore, I thought this salad was a worthy share.

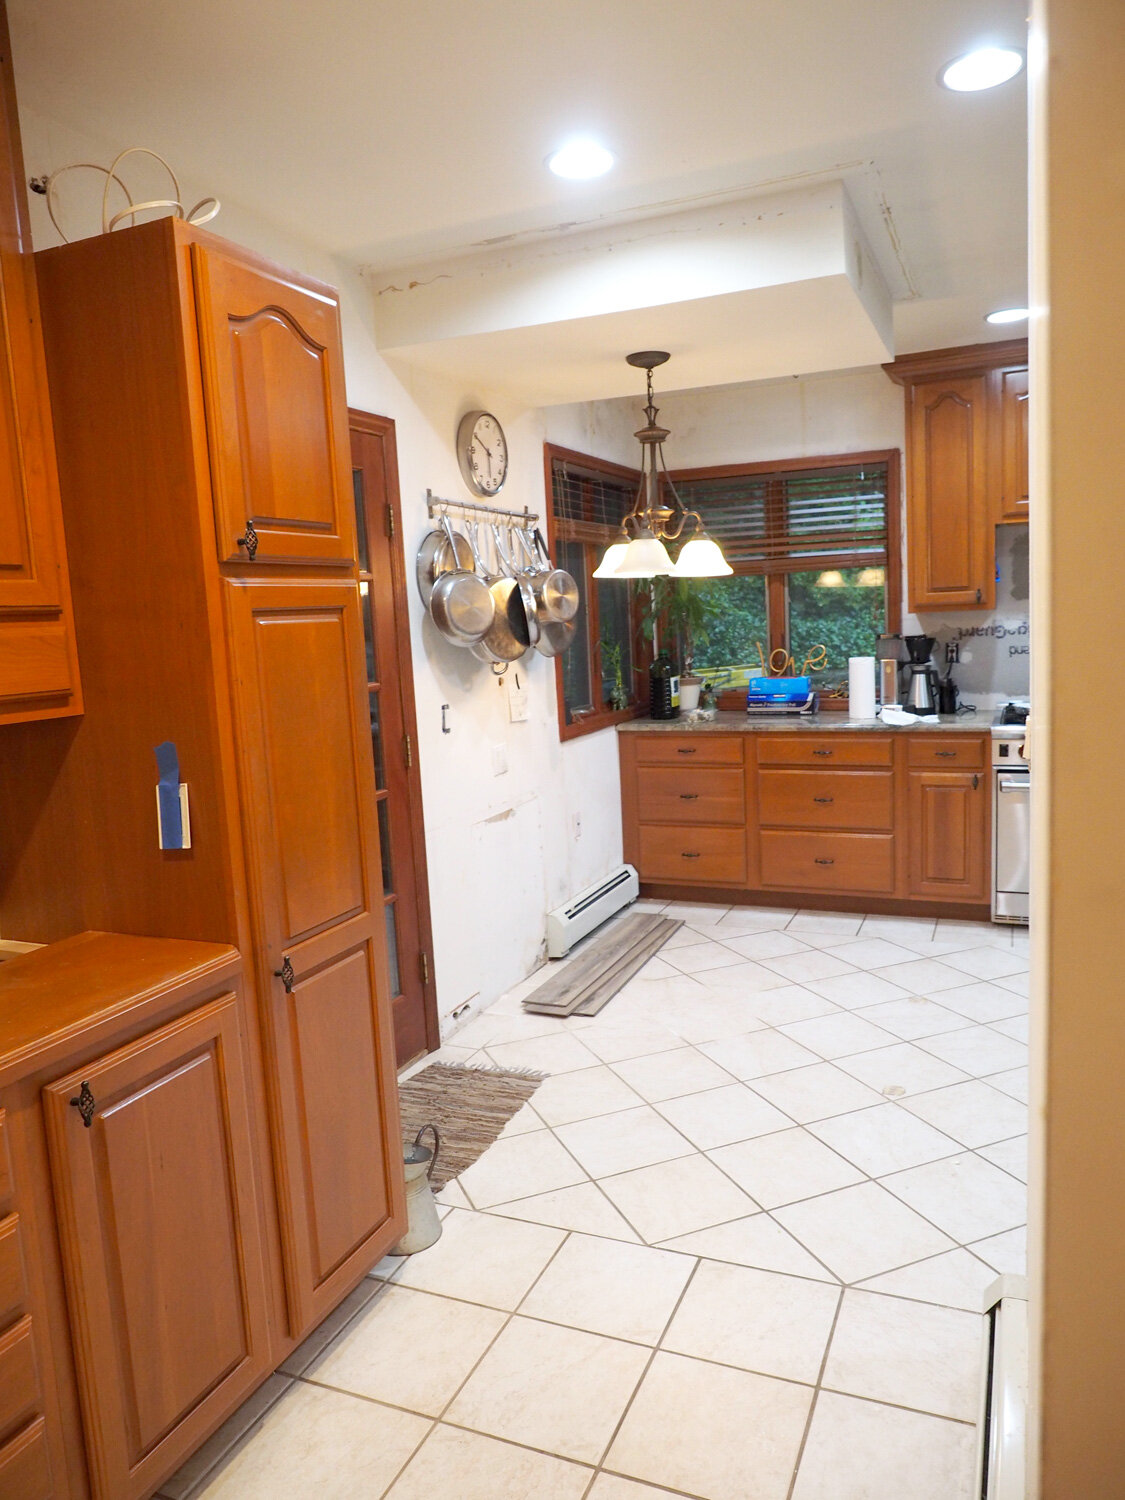
Take notice of wall where we tore out the old, horrible ceramic tile backsplash. You see why it was impossible to post any recipes. Even this one is a stretch.

Fair warning: there will be no measurements for this recipe. It is truly a something from nothing salad of using up what I had before it went bad. And the photos were taken at night with overhead light so kinda yucky but still acceptable.
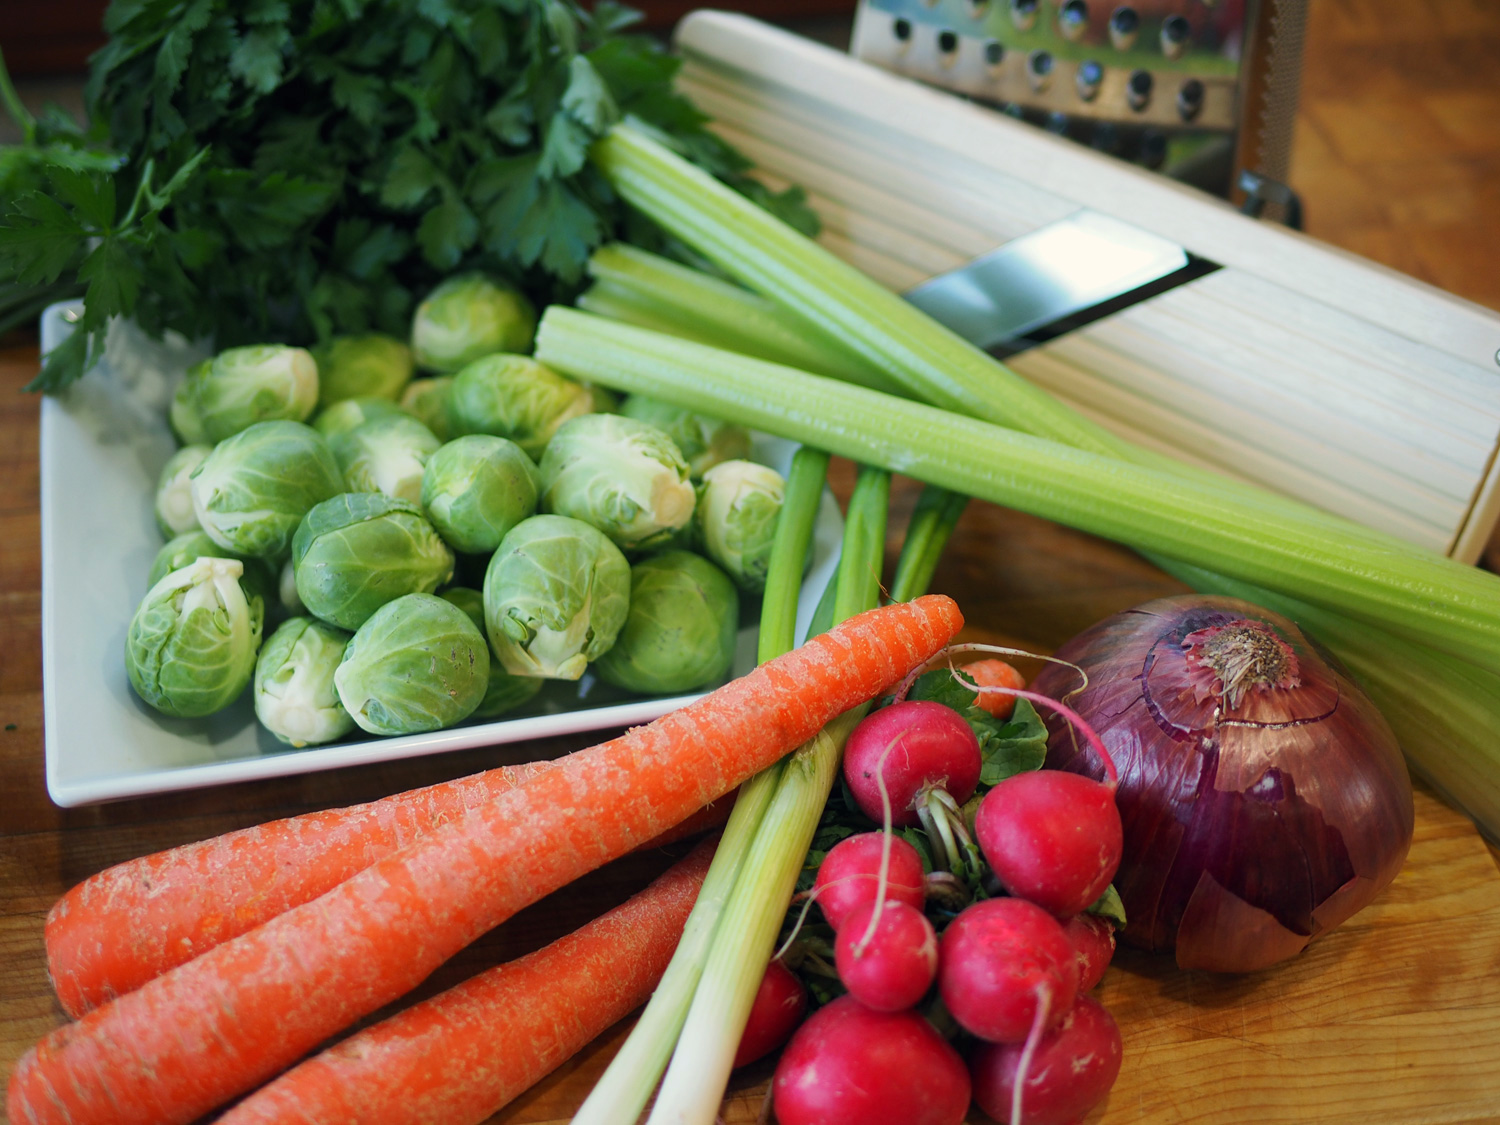
Ingredients
Fennel & fronds
Celery
Cucumber
Cucamelon, or Mexican cucumbers
Parsley leaves
Dressing
Scallions
Mint, minced
Lime juice
lemon juice
Magic 3 (Olive oil, salt, pepper)
Instructions
You really don’t need instructions, but here goes. Cut everything up in bite sized pieces. Pluck the whole leaves from the parsley to act like the lettuce component. Slice the scallions and mince the mint for the dressing. Whisk together with other ingredients. Pour and enjoy.

Fennel shavings

Celery

Cucumber

Mexican cucumbers known as Cucamelon
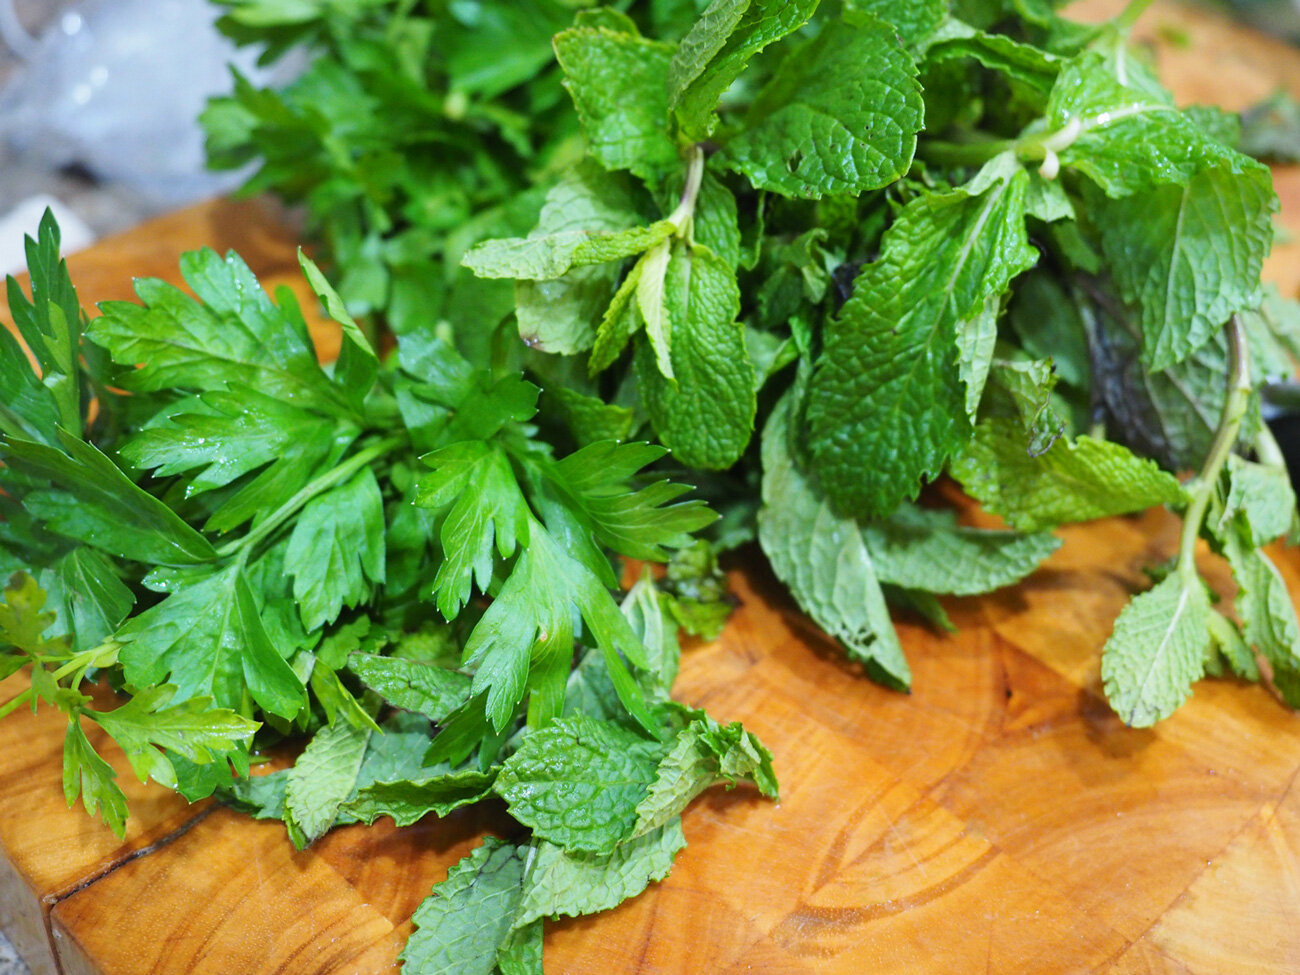
Fresh mint and parsley
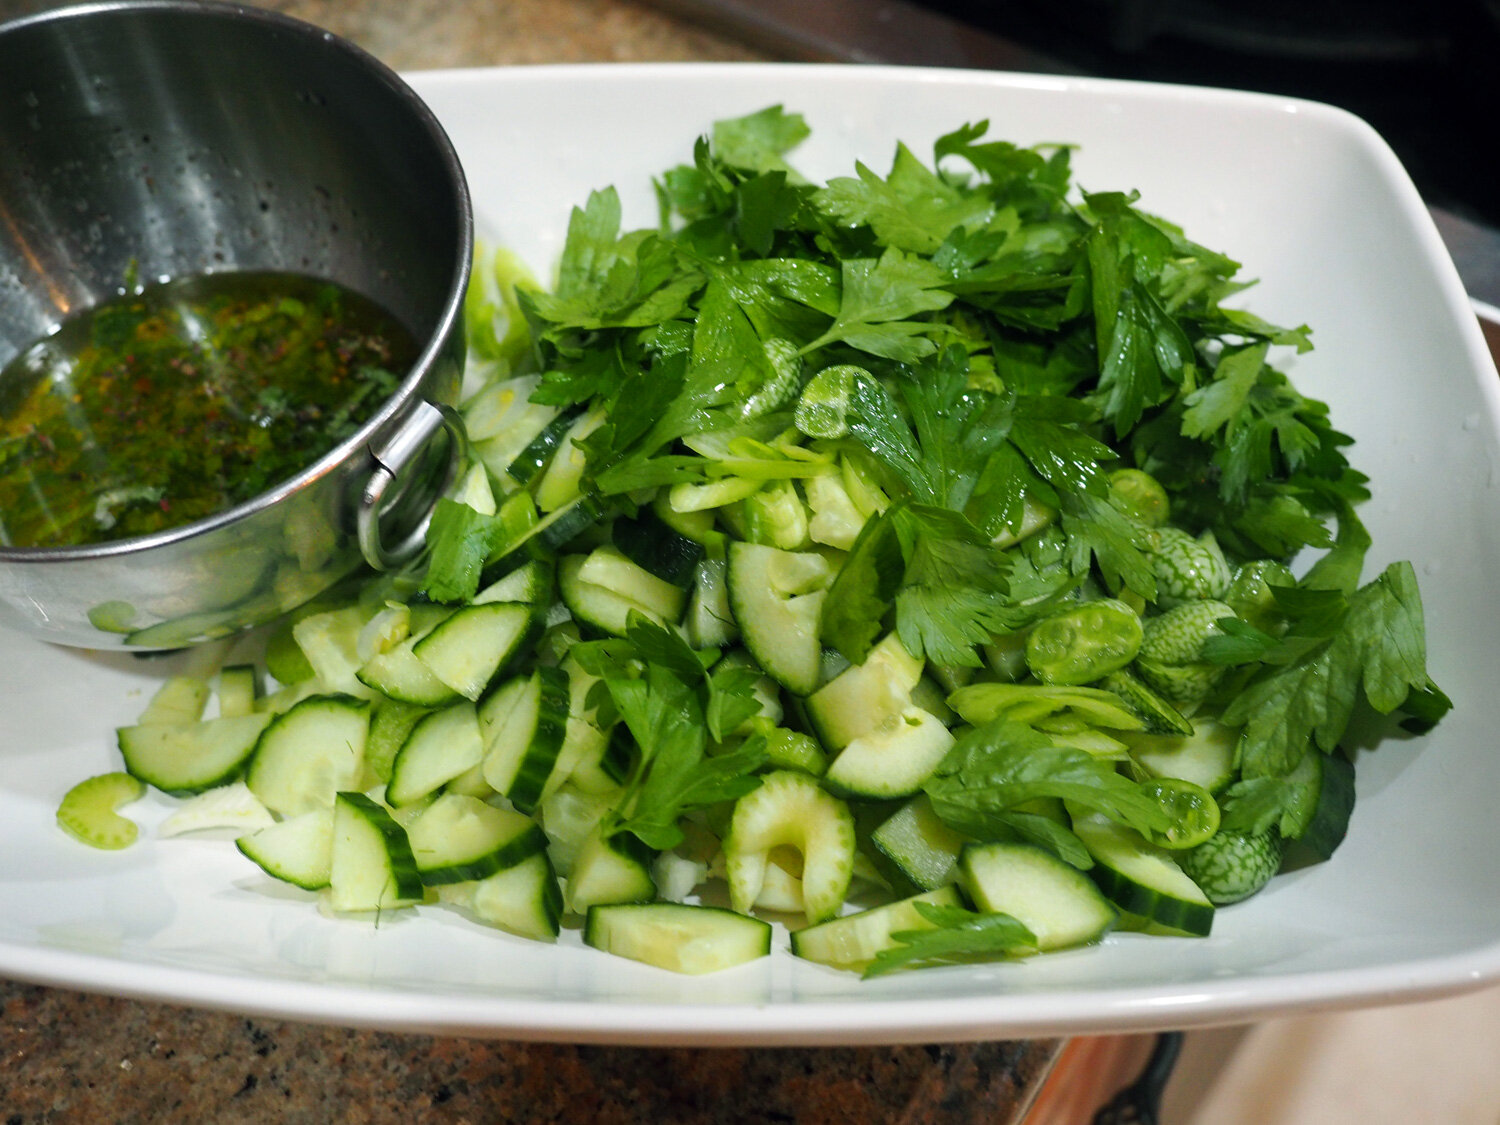
Whisk the oil, salt, pepper, scallions, mint together.

Whole parsley leaves are so refreshing in a salad. And when they actually ARE the main “lettuce” component, they really shine.
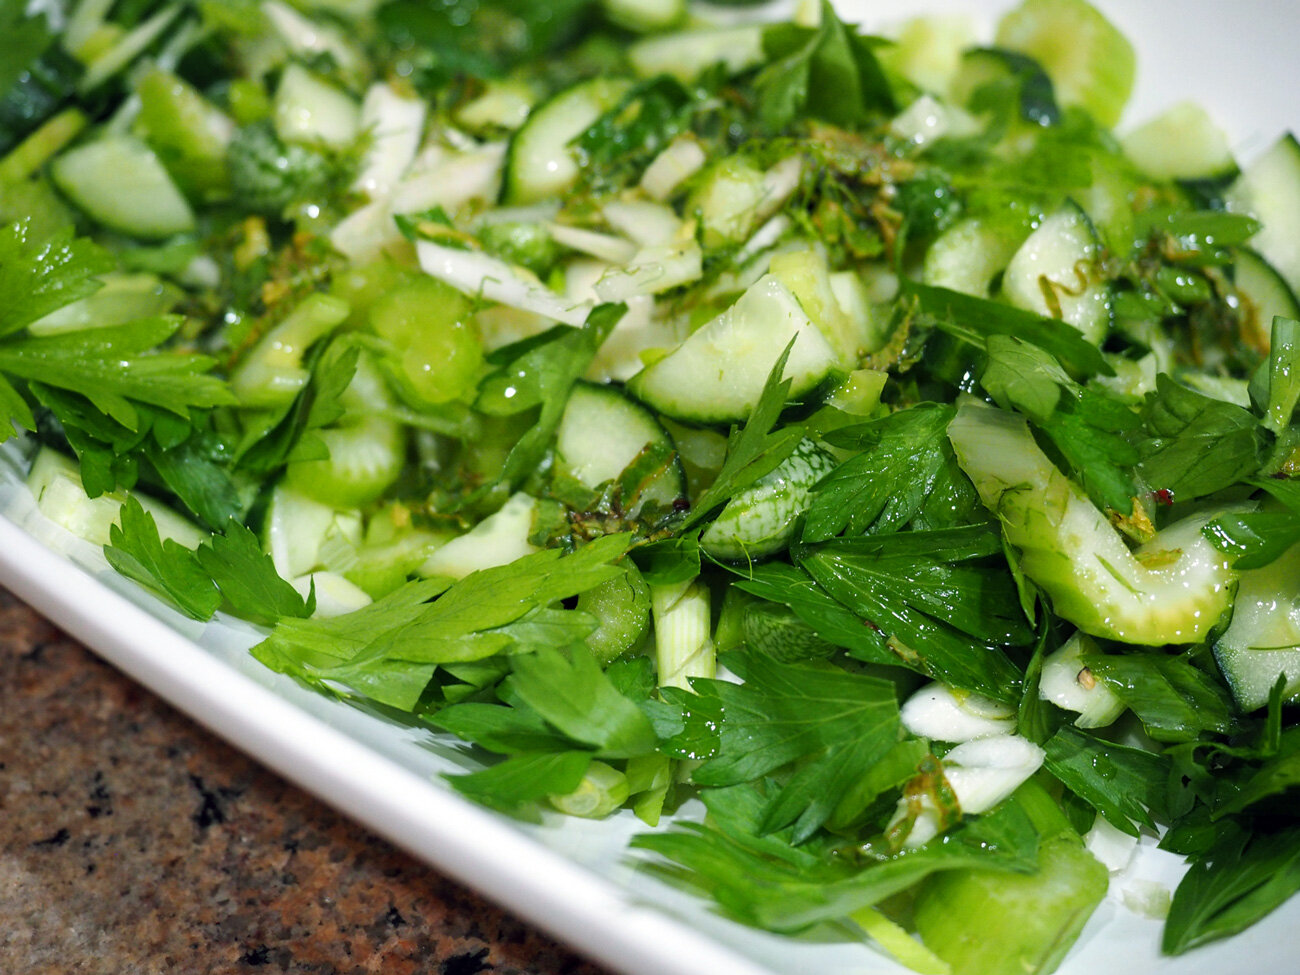
We relished the crispness of this salad alongside a bowl of pesto pasta for dinner. There was enough leftover for me to enjoy rest of it topped with tuna salad for lunch the next day. Gotta love refrigerator remnant salad in a pinch.
Oh, and because you have all been so patient, here are some more crappy photos of the kitchen reno.
Below is the old, dated, ugly ceramic tile backsplash. This was one of the most impractical materials for a backsplash given its porous texture. It had some much embossed detail that it got filthy and impossible to clean. Plus the thickness of the grout lines was wide enough to drive a truck through!! Who does that???


Not brillo, not comet, not even scrubbing with chlorox could get those stains out.
I definitely didn’t want grout, so we decided to install a full slab of quartz. Way more elegant and is a dream to keep clean.


Full slab all the way around.
The floor was just as gross… No grosser than the backsplash. Beside the awful color and always looking dirty because of the moulded graining, it was also impossible to keep clean. And again with grout lines large enough to fit a 2 x 4. There must have been a sale on grout that year.

The grout was impossible to keep clean.
Since ripping up the floor would have not only been a major expense, it would have caused a major headache. My cousin, Louis, who owns a kitchen cabinet company, Cabinets Plus and has decades of experience came to help us sort stuff out. He has practically solutions and takes all your needs in consideration. He recommended the cost saving, and easy to install vinyl flooring. This is not your grandmother’s vinyl floor. It’s so thin you can install it right over the existing floor, which was the answer to our prayers. It looks beautiful and is a breeze to clean.


One of the biggest changes was removing a big granite table that was affixed to the wall, and smack in the way of everything. You can’t see it in the below photo but the only door leading to the outside is right by the table. Anyone seated at the table would have to get up every time we needed to exit. The other problem with the location is that there was no flow within the kitchen. Once you were in that corner you had to walk all the way around, or remain there until I let you out! Whomever designed this kitchen should have been forced to cook large family meals in it for eternity.

We removed it from the wall, painted the base cabinet black, created a temporary wooden top and more importantly repositioned it for optimal flow. Can I just say… Whoa. Or better yet, what the hell?? (Also, although I truly dislike the color of the main cabinets, I am also loathed to paint good wood. Painting all of the cabinets was not in the cards. One, I just don’t think the paint holds up and it begins to wear over time. Two, the cost just wasn’t worth it. So, painting just this one base cabinet made perfect sense, as it makes it feel more like a furniture piece and helps to transition from the new flooring color to the old cabinets.

Now you can totally walk around and get anywhere you want. Including OUTSIDE. We bought new chairs and a small bench for extra seating.

In this shot you can see the door. Imagine the table sticking straight out from there??
If you are wondering what happened to that big slab of granite that was on the table. Light bulb! We reused it to create additional counter space in the butler’s pantry area. Again, instead of going up to the ceiling with the cabinets in this section, the original designers wasted that space. It was a no brainer to lift the middle section up to the ceiling creating an additional 5 ft and 24” depth of space that can now be used daily for as a coffee and tea bar. And when entertaining bigger parties can serve as an actual bar. Genius.

We also swapped out all the delicate black metal hardware for something a bit more substantial.

Now you know why I haven’t been able to post anything. I hope you enjoyed this simple little salad to help you create from what you have plus enjoyed the handful of the kitchen reno photos. The key in both these examples is small, simple items can make huge changes. Next week: Carrot Ginger Soup. Thanks for your patience!