Halibut en Papillote - A Make Ahead Meal

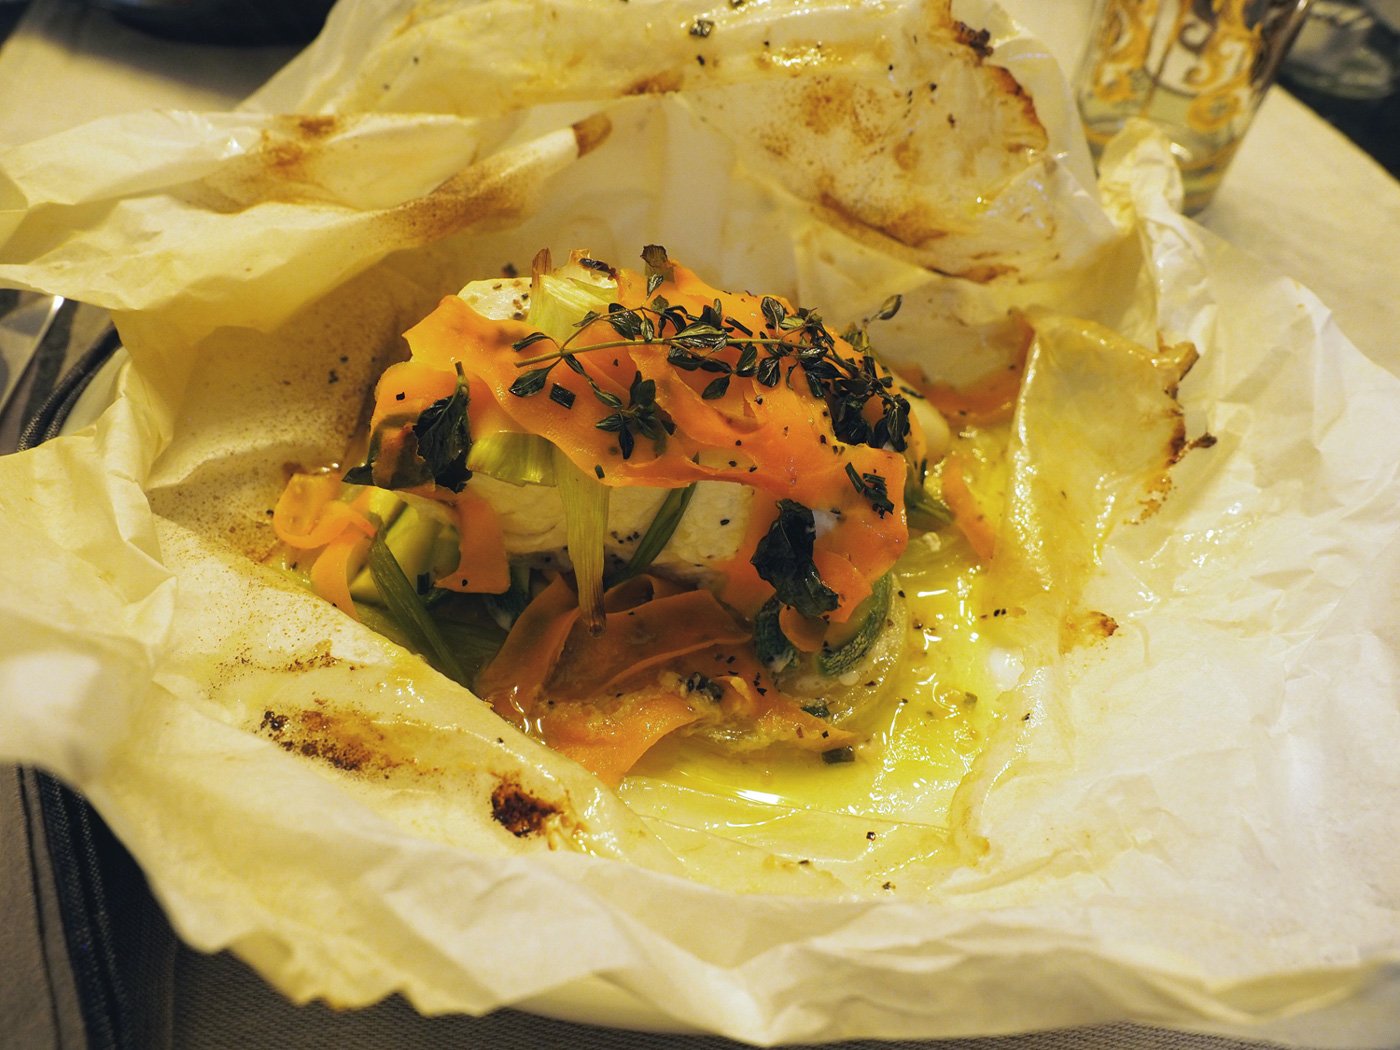
Halibut en Papillote

My cousin, Therese, loves to eat healthy, as do I. So whenever she visits the menu is focused on fish, vegetables, and no carbs. Just recently, she and her husband, Tom, took a drive from NJ to Westchester to visit to my parents in their new home in Westchester. This past January we moved them from Long Island to be closer to us, and fortunately our family and their friends have been willing and gracious to make the trip to visit them. We hadn’t seen Therese and Tom since before the pandemic so it made perfect sense to feed two birds with one crumb. They started out early in order to extend their stay to include dinner at our house. Lucky us.

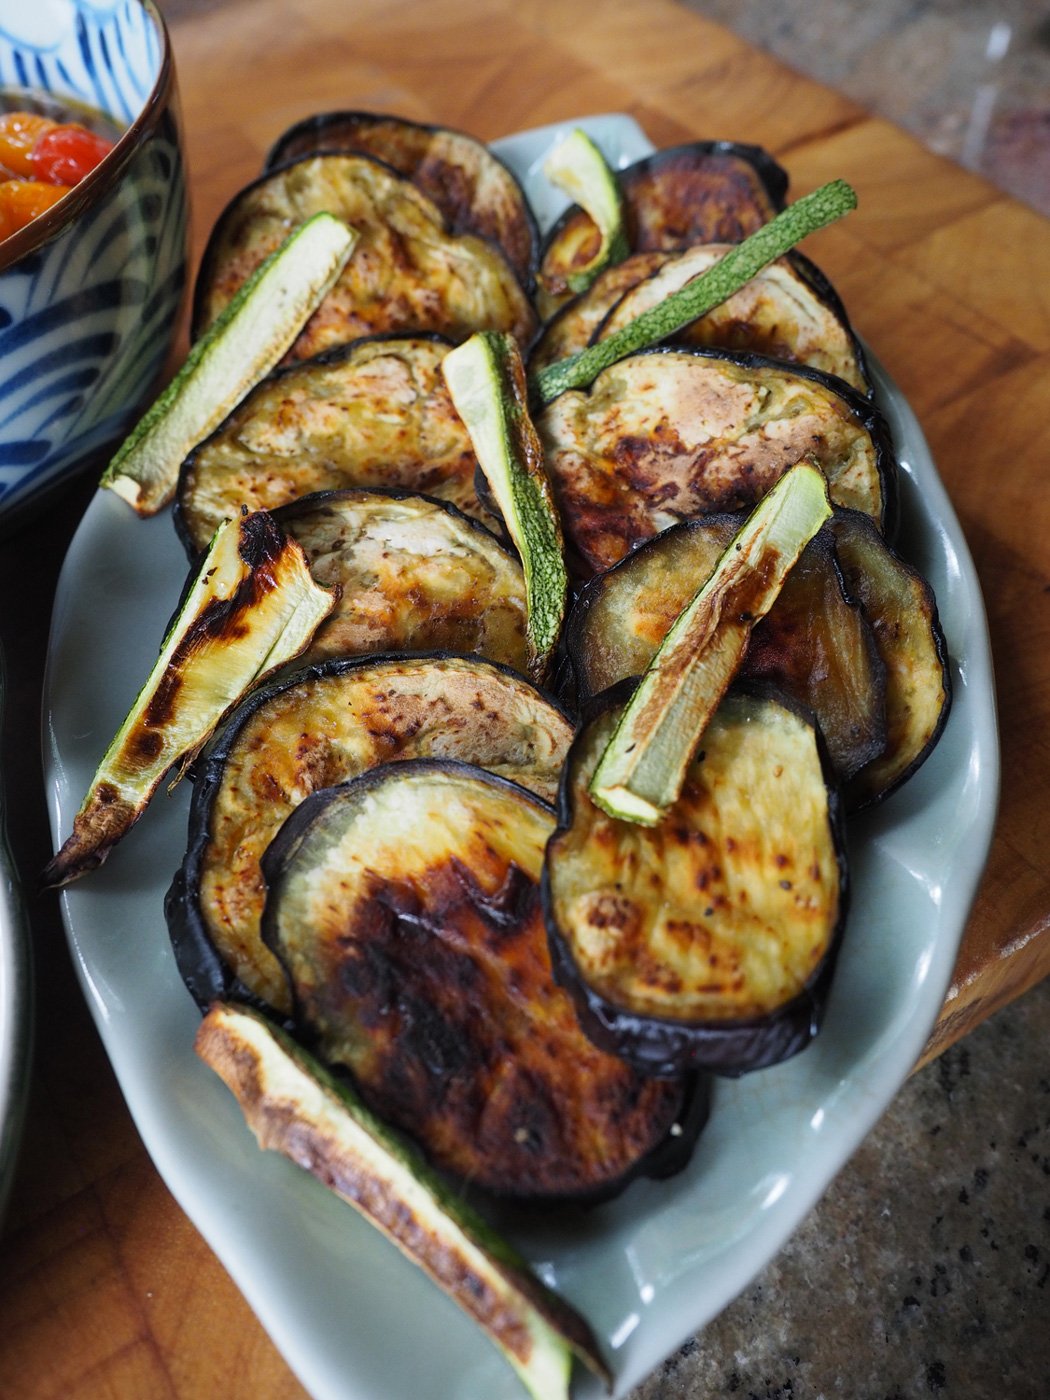
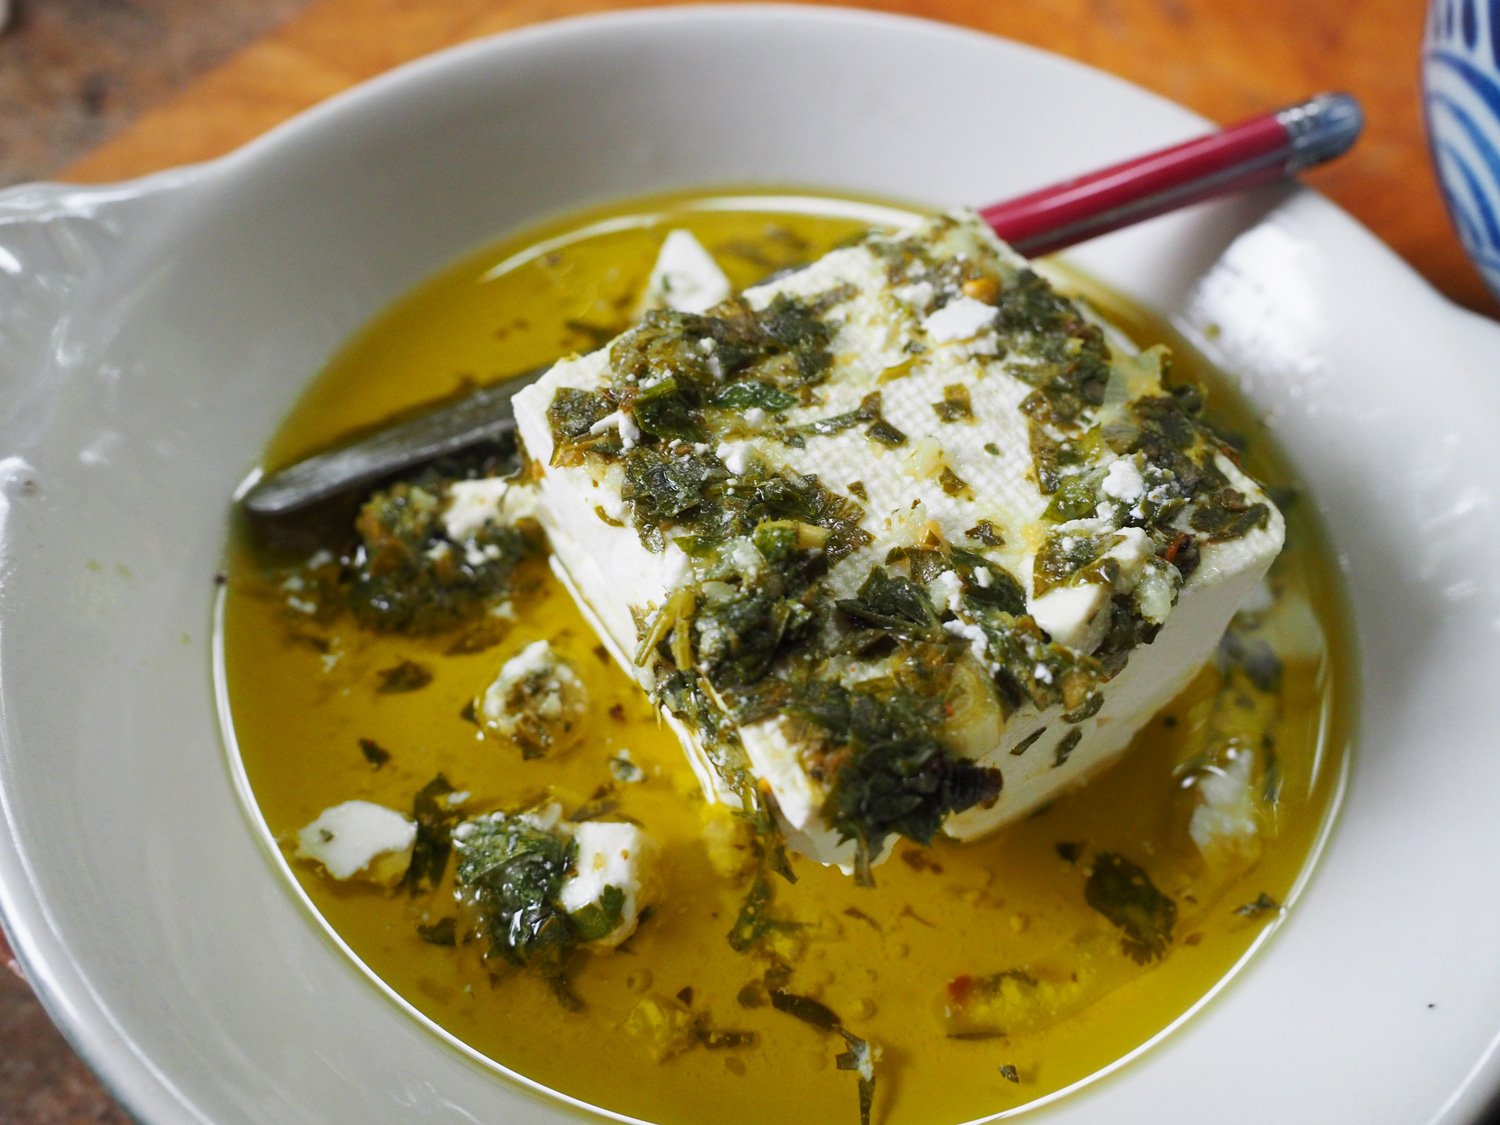
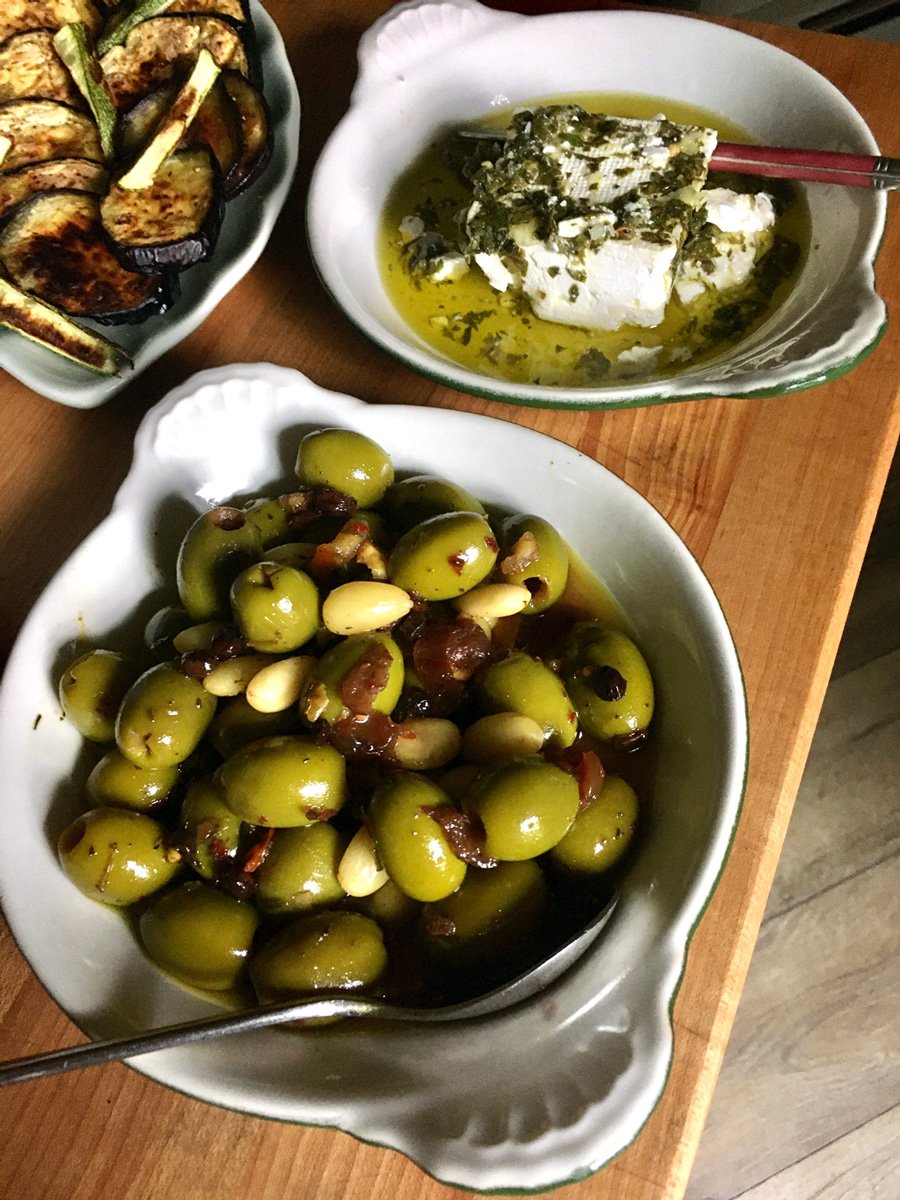
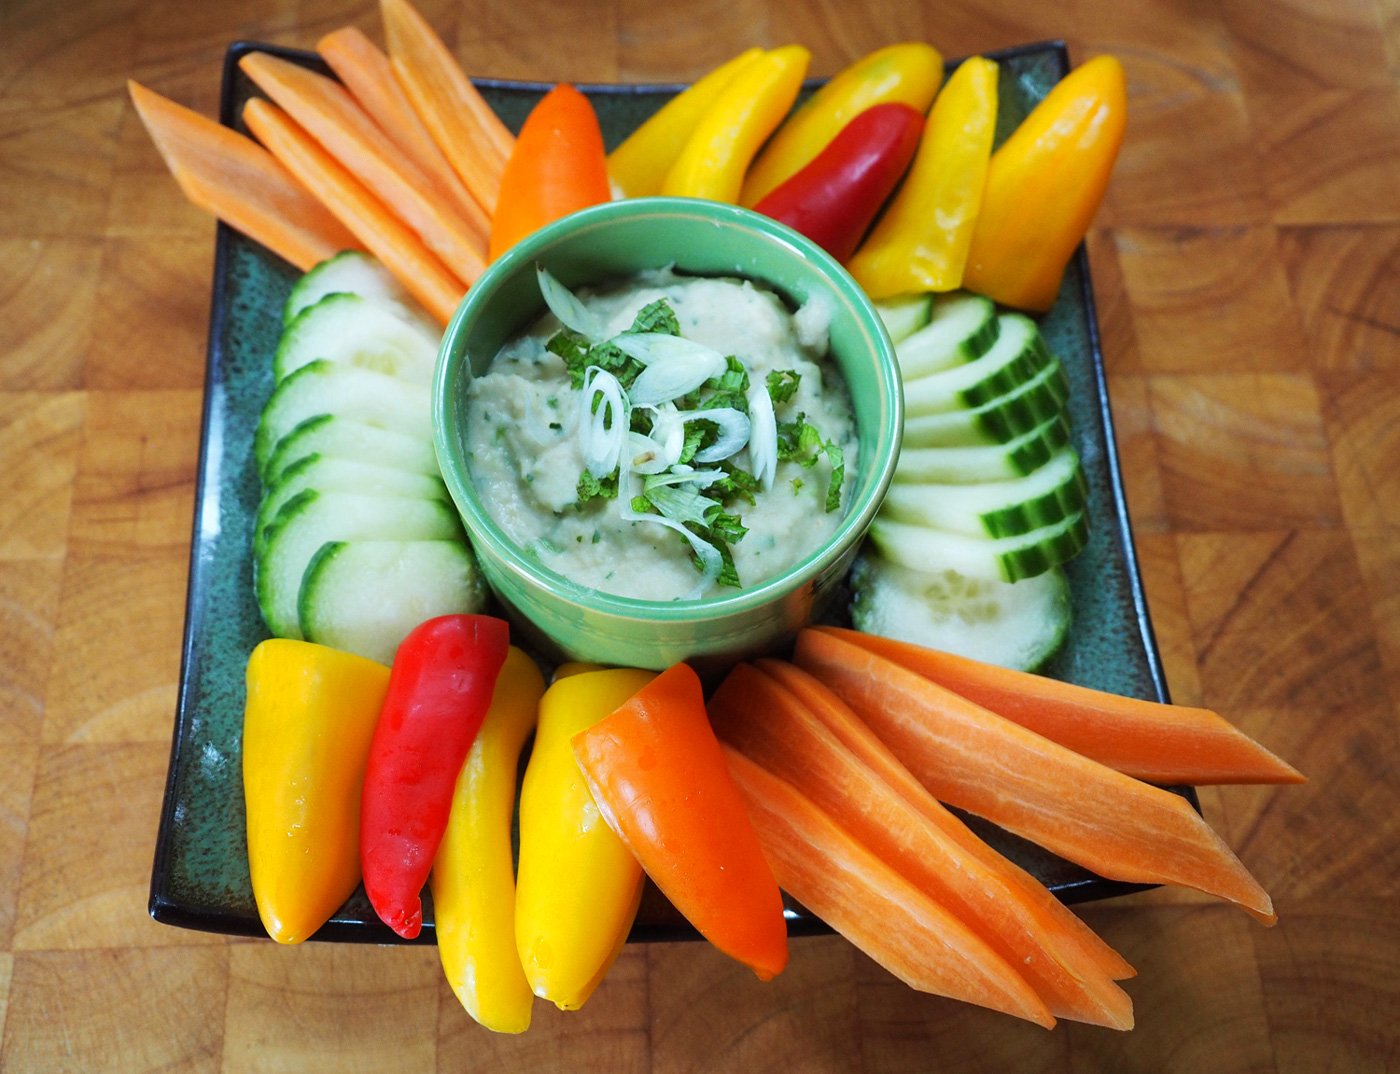
Keeping it light yet ensuring it would be filling was my main goal. So, we started off with mezze-style appetizers that would do just that.

All make ahead appetizers. Just plate before guests arrive.

Also, top of mind was trying to make as much ahead of time as possible. This was a Friday night dinner and I was going to be busy most of that day. Whenever you can give yourself a running advantage to ease your work load on the dinner day, the better. Here’s what I prepped the day before.

  • Cut the crudite and kept in glass jar with wet paper towels. Carrots are kept in a covered jar of cold water.

  • Made White Bean dip

  • Grilled Eggplant

  • Roasted Tomatoes

  • Made Marinated Feta

  • Store bought olives (Offering store bought items also helps ease the work load.)
Made ahead on the day of:

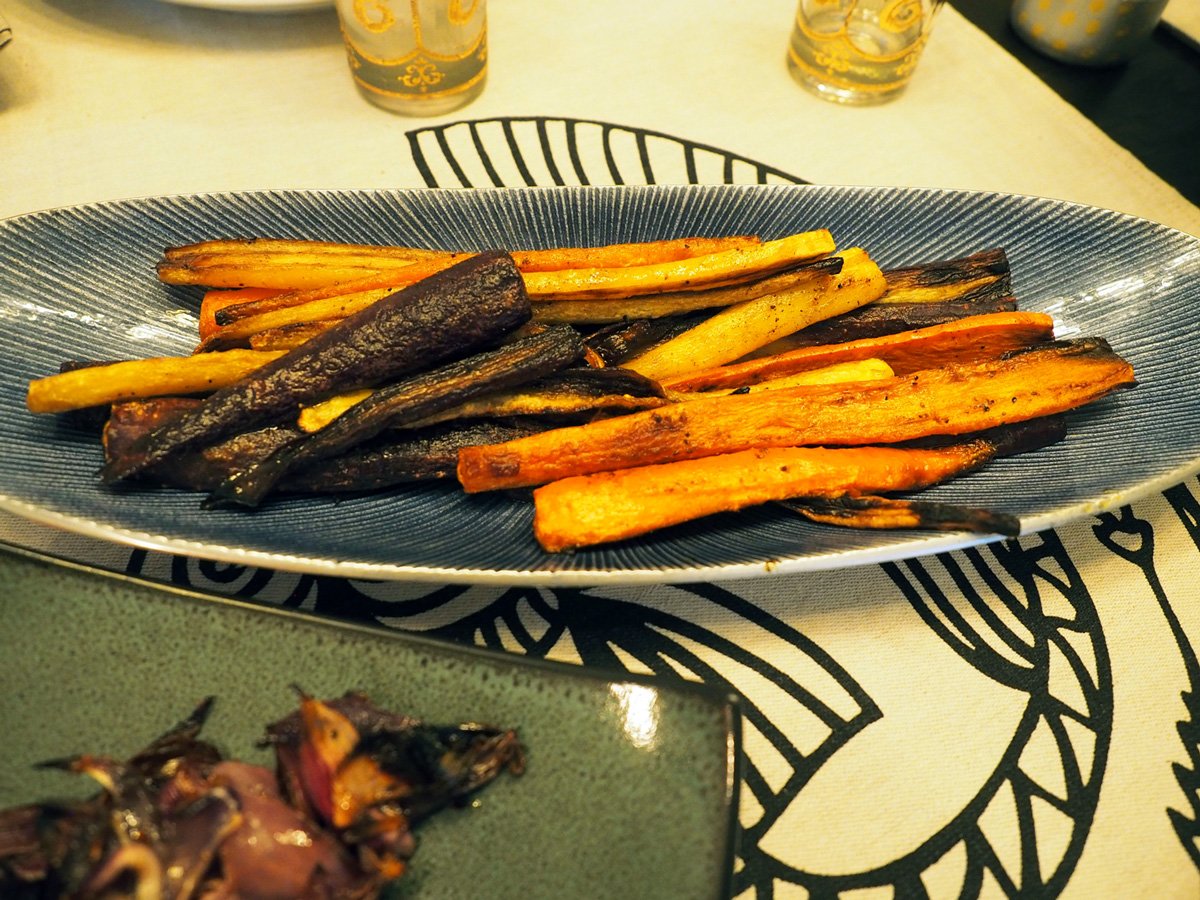
  • Roasted Spiced Carrots

    • Cut carrots lengthwise. Season with cumin, cinnamon, turmeric, salt, pepper, oil. Roast at 425 degrees until tender and browned. I made this in the afternoon, then warmed it up at the same time the Halibut baked

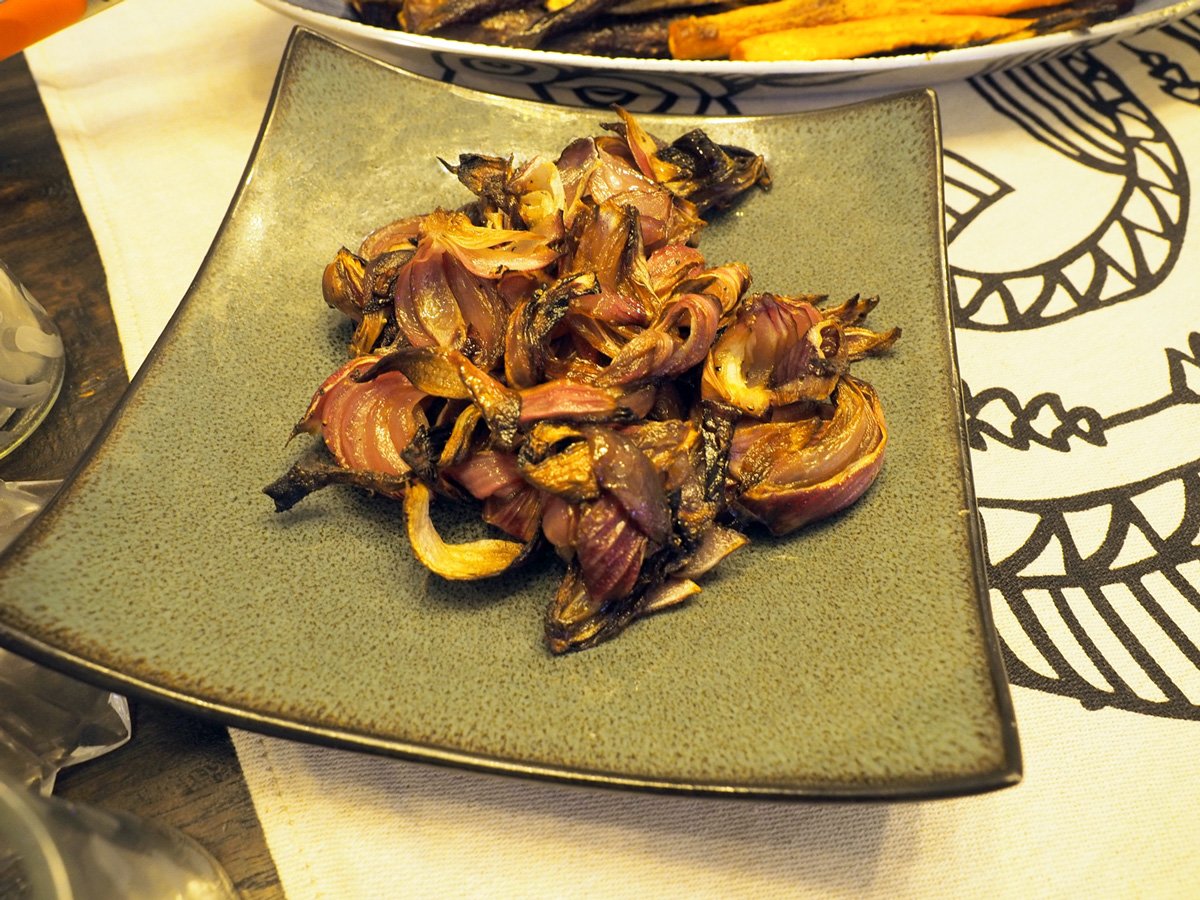
  • Roasted Onions

    • Cut in thick slices or in wedges. Season with Magic 3 (oil, salt, pepper). Roast at 425 degrees until caramelized. I made this at the same time as the carrots, then warmed it up at the same time the Halibut baked.

  • Halibut en Papillote

    • While the onions and carrots were roasting I prepped each packet and refrigerated them. Then baked it while we enjoyed the appetizers. You can prep this up to 4 hours ahead of time.
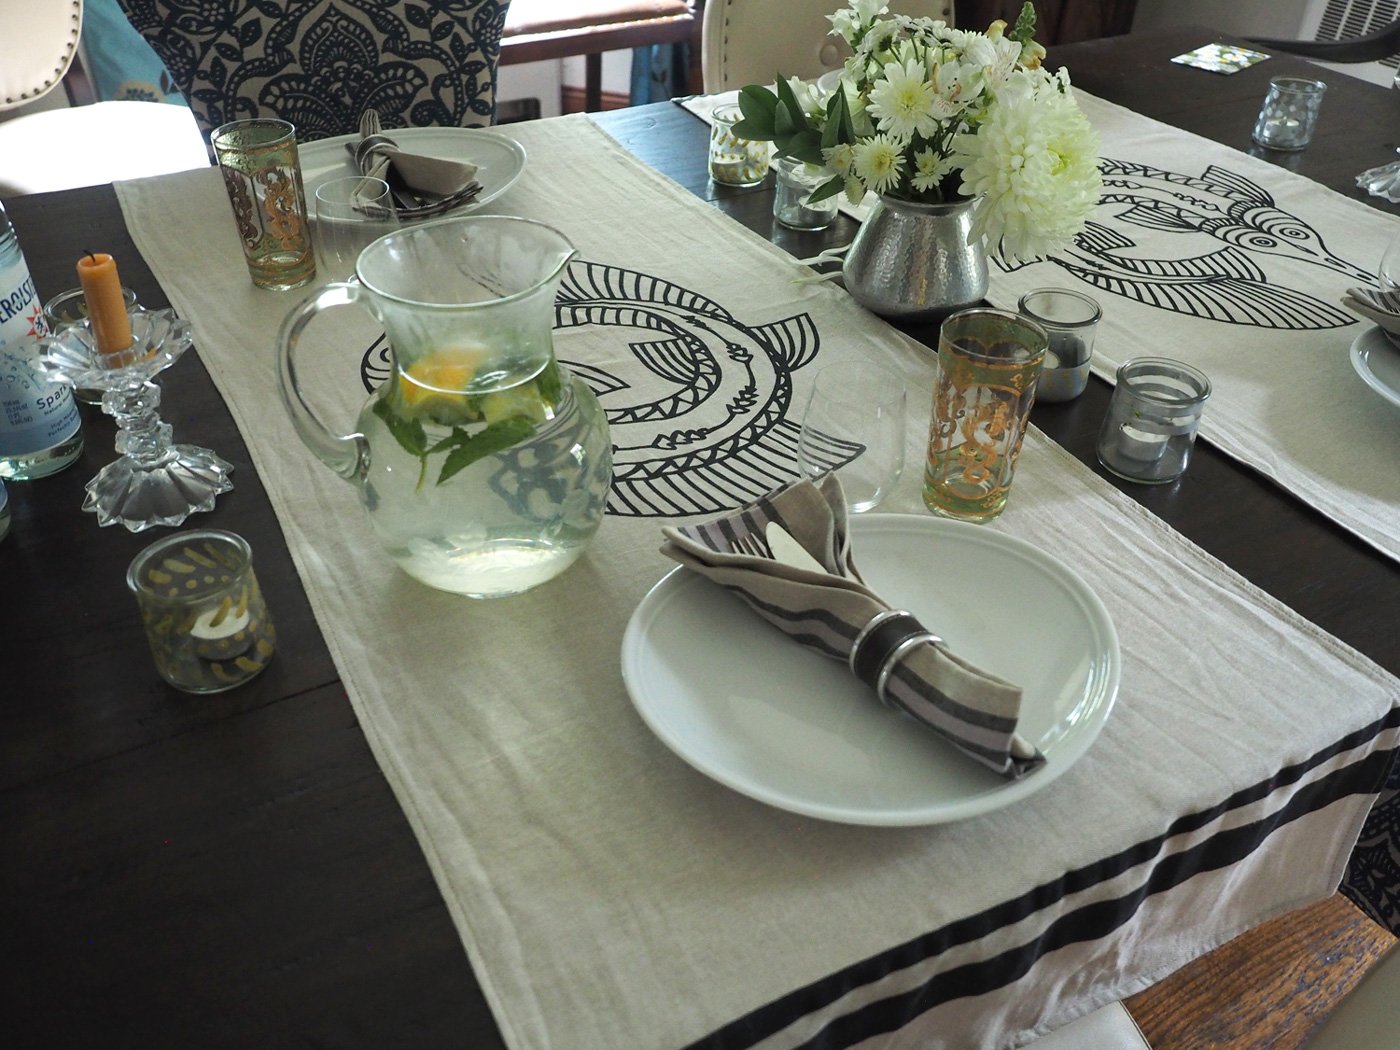
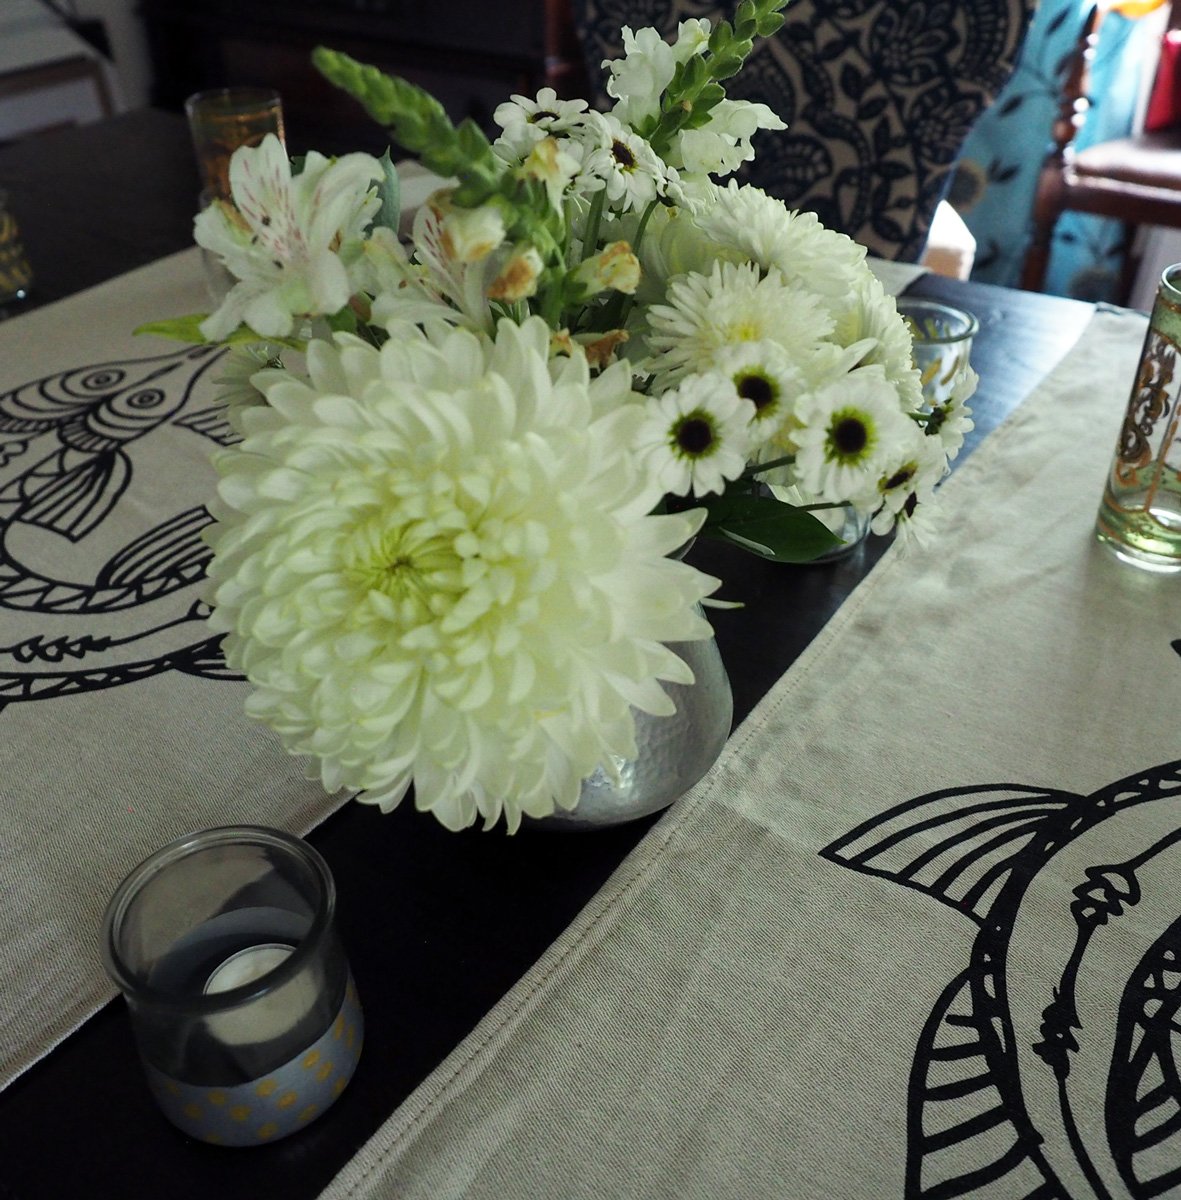
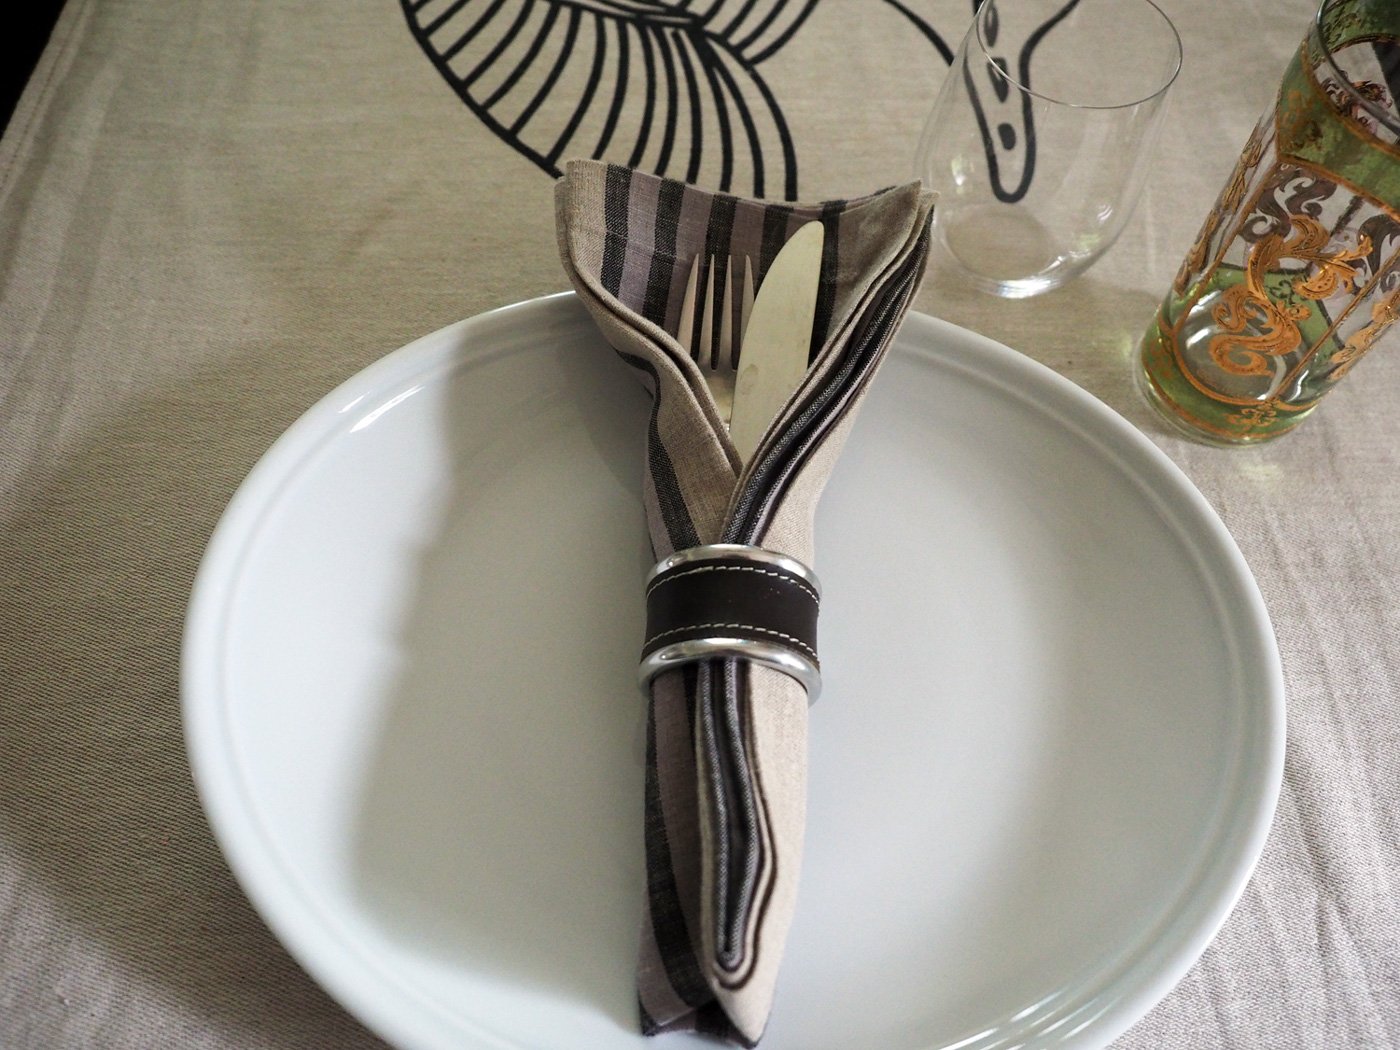
The night before while the tomatoes were roasting I set a simple but fun table. I wanted to give a nod to dinner. So I pulled out two matching runners that featured a sea creature and laid them across the short end of the table. This create a bridge from one side to the other. I picked up these runners at IKEA years ago, and have used them in so many ways. I love the bold, graphic contrast to the neutral tone. An inexpensive purchase that has paid off. I then chose complimentary napkins, swaddled the silverware in the center, then secured it with a napkin ring. The flared top of napkin gave the illusion of a fishtail. Another nod to dinner. The flowers were trimmed and rearranged from the ones my niece, Gianna, brought over for dinner earlier in the week. Glasses and some candles to make it moody, and we can call the table done.

This meal was a strike right down the alley for Therese’s palate. But not to worry, everyone else enjoyed it, too.

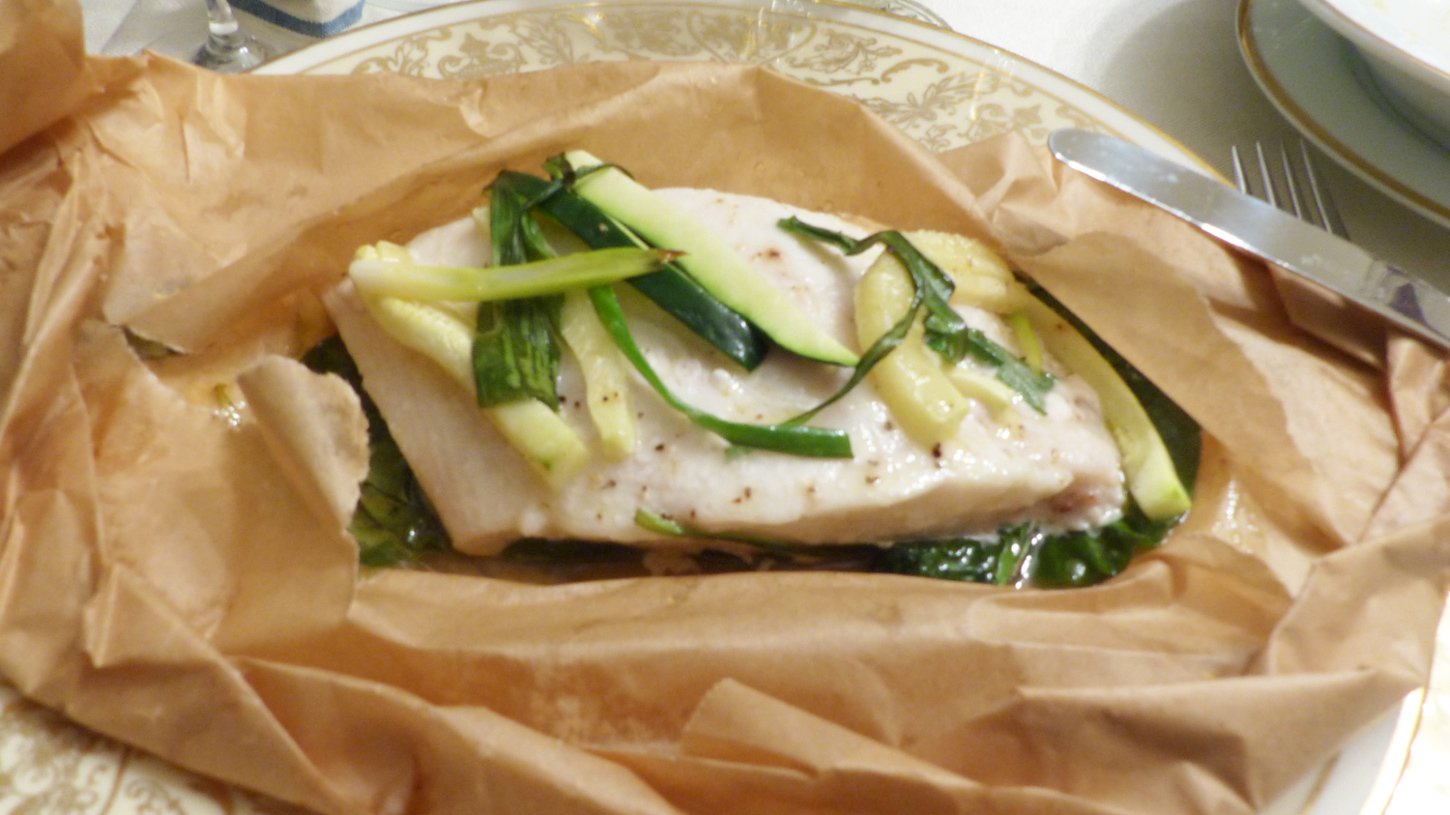
Making fish en papillote is not only a fun way to serve the main course but can be prepped ahead of time, placed in the fridge and baked right before serving. Oh, and wait, there is more; you don’t need exact amounts, or exact ingredients. Something near and dear to my heart. Use the type of fish and vegetable in the amounts that work for you and your guests. And if that wasn’t enough, it’s protein and veg all in one neat packet so you don’t need a side dish of vegetables. (I made more veggies because Therese loves, loves, loves vegetables.)

Ingredients

Halibut 6-7 oz/person ( you can use cod, snapper, flounder, salmon)
Onion, rounds
Scallion, long strips
Carrots, strands
Zucchini, rounds
fresh thyme
Lemon slices
Olive oil, salt, pepper
White wine

Instructions

  1. Slice the vegetables accordingly. This is an important step since everything will be baking together at the same time. It is essential that the ones that need more cook time be cut more finely than those that don’t. I used a vegetable peeler for the carrots, while the onions and zucchini I cut in thicker rounds. The scallions I cut in long strips.

  2. Place the parchment paper on a baking sheet. Start placing the lemon slices, onions, zucchini on top of each other at the center of the parchment. This way when you fold over you will have enough paper to fold and tuck.

  3. Then place the fish, carrots, thyme and season with salt, pepper a drizzle of oil and splash of white wine.

  4. Fold the parchment paper over the fish/veg pile then starting at one corner fold the paper all the way around creating a seal. You can either bake right away or if you are making ahead, place the entire baking sheet in the fridge until you are ready to bake.

  5. Bake at 400 degrees for 12-15 minutes depending on the thickness of the fish.

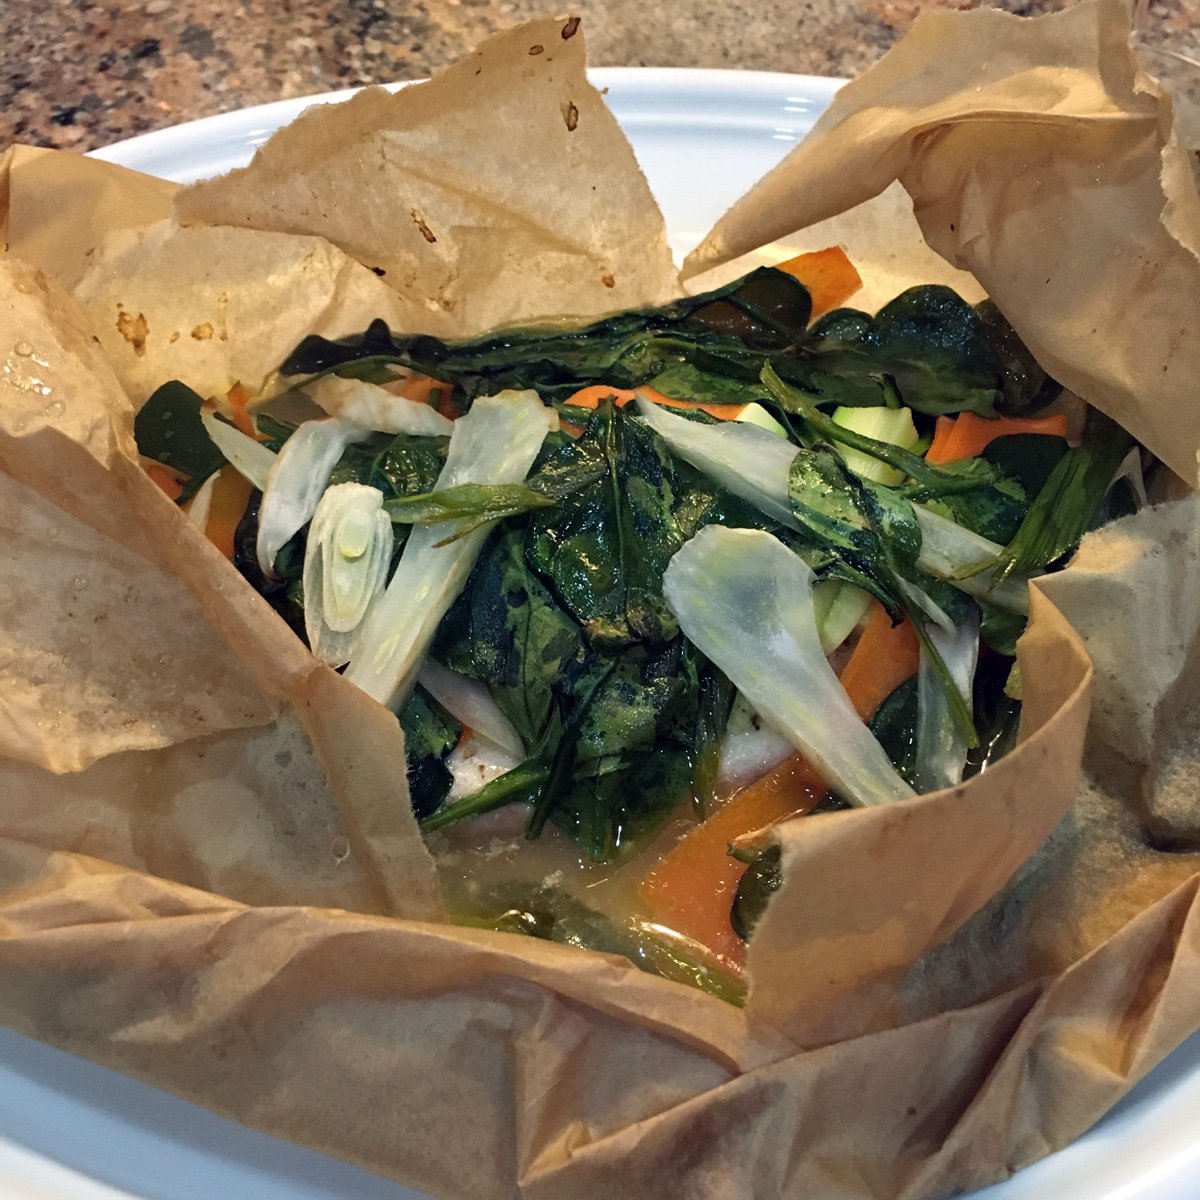
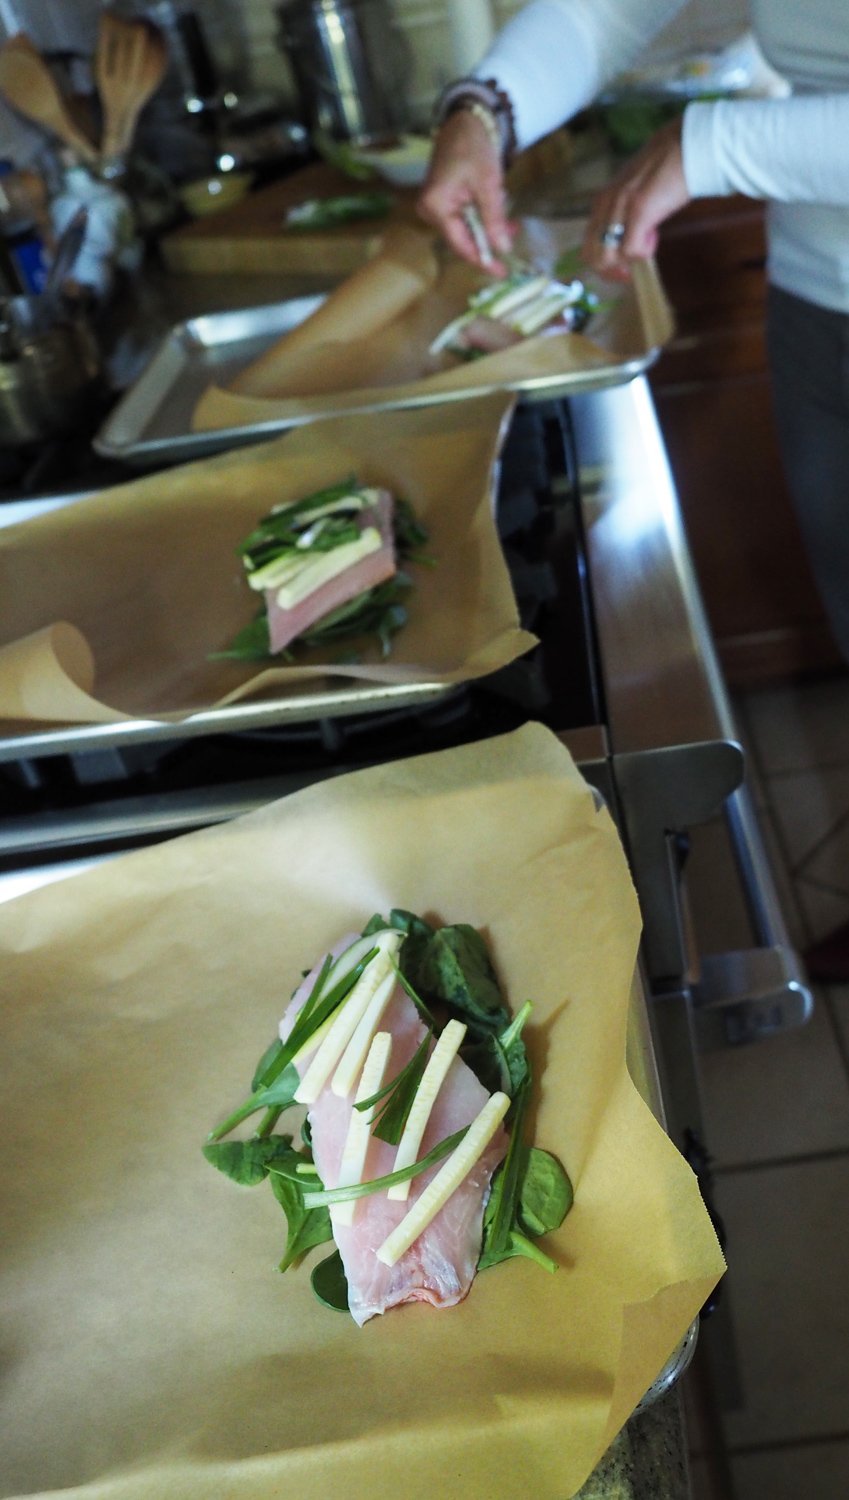
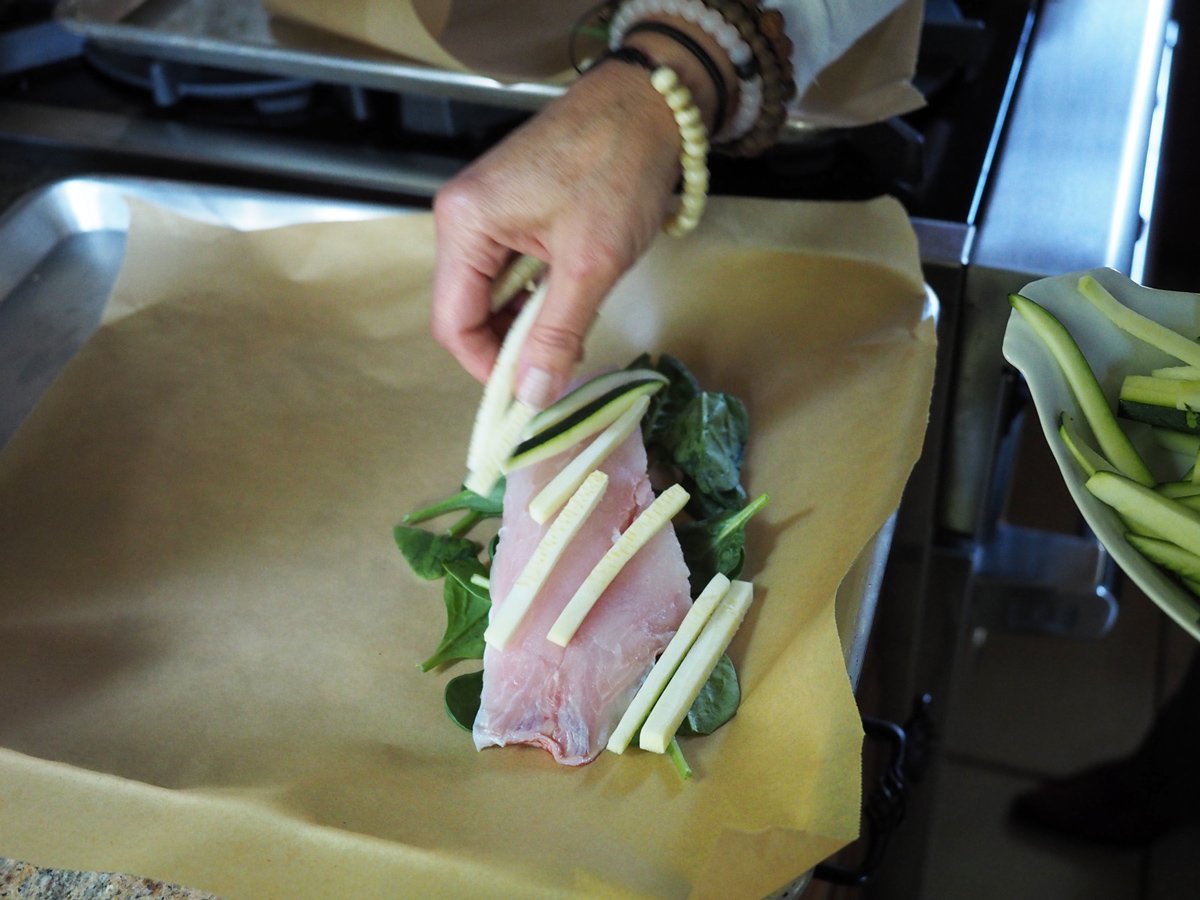
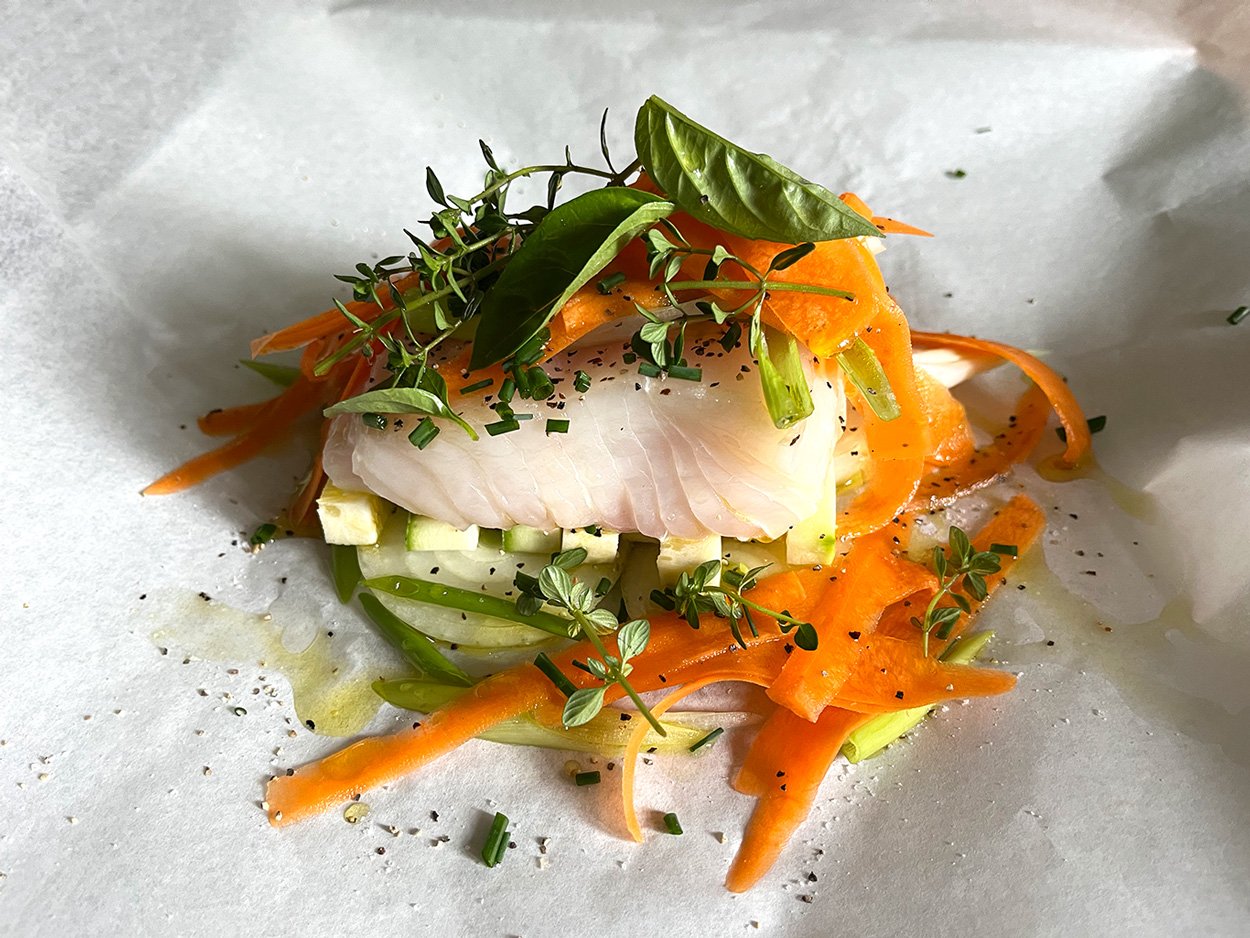
As I mentioned, I was short on time. Therefore, I didn’t have time to photograph the en papillote part. However, I did have images from the time I made it with red snapper. Which is actually an excellent example to demonstrate the many variations of this technique. In the pictured below, I used Red Snapper, Spinach, Zucchini Strips, Scallions.
With the many variations that can be made the list seems endless. But let me give you a few ideas. Other vegetables that work well: Asparagus, Spinach, Kale, Yellow Squash, Cherry Tomatoes, Olives, Capers, Basil, Sun-dried tomatoes, Broccolini.

You can even use potatoes if you slice them thin.

As you can see, this method affords a huge range of flexibility and versatility depending on your guests tastes. That is also another huge benefit. Since they are made in individual pouches, you can customized them for each guest. This might seem like asking for trouble having to make different combos for each guest. But it does allow you to accommodate guests who have allergies or food sensitivities. Or just the pesky ones who don’t like certain veggies!)

All in all, it was a fun evening of healthy eating and a great time catching up with family we love.

Feta Stuffed Yellow Squash Bake

For awhile now I’ve been making a stuffed zucchini over quinoa with roasted tomato dish that has been very popular with my customers. So when my longtime friend, Dianne, said she was coming for lunch I thought that might be a good choice. However, as I started to look through what I had just hauled home from the grocery I realized I didn’t have all the ingredients and didn’t have time to shop again. So, improvisation was in order.

The grilled zucchini version I mentioned above is stuffed with goat cheese, sautéd kale & onions served over quinoa with roasted grape tomatoes and roasted garlic oil. Although I didn’t have most of those ingredients, I was hell bent on rolling something. What I did have was yellow squash, red onions, vine ripe tomatoes, feta and leftover herb/garlic salsa. Sounded like a solid line up to me with rolling potential. I also knew I would be short on time the day of the lunch, so this was a test to see if parts/all of this dish could be made ahead of it.

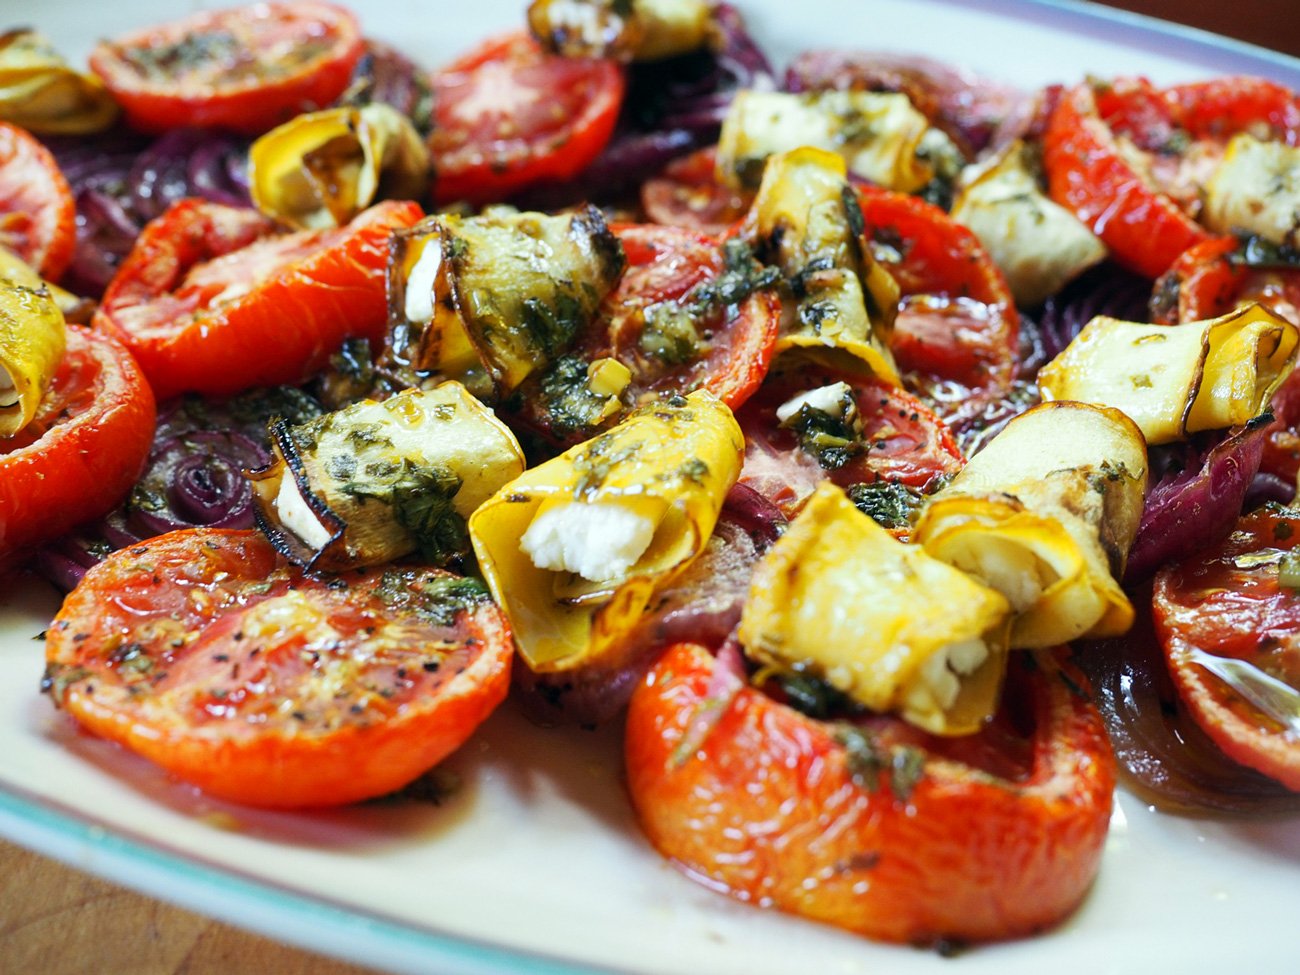
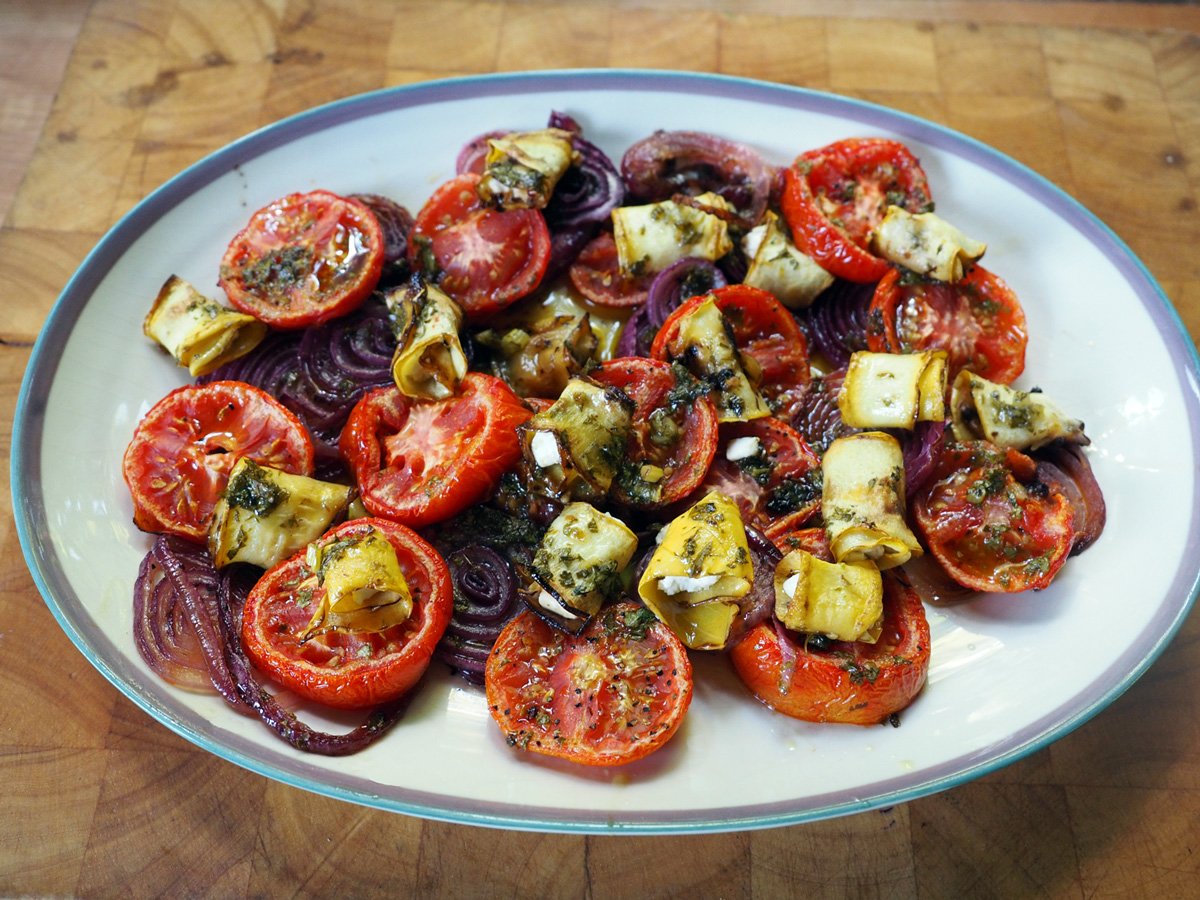
Feta, Tomatoes, Red Onion, Yellow Squash, Herb/Garlic Salsa.

This recipe was me getting back to my roots. My something from nothing style. My cooking comfort zone. Basically, my typical method of inventing a recipe; see what I have, think about how to combine them with other available items, and then use only the quantities I have on hand. This is why sometimes I am delayed in sharing recipes ideas with you. Often times I get halted by having to measure ingredients and be precise so I can properly write them up in a post. Other times I think the recipe might feel like too much of a hodgepodge dish to share. But honestly, those turn out to be some of my best creations. Which is why the intention of this post is to encourage you to experiment with the ingredients available in your fridge and pantry, and use them to the best of their ability. In that spirit, the below ingredient list will be approximations.


Ingredients

1-2 Yellow Squash, sliced thinly
2-3 Tomatoes, thick slices
1-2 red onions, thick slices
Herb/Garlic salsa*
Feta
Magic 3: Olive Oil, Salt, & Pepper

*Herb/Garlic Salsa: finely mince parsley, cilantro, basil, crush garlic, salt, red pepper flakes (optional), Olive Oil
You can also use the salsa I use for my Marinated Feta


Instructions

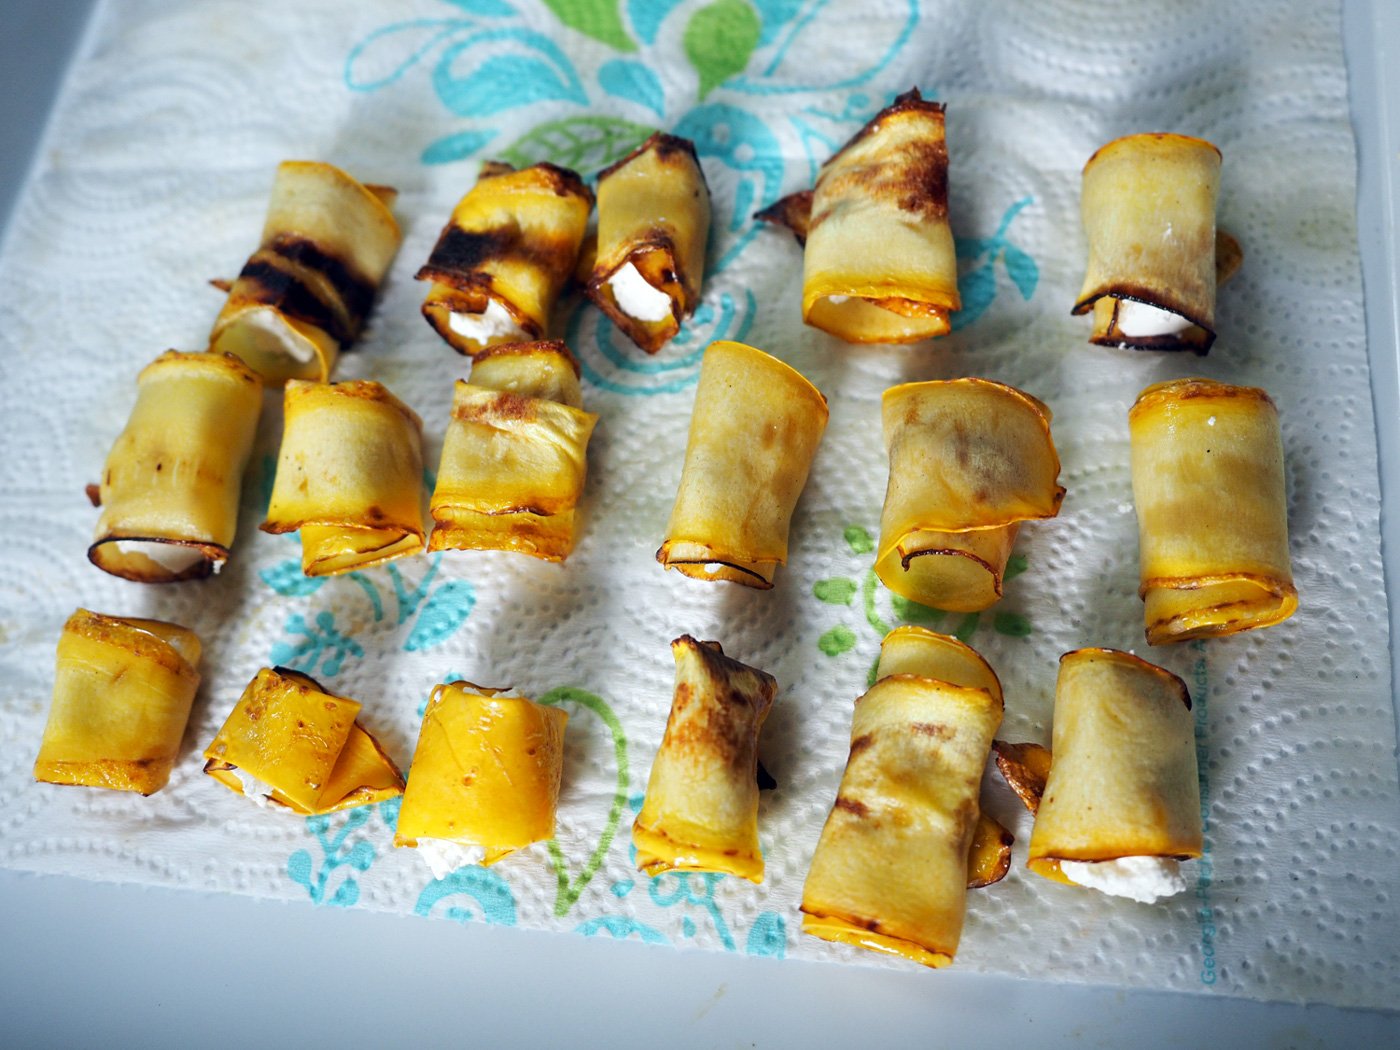
  1. Thinly slice and grill the yellow squash in a cast iron pan with just a tad of oil so they don’t stick. Note: Do not put too much oil because they will soak it up and get soggy instead of browned. Brown on each side then set them aside on a paper towel.

2. Cut the tomatoes and red onion into thick slices and add them to an oiled roasting pan, season with salt & pepper. Roast at 400 degrees for 15-20 minutes.

Cut nice thick slices.

I made this the day before, covered and refridgerated until the next day.

3. Meanwhile, cut chunks of feta cheese and place one piece on each end of the squash then roll it up.

The amount of feta you use is up to you. I used a healthy teaspoon for each.

I also made these the day before and stored them in a glass container. Then added them to the roasted veggies and baked together on the day of the lunch.

4. Once the onions & tomatoes are roasted on one side turn them over add the rolled squash and brush everything with the herb/garlic salsa. Roast for another 10-12 minutes

If you are making this the day of, follow the directions above. If you are making it the day before, then roast the onions and tomatoes but do not add the squash. I did grill and stuff the squash, then kept the rolled up pieces in a glass container. I added them to the pan right before I warmed up the entire dish. I added some extra salsa.

All the flavors blend so beautifully together. This is a great side dish but also can be used in several other ways.

Here are a few ideas how to serve it up.

  • Toss the tomatoes and onion over pasta then place the rolled squash on top. Maybe crumble more fresh feta on top.

  • Add fried eggs on top and serve with crusty bread for a breakfast or brunch.

  • Place in a shallow bowl, add more oil or herb oil, and serve it with crostini

I’m sure there are other uses. I’ll let you come up with your own, and hope that you share your ideas. This was a nice improv from my usual stuffed zucchini dish. I’m actually glad I didn’t have zucchini because I wouldn’t have been forced to think of something new. When life gives you yellow squash, stuff it and roll with it.

As I mentioned, this post was to encourage you to think of your usual recipe box. And let’s say you didn’t have on hand the above ingredients to make this recipe as is. Here are some substitutes to help get your creativity engine going.

If you don’t have red onion:

  • yellow onion

  • Shallots

  • Scallions

If you don’t have yellow squash:

  • zucchini

  • Eggplant

  • Sweet potato

  • Potato

If you don’t have feta:

  • goat cheese

  • Ricotta

  • Mozzarella

  • Cream cheese

  • Any cheese, but you may need to modify how you cut it. If you have a hard cheese, maybe grate it. If a softer cheese, then spread it over the grilled vegetable.

    I hope these help jumpstart some ideas of how you can switch up the main ingredients yet still keep the basic premise in tact. Continue creating and stirring your food with love.

Creams & Greens - A Summer Table-scape of Calm

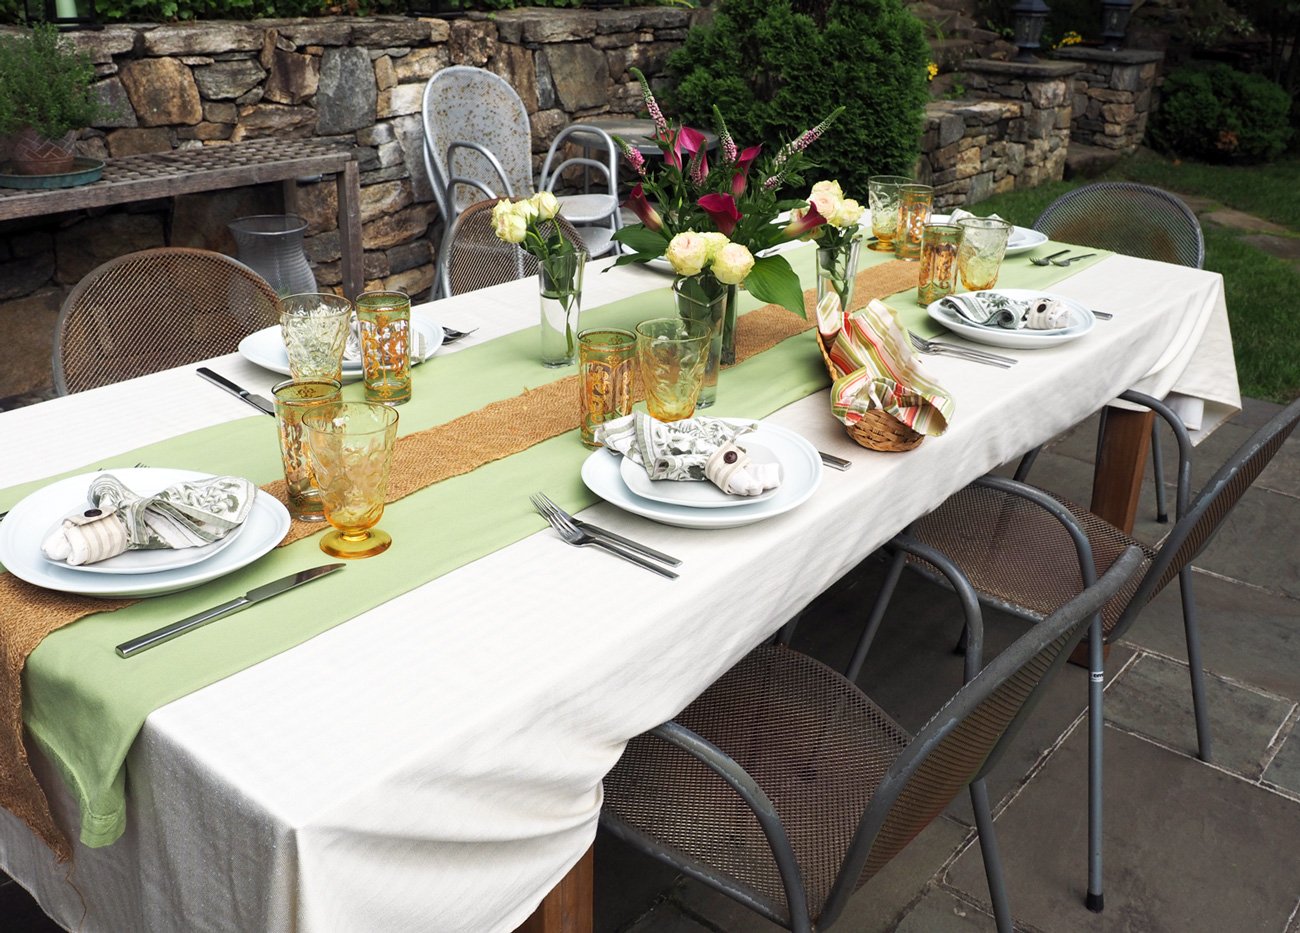
There is something so soothing about cream colors. Just the word puts me at ease. Which is why I choose it as the base palate for our most recent al fresco summer lunch/dinner. Full confession; I have so many tablecloths that sometimes I get overwhelmed with which to choose. The calming thought of cream put my restless mind at ease. My original goal was to go full on with the cream theme, but I do adore contrast and a pop of color. So pop it was in the shape of soft key lime green. So much for completely soothing but it still felt soft and perfect for a summer’s day.

From there it was time to start building. I’m sure I’ve walked you through the process of how I choose all the elements that make up a table setting. Sometimes, it’s an instantaneous knowing. Other times, like this one, I pull out options to see what moves me. Since my first thought was only cream tones I decided that the napkins should fulfill that goal and be soft and subtle in their tones, and not a screaming ‘look at me’ item.

This party was for our yearly gathering with our friends from Princeton. It’s an all day eating affair with lots of food, so the table needs to be simple with space for platters. This is an easy table-scape to replicate using what you have at home.

The Line Up:

  • 1 cream (or white) tablecloth

  • 1 table runner (or tablecloth folded) of an accent color of your choice

  • Cream (or white) napkins

  • Neutral Napkin rings or ties

  • White Dishes

  • Glassware & Silverware

  • Florals of a contrasting color

  • Long strip of an organic material (optional)

For me setting a table is just like cooking. Mise en place is equally important. The art of having everything ready. I pull out all the elements, gather them together, check that it all works and also have them handy to set up on the day of the event. Mise en place = everything in place.

The set up. Gather everything you need in one place and start building. It also helps you to visual the entire table.

Whenever I choose a color palate for the table my mind instantly goes to the color wheel for what the contrast should be for the florals. Once I steered from all creams and introduced the soft key lime color I knew violets/soft pinks were the exact perfect complement. And since my menu required a bit of work (not intentional), I opted out of putzing with a complicated floral design. Plus, know your audience. These were food people. Sure the flowers were nice but not the main attraction. Save time where you can.

Fuchsia, soft pinks and greens create such a pop of beauty.

From there it was just about layering of each elements to finish off the table.

Nothing too complicated here, but as you can see ironing the cloths makes a huge difference for creating a pristine base. I use the word runner, but truth is I didn’t have a green runner. (I know you are probably thinking, how it THAT possible?) When you don’t have but want, you create. So I triple folded a tablecloth to get the same effect. I added a strip of natural jute to provide an organic element and complete that landing strip feel down the center of the table. It’s not necessary but I like how it seemed to ground the look and provide an earthy feel.

Layers elevate a table from a simple table cloth to something a bit more visually interesting.

The flowers were next to help center where each place setting should land. The main vase consisted of fuchsia colored mini Calla Lilies & pink Veronica stems from Trader Joe’s along with Hosta leaves from my garden. Three small vases of mini roses in a pale pink/green hue provided a softer version of the palate. In order to not see all the stems in the main vase I wrapped Hosta leaves inside the vase. This little touch made the florals feel polished and more visually appealing than staring at the cut stems.

Looking at this photo, I wished I had wrapped hosta leaves in the small vases as well. Note to self: complete the look for all vases.

Vibrant colors of stark contrast = visual joy. I love the subtle nod of the petals, the napkin tips and design on the glasses (below).

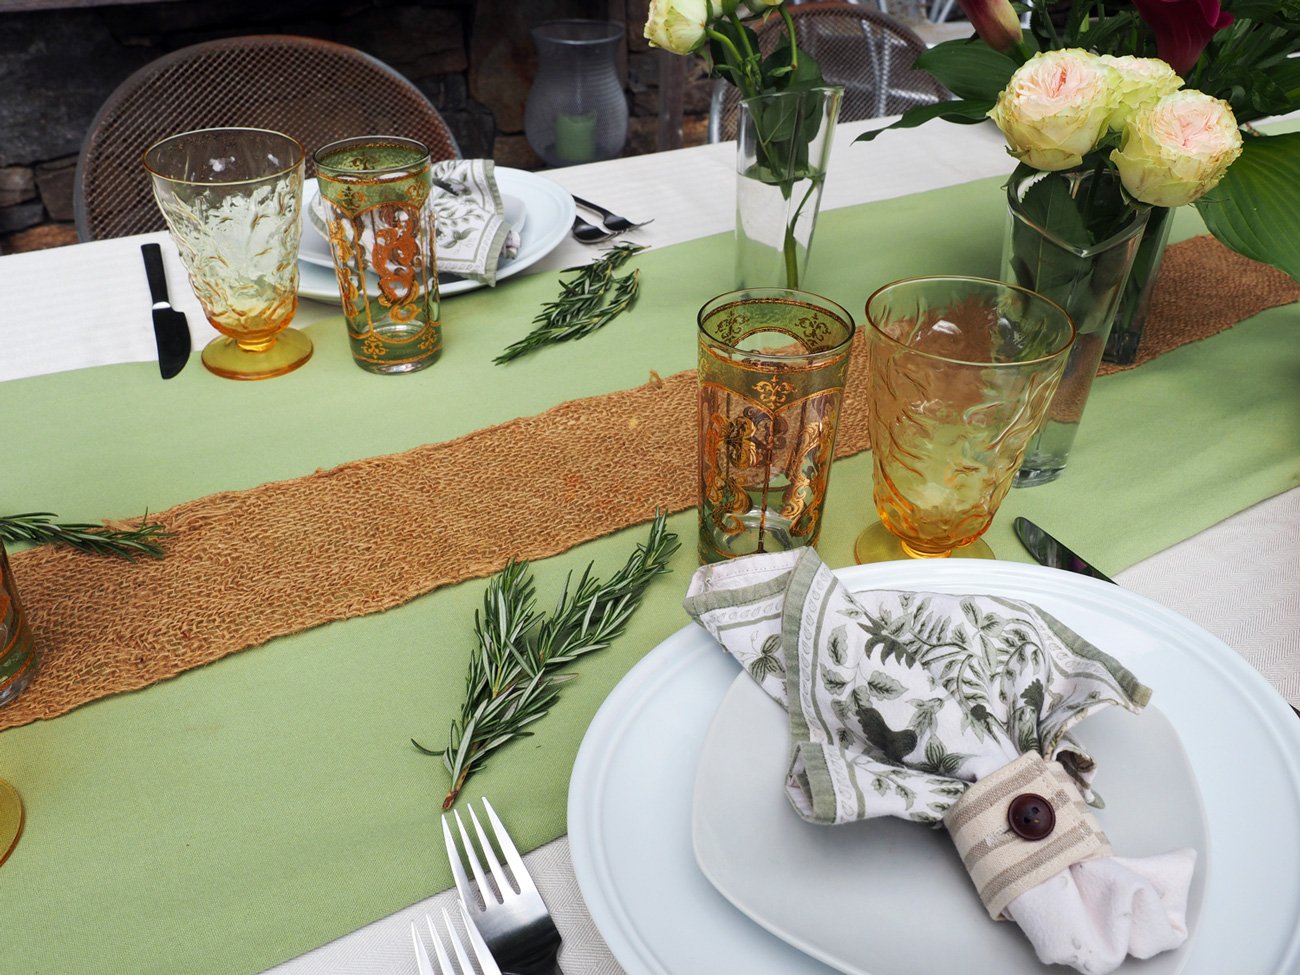
When it came to the place setting I kept it simple, clean and straightforward with pure white plates, silverware in their traditional positions with napkins in the center on top of the salad plate.

The place setting

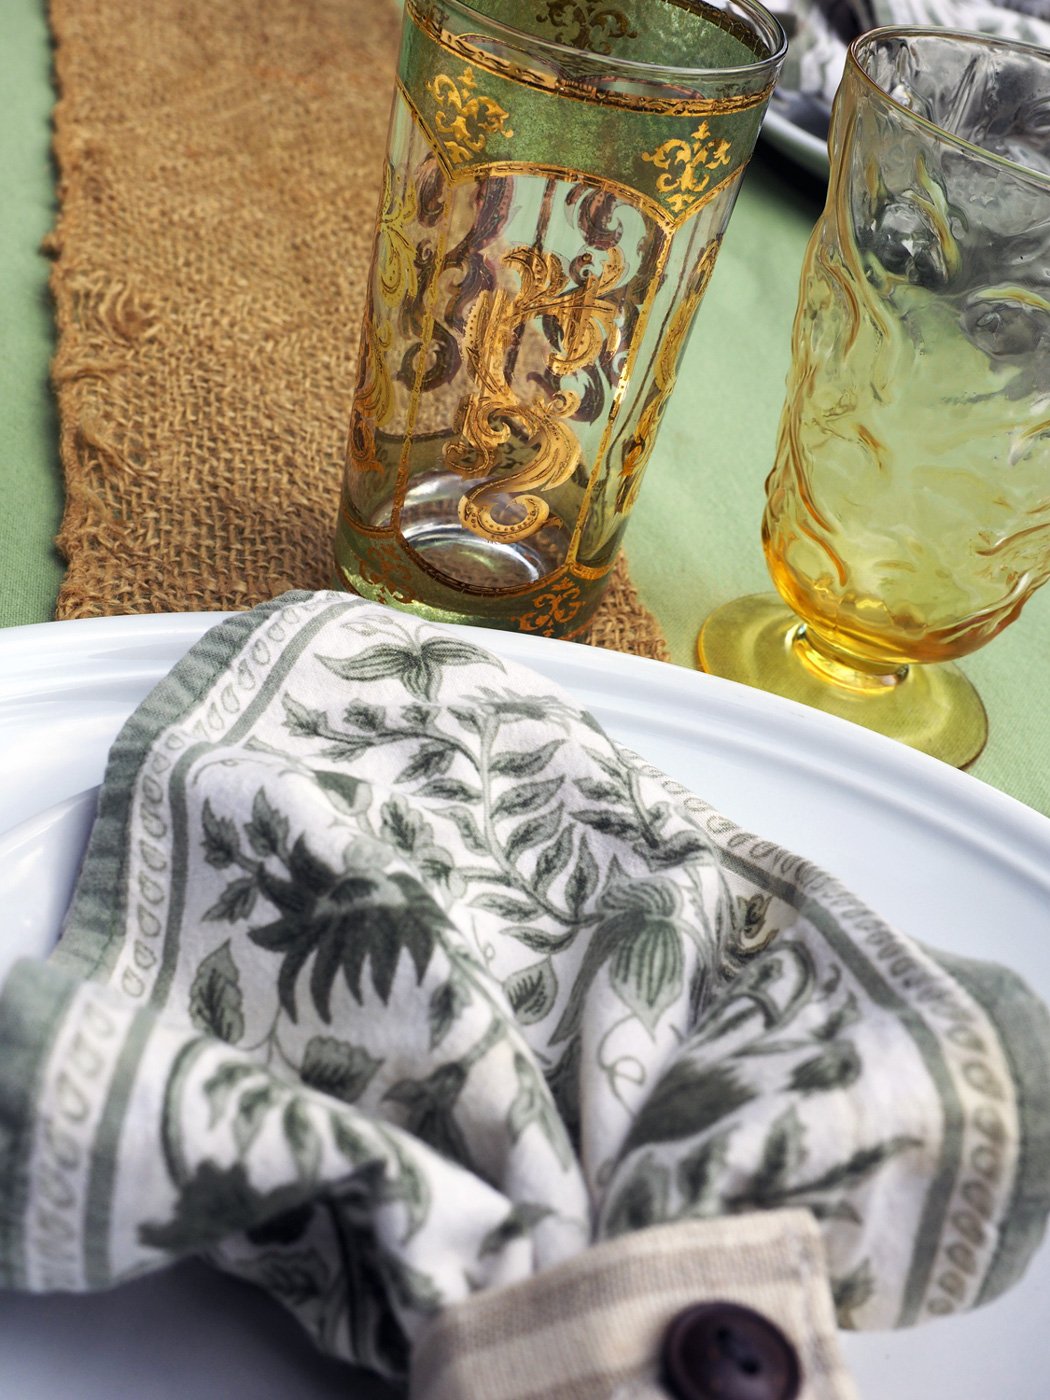
This was a garden party so I didn’t need an elaborate napkin fold but wanted to mimic the fleur de lis pattern of the glassware.
I achieved that by folding the napkin in a square, tucking under one corner, then pinching the bottom together and finally securing it with a cloth napkin holder. Not hard, not too fancy but just enough flare to tie in the floral notes.

I like collecting vintage glassware and then pairing them together to create whimsy. I added two types of glasses, one for lemon/mint water and the other for homemade Jasmine iced tea with rosemary simple syrup. Of course, we had wine glasses but those were filled and handed to the guests upon arrival. Keep ‘em smiling from the onset.


Floral swirls on the yellow glasses, gold floral swirls on the green glasses with floral napkin to match.

Lastly, I cut some rosemary from my garden and laid a sprig in front of every place setting. I mainly did this to help keep the mosquitos and flies away as they don’t dig the smell. But I also loved how it added another hue of green and played into the florals of the napkins and glassware. Such a simple touch that everyone noticed and commented on.

A sprig of rosemary finishes off the place setting with an added touch of green and natural element.

One final tip in the mise en place category, which I know I have mentioned before but bears repeating. Review the menu, then choose and have at the ready all the serving platters and utensils for each of the dishes. This may seem like an overly obsessive planning piece but I assure you it is a stress reliever. The last thing you want as you are about to serve up the food is to scramble around opening cabinets trying to figure which platter is big enough or deep enough or the right color. Trust me, it’s a small effort prior that pays off on the day of.

This was a simple table setting but I was pleased with how it turned out. It was low key yet still pulled together. And although not fully cream, it was calming just the same.

You can take this same set up and swap out the green runner for any other color and then just spin the color wheel to find your accents. Check out the link below with a major color wheel choices.

Color Wheel Fun

Opposites attract. This wheel gives a wide range of colors and tones that can be used when creating your table scape. If you want complementary colors, go opposite. If you want to stay in the same family go for an ombré effect. So many possibilities. Have fun.

Color Wheel

Keep it simple, keep it pretty. Keep your guests feeling welcome the moment they walk in. Happy al fresco entertaining.


Spring & Easter Table Setting

I have long pined over creating a table setting that featured multiple layers of floral patterns on top of each other; from tablecloth to napkins to dishes. However, as I embarked on making my mental vision a reality, I encountered a major issue. My dream was way more fantasy. Believe it or not, after rummaging through my vast linen collection I realized that I didn’t quite have the variety of floral patterns I had envisioned in my noggin. And because I’m the type of person who just can’t give up on an idea, I did the next best thing. I found other patterns with the intended color scheme and worked from there.

This is just the napkin selection and a few tablecloths.

With the floral theme still running through my brain, I selected the closest linen I had to Spring florals. A pinkish toned tablecloth with leaf-like swirls resembling flowers. I remember when I purchased it from an upstate vintage shop and thought it was unlike anything I had. You may think I’m tripping on some hallucinogenic imagining that these swirls look like flowers, but I was desperate.

As I continued my search for napkins among my collection I was dumbfounded not to find a single one with any real floral print or even pink tones. But then again, would I really have bought such a thing? It was at that point when I realized that the table setting would be something different from my original vision.

An intense pattern of swirls that could be flowers, no?

I pulled out a napkin set that had similar but not exact colors. Roosters and checkerboards were as close as I could find.

I used a simple fold and roll method

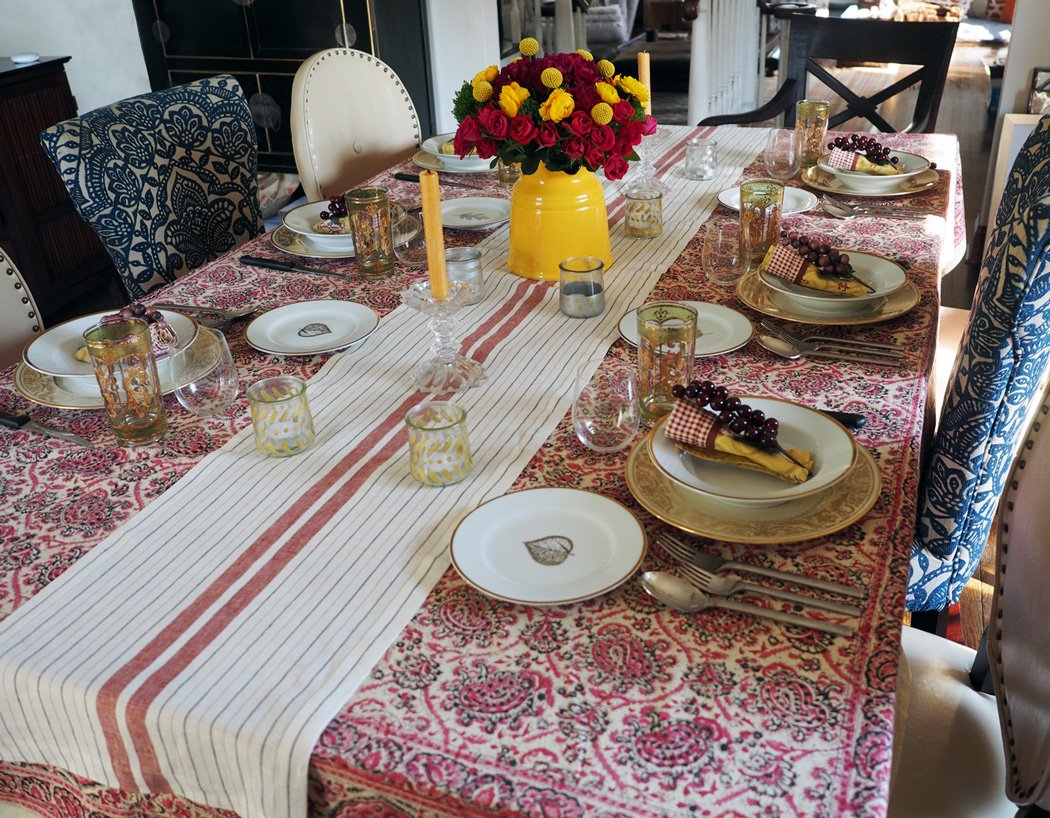
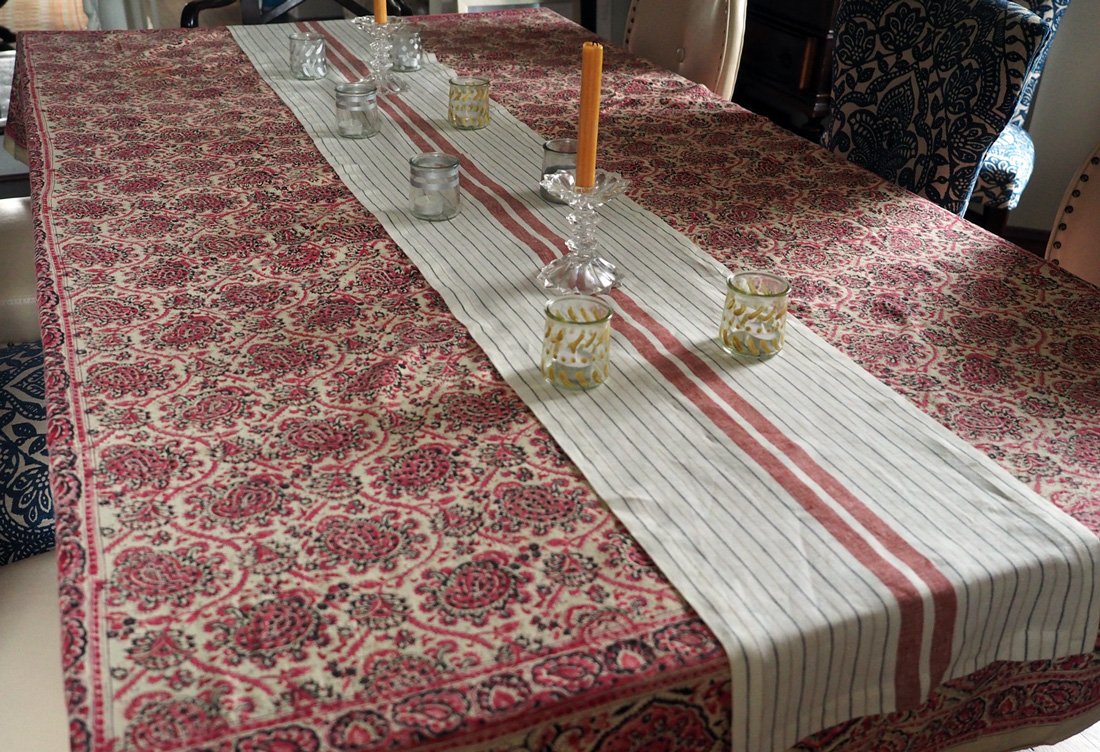
Given the intense pattern of the tablecloth I felt it might be overwhelming on its own. A table runner would help provide some visual relief. Yet another pattern, not floral, but tones that would complement.

A striped table runner is another pattern. It’s simplicity allows for visual interest without taking away from the tablecloth.

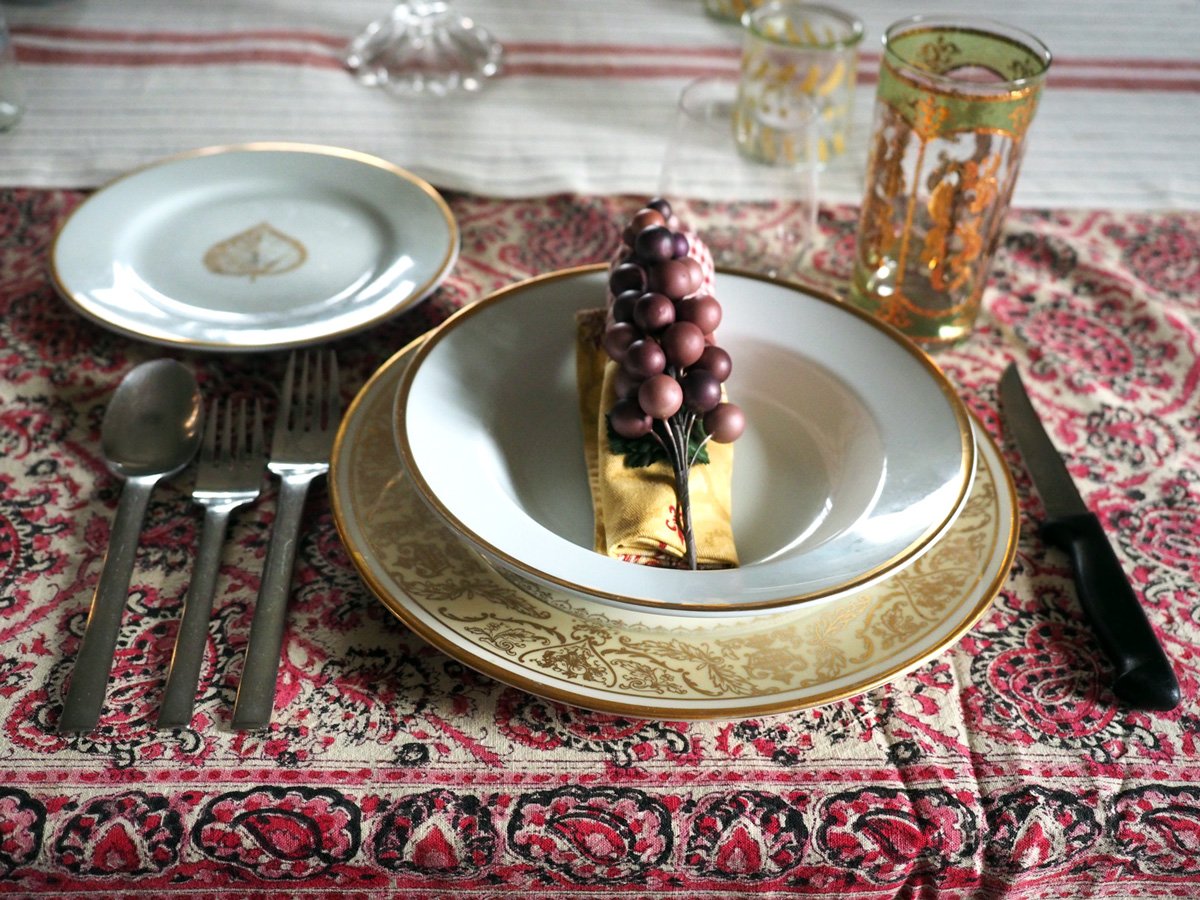
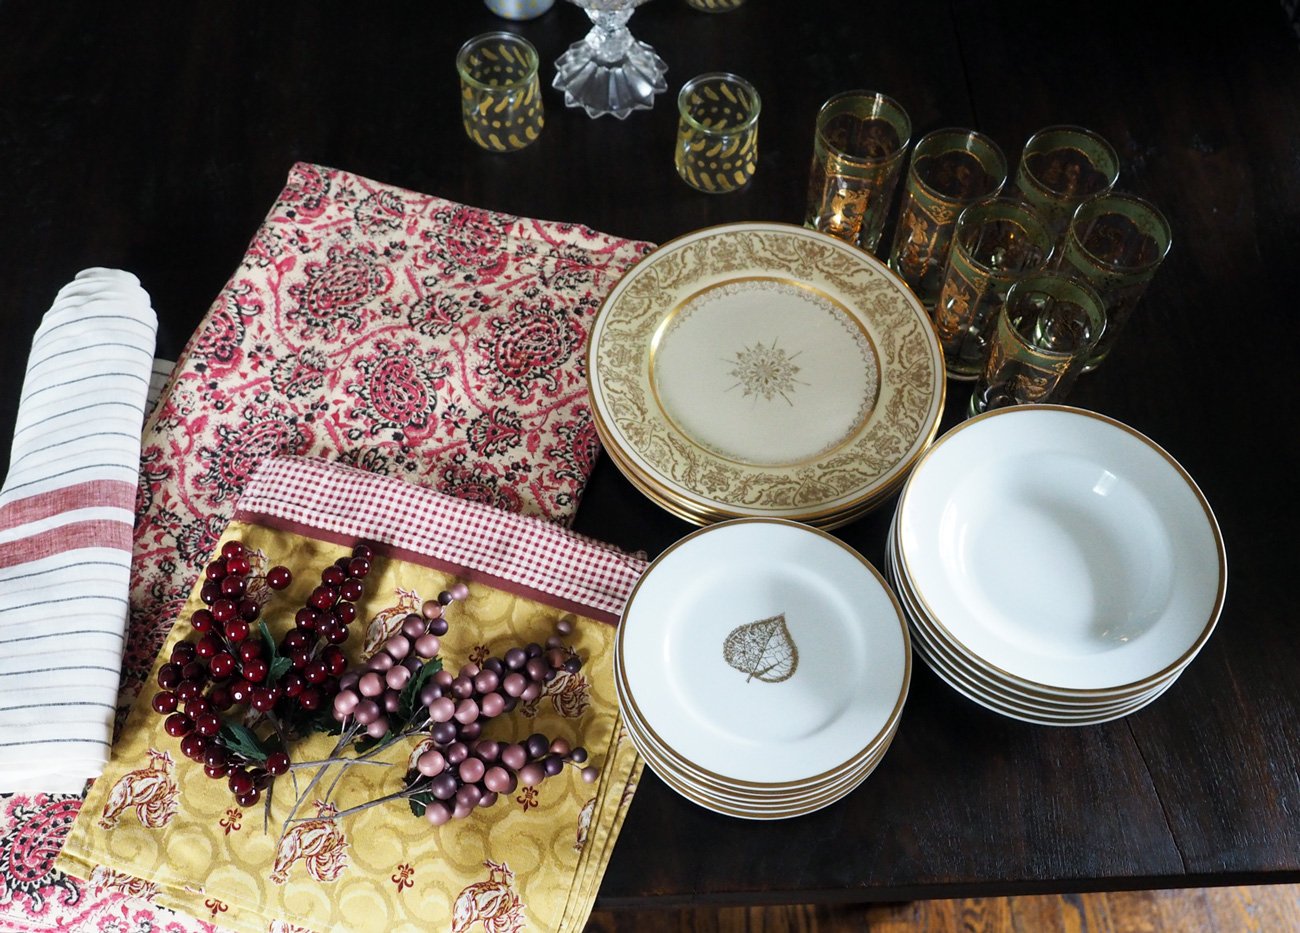
The search for florals continued to be a bust. No floral plates like my little head hoped for. So, instead I pulled out a more ornate plate with gold adornments, followed by soup and salad plates with gold trim.

Dishes with gold accents.

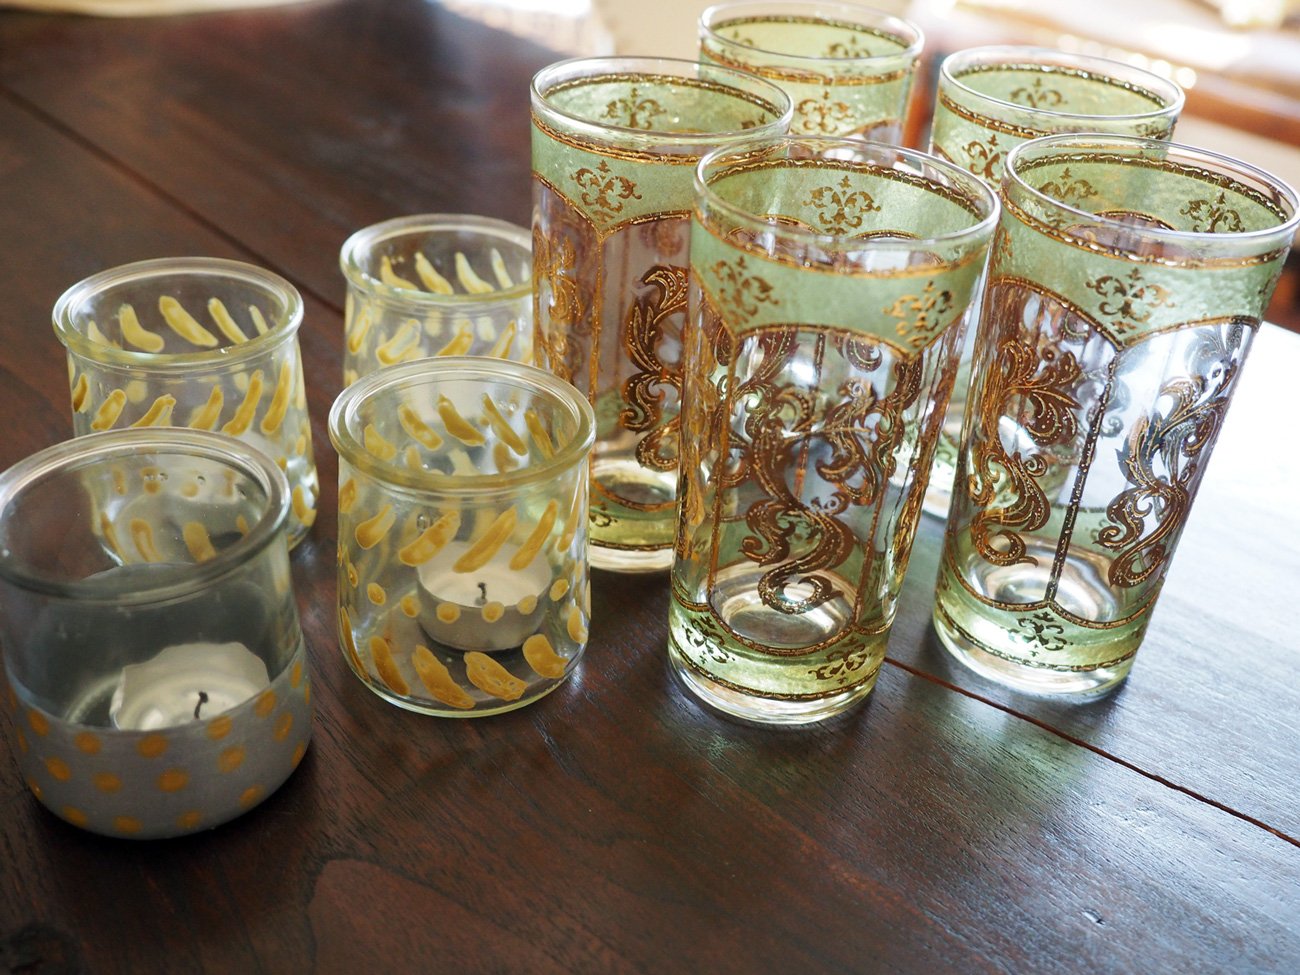
At this point, my only option was to keep building on the new theme, and upped the ante with green and gold trimmed glassware and votives. Now I at least had a pattern on pattern theme working. Florals became swirls. The key to layering different patterns is to find a common thread of complementary colors.

Fancy glasses and votives with some gold trim help to elevate the table.

With my choices laid out it was time to set the table.

All the table setting pieces ready to be placed.

The runner definitely breaks up all that pattern and the stripes down the center act as a landing strip for the candles.

Fold, roll and wrap the napkins with a ‘floral’ themed enhancement.

Typically, I stack all the dishes, but opted to keep the salad plate on the side to hint at the original floral theme allowing the leaf design to be seen. Plus I knew I would be individually plating the salad to ensure my guests ate that course. Having the plate out makes it easy to grab and pile on the salad.

Finished place setting with utensils for each course.

Pre-plating the salad makes serving a breeze. Dressing is served in bowl for guests to add to their liking.

A pretty inviting way to welcome your guests to the table.

Side note; I find that if you plate it and serve it separately before the main meal, everyone eats it. If you place a large bowl of salad with all the rest of the meal, people often times say, “I’ll serve myself later.” And later becomes, “I’m too full.” So get your greens in early.

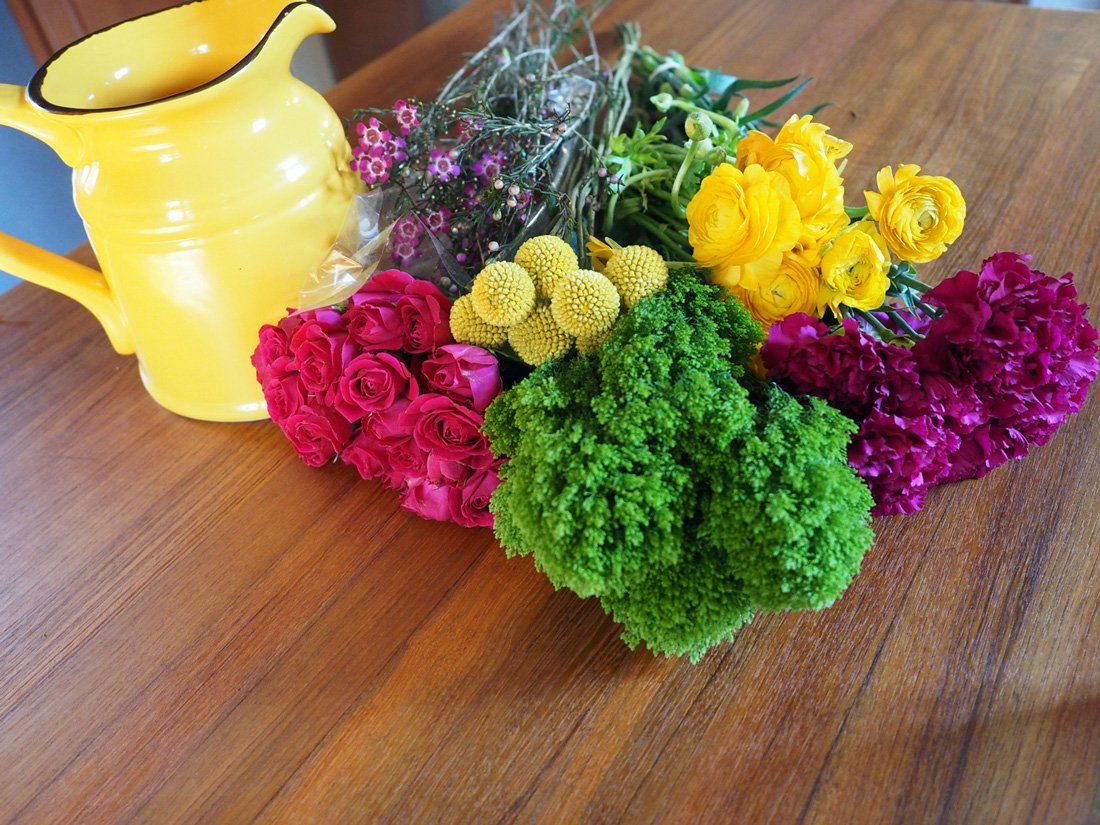
Ok, with the table set, it was time to move onto the actual florals. Since this was a last minute table setting, and I don’t travel to the city like I used to with my usual floral stop at Dahlia - Grand Central, Trader Joe’s would have to do. They typically have a decent selection at reasonable prices. I have to admit that I got excited about the colors I saw in the store but once I got home I realized I completely missed the mark on the pink tones. However, the purchase was made and I had to push on. I’m starting to feel like the theme went from layered florals to “ just make it happen and make it pretty.” I honestly thought the colors were more fuchsia than red hued but oh well. Pops of yellow and green made it all feel fresh and Spring like. The large yellow jug added more seasonal brightness and helped to tie it back to the napkins.

Definitely a burst of floral color

The key to a well composed arrangement is color blocking and keeping to just a few colors that complement one another.

The colors were a bit off but it still adds a happy feel.

In the end the reds and yellows echo the colors in the napkins.

Happy colors.

As for the meal, this was a Palm Sunday lunch. I told my sister, Alyssa, that it would be simple since all this was a last minute idea. But alas, I made much more than a simple meal for just six of us. It ended up being quite filling, and delicious. So, if you want something a tad different for Easter, this menu could work for an simpler meal than the usual extravagant lamb dinner. Here goes:

Appetizer

  • Roasted Grape Tomatoes in Garlic Oil

  • Whipped Feta
    This is an easy way to elevate a humble chunk of feta. Simply place the desired amount in a mini food processor and buzz it until smooth. One important note: rinse the feta block with cold water first to remove some of the saltiness. For some reason, once blended it brings out even more of the salt flavor.

  • Garlic Bread

Oven roasted grape tomatoes, whipped feta, garlic bread

First Course

  • Cauliflower Soup

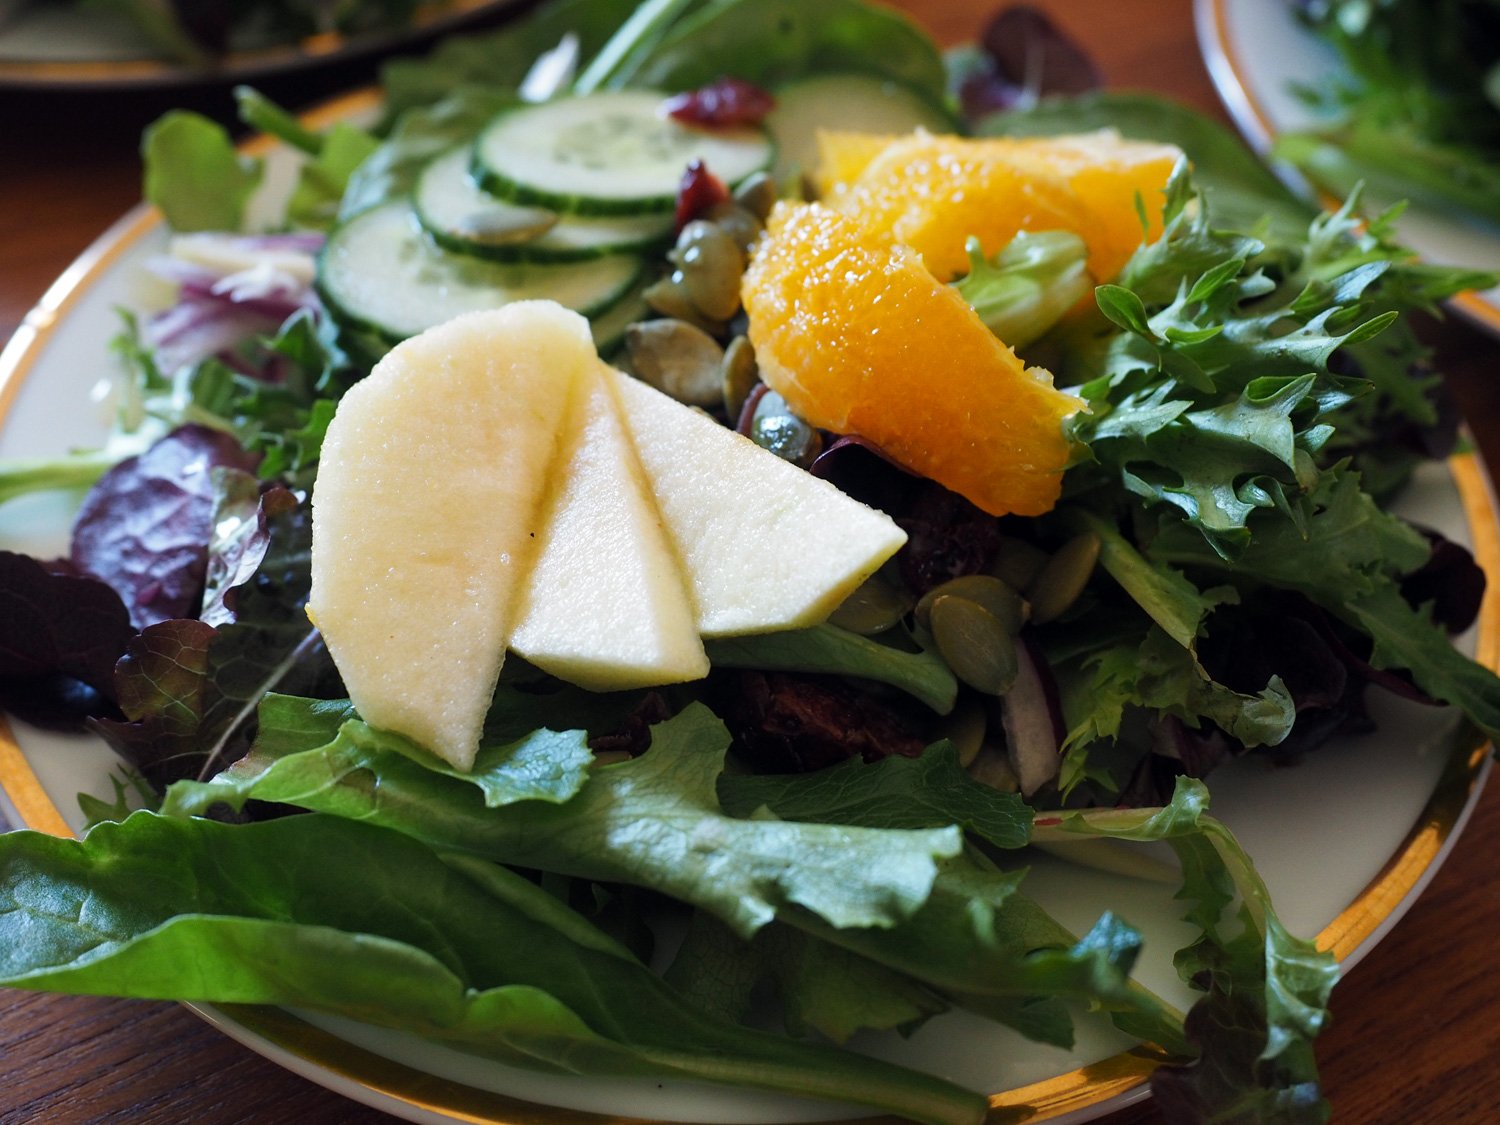
  • Mixed Greens with Apple/Orange/Cucumber & Date Dressing: I used my Bibb, Arugula Butternut Squash Salad recipe swapping out the lettuces with mixed greens and the butternut squash with apple, orange and cucumber. All the rest of the ingredients and dressing remained the same.

Individually plated salad of Mixed greens with apple slices, orange segments, sliced cucumber, peptias and dried cranberries.

Main Course

  • Pork Loin basted in Rosemary Garlic Butter
    Sear the pork loin (seasoned with salt & pepper) in a cast iron skillet on both sides. Remove from the pan and add butter, sprigs of rosemary and several whole garlic cloves slightly smashed. Once butter is melted, return the pork to the pan and spoon the butter over the pork to finish cooking and flavor the meat.

Rosemary Garlic Butter basted Pork Loin.

  • Seared Shrimp with garlic & parsley
    Marinate the shrimp with crushed garlic, parsley, salt, pepper, crushed red pepper flakes. Sear in a cast iron grill pan. Remove shrimp and add white wine to deglaze the pan and pour over shrimp.

  • Basmati Rice with herb garlic oil
    Make a “chimichurri” sauce of finely chopped parsley, cilantro, scallions, crushed garlic, lemon zest and squeeze of lemon juice, salt, pepper, and olive oil.
    Cook Basmati rice 1 : 1.5 ratio to water. Bring water and rice to a boil, lower heat, cover and cook for 13 minutes. Keep the lid on, remove from heat and let steam for another 5-8 minutes
    Add as much of the herb garlic oil as desired. You can make the rice and oil ahead. Then right before serving warm the rice and add the sauce. I used a cast iron wok to ‘fry up’ the rice and then added the sauce to finish.

Sautéd shrimp and Herb Oil Basmati Rice

  • Oven Roasted Red Onions
    Onions are an overlooked vegetable. When oven roasted they become caramelized, sweet and delicious. Cut them in half, trimming the stem end but still leaving enough of the core to hold the onion pieces together when you cut them into quarters. Place on sheet pan, drizzle with olive oil, salt and pepper. Roast at 400 degrees until browned and caramelized.

  • Broccoli Rabe
    Wash, trim and boil the broccoli rabe until tender. Sauté in oil, garlic slices and season with salt & pepper.

Oven roasted red onions, the humble vegetable turned the star. Broccoli Rabe with garlic oil.

Dessert was a large platter of fruit and a few Saint Joseph Italian pastries. Apologies there are no photos of that course. Even though everyone said they were stuffed, they grabbed the fruit and pastries before I could get a picture. Just image a colorful array of seasonal fruit, along with luscious filled pastry.

I hope this inspires you to pile pattern on top of pattern and let your imagination work with whatever you have on hand. I started with an idea, veered off the flower garden and landed on an array of swirls, roosters, stripes and sparkle that still made me smile. A lesson in forging forward in whatever direction the universe provides and making the best of what life has to offer.

Holiday Traditions

Once upon a time there was a girl who loved to be in the kitchen. Her favorite spot was cozying up next to her mom and grandmothers, and nudging her way into the process. Little did she realize that it would be the start to a lifelong passion of cooking and baking for the people she loves. This is a love story. A story about the joy that my mom and grandmothers instilled in me about filling a table with homemade, handcrafted food made from love and for the pure joy of making people happy. And they always did. There was and still is delight around our family table. My mom and grandmothers had amazing talents in both the cooking and baking departments. And although I developed my own style, (they tended to follow recipes, and I make up stuff as I go), they inspired me, and still do.

Me, in my serious puberty years, and obviously thrilled to be in the kitchen with my Grandma Majewski in her Brooklyn home. You know how much I must value that an image speaks volumes if I am willing to share THIS photo with you. P.S. that was one of my favorite shirts. Photo Credit: Paul Majewski

Grandma Perri making her famous Peach Shortcake with Whipped Cream. She was a master.

I think back on how much these powerhouse women accomplished in the kitchen. Being a good cook and hostess were simply expected back then.  Nowadays a host is met with such kudos for doing the same or even less than what our mothers and grandmothers had been doing for decades. 

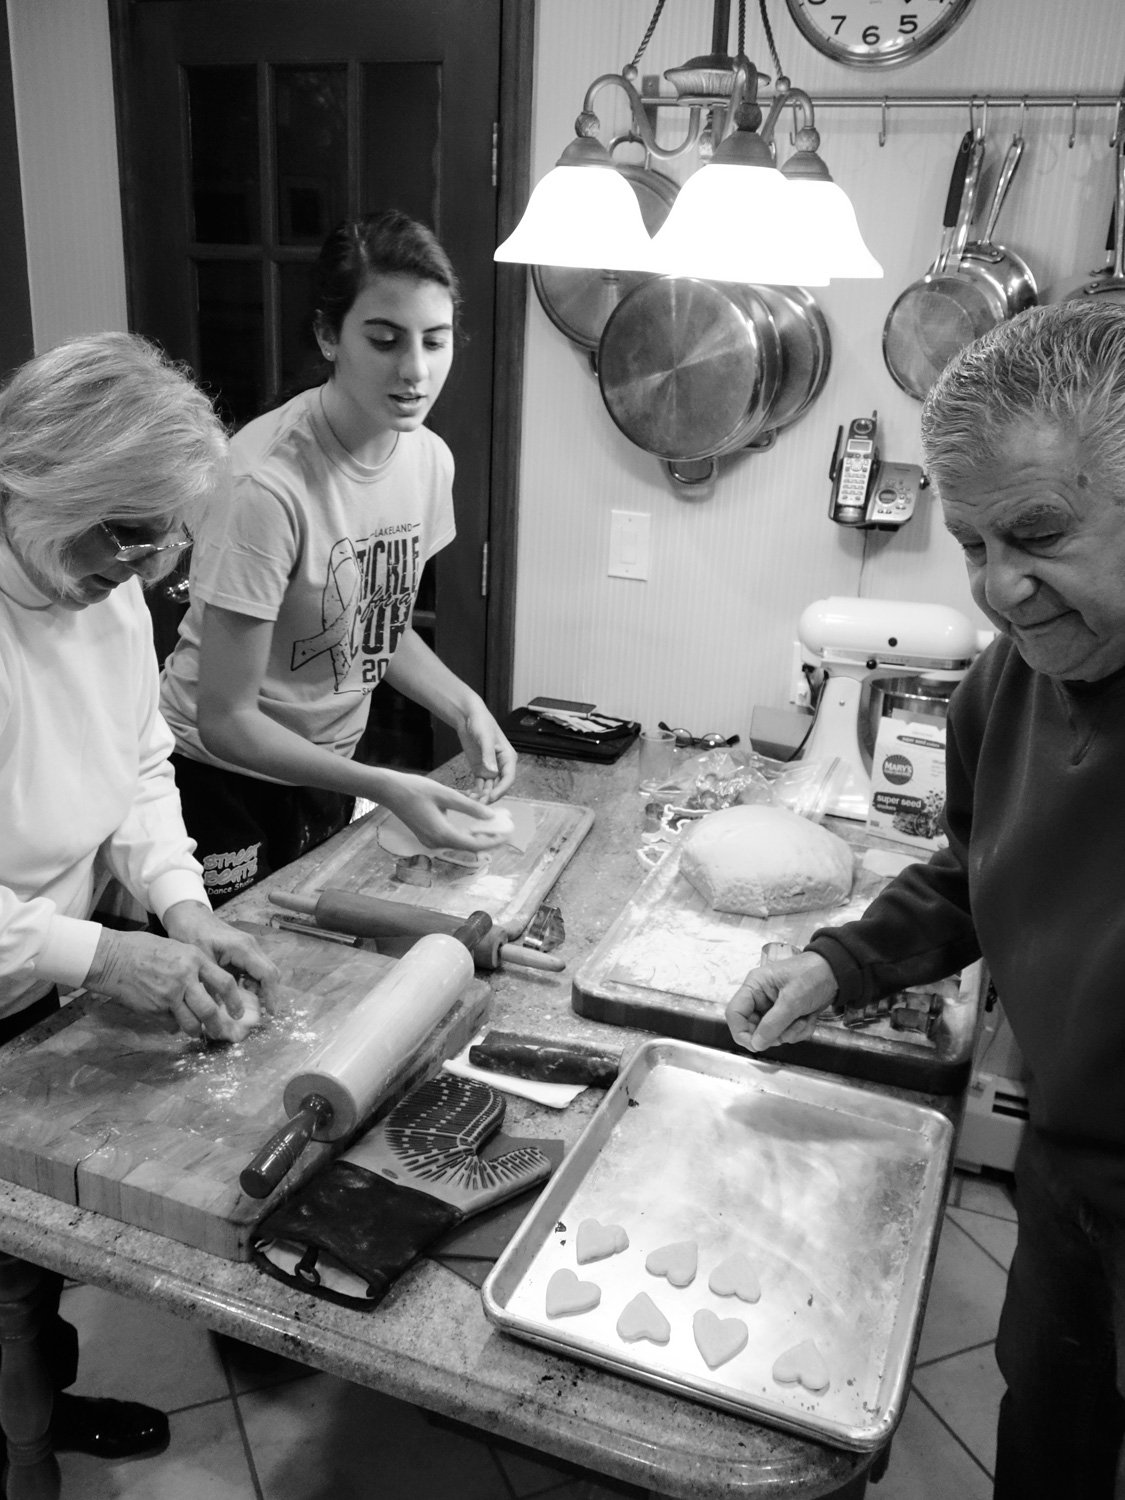
My mom and grandmas preparing Christmas meal.

I can’t tell you exactly why I was so captivated by watching them, and helping them. Maybe it was seeing the excitement of the guests as they approached a table filled to capacity with yummy bites. I guess it created a sense of fulfillment for me that would run through everything I do. In writing this love story, I tried to reach back into my deepest memories of those times to tap into that exact feeling; the scheduling, the preparation, the mounds of ingredients waiting to be used, the display, the enthusiasm for good food, the anticipation of guest arrivals and then the family gathered around a table of ‘abundancia’, laughing and crying that our bellies were too full. Those memories are deep rooted, cemented with the gift of giving. I'm glad I learned from the best.  

Grandma Majewski, probably making gravy in her Brooklyn kitchen. Photo Credit: Paul Majewski

When it comes to traditions, our family is not unique. Every family has their own set that they follow.  Ours had both holiday traditions and ones we followed weekly.  Given that we didn’t keep our Italian language alive, I believe our food traditions took on an even greater purpose. Food became our love language, so passing it down through the generations is what continues to bind us together.

My cousin, Karen, was much like me in wanting to be the guardians of traditions and recipes. Sadly, she passed and is so dearly missed. But many years before, she compiled our grandmother’s recipes and sent me a book, which, of course, now has even more sentimental value. Karen loved to cook and bake too, and was a master in her own right. In sharing these recipes she has now become an even greater part of the legacy.

I cherish this handwritten note from Karen, and am so grateful that she took the time to gather our family recipes.

Karen, my cousin on my father’s side, sitting in my maternal grandmother’s kitchen. That is what I mean about one big family.

I cherish those holiday moments of the past. But admit that I long for the days when all our families would gather together and celebrate, eat, drink and truly be merry.  We literally all lived within blocks of one another, so stopping by was no big deal.  What I loved most, and have come to truly appreciate, is how all sides of our family gathered together, in-laws from every direction, all together. When someone got married, it just meant that the entire family grew. We didn’t have to split up and go to separate places. We were one big family; relatives upon relatives upon relatives.

The Christmas dessert table. Filled with fruit, struffoli, cookies, pies, cakes and more. A gluttony of sugar. And both the Mildred’s. Yes my Italian grandmothers both changed their beautiful given names to Mildred. Do not ask, I have never understood why.

Nowadays, folks need to sit
in a car for hours or even
travel by plane. I vote for
just packing ourselves on
a sleigh and pushing our
way over to grandma’s
house.  From the smiles
on our faces there is no
doubt that this was the
preferred method of transportation back then.


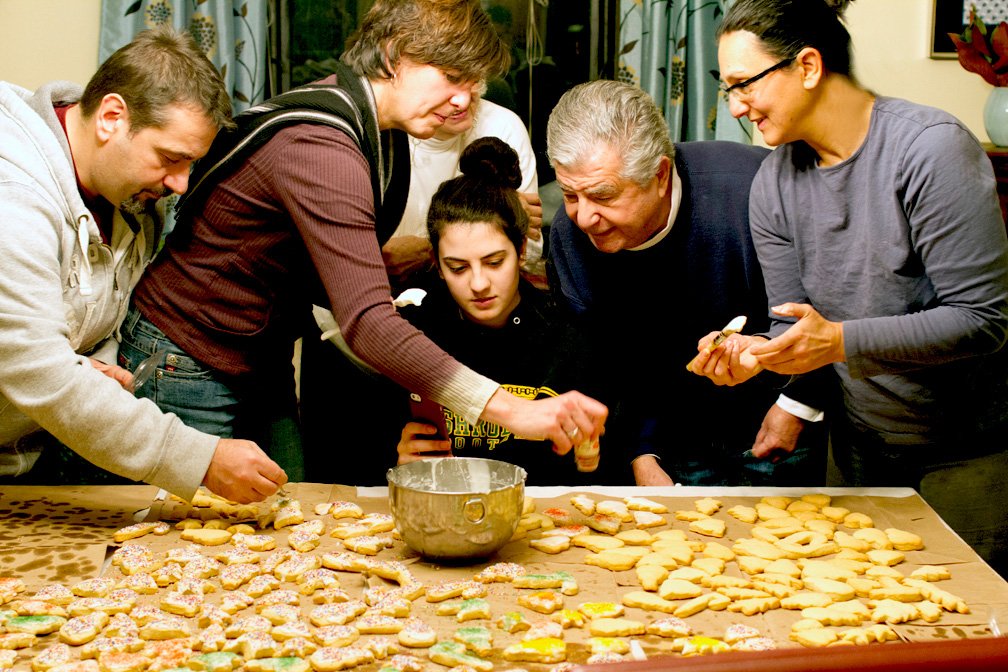
So, it’s no wonder that I’ve tried to keep those feelings alive. And the one way I know how; baking up a storm during the holidays. Each year, as many of my family as can join come to my house to help me make cookies and Struffoli.  It’s a weekend long event, and then some.

Some stay the weekend, like my parents, happy to get up early and stay up late. Others come for a day, and sometimes if tempted with their favorite cookie, come back the next to continue to help.

Me, with my twin sisters, Jill and Alyssa.

My mom, happily rolling Butter Balls into shape.


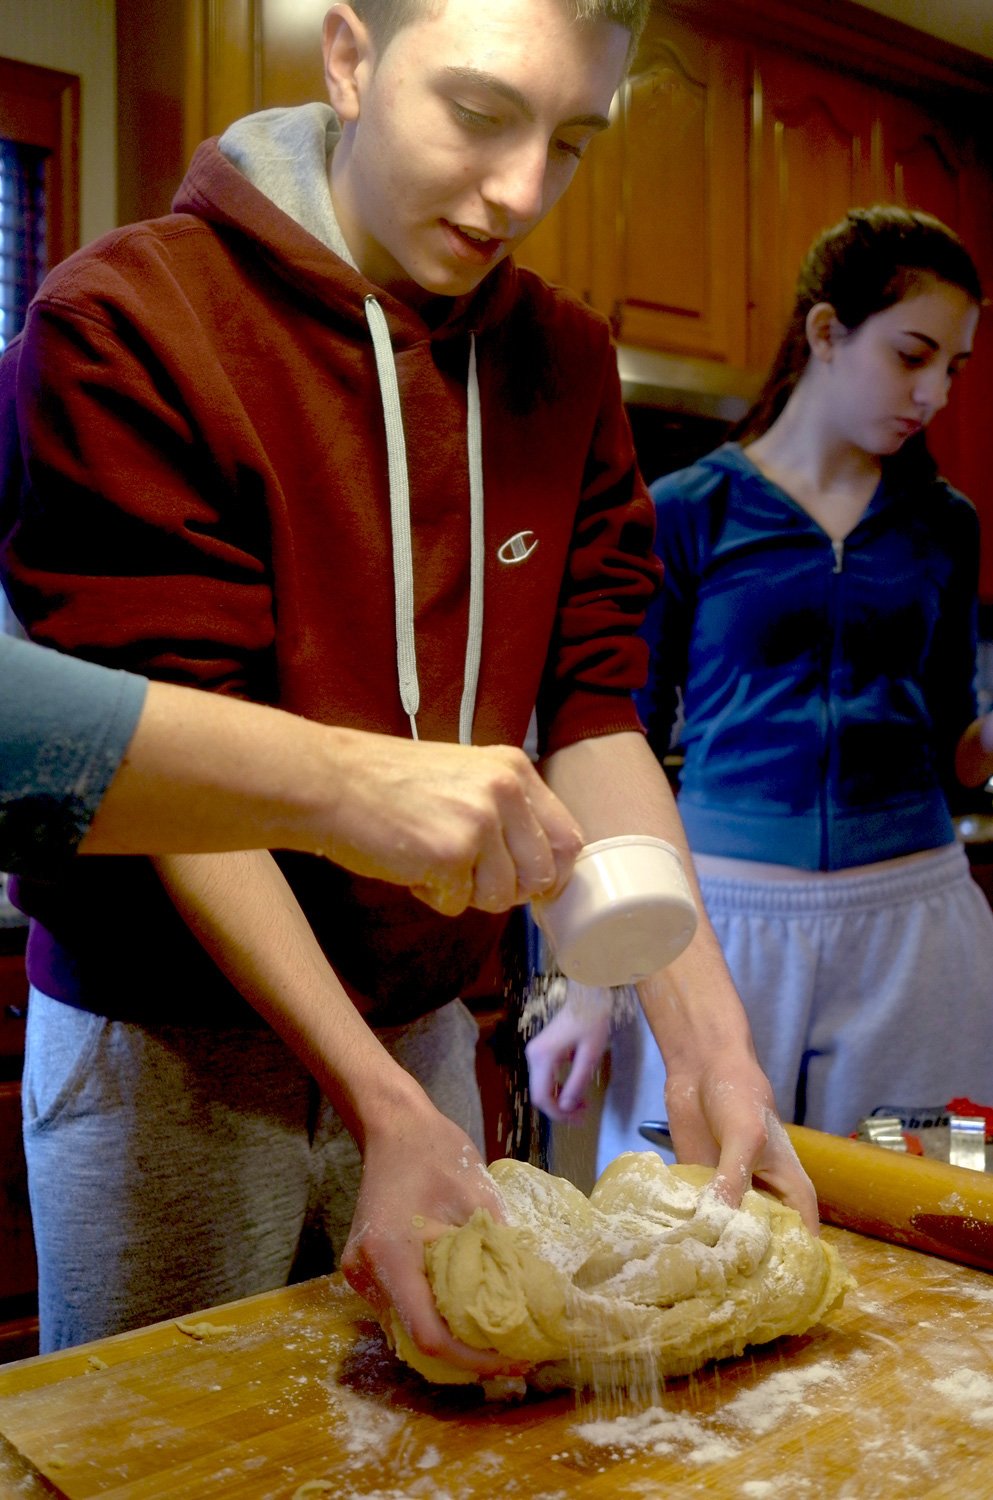
My nephew, John, kneading the dough for Grandma cookies. Gianna eyeballing the cutters and which ones to use.

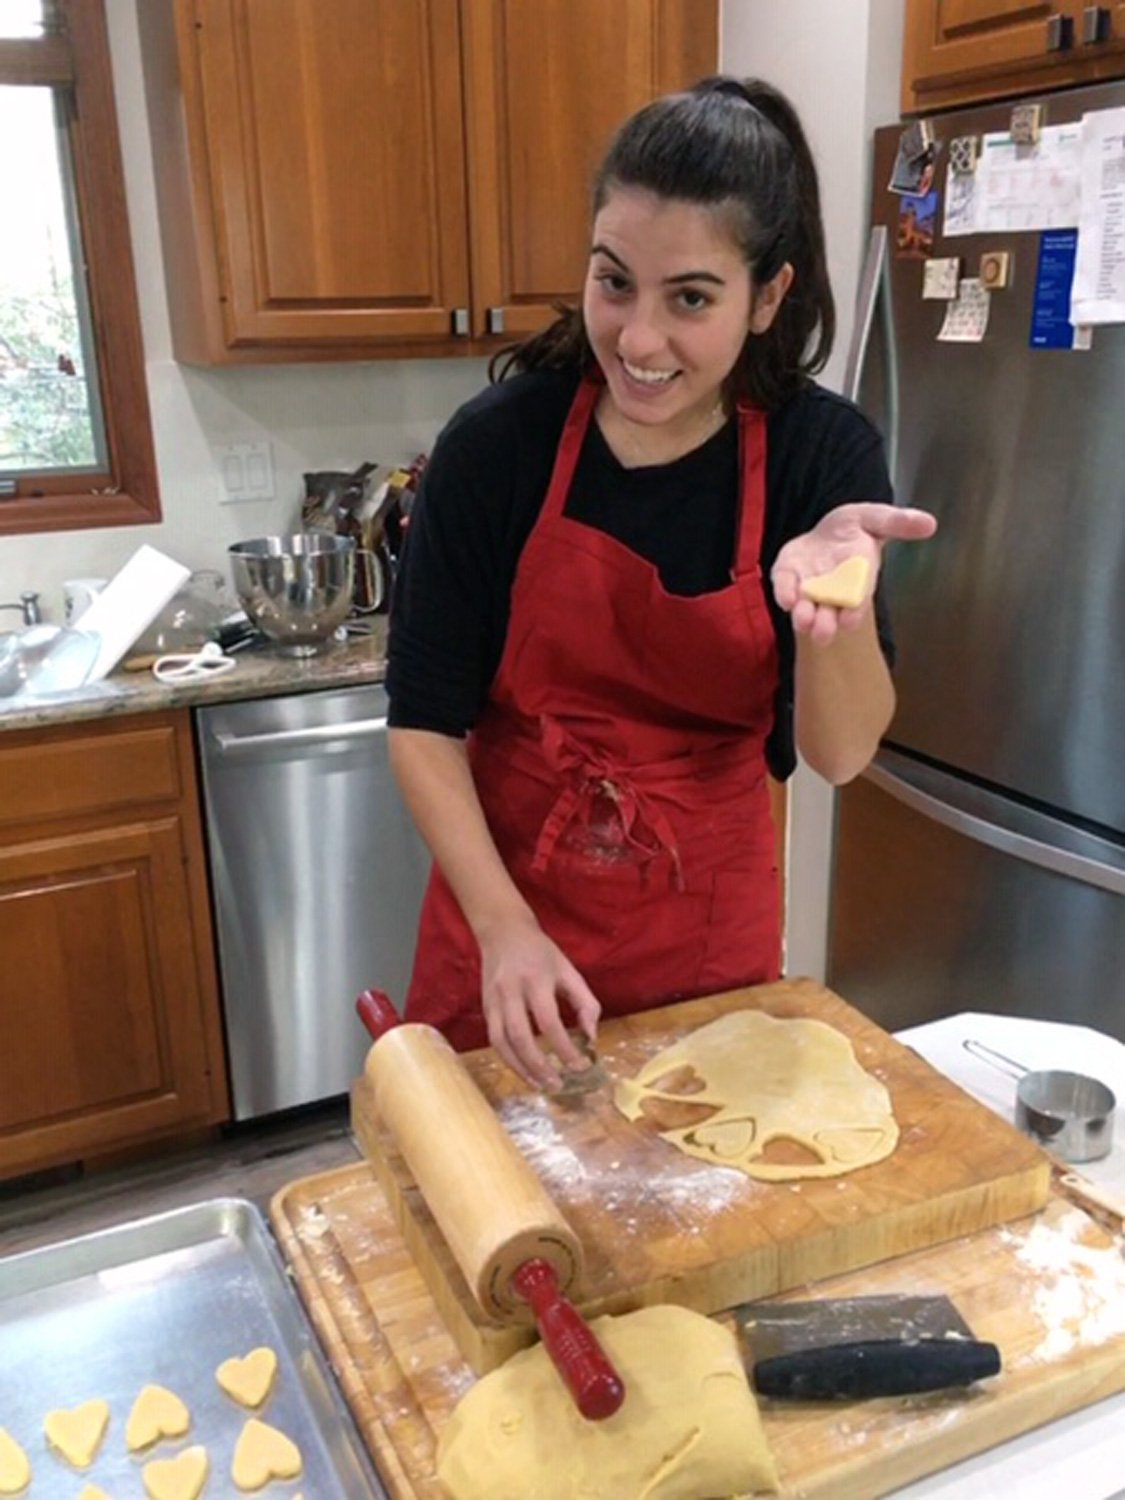
Gianna, my go to helper, always! That smile says it all.

Butter Balls, a delicate, buttery cookie with crushed walnuts.

Mounds and mounds of dough ready to be chilled before shaping.

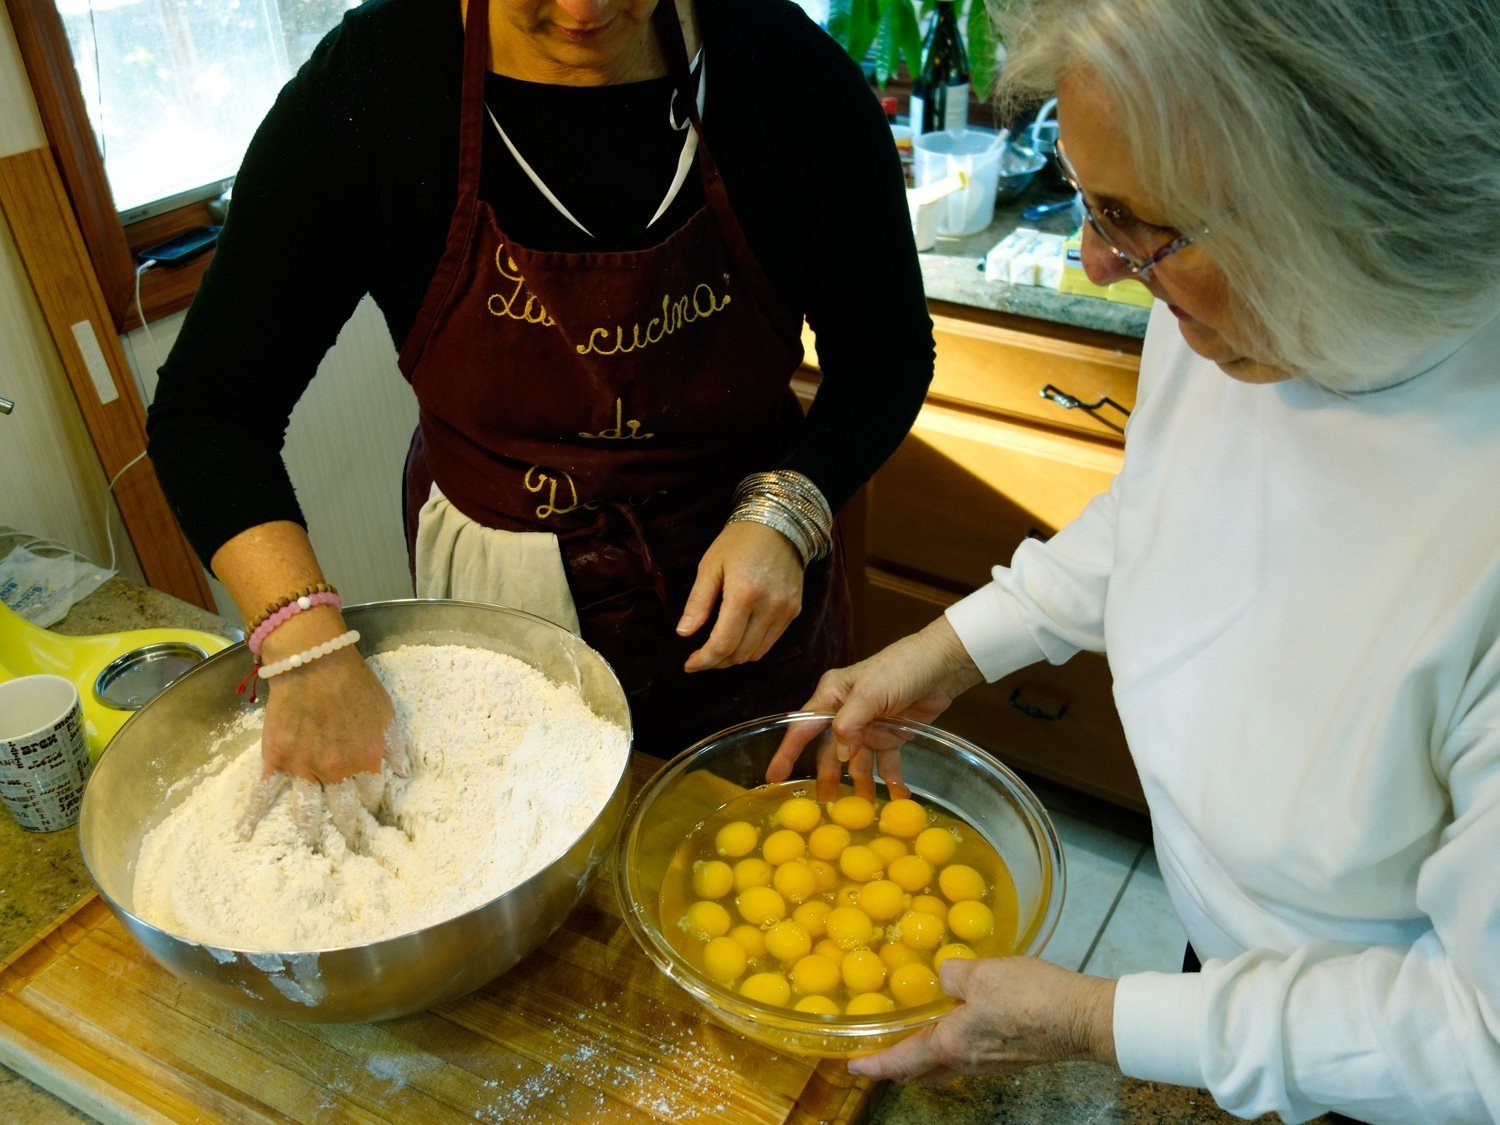
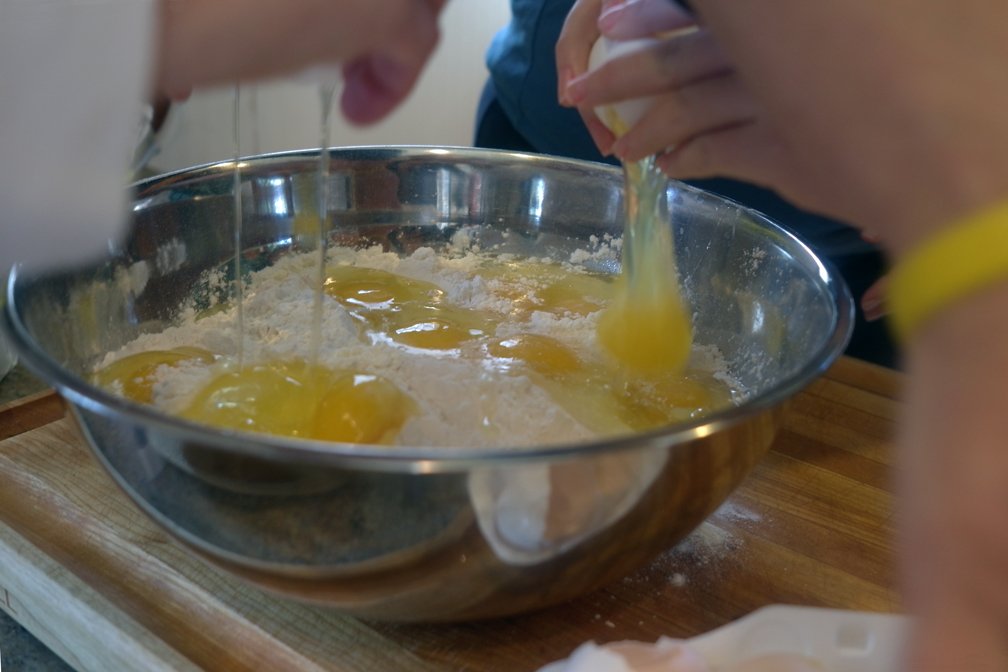
There is so much nostalgia that builds around gathering with loved ones among stacks of butter, rows of eggs and mountains of flour. The debate about whether I should double or triple a recipe, then the gasps and laughs at the amounts we made. The wait to see who eats the most cookies as they come out of the oven.

It takes a ton of butter, and lots of other ingredients to make cookie magic.

There is never a shortage of flour in my home. Mountains of it.

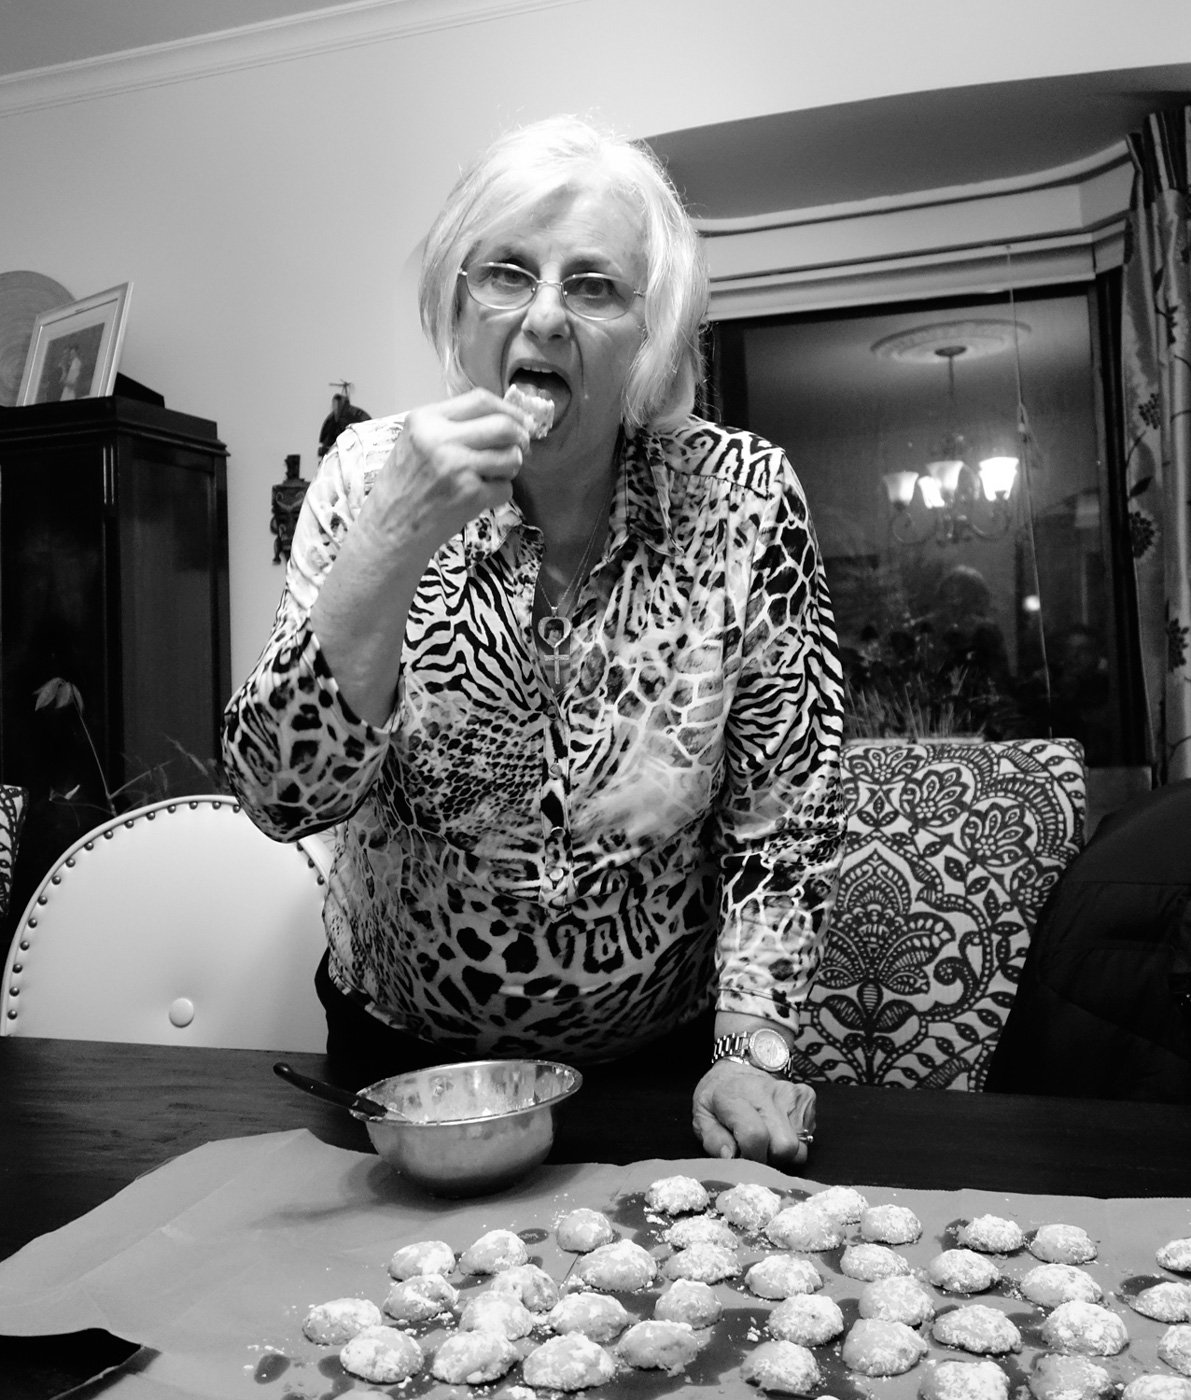
My mom is notorious for eating cookies as she is finishing them.

Knowing that these treats are enjoyed and will be handed down to my nieces and nephew, is the best way to honor my mom and grandmothers’ traditions.

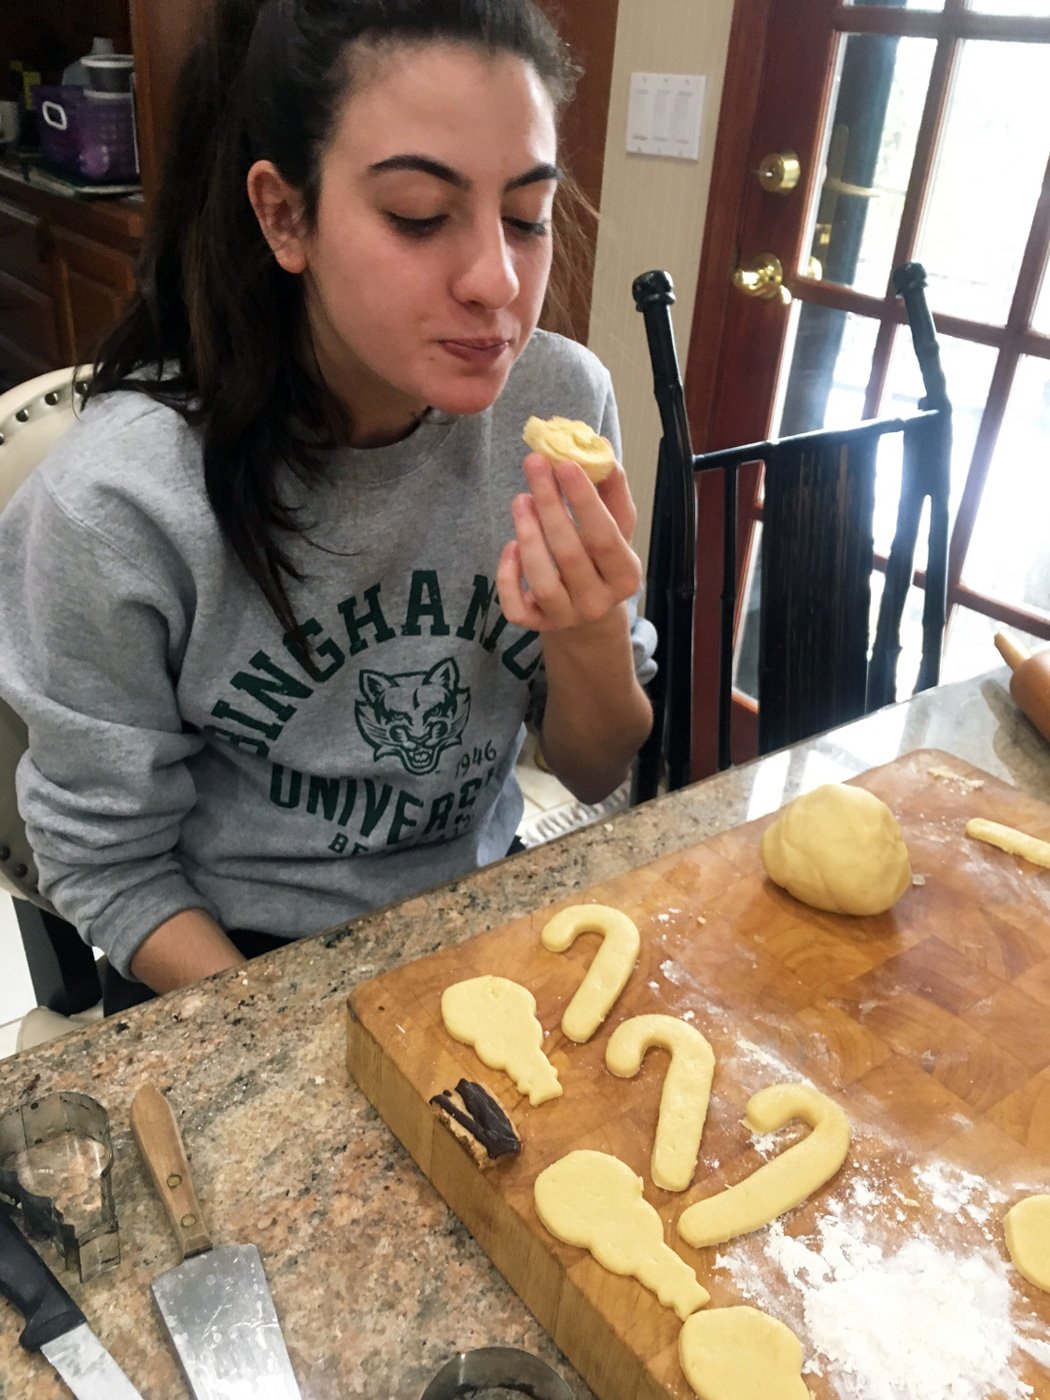
Gabrielle enjoying a Grandma Cookie

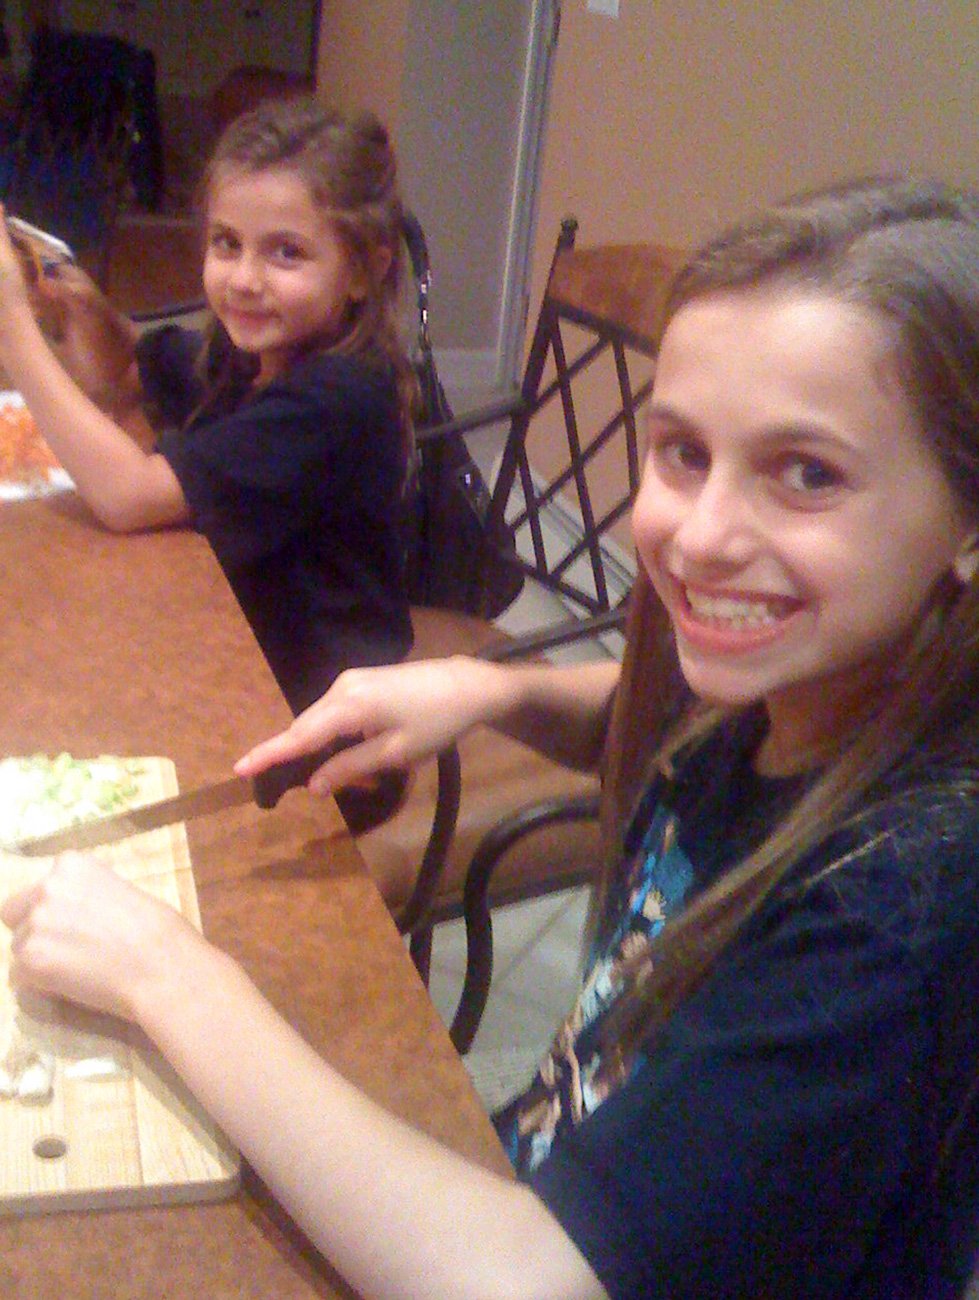
Michella and Nicolette, my cheerful little helpers.

Everybody gets their hands in there to pitch in. Some pick the tasks they love, others are forced by me to help out even if it’s not their favorite part.

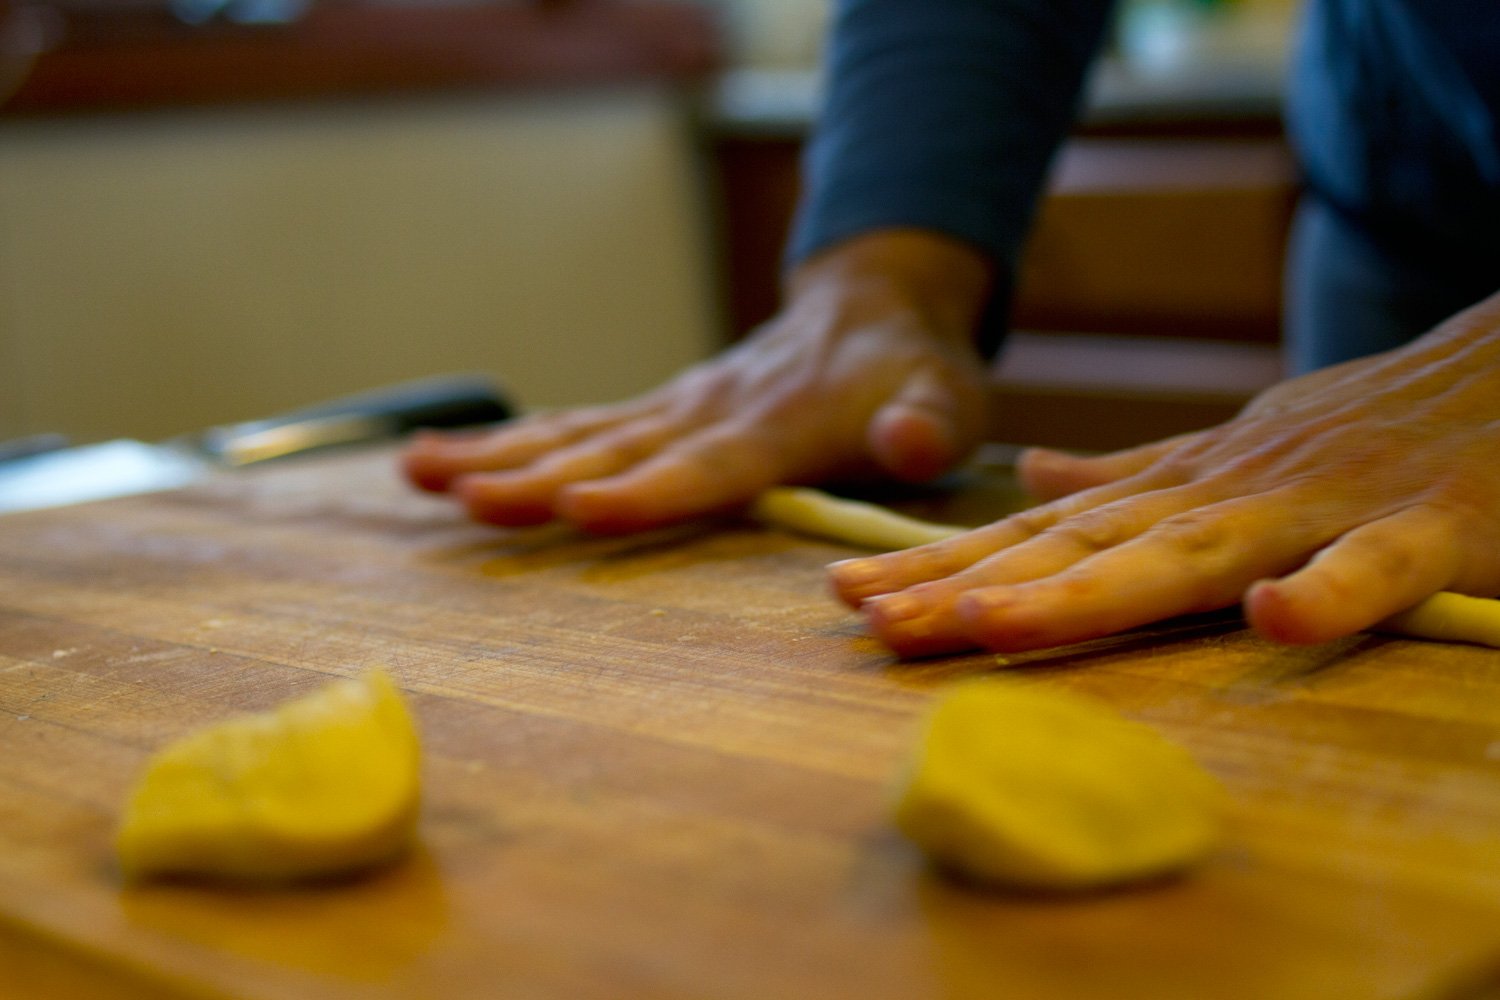
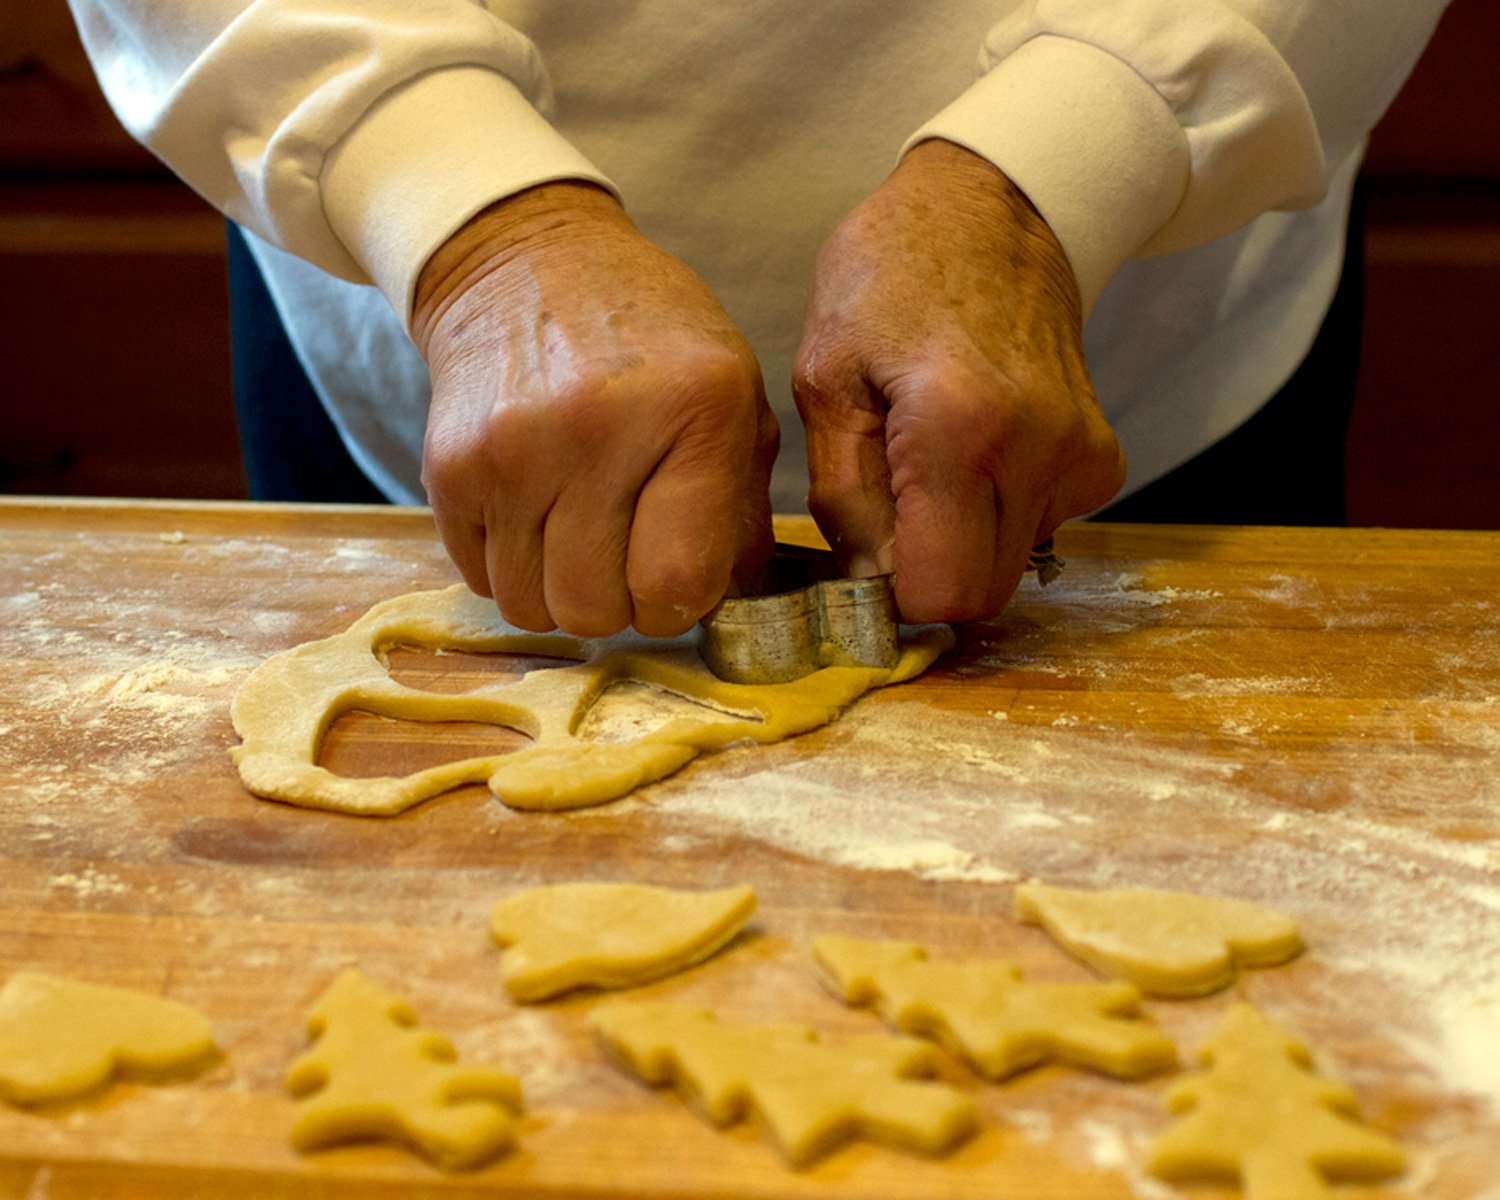
My mom’s hands. Expert dough roller.

Chopping walnuts, the old fashioned way, by hand.

It’s an assembly line production and I will admit that sometimes I can be a task master. I like perfection.

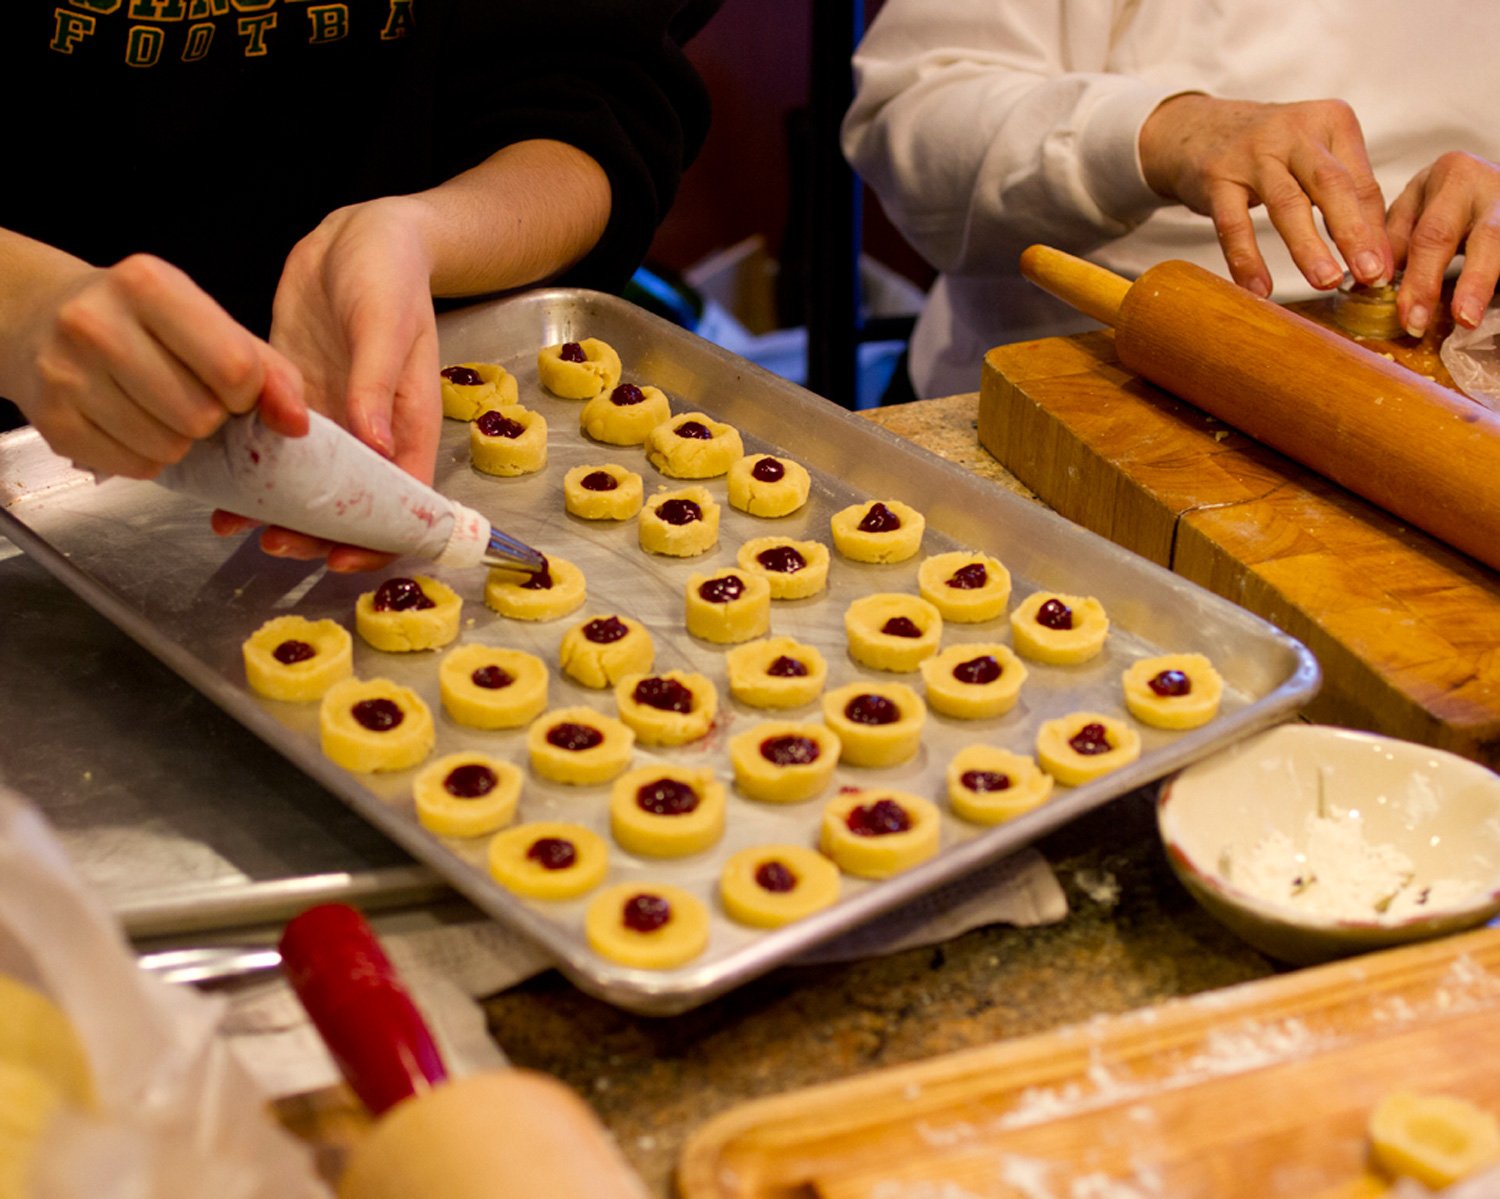
You know I’m a master of efficiency.That method of using two tiny spoons to fill the Swedish Butter cookies was replaced by a piping bag. DUH

Swedish Butter Cookie recipe. Handwritten with crusty brown edges but still going strong.

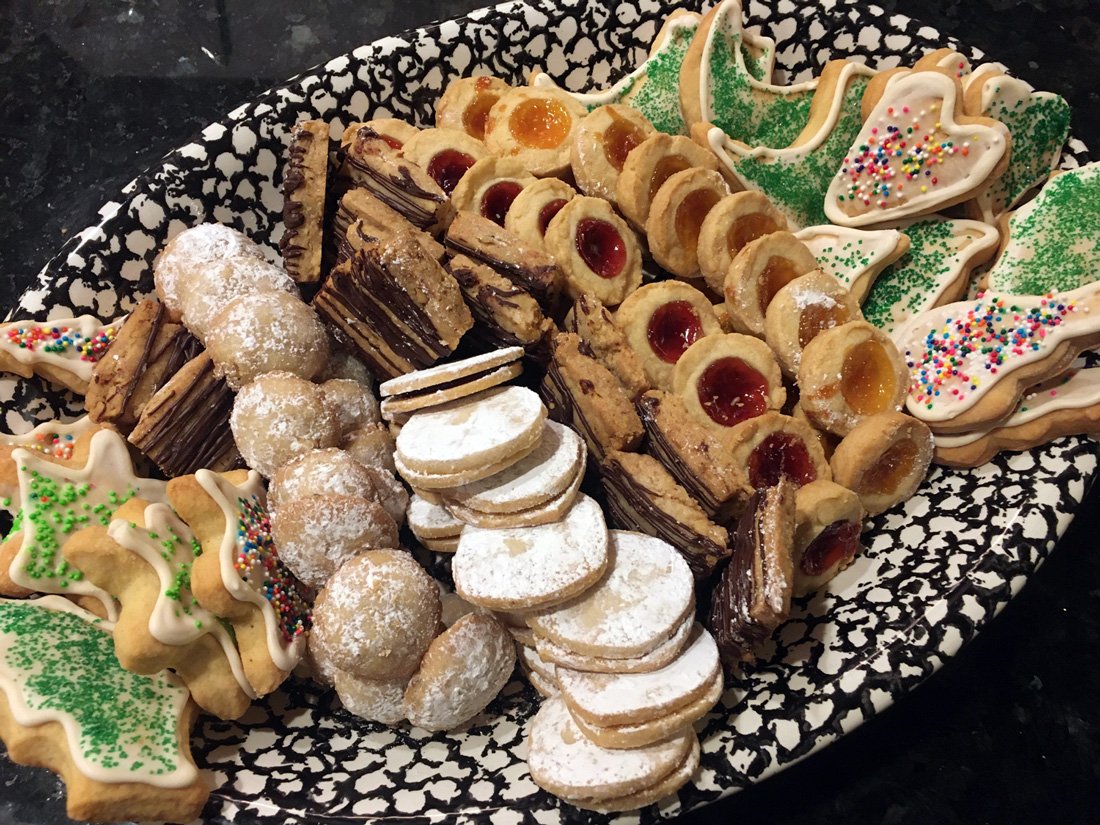
Melt in your mouth butter cookie filled with raspberry jam.

Sometimes apricot jam

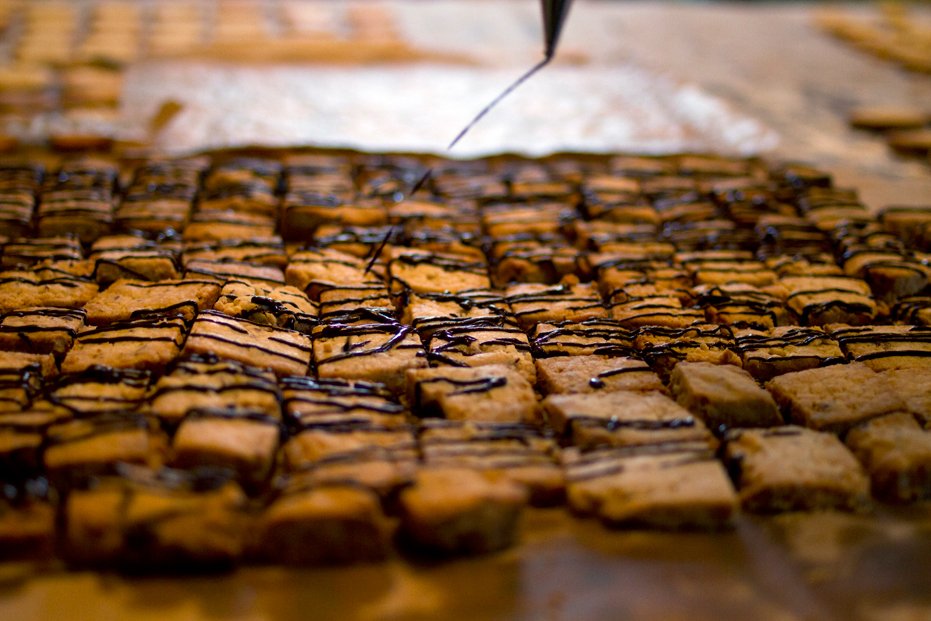
Chocolate Drizzled Shortbreads These shortbreads have the perfect texture and the drizzle of chocolate hits the spot.

The funny thing about me making cookies for the holidays is that due to my wheat intolerance I can’t eat a single one. I feel like that is the absolute best proof of how much I love bringing joy to others.

Lime Zest - Raspberry Jam Sandwich Cookie This cookie is buttery with a zing of lime followed by the tart of raspberry finished with sweet from the powdered sugar. What more can you ask from a cookie?

It may be hard work. But we always make time for wine.

When it comes to holiday traditions, we have several cookies that are main stays every year. But two are at the absolute top of the heap: Struffoli and Grandma Cookies.

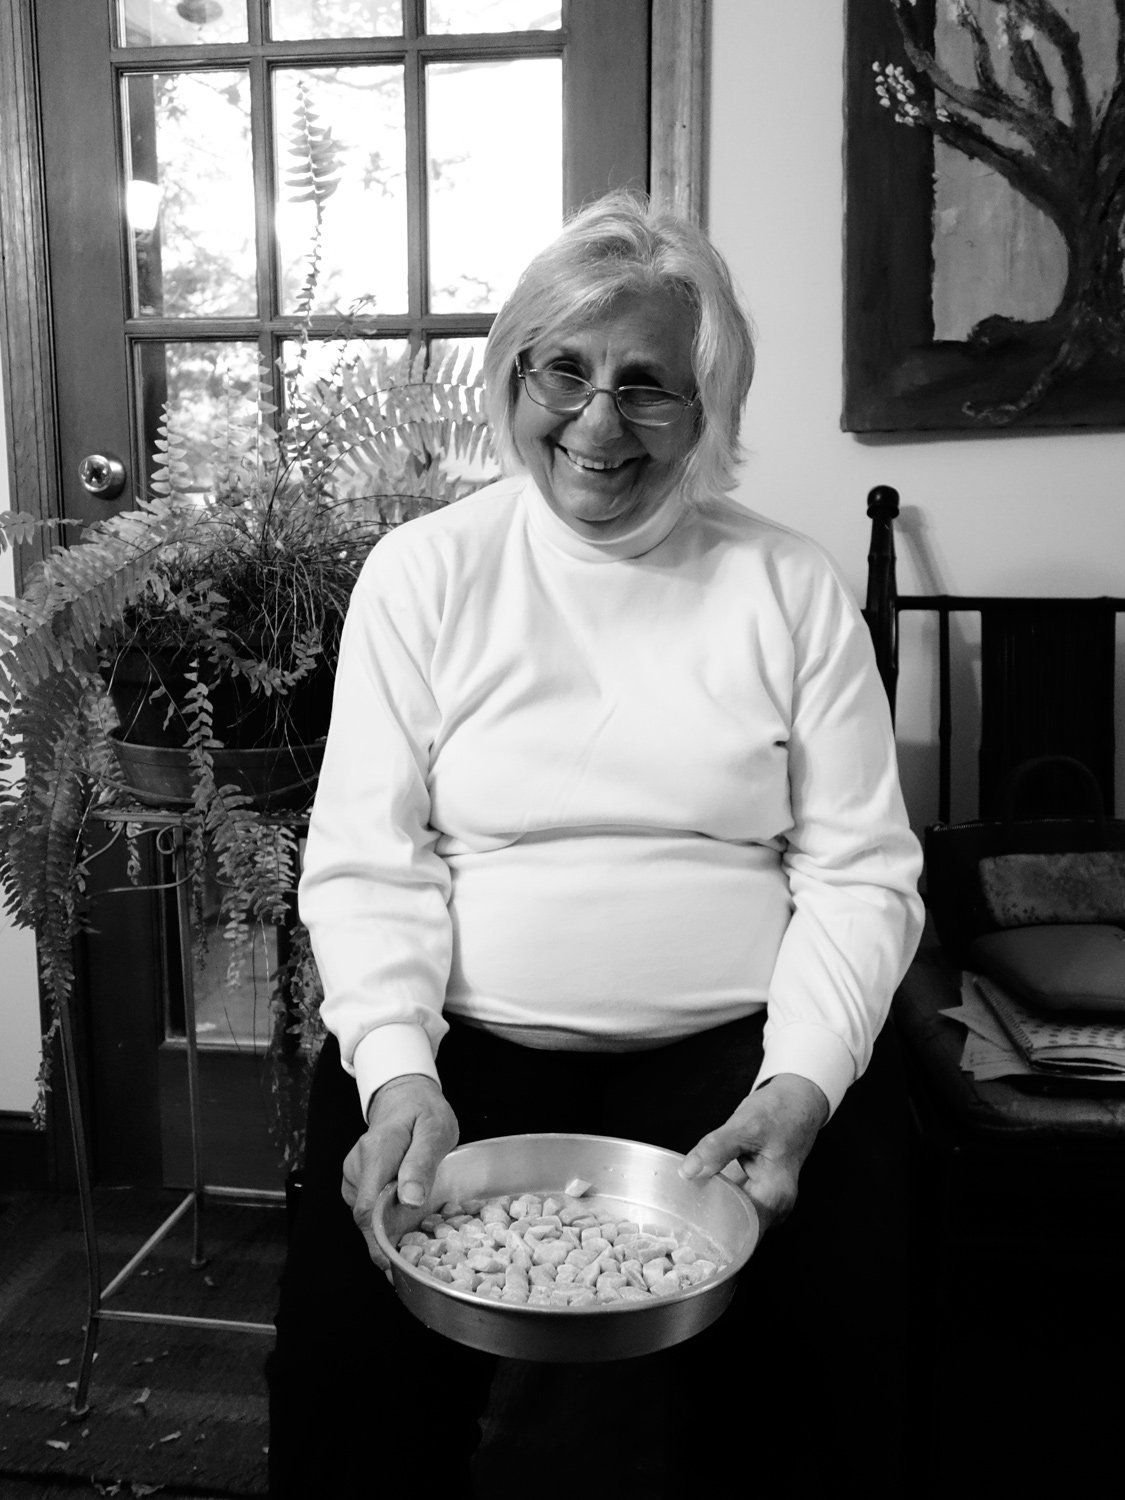
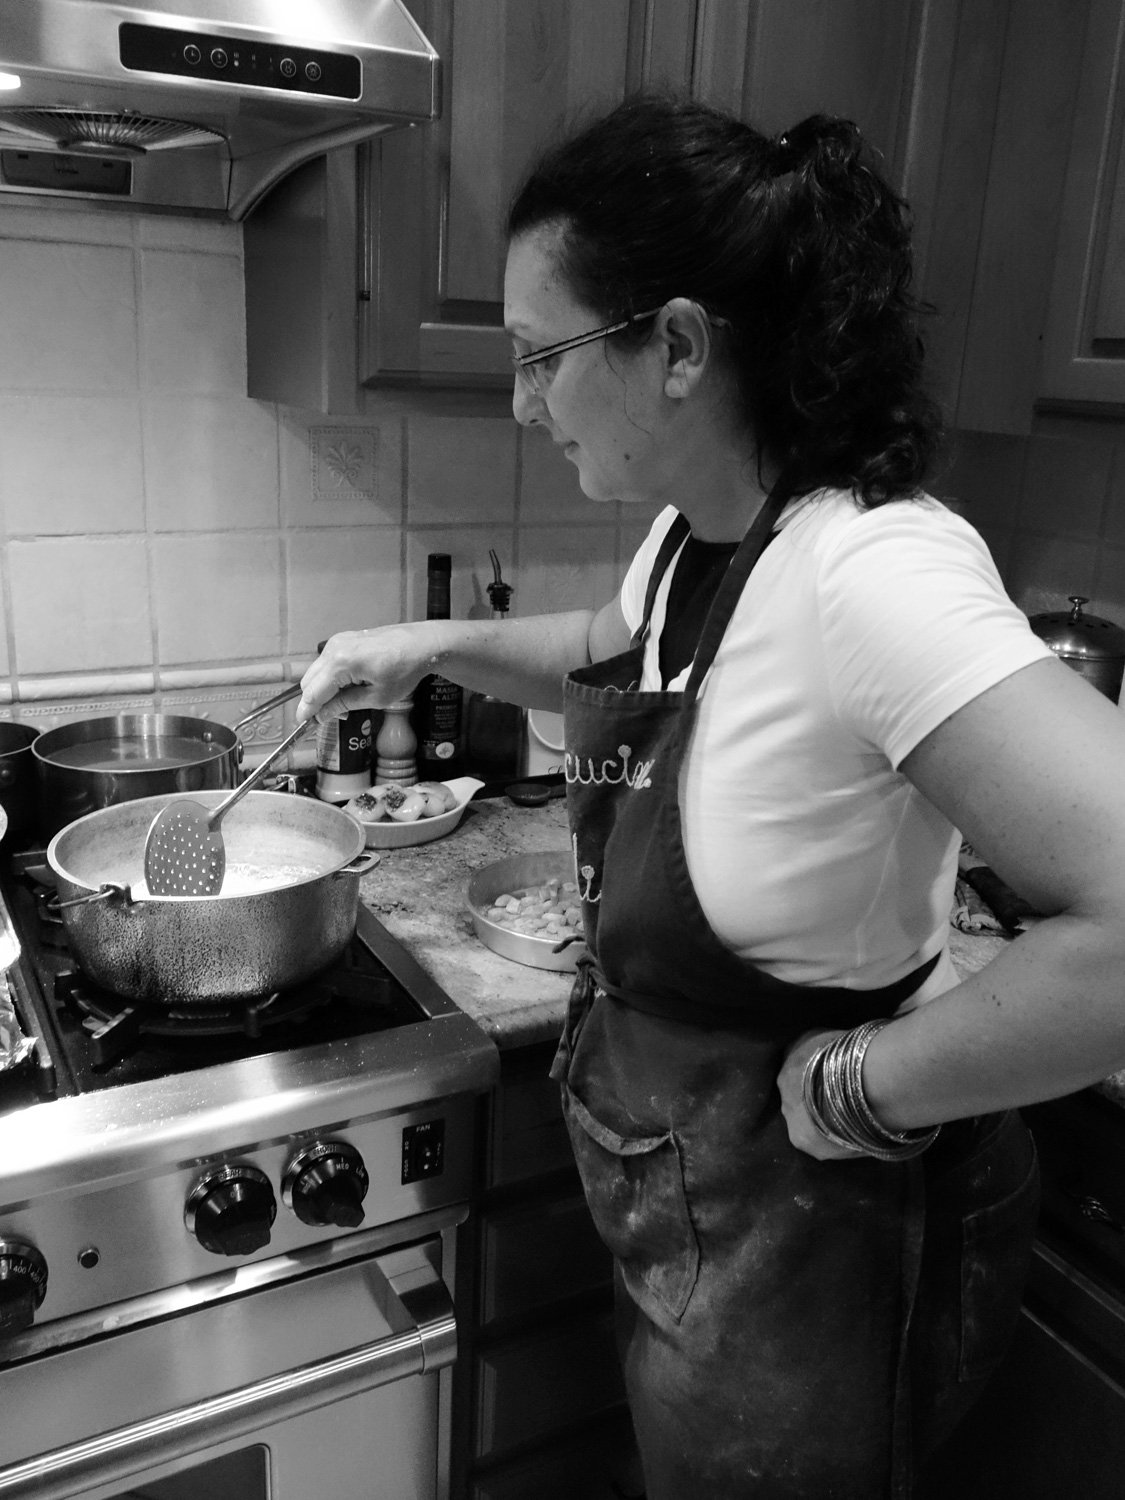
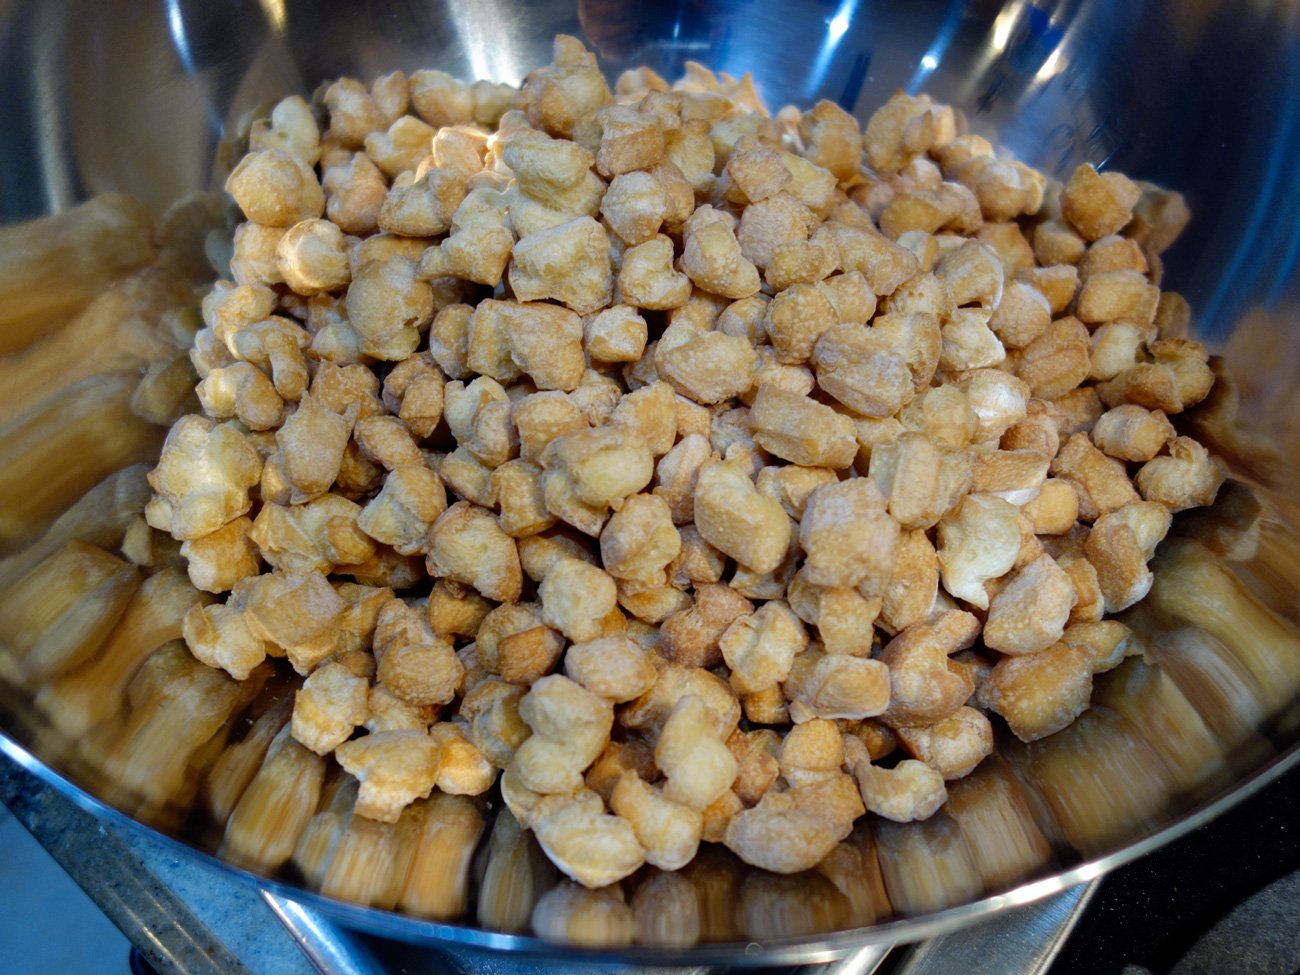
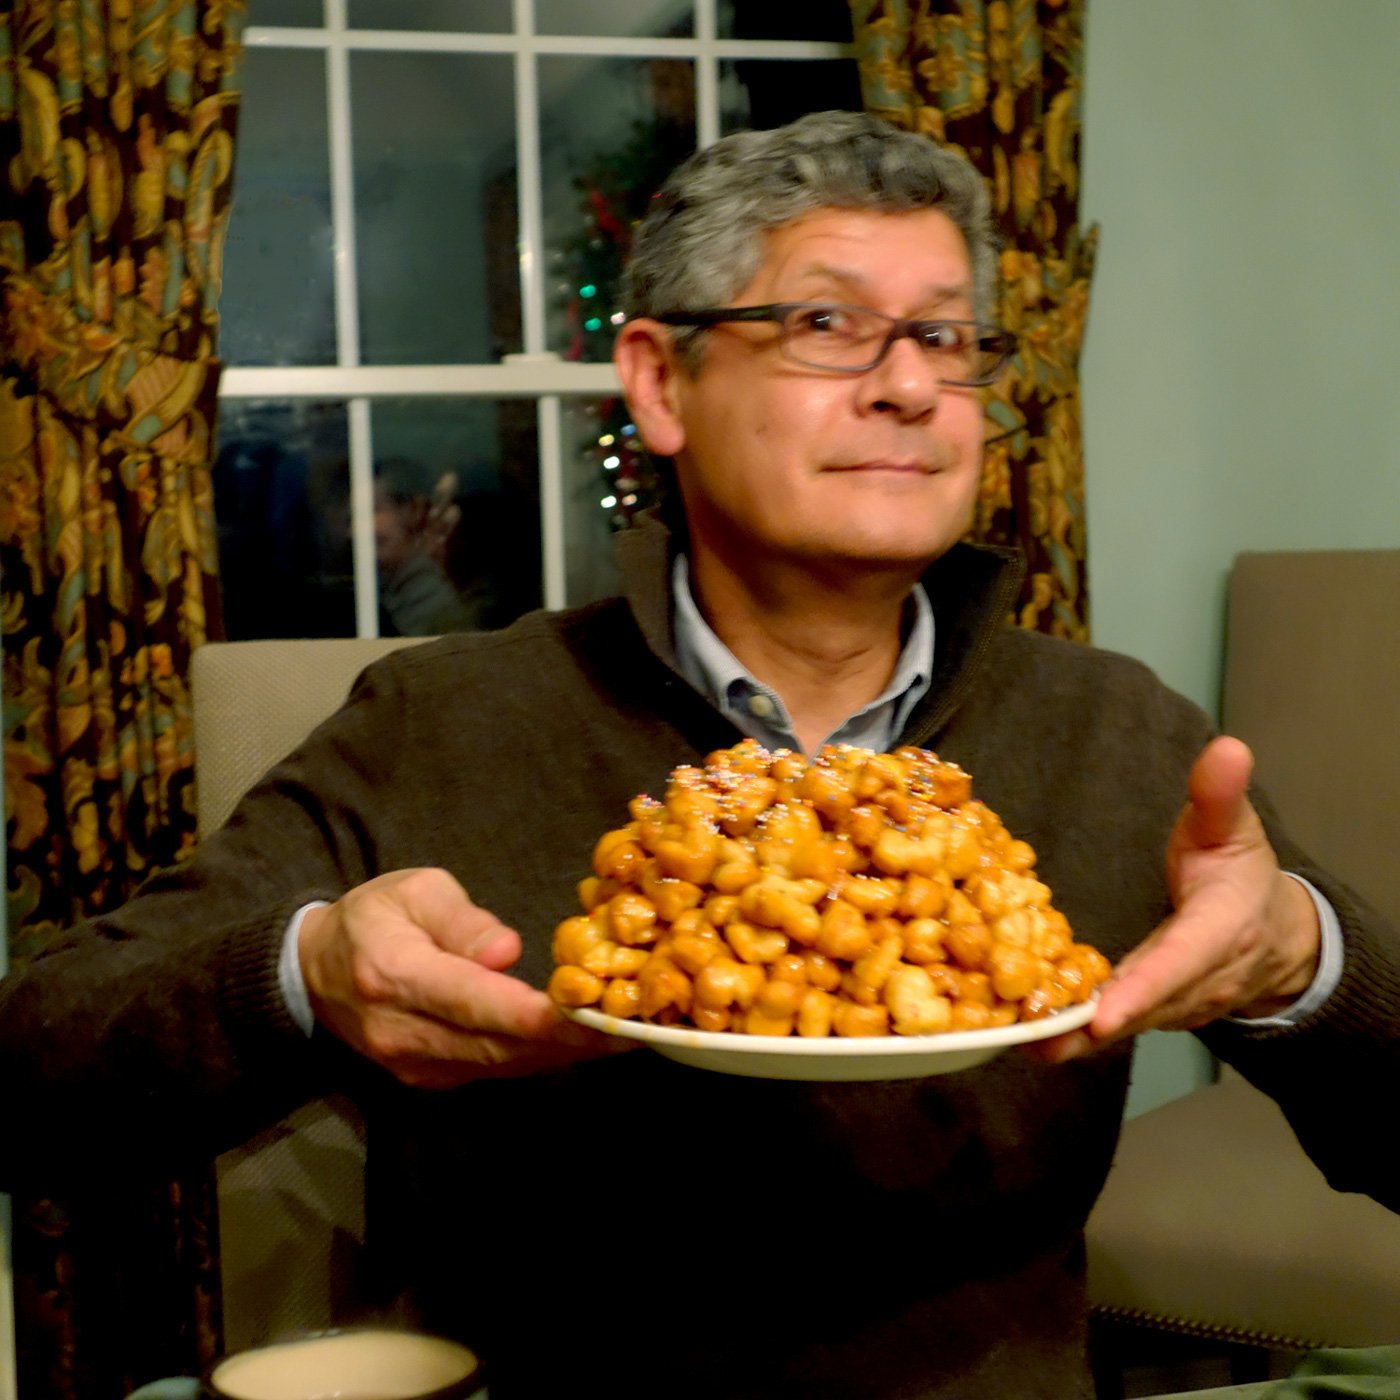
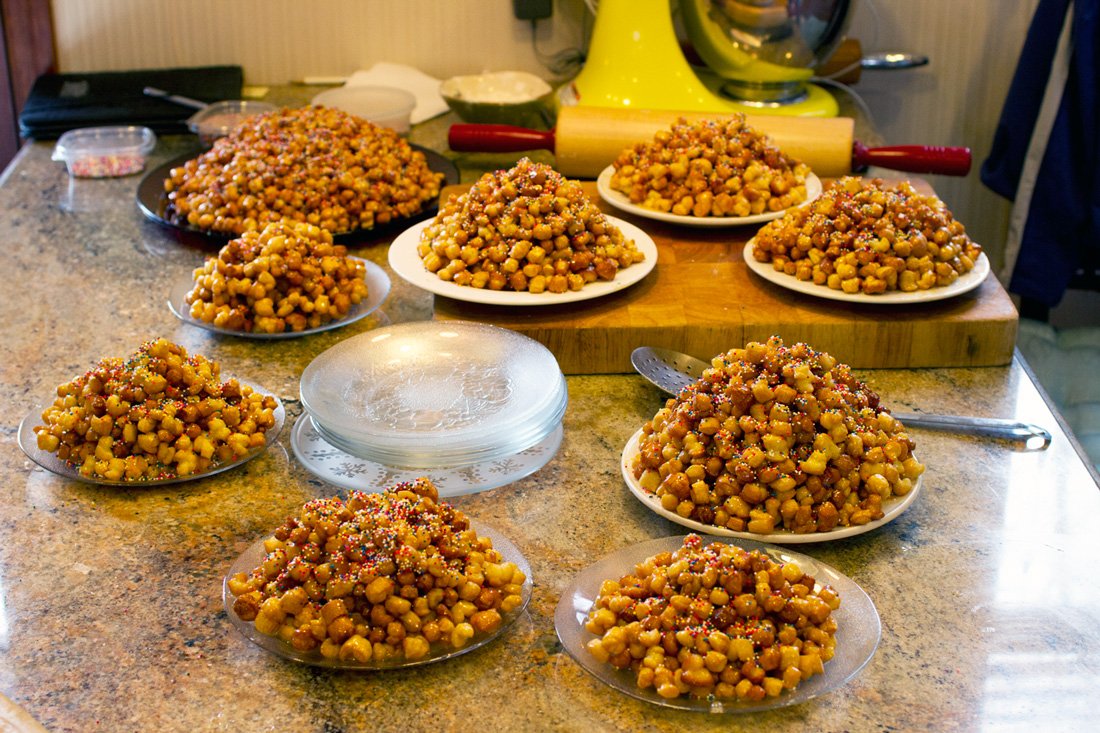
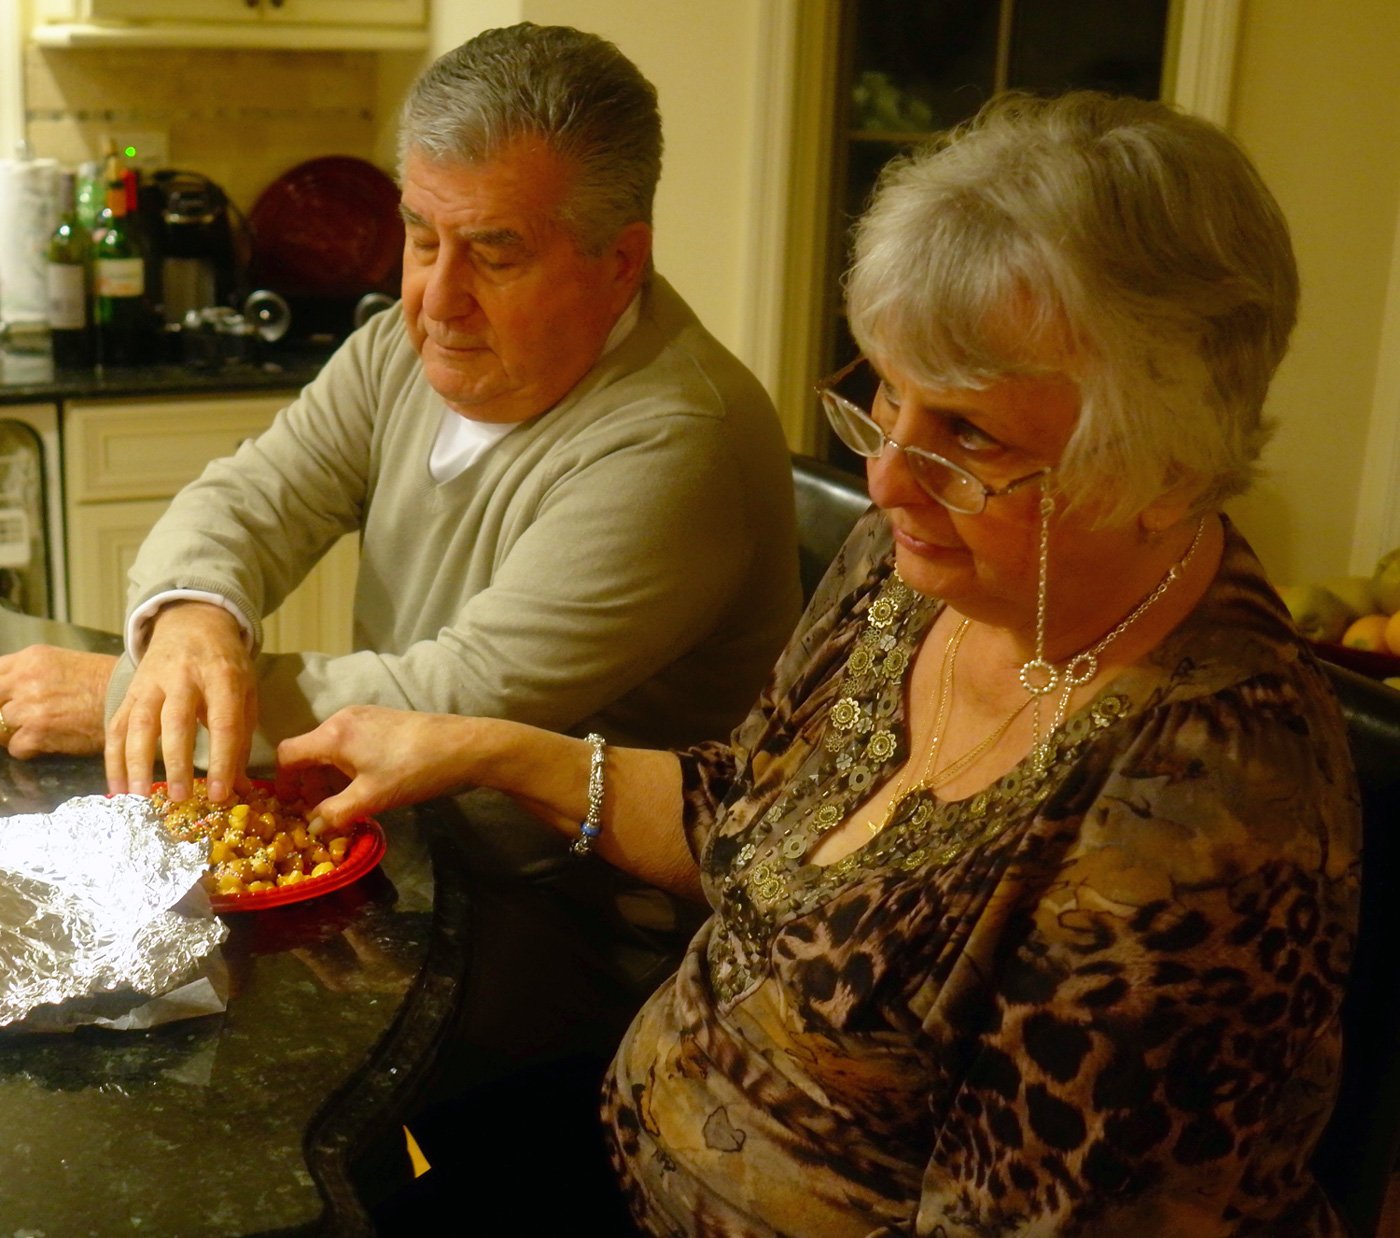
Struffoli are a traditional southern Italian Christmas treat, that originated in Naples which is near where my Grandma Perri was born (Salerno). They are basically fried dough balls covered in melted honey and sugar, mounded up and finished with sprinkles. (Who the hell cares about calories or if these are healthy. They are good for you because they are delicious and put a smile on your face. That’s health, my friends.)

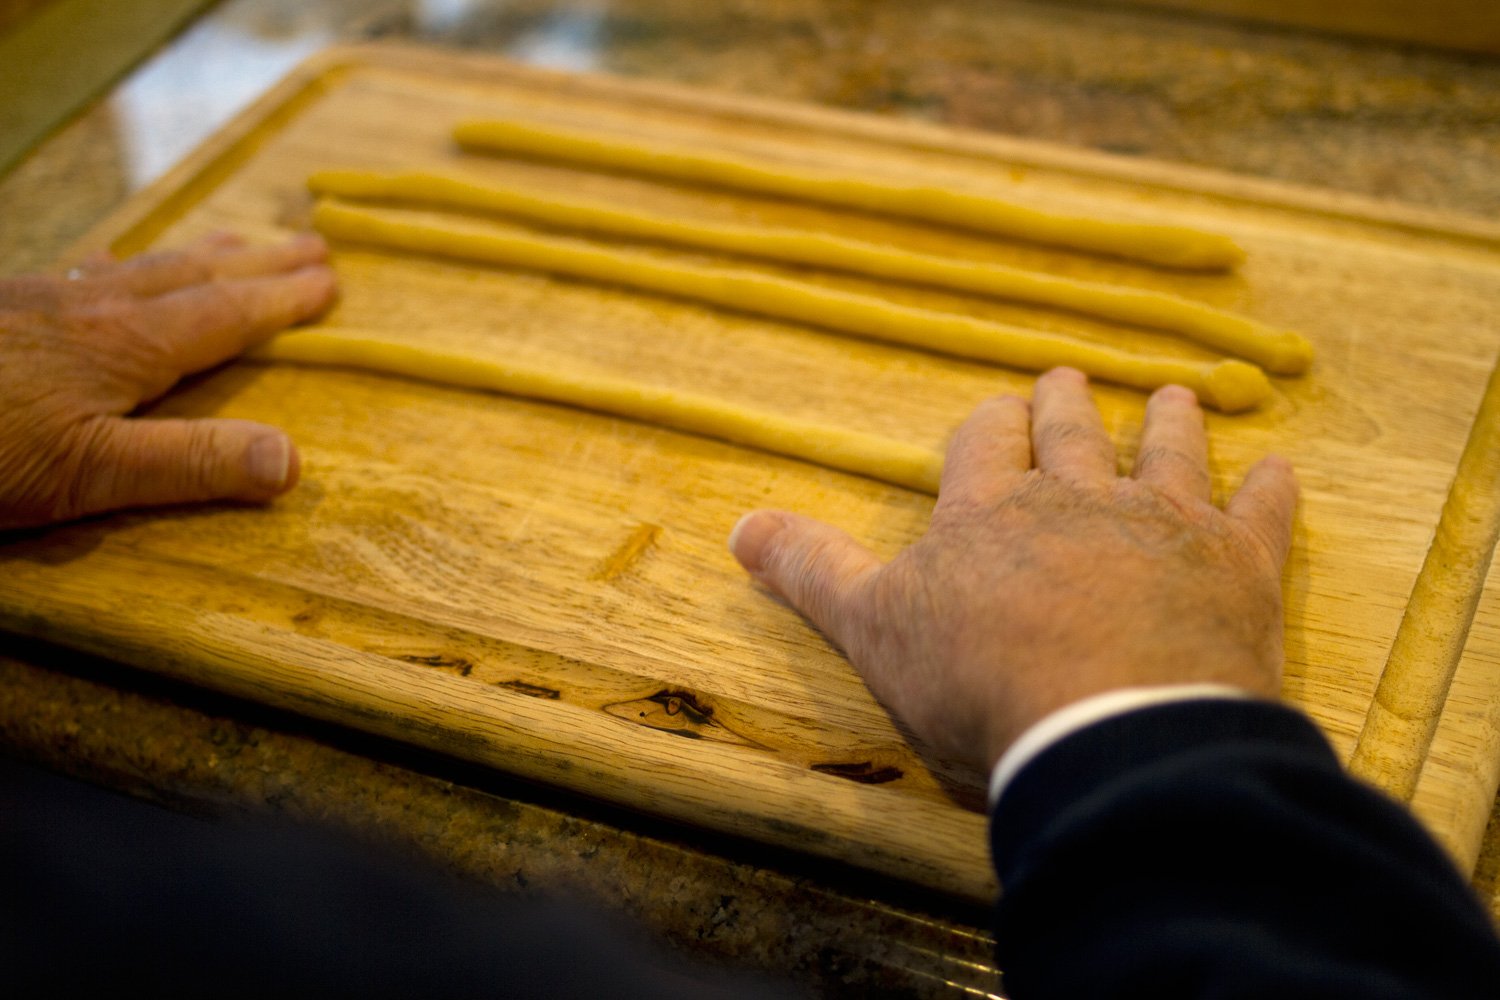
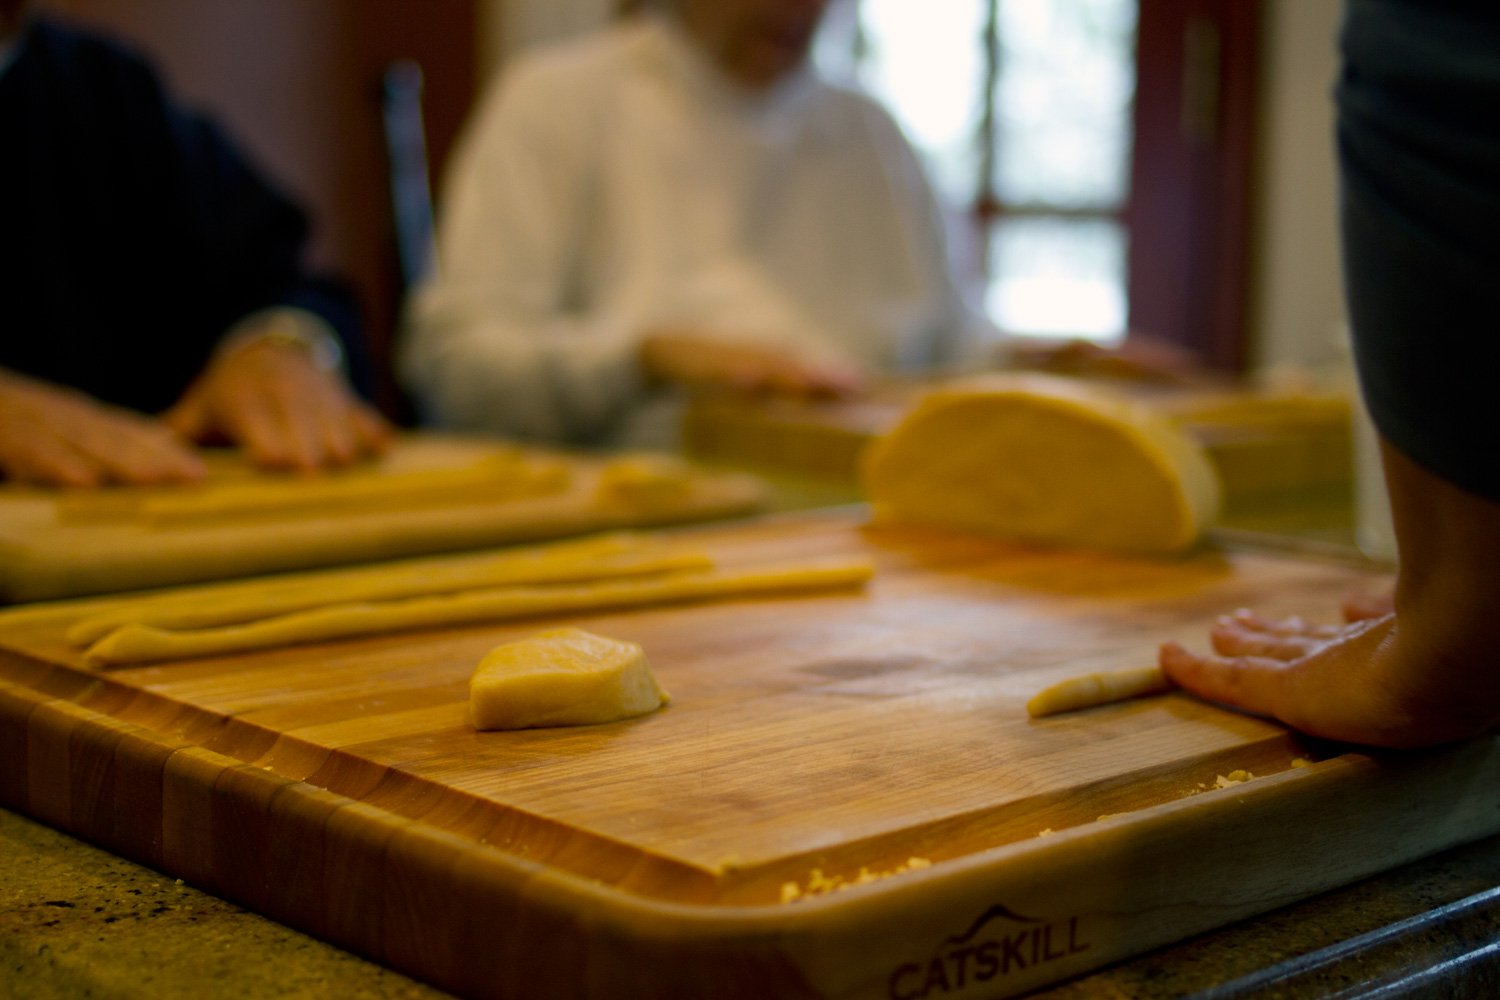
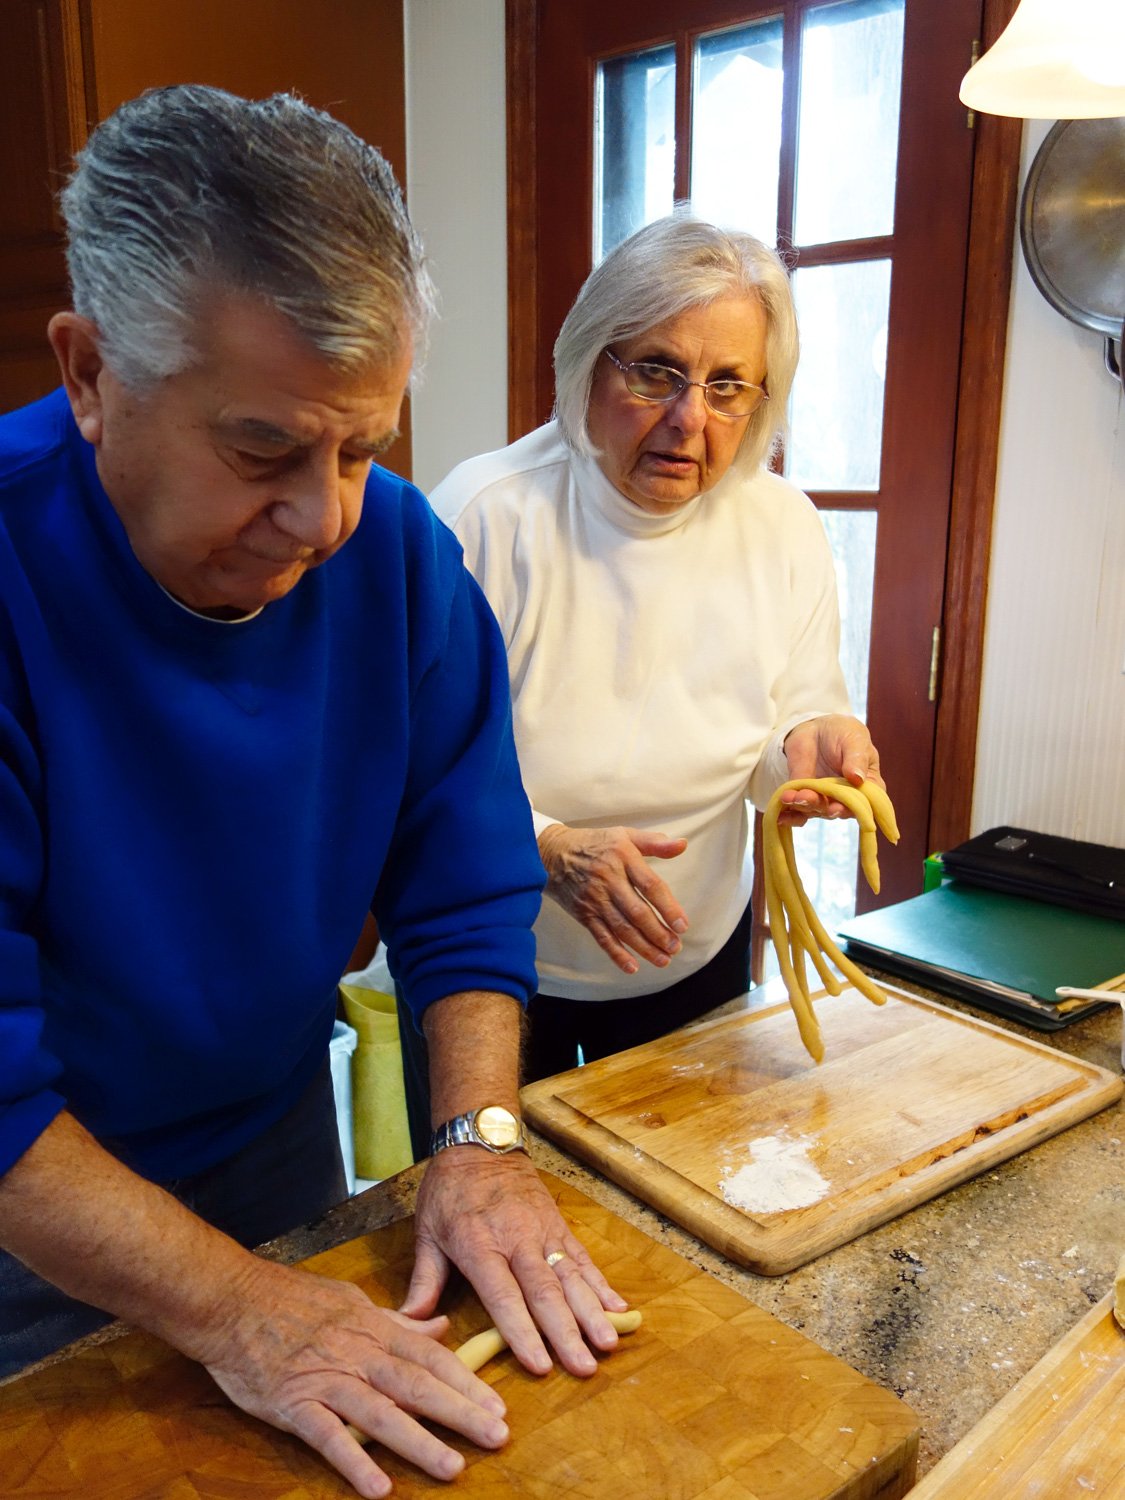
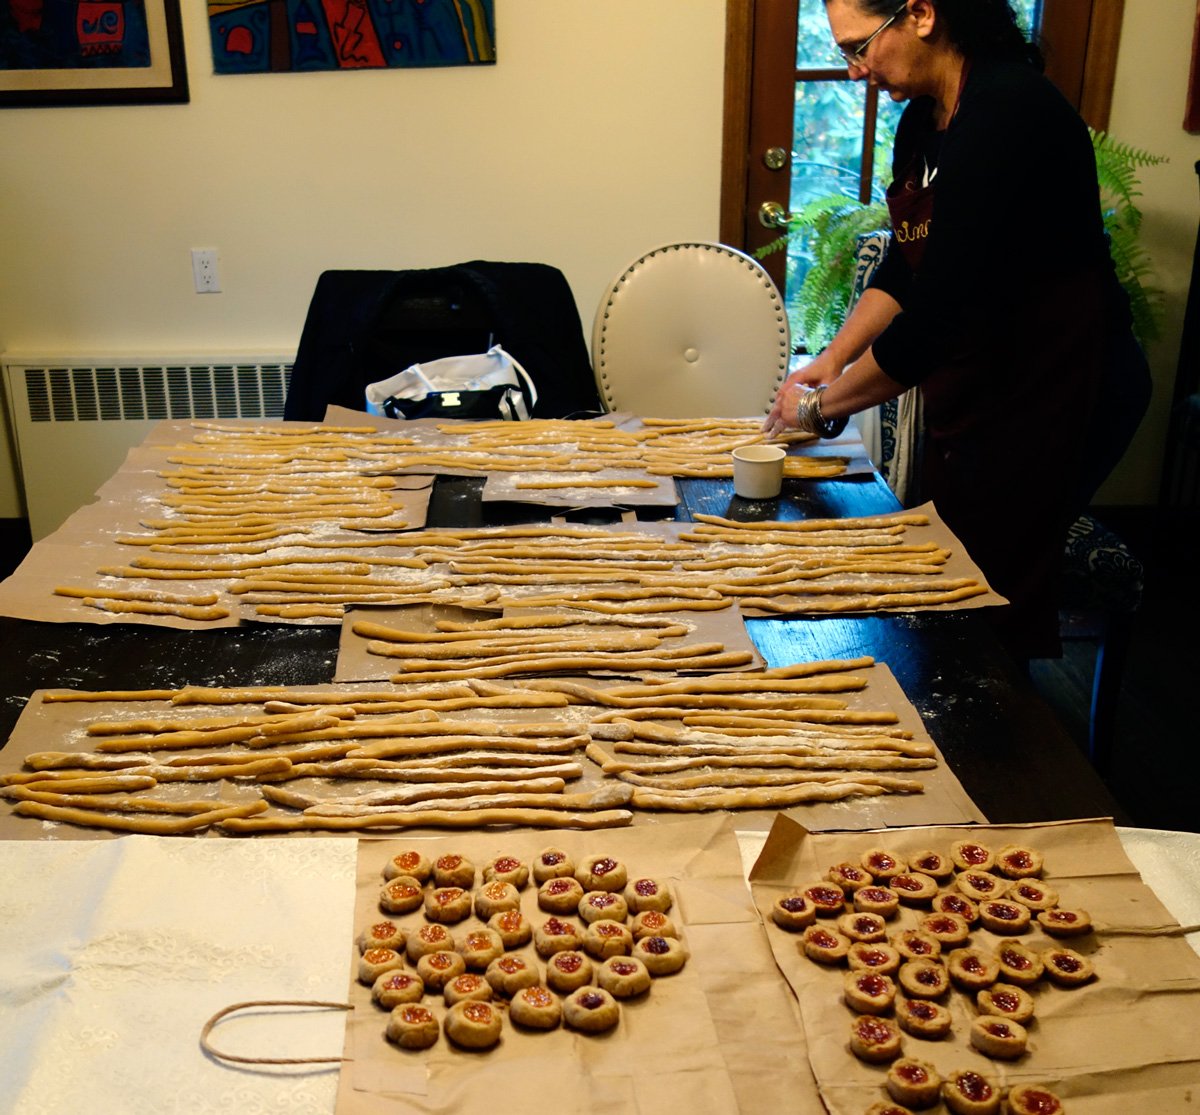
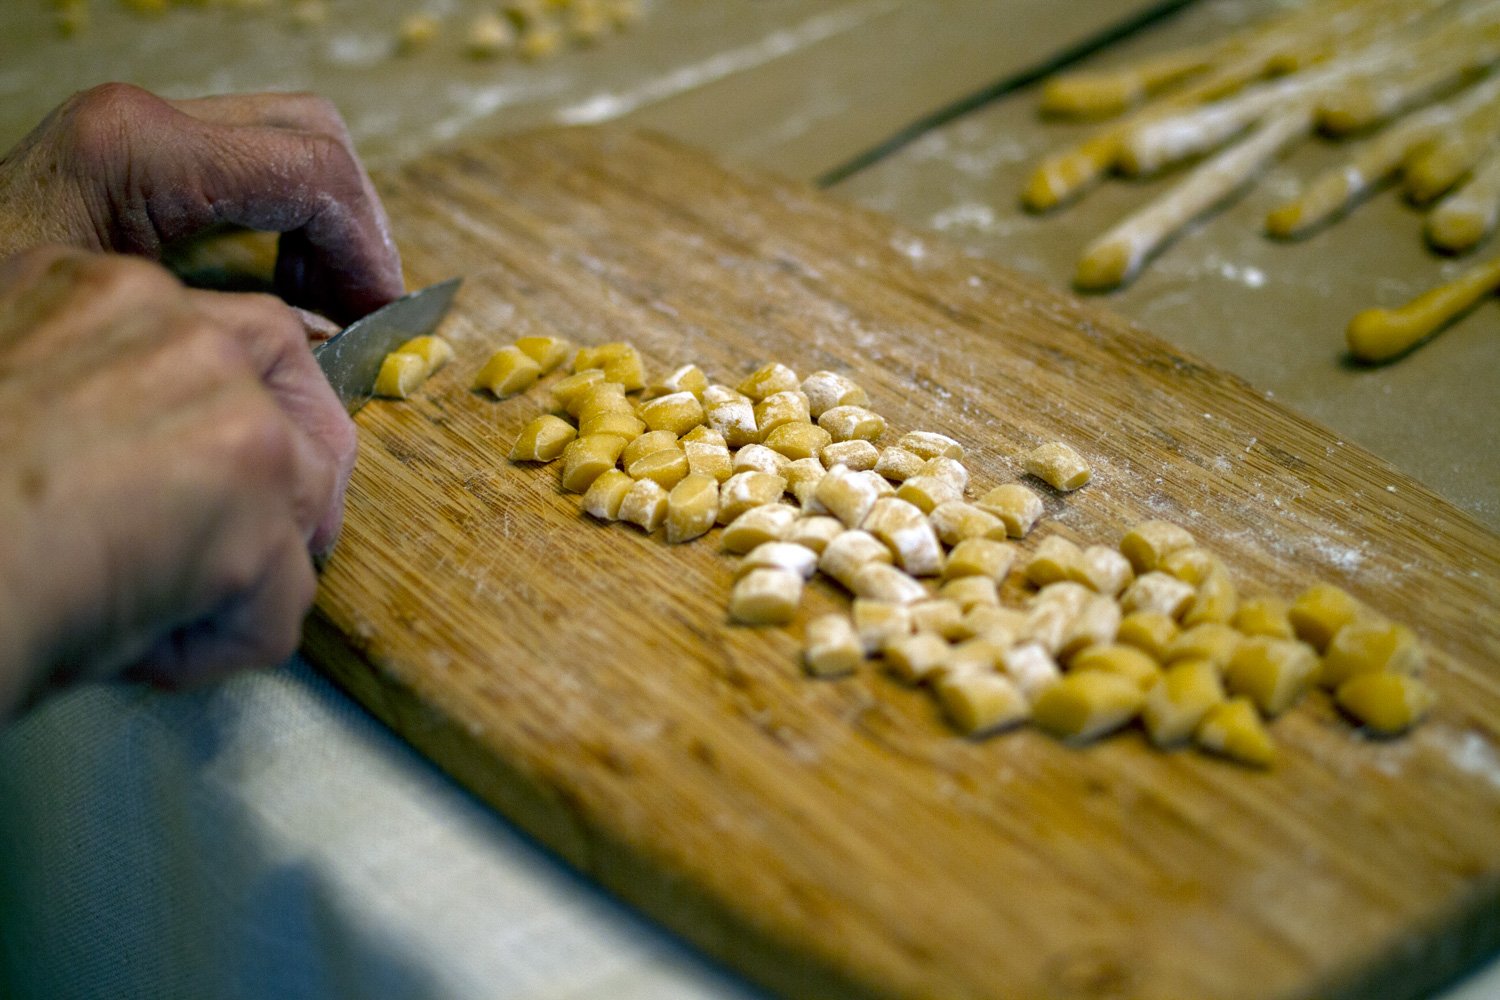
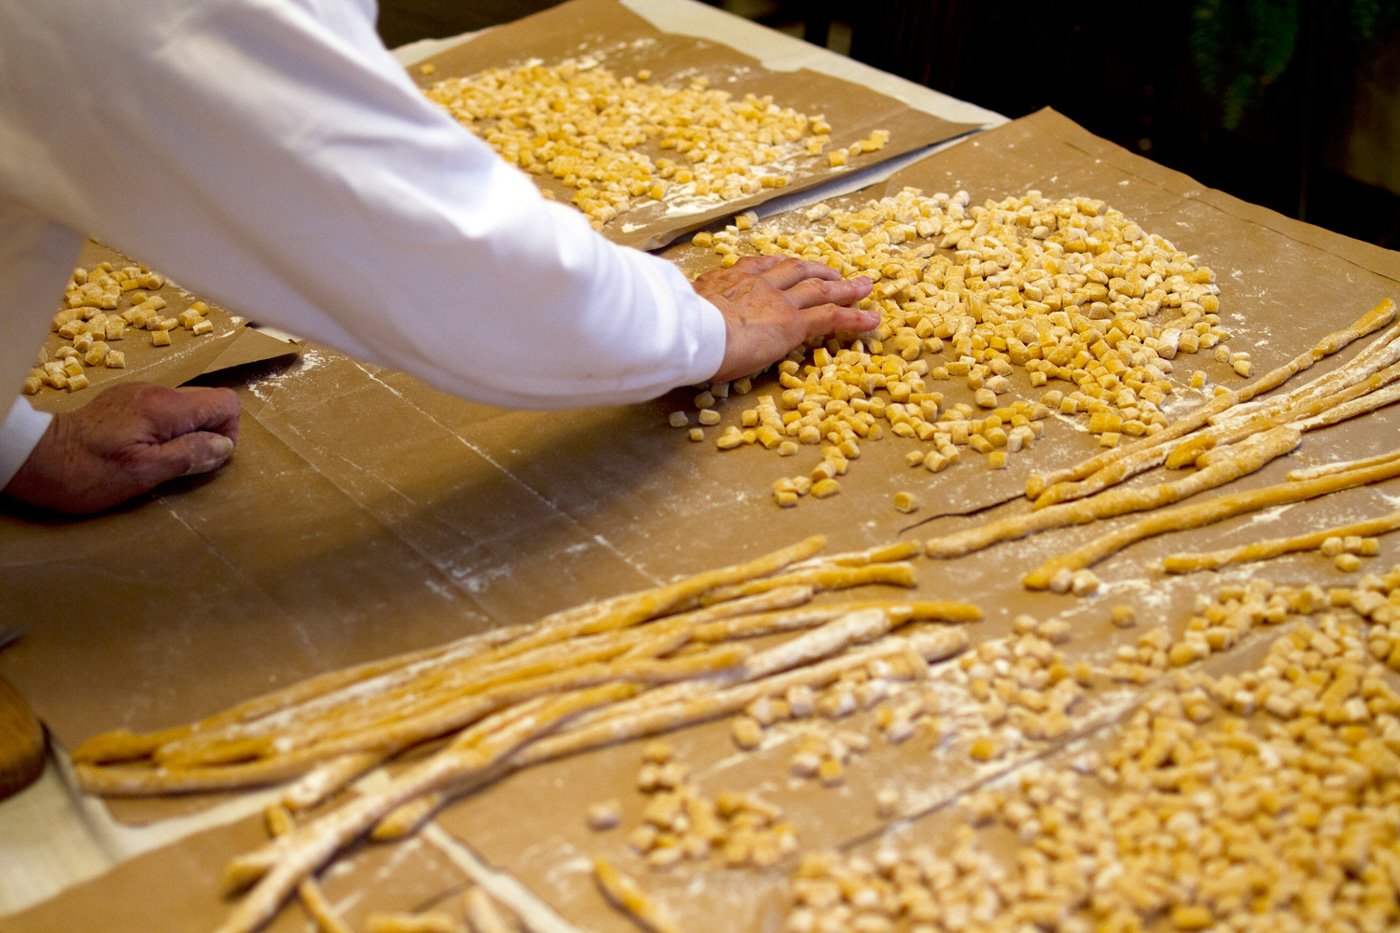
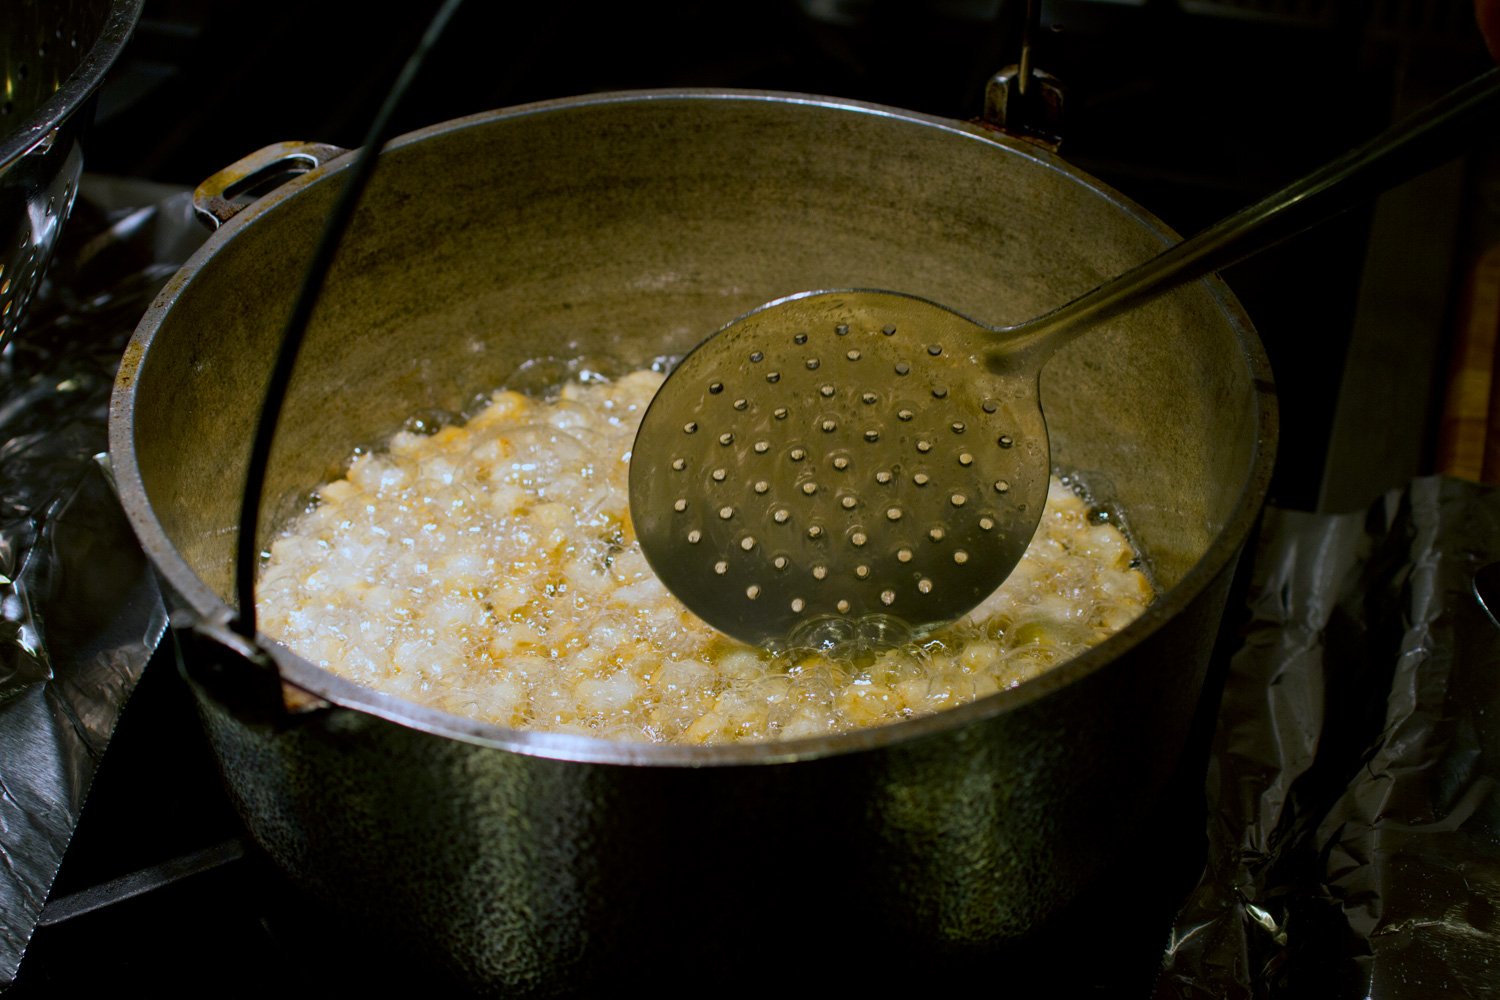
It is a laborious job that takes time and patience. You have to make the dough, knead the dough until it’s baby bottom smooth, cut the dough into small pieces and roll them into long ropes, let dry, then cut into tiny bits, then fry, then cook to coat them with sugar & honey. Believe me when I say it’s a process, but one I do with absolute love for those you relish picking one ball off at a time. For years my grandmother never let me knead the dough. And she watched over me as I rolled the ropes. Too thin, too thick. Ok, that’s just right. And while she was alive, I think I was only allowed to fry them once on my own. It was a decades long apprenticeship.

The other stand out fav is the Grandma cookie. I guess every family has their own version of a Grandma Cookie. For our part, we have no idea where our recipe originated, or if my Grandmother invented it herself. My Grandma Perri made them, without any written recipe. It was simply all kept in her head. Finally, one year we got smart. We carefully watched he, measured what she tossed in the bowl, and wrote it all down in order to preserve the legacy forever. She called them Grandma Cookies. So we called them Grandma Cookies. And that is how they will remain. The cookie made by my Grandmother.

Just as with the Struffoli, it was years before she allowed me to do certain tasks. I had to earn my level of involvement, proving that I mastered the previous task. And to be honest, there are still times when I wish they were both right behind me so I could ask them questions or have them tell me that I’m doing it right.

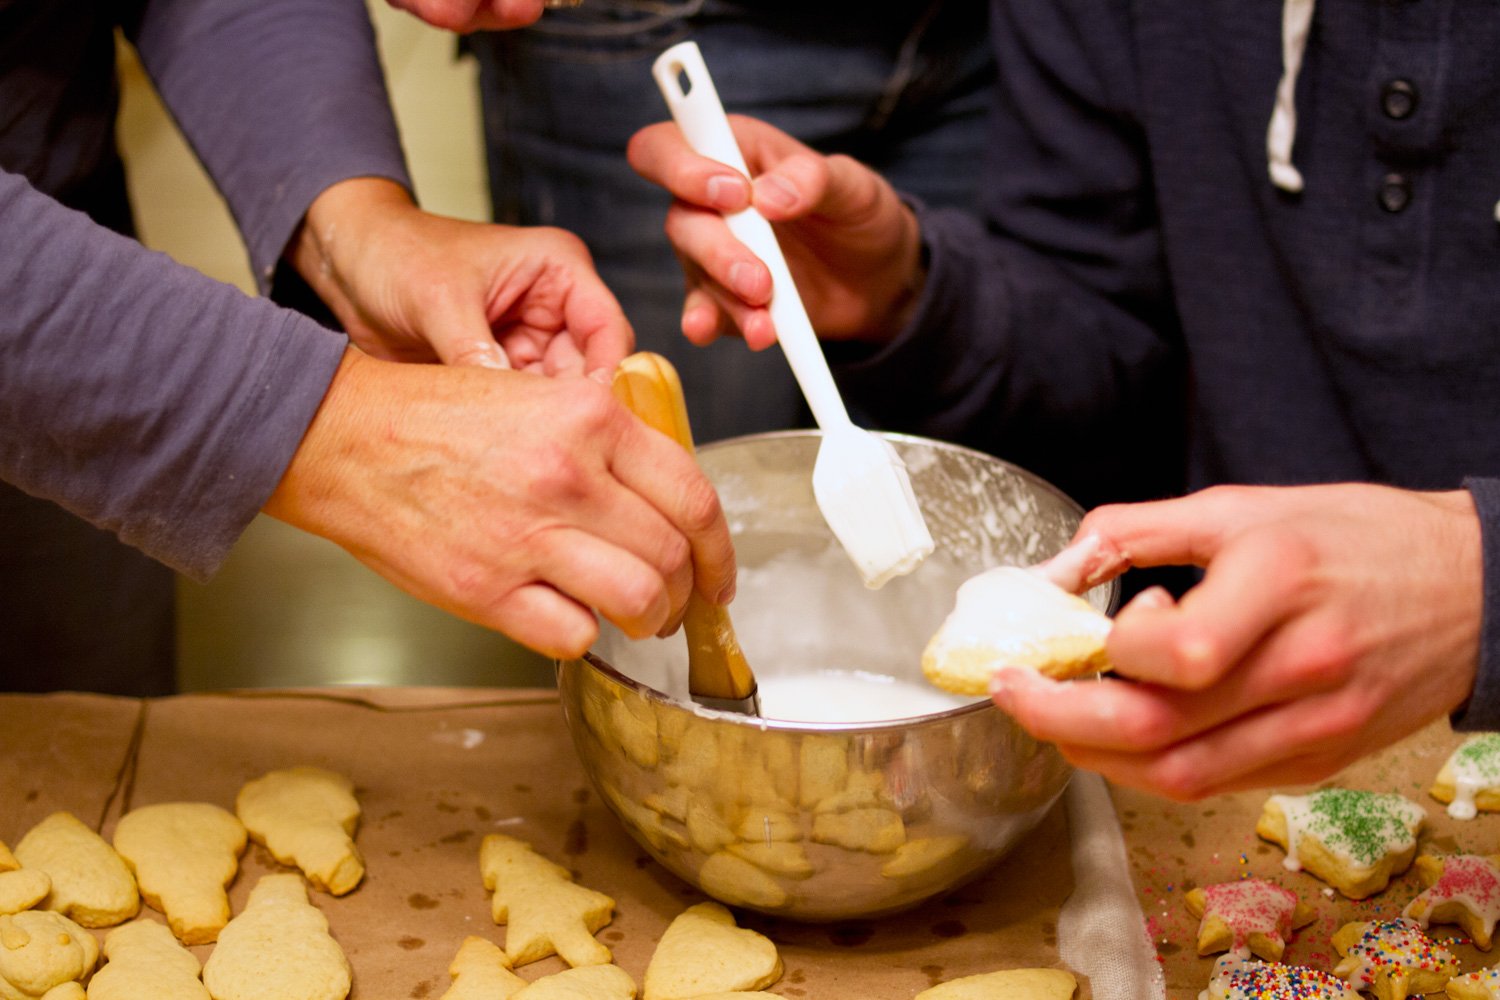
The texture of these are more like a mini cake/scone than a cookie. And the way my grandmother made them was not a beautiful work of art. No, no, the icing was and still is simply brushed on willy nilly, and sprinkles are spooned over top. And to be honest, I’m all for that method. True, that those immaculately glazed cookies are a thing of beauty but all that work destroyed after one bite. Heck, it tastes the same no matter the decoration.

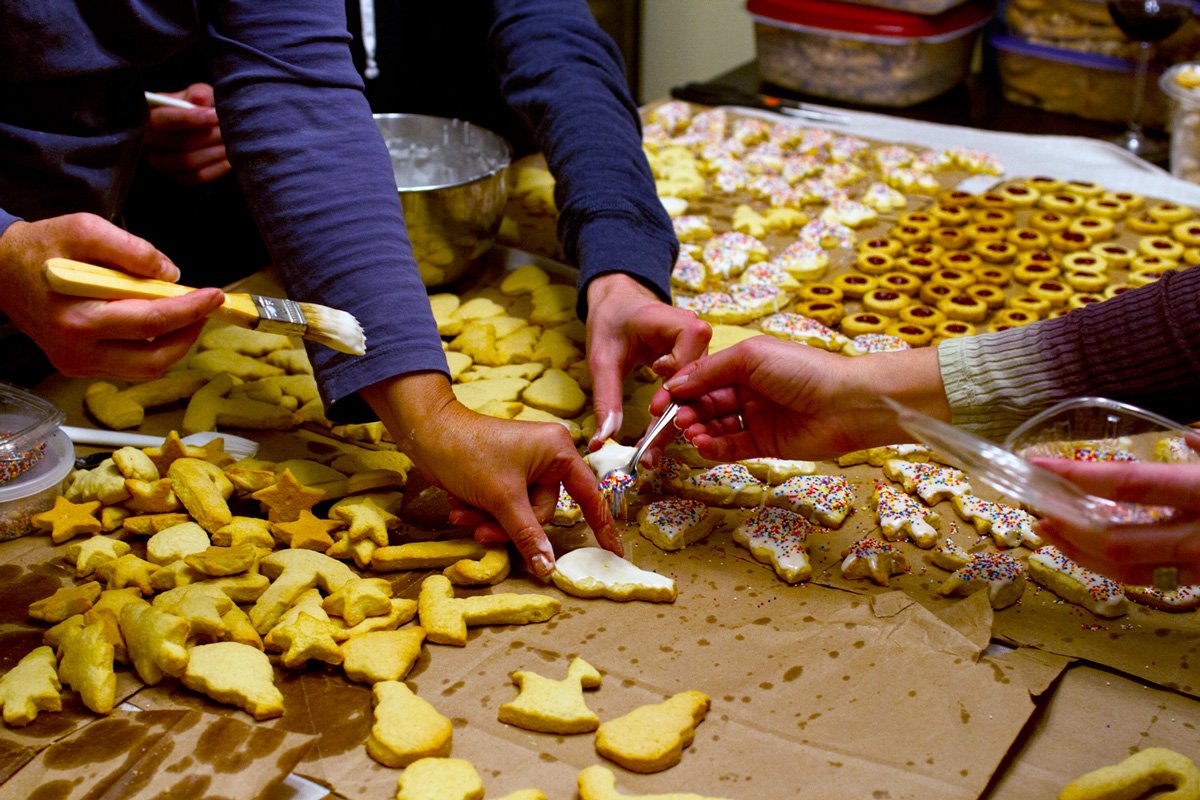
For anyone who has had these cake like cookies they know what I’m talking about. They are so darn good. And because they are beloved… We literally make a table load.

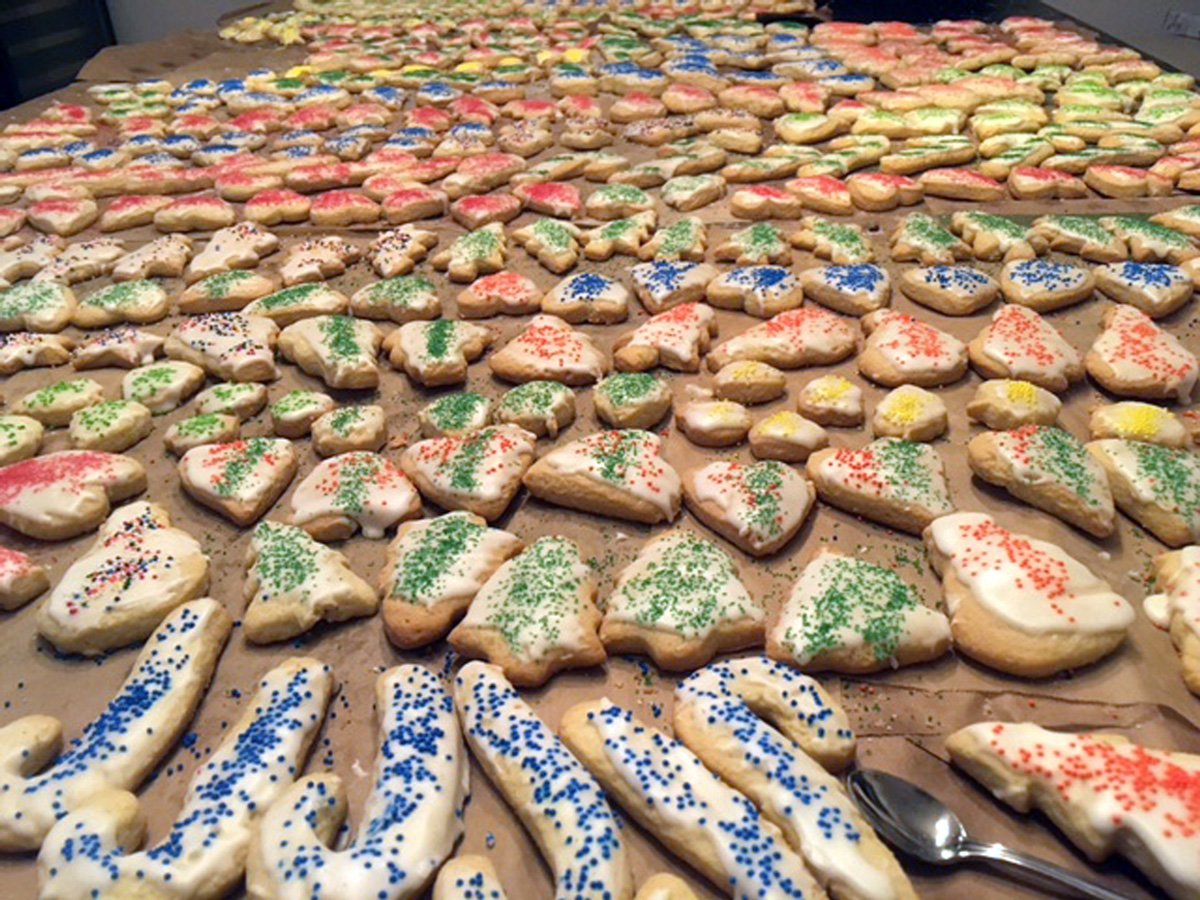
Yards of Grandma Cookies.

It has always been a family affair but when some family members can’t make the trip, they join in by FaceTime.

Nicolette calling in from NC and marveling at the amount of Grandma Cookies we made. Those are her favorite, as her sisters Gabrielle and Michella, too.

It’s a tradition I try hard to fulfill each year. No matter what is going on, or how crazy the season gets I do my very best to bake up a storm. But this tradition took a turn these past several years due to the pandemic. I have been making everything by myself and then ship them to family. It was quite the adjustment. The other big change was that I starting selling my baked goods, so certain protocols and procedures are taken for customer orders. You can check out my SHOP PAGE to see what’s cooking.


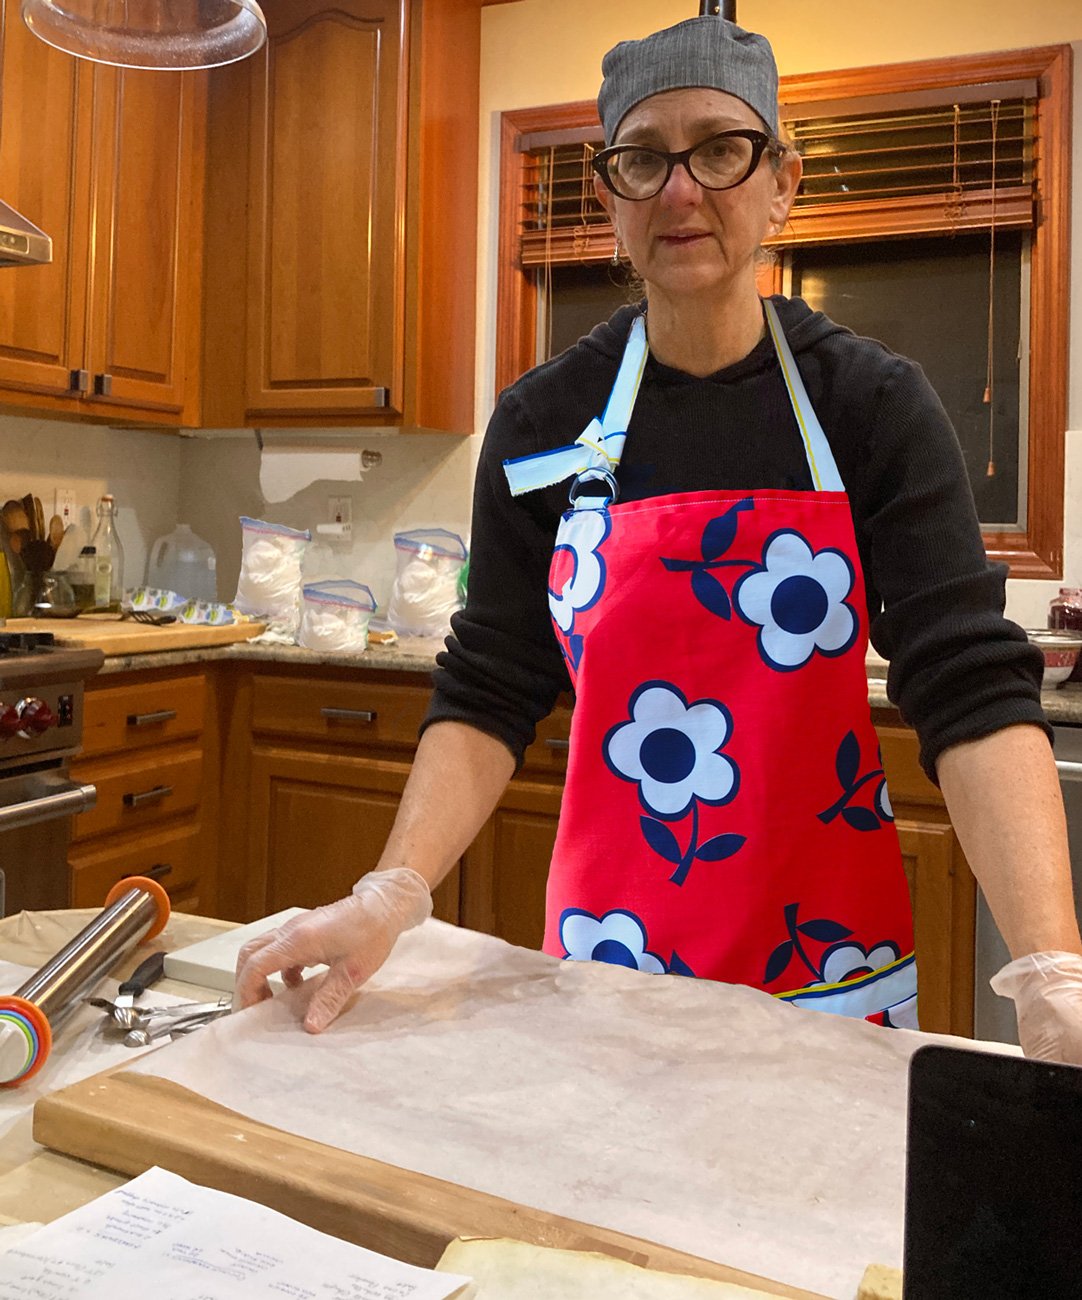
Head covering, gloves are always used.

However, Grandma Cookies and Struffoli are still purely a family tradition. And this year I was looking forward to welcoming back my crew of apprentices. But as luck would have it, schedules shifted and we are making a big move for my parents from Long Island to Westchester smack dab in the middle of the holidays. Thus the cookie manufacturing plant has been postponed until they get settled and we can all reconvene again. Maybe that’s why I decided to write this post. I wanted desperately to get back to the holiday traditions I know and love. So sharing this holiday love story will have to do until my parents are settled in, and back right by my side.

I can always count on them for any task. I love having them help me.

No matter how these cookies are packaged, they come from deep in my heart, and made with pure love.


I end as I began with my mouth wide opened laughing in the kitchen, with my Grandmothers on my spiritual shoulders.

Thank you for indulging me this trip down memory lane. Sharing the abundance of togetherness, laughter and holiday cheer is the best way of honoring the past, living in the present and ensuring the future. 
From my family to yours, I wish you all the very happiest of holidays.  Joyous of years filled with peace and bliss, adventure and wonder, laughter and giggles, health and more health all stirred with the largest amount, and only ingredient that matters… LOVE.