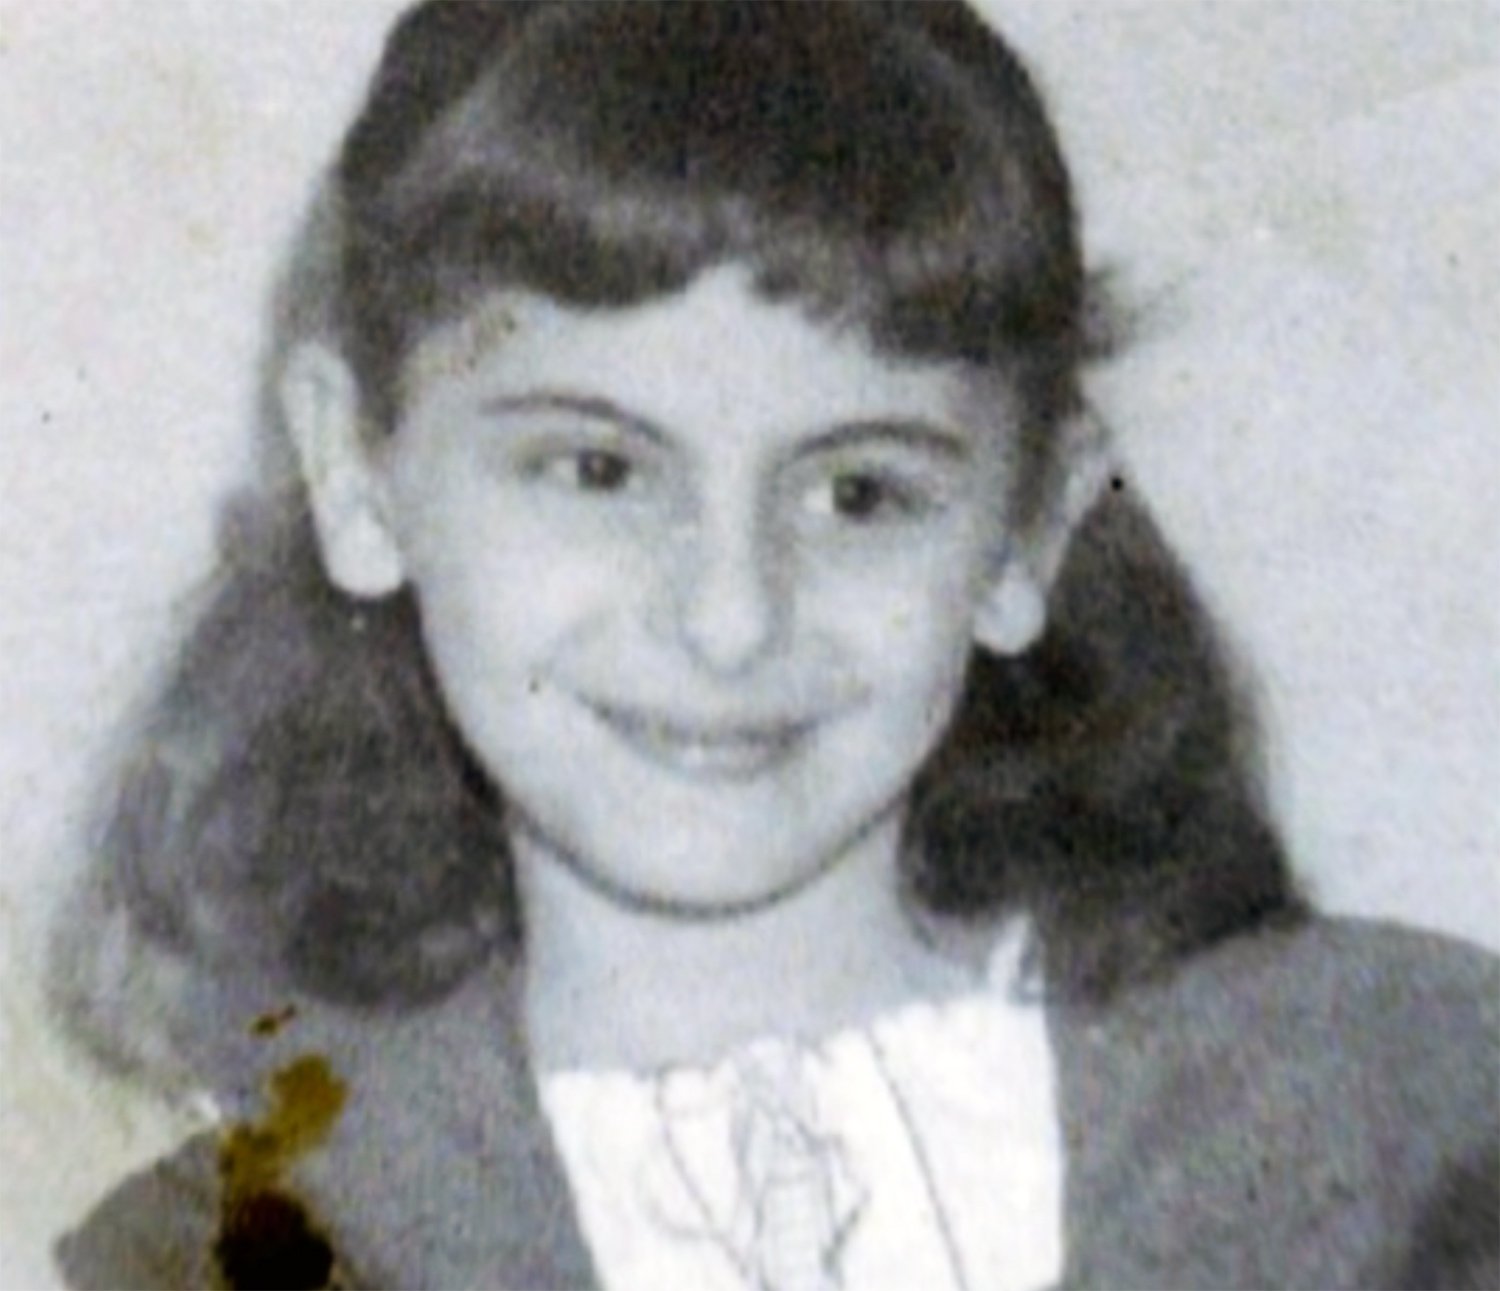
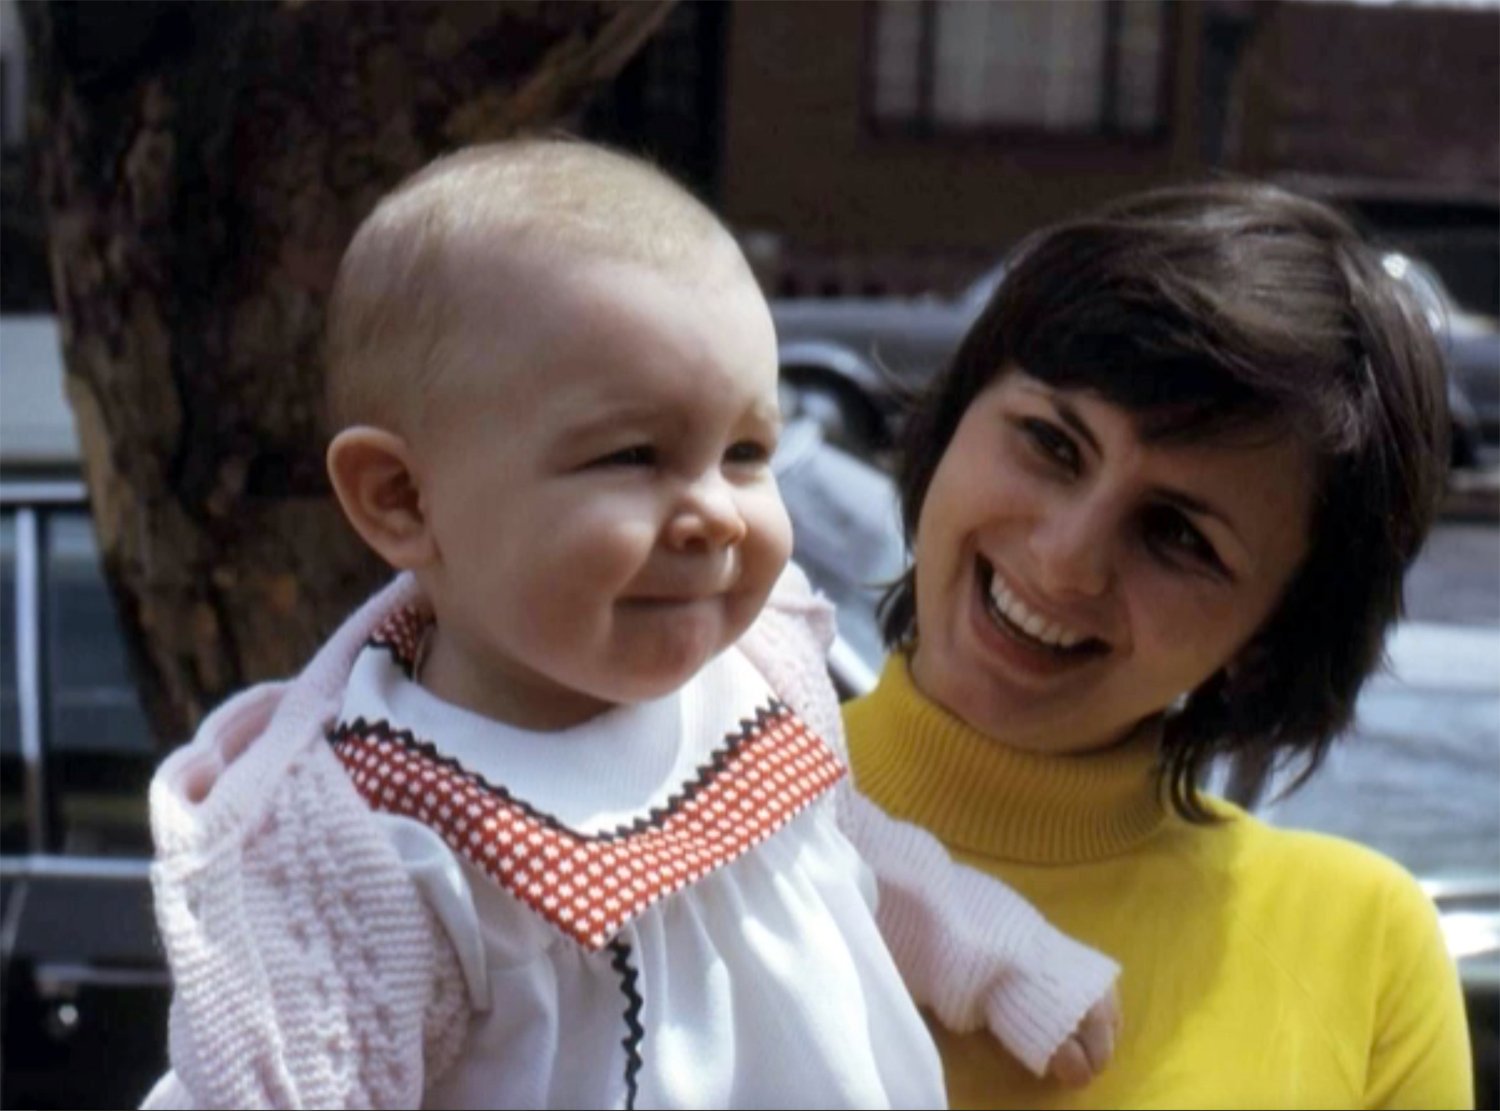
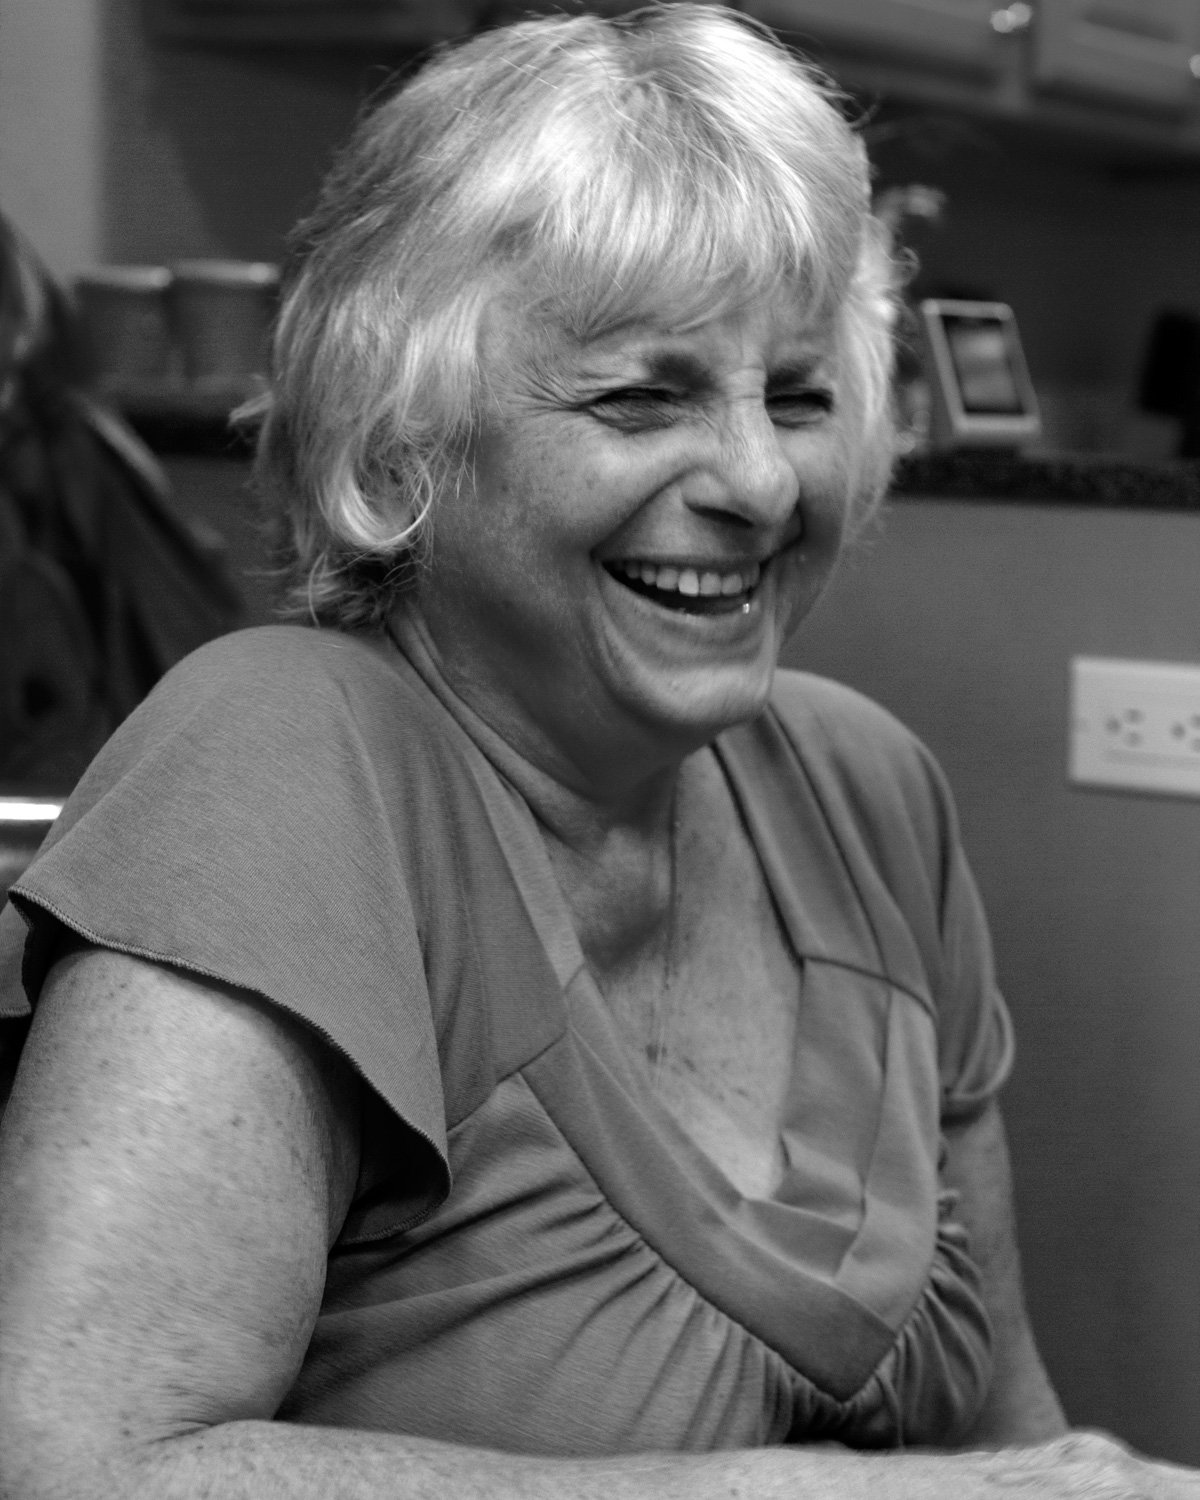
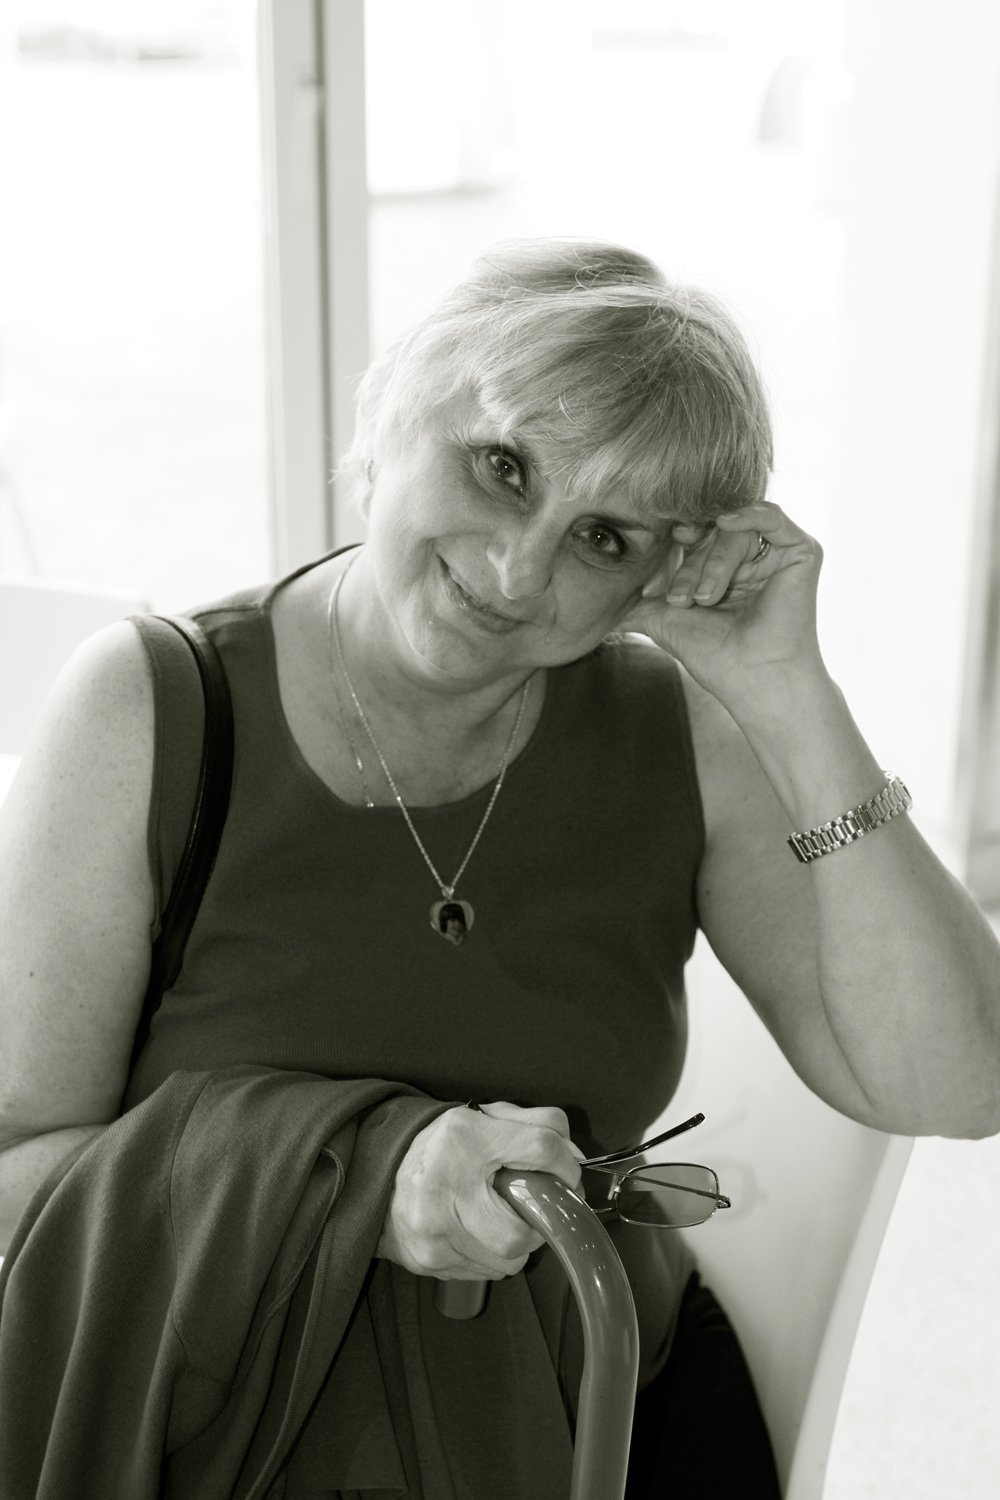
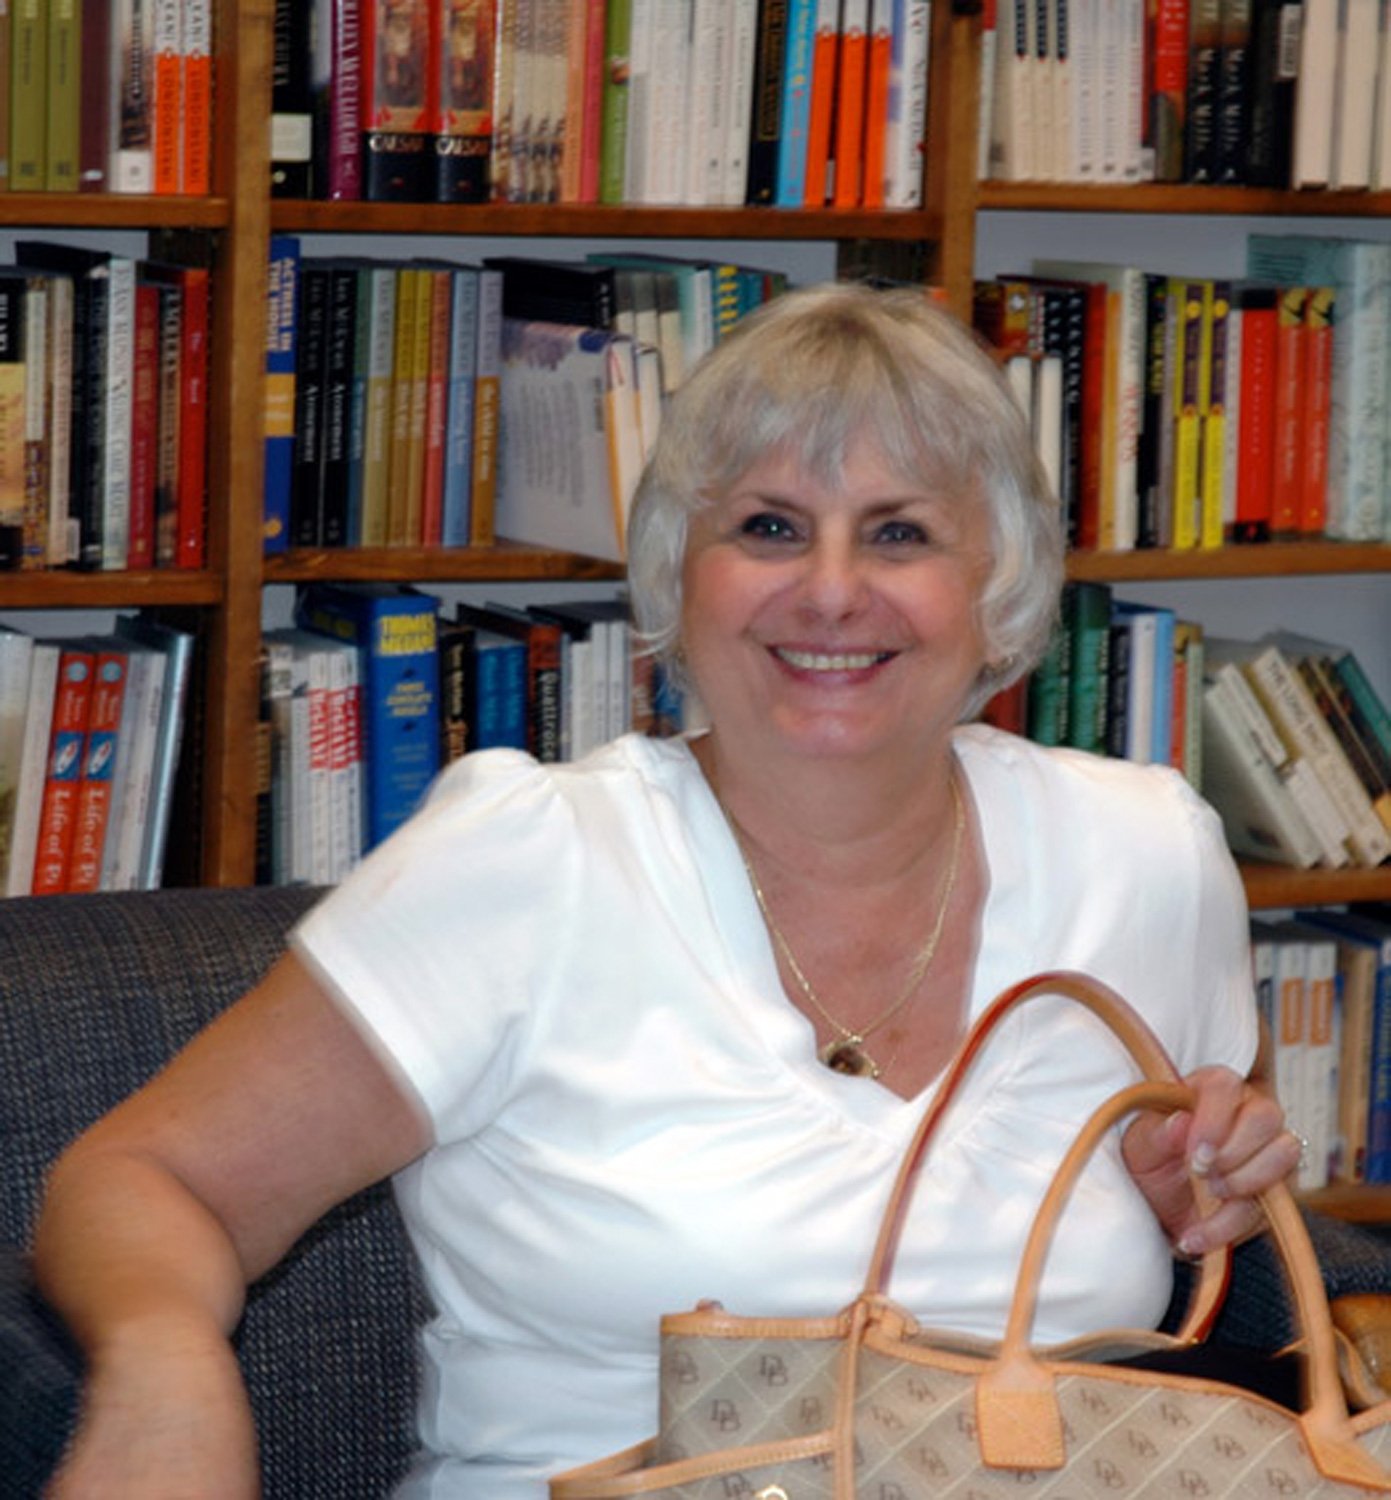
My Mother, My Fortune

My mother, and me.

We all celebrate Mother’s Day because who doesn’t love to honor our mothers? Like most holidays, this tradition dates back to the pagans when in ancient Greece the celebration was in honor of Rhea, the mother of the gods. And in Rome, Cybele, a mother of goddesses, was worshipped as early as 250 B.C. But the tradition was more deeply cemented thanks to Anna Jarvis of Philadelphia. On May 12, 1907, having lost her mother two years earlier she held a memorial service at her late mother's church in Grafton, West Virginia. Her belief was that children tended to neglect their mothers until it was too late. So she campaigned for a national observance of Mother's Day and convinced her mother's church to celebrate Mother's Day on the second anniversary of her mother's death -- the second Sunday of May. Then in 1914 it became official when President Woodrow Wilson proclaimed Mother's Day as a national holiday to be held each year on the second Sunday of May. I had always thought it was Hallmark who jumped started the tradition looking for another way to sell cards. Although they may not have started it, they certainly have capitalized on it. Mother's Day is the third-largest card-sending holiday in the United States, with an estimated 139 million greeting cards expected to be purchased this year. Instead of buying a card, I decided to create my own type of card by writing a post, a love letter to honor my mom.

Now, traditionally I’m not a big believer in these types of holidays. Not because I feel we shouldn’t celebrate our mothers or fathers or grandparents, etc. But because I’ve always been of the opinion that I don’t need a specific date or someone else to tell me to honor a person I love. Why not praise them everyday? But I get it. So, here I go jumping on the bandwagon to celebrate my special someone especially since I was the one to make her a mother first. And unlike Anna Jarvis, I try to express my adoration for my mom as often as possible, but it does feel good to make it even more momentous on this day, and lay it on thick.

She is a gem through and through. A darling of child grown into a woman of old fashioned upbringing that places value on respect, being kind to others, being gracious and generous. Loving and giving, supportive. She’s all that and more. A face of an angel.

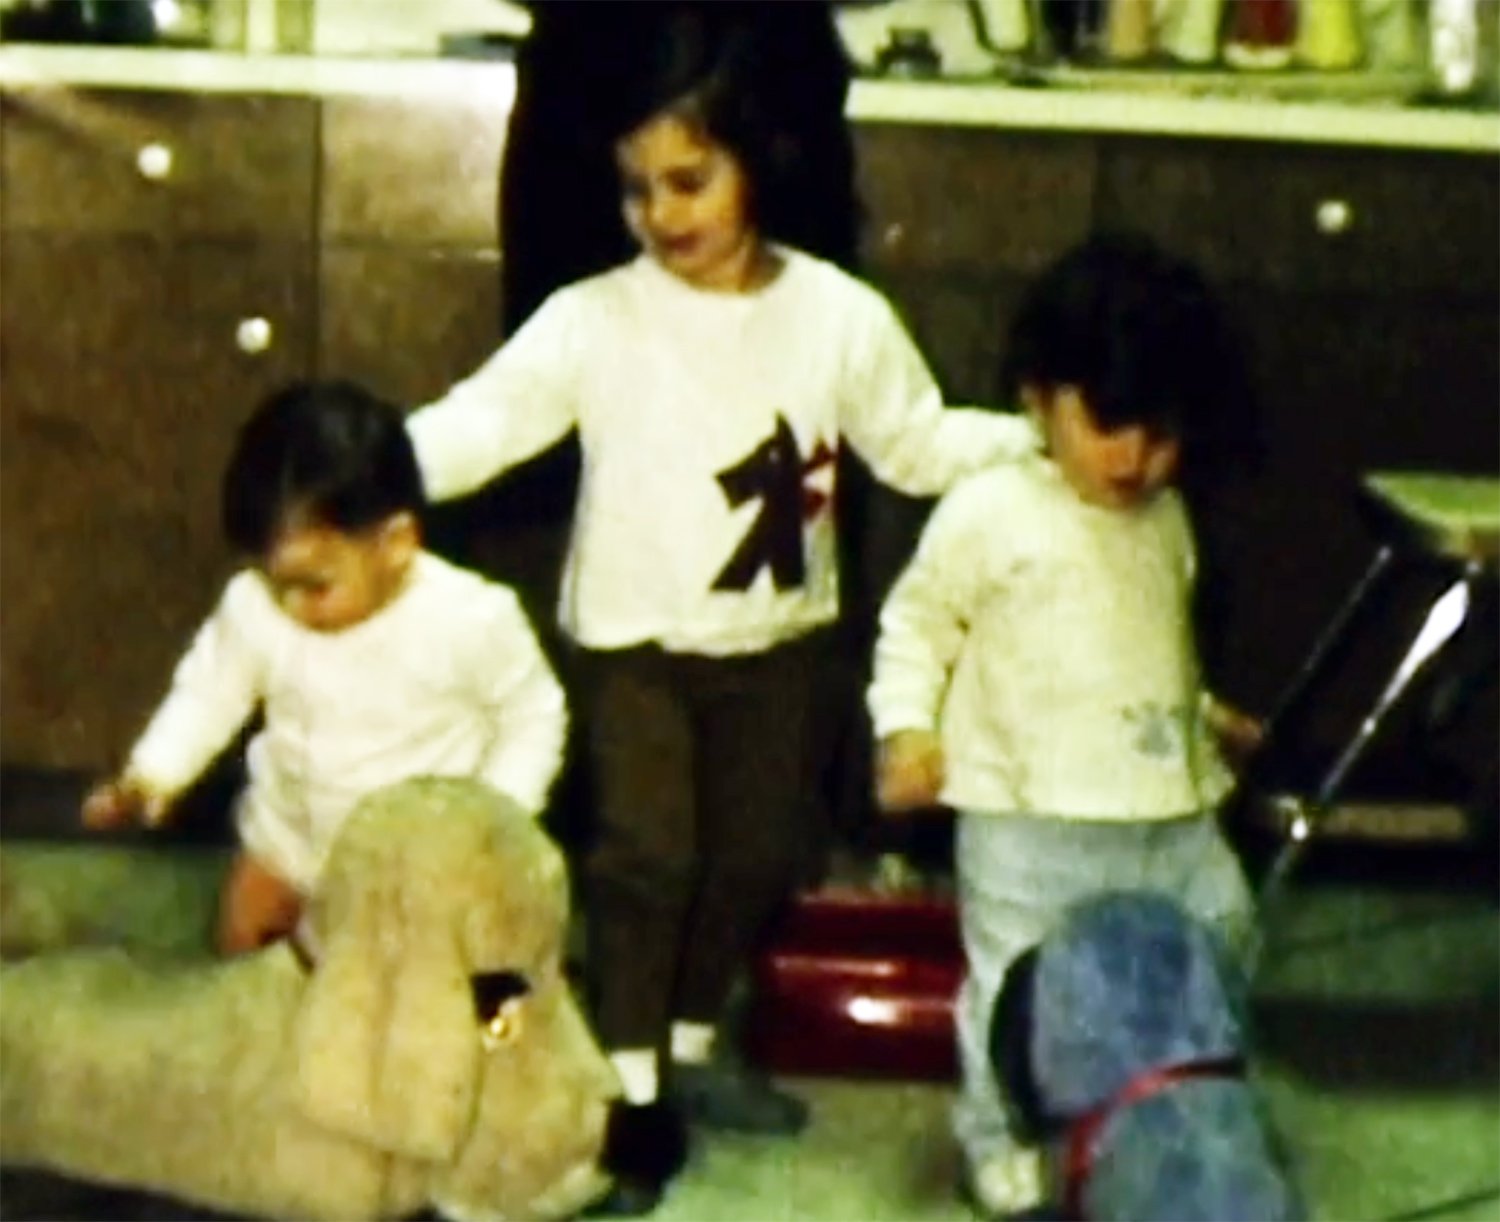
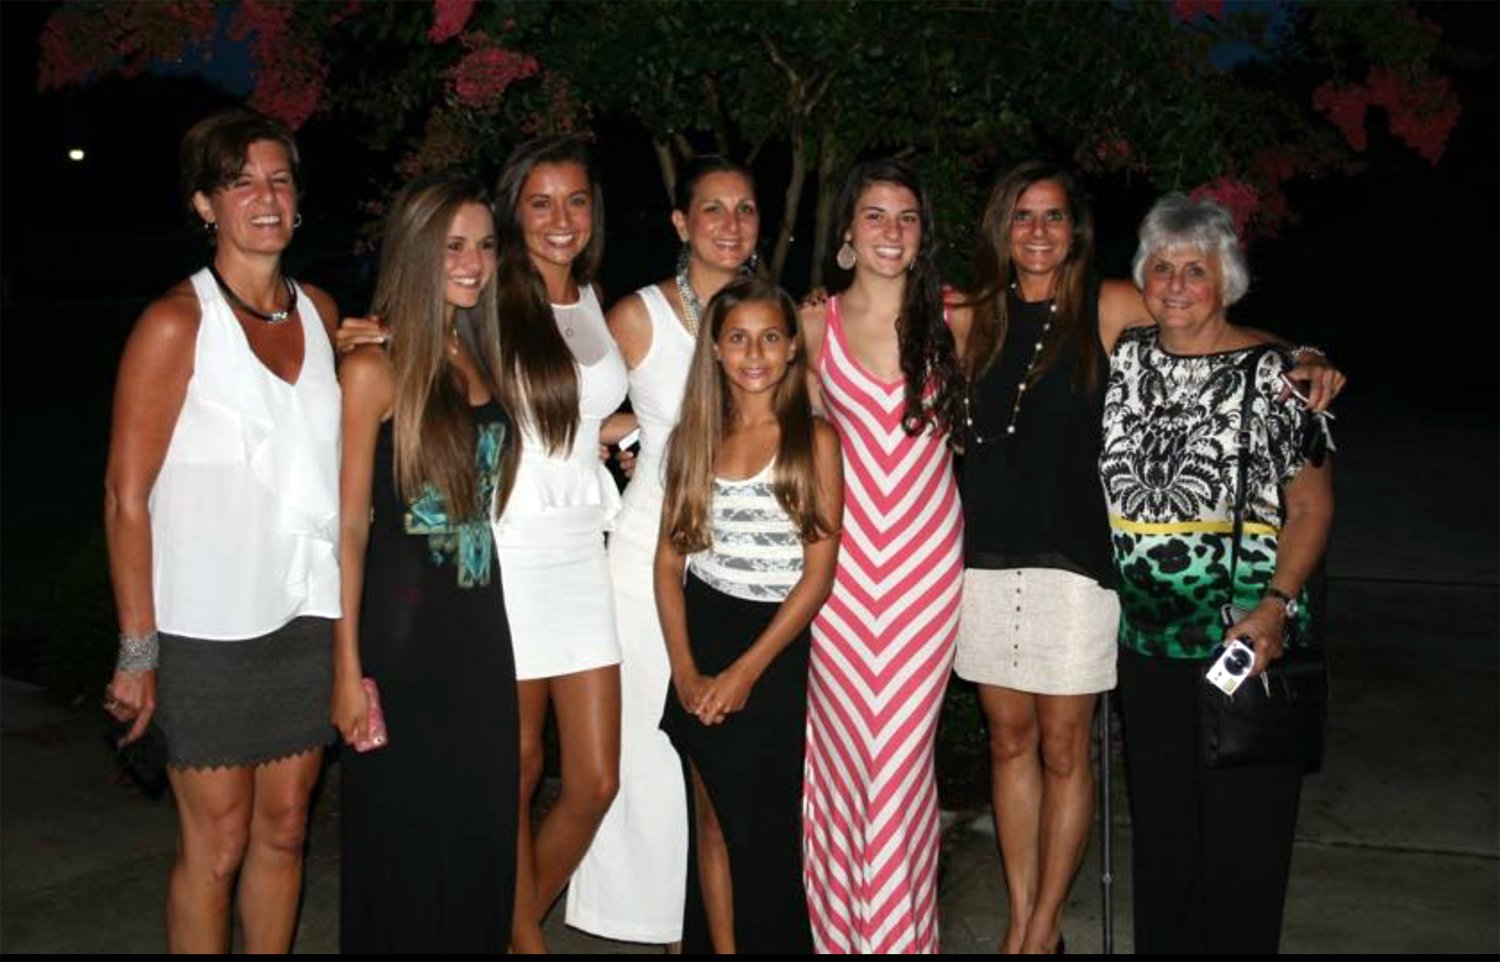
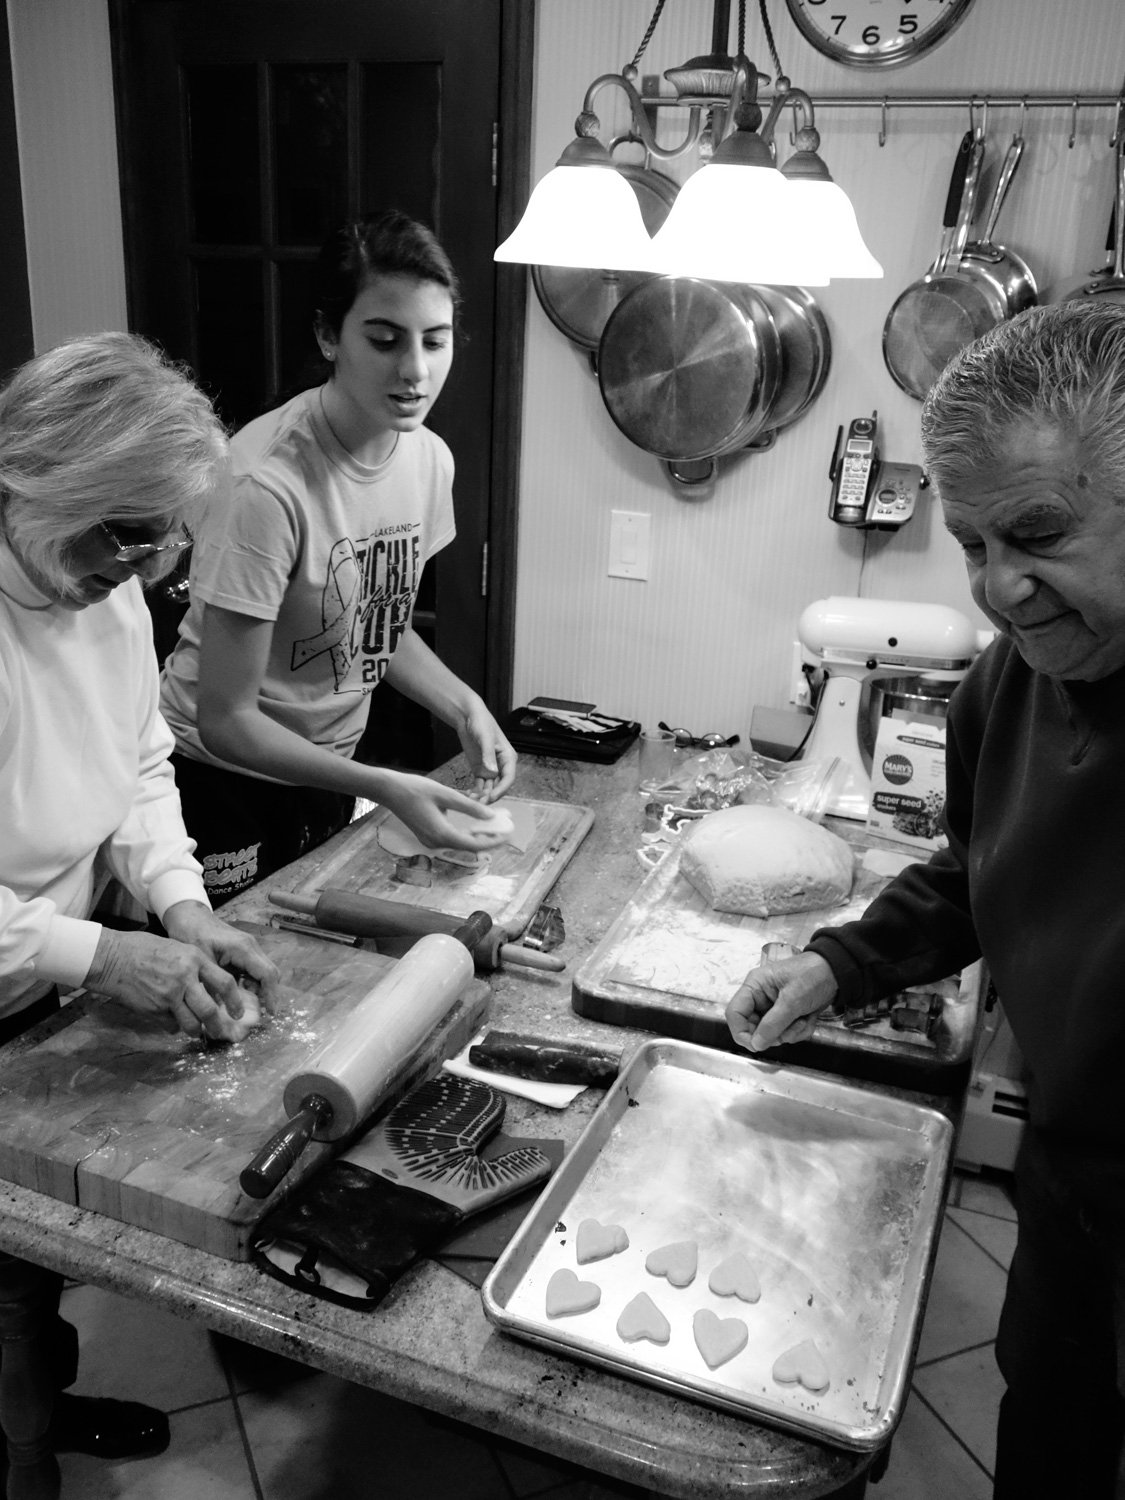
A teacher, a guider and one who puts family first always. Her greatest gift to us was instilling the family bond, and sibling love. A bond never to be broken. I’m not a mother, but my sisters, who are great mothers themselves had the best teacher, and have instilled the same in their children. She showed us the importance to sticking together. And we have and we do.

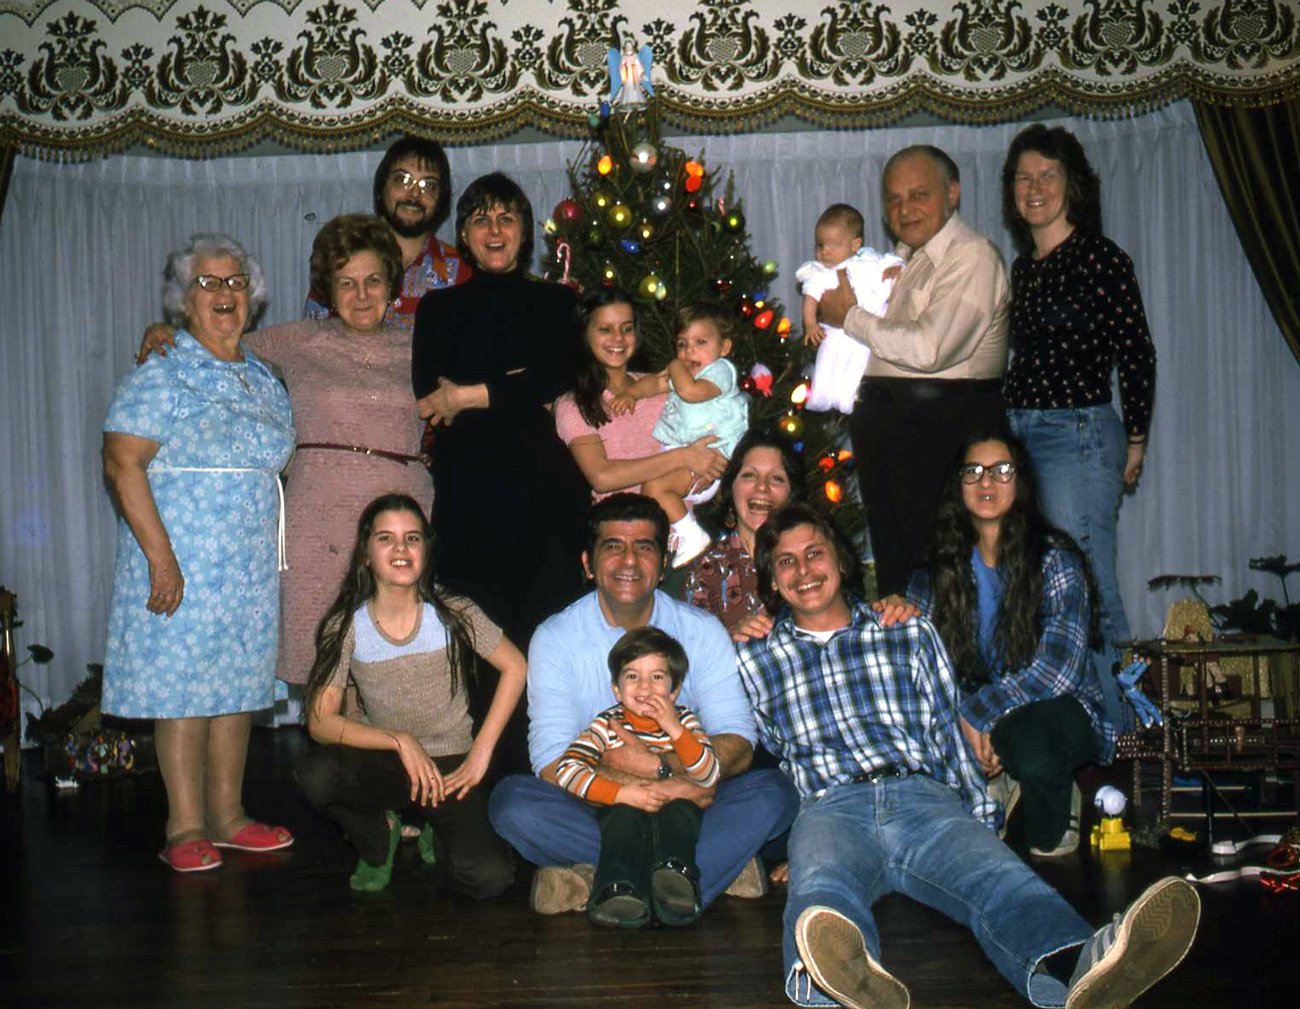
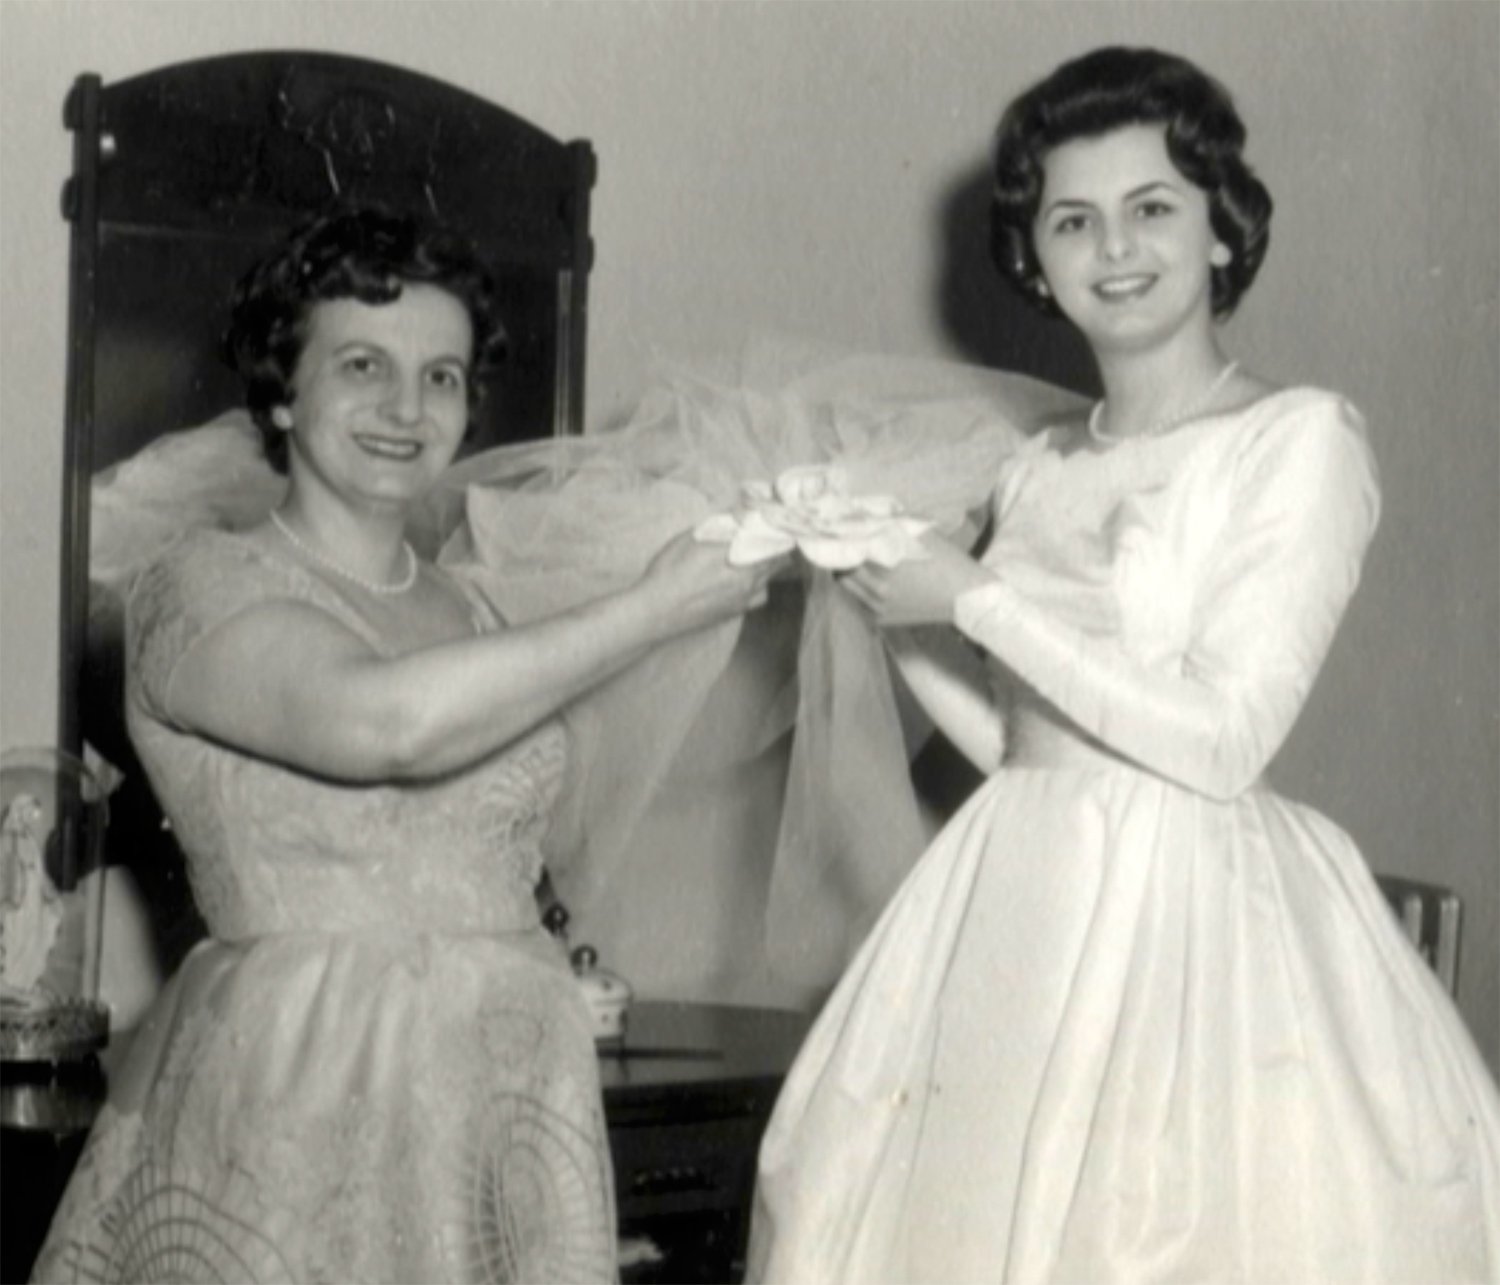
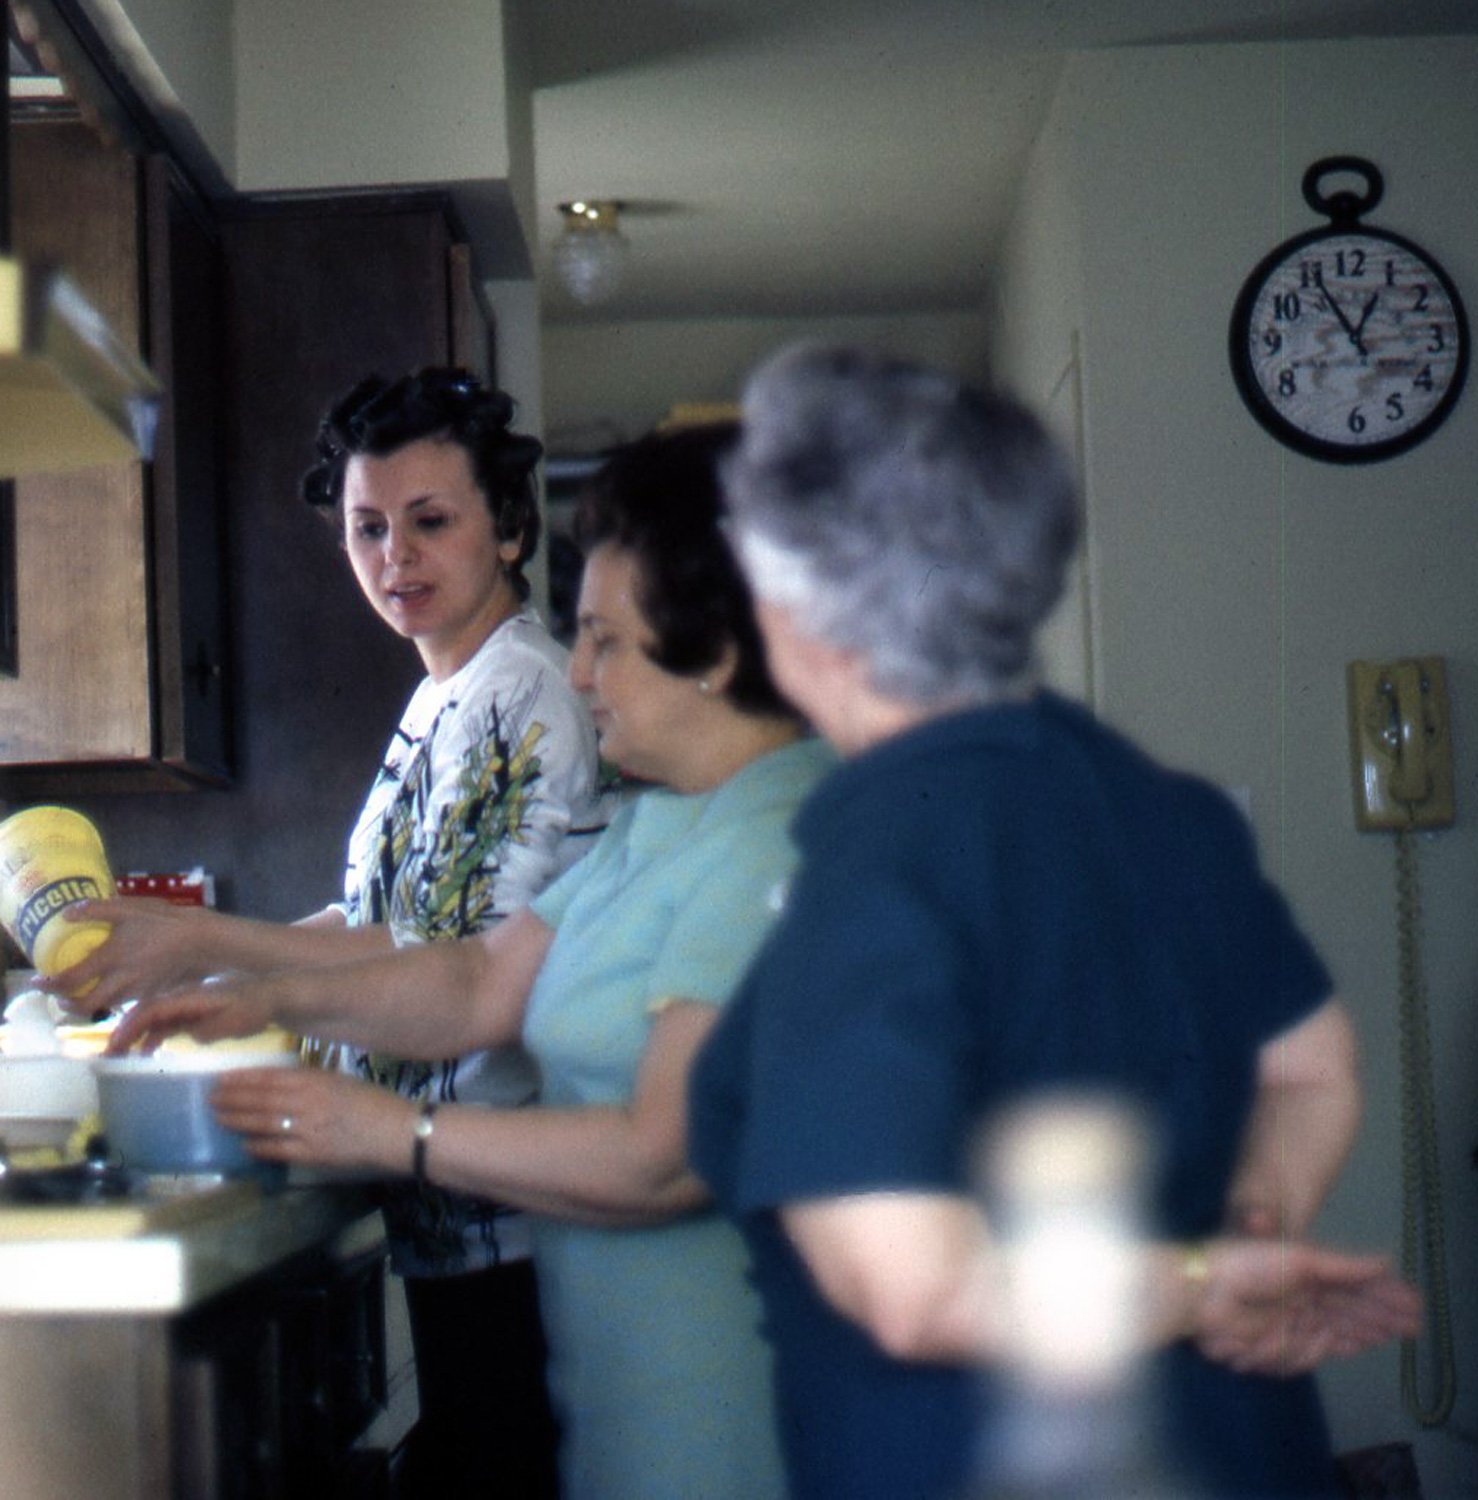
She honored her mother, and mother in law, and handed down traditions.

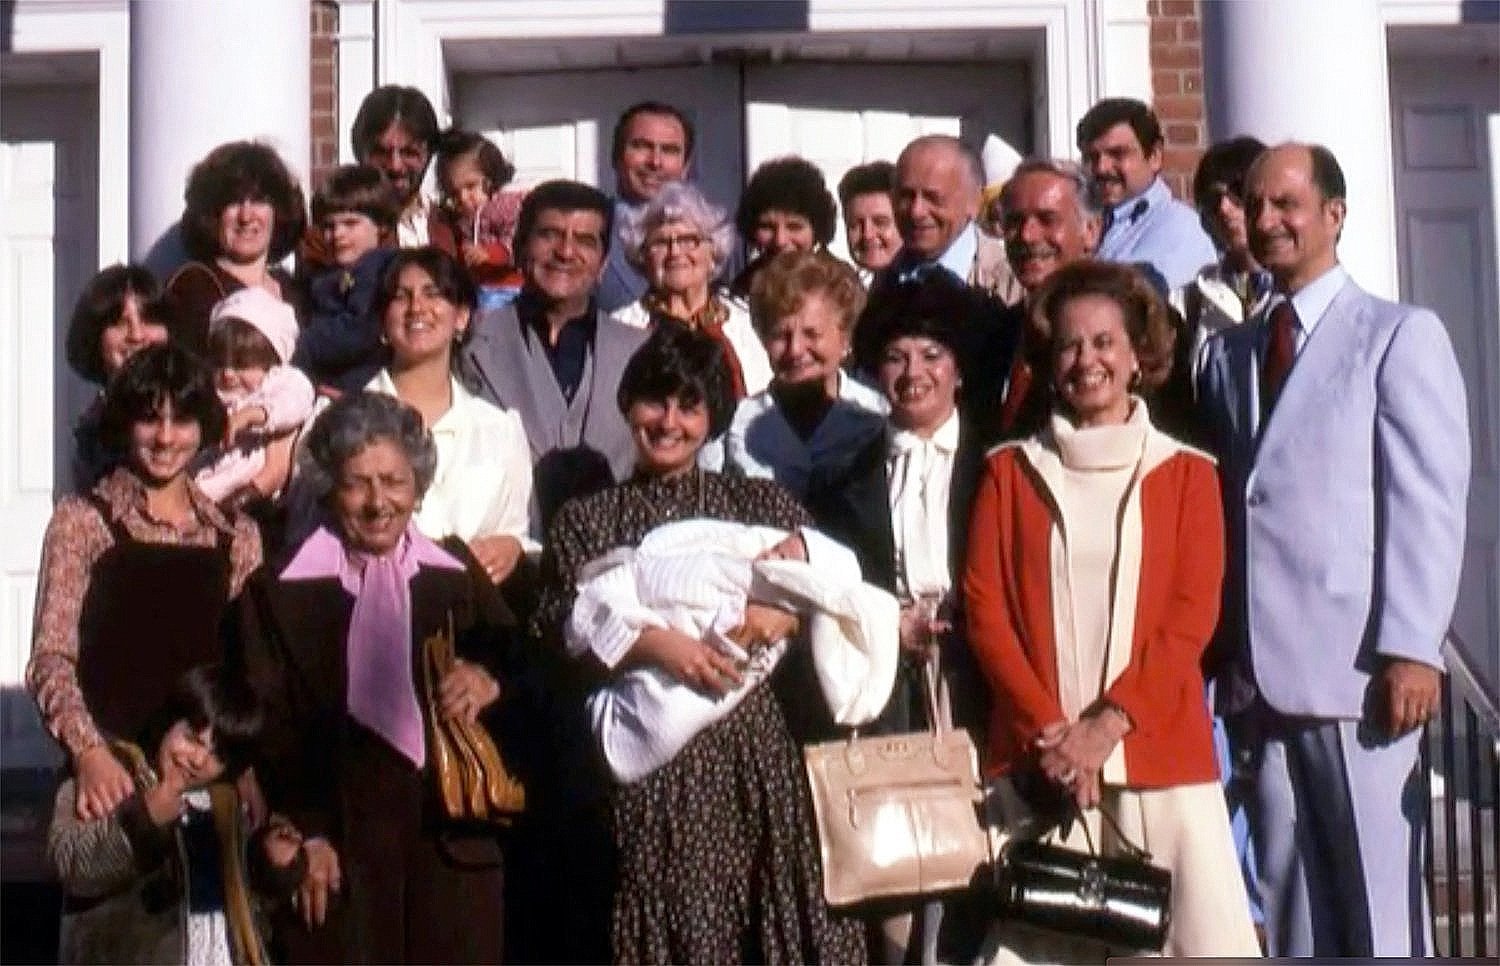
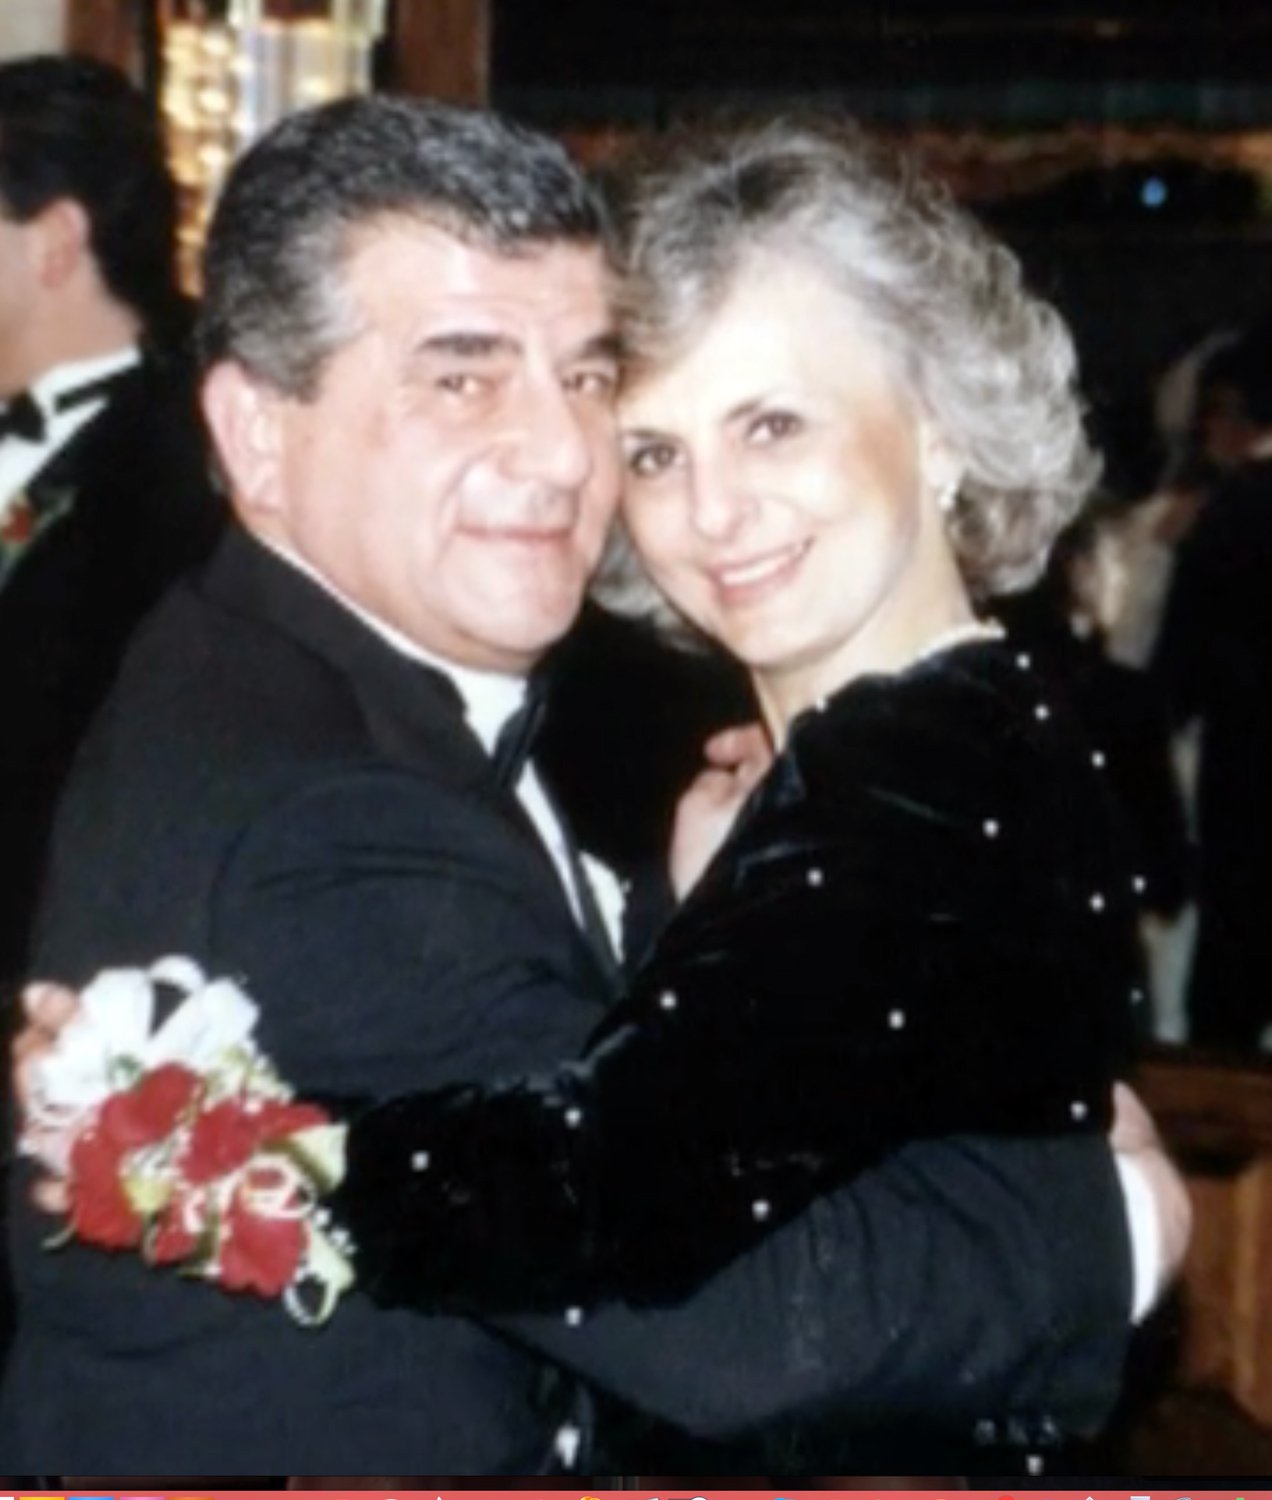
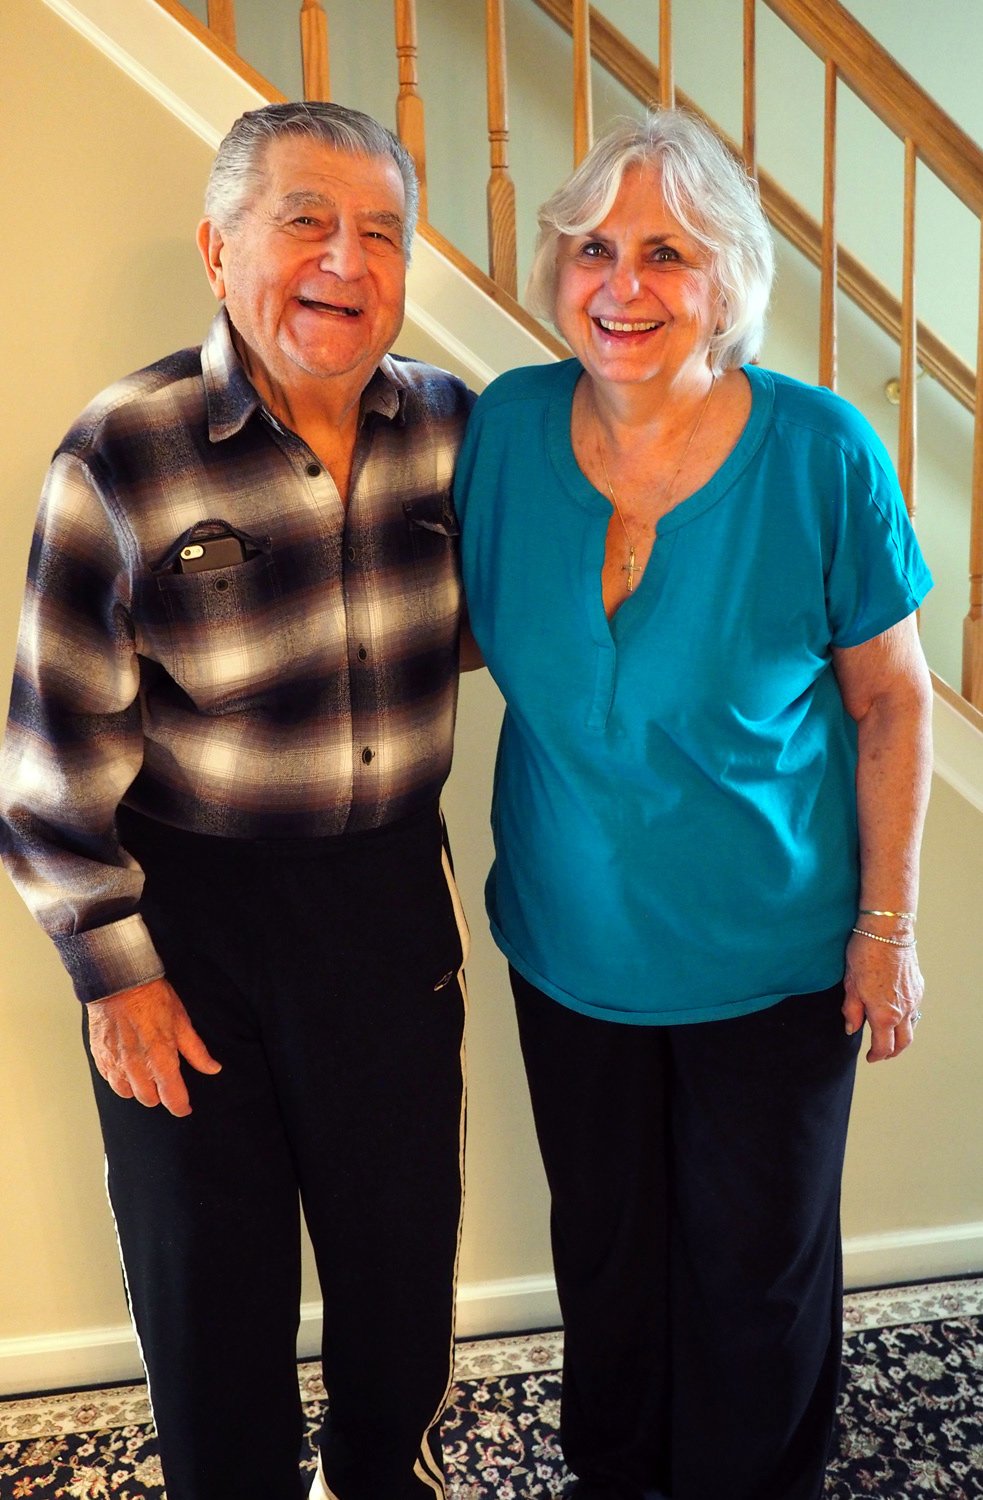
She has shown us what true love and devotion is. For anyone who has ever met my parents they are witness to the extraordinary love they share, and the enduring example they have set.

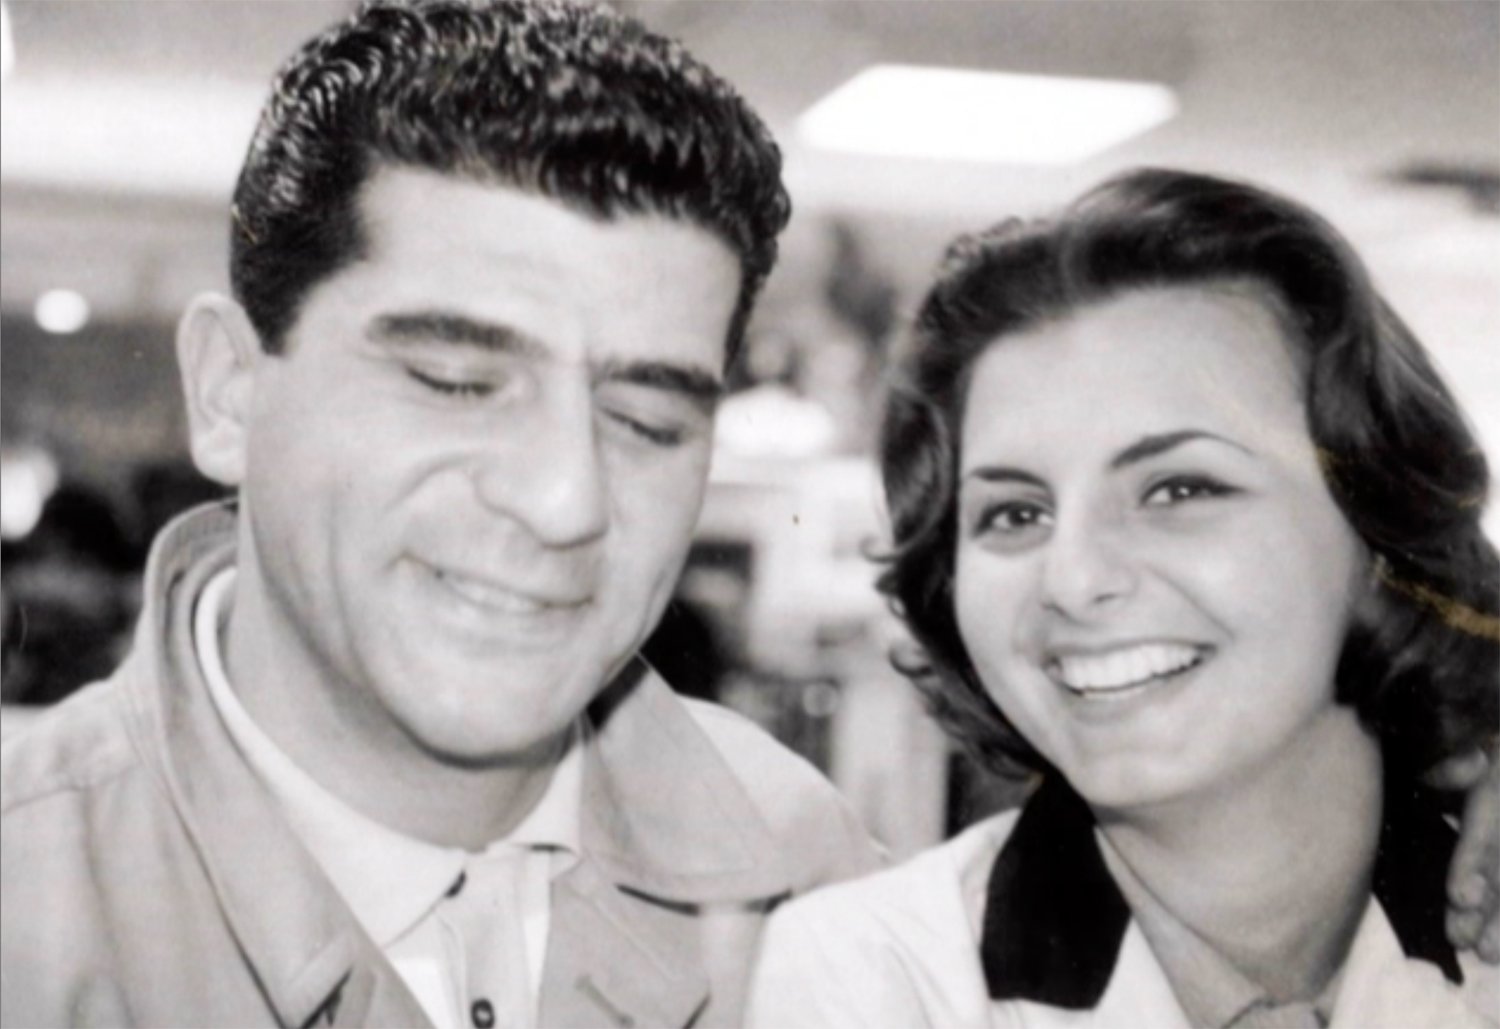
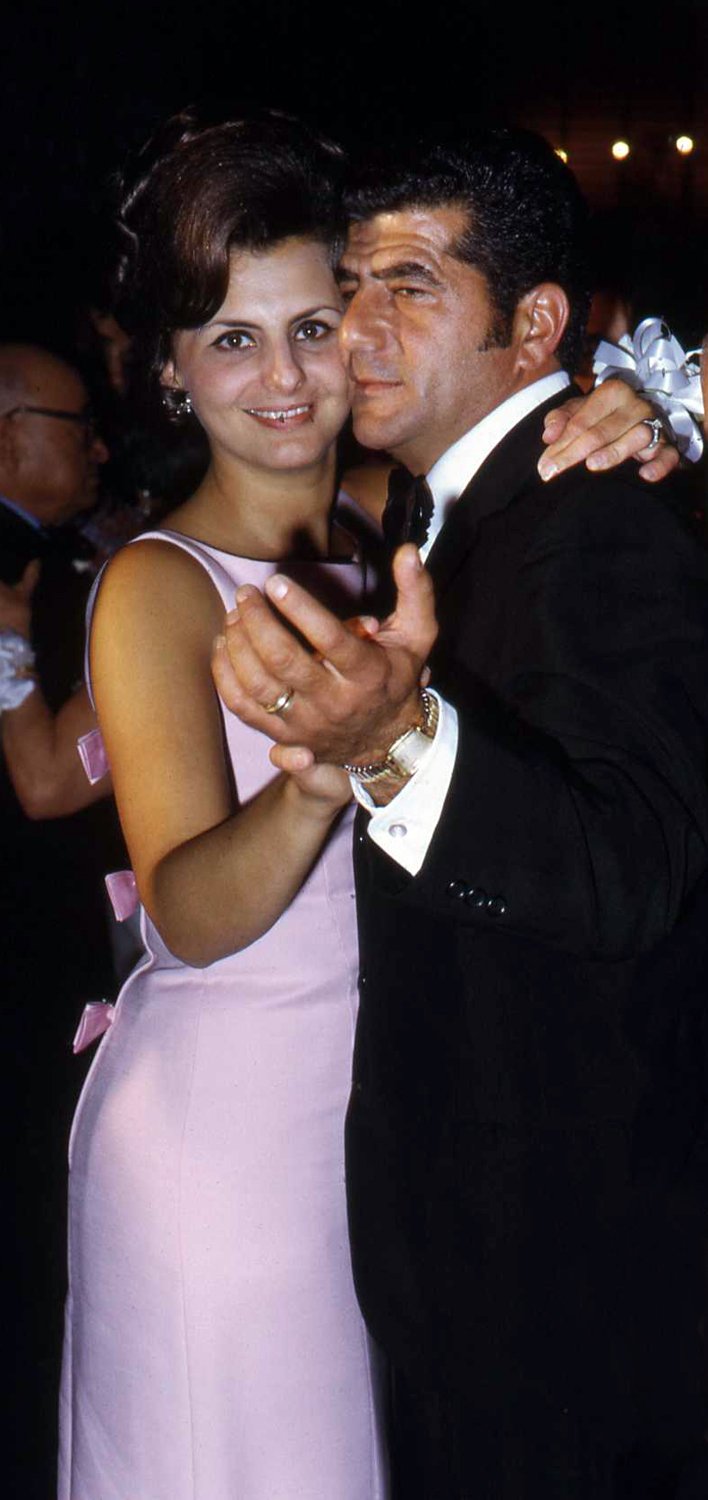
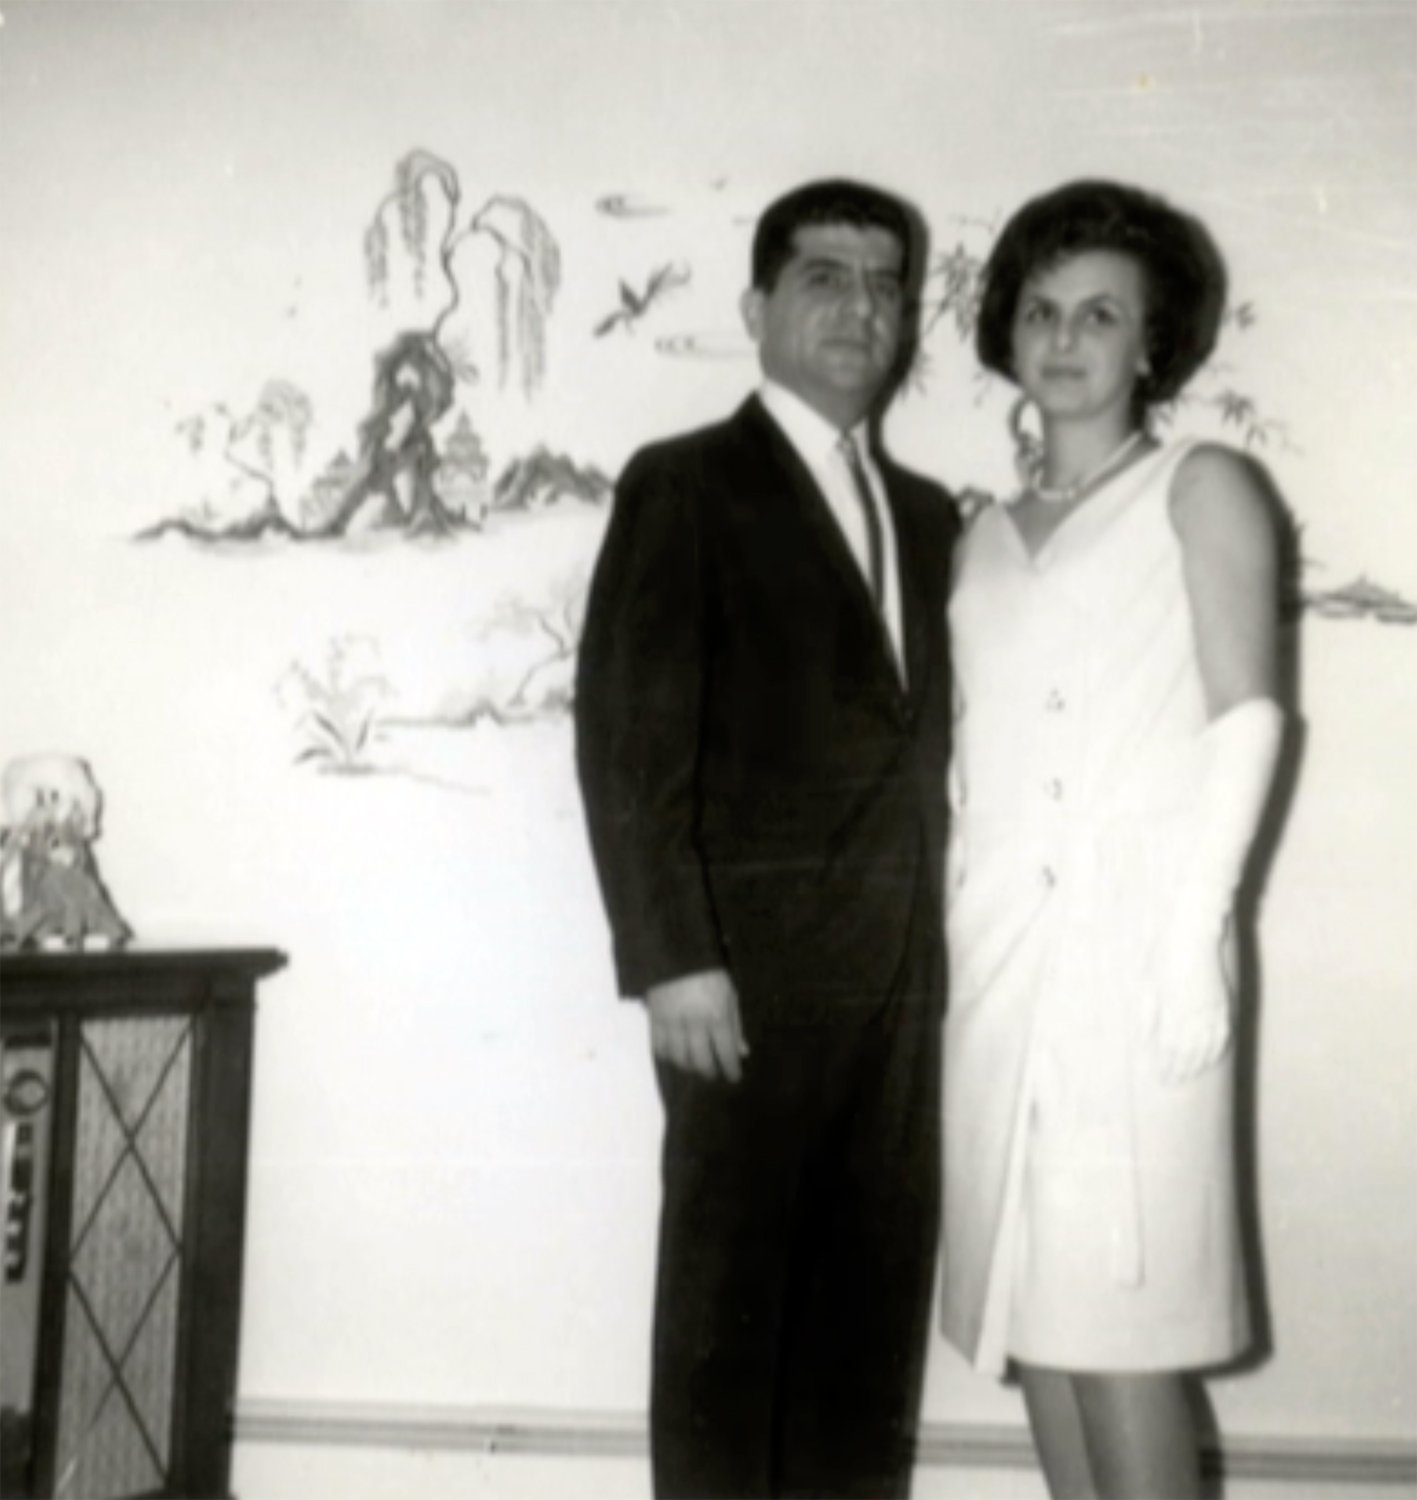
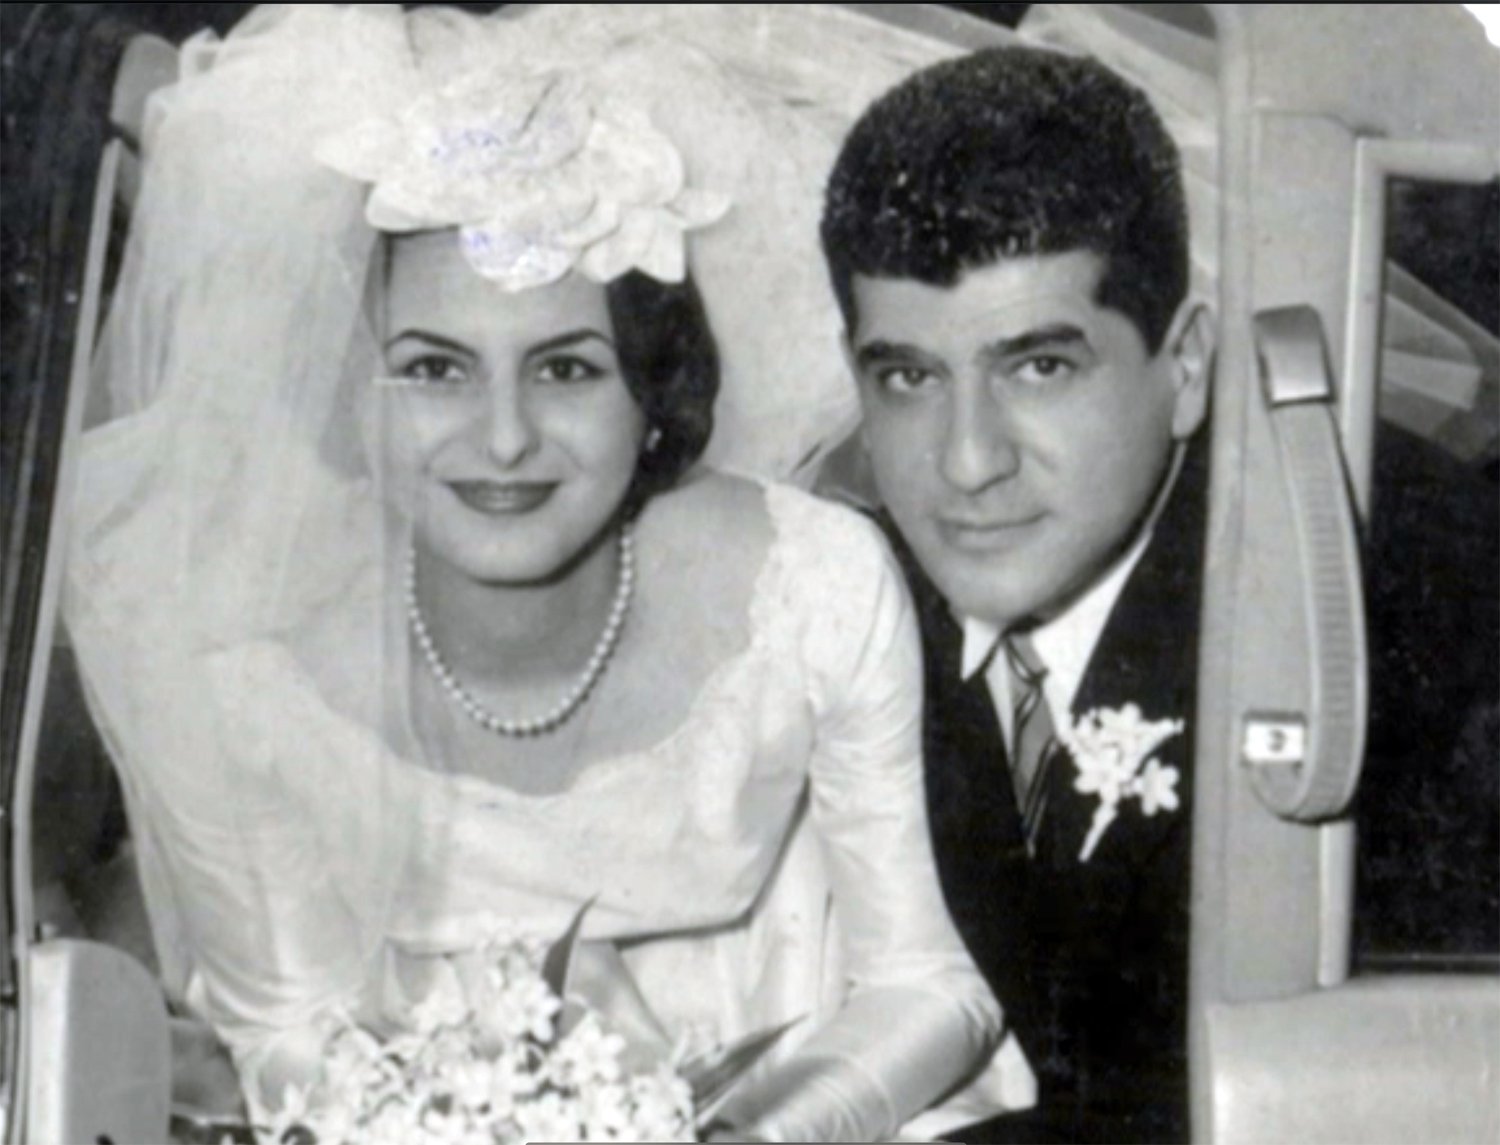
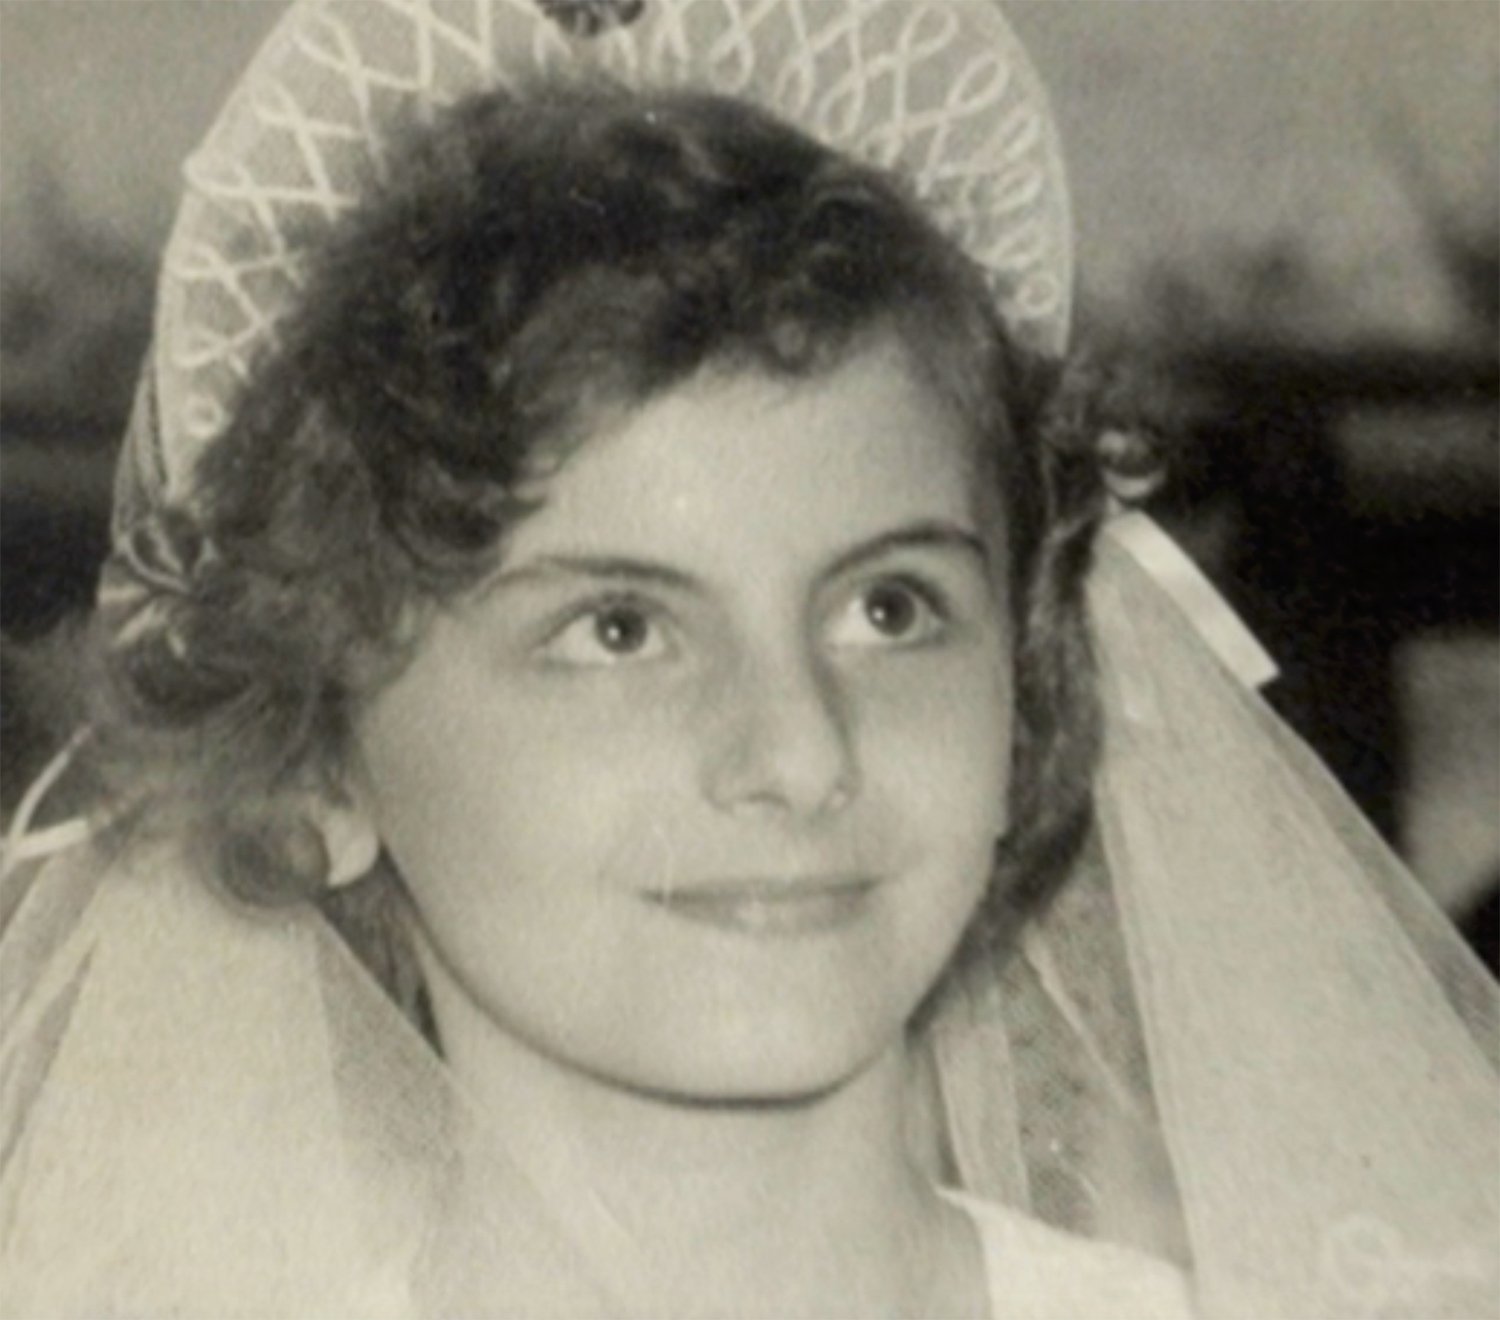
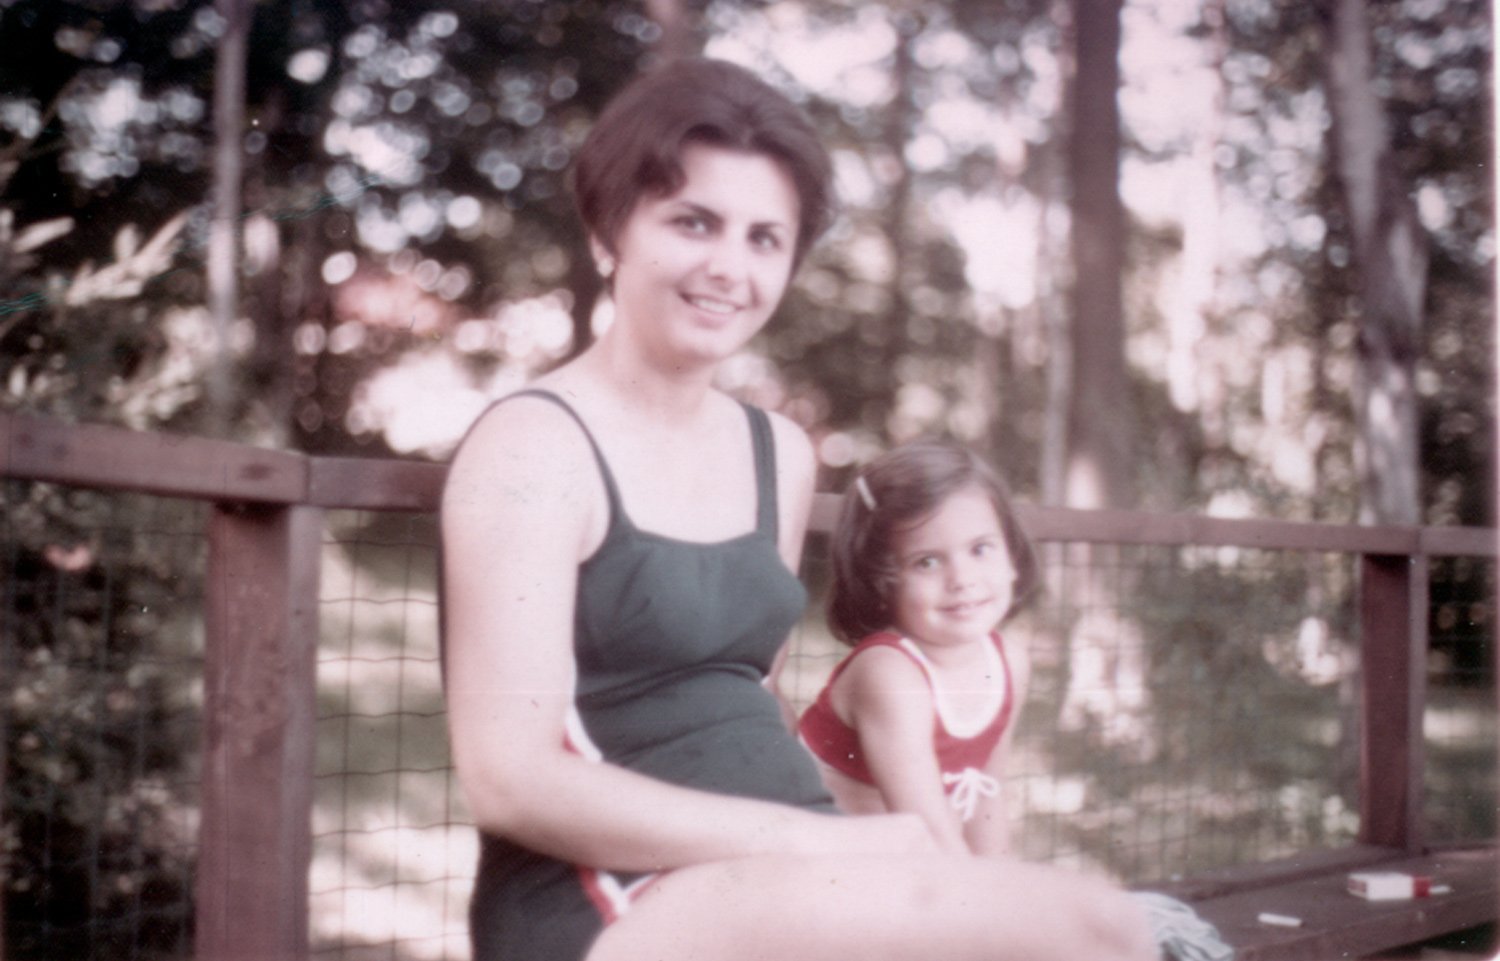
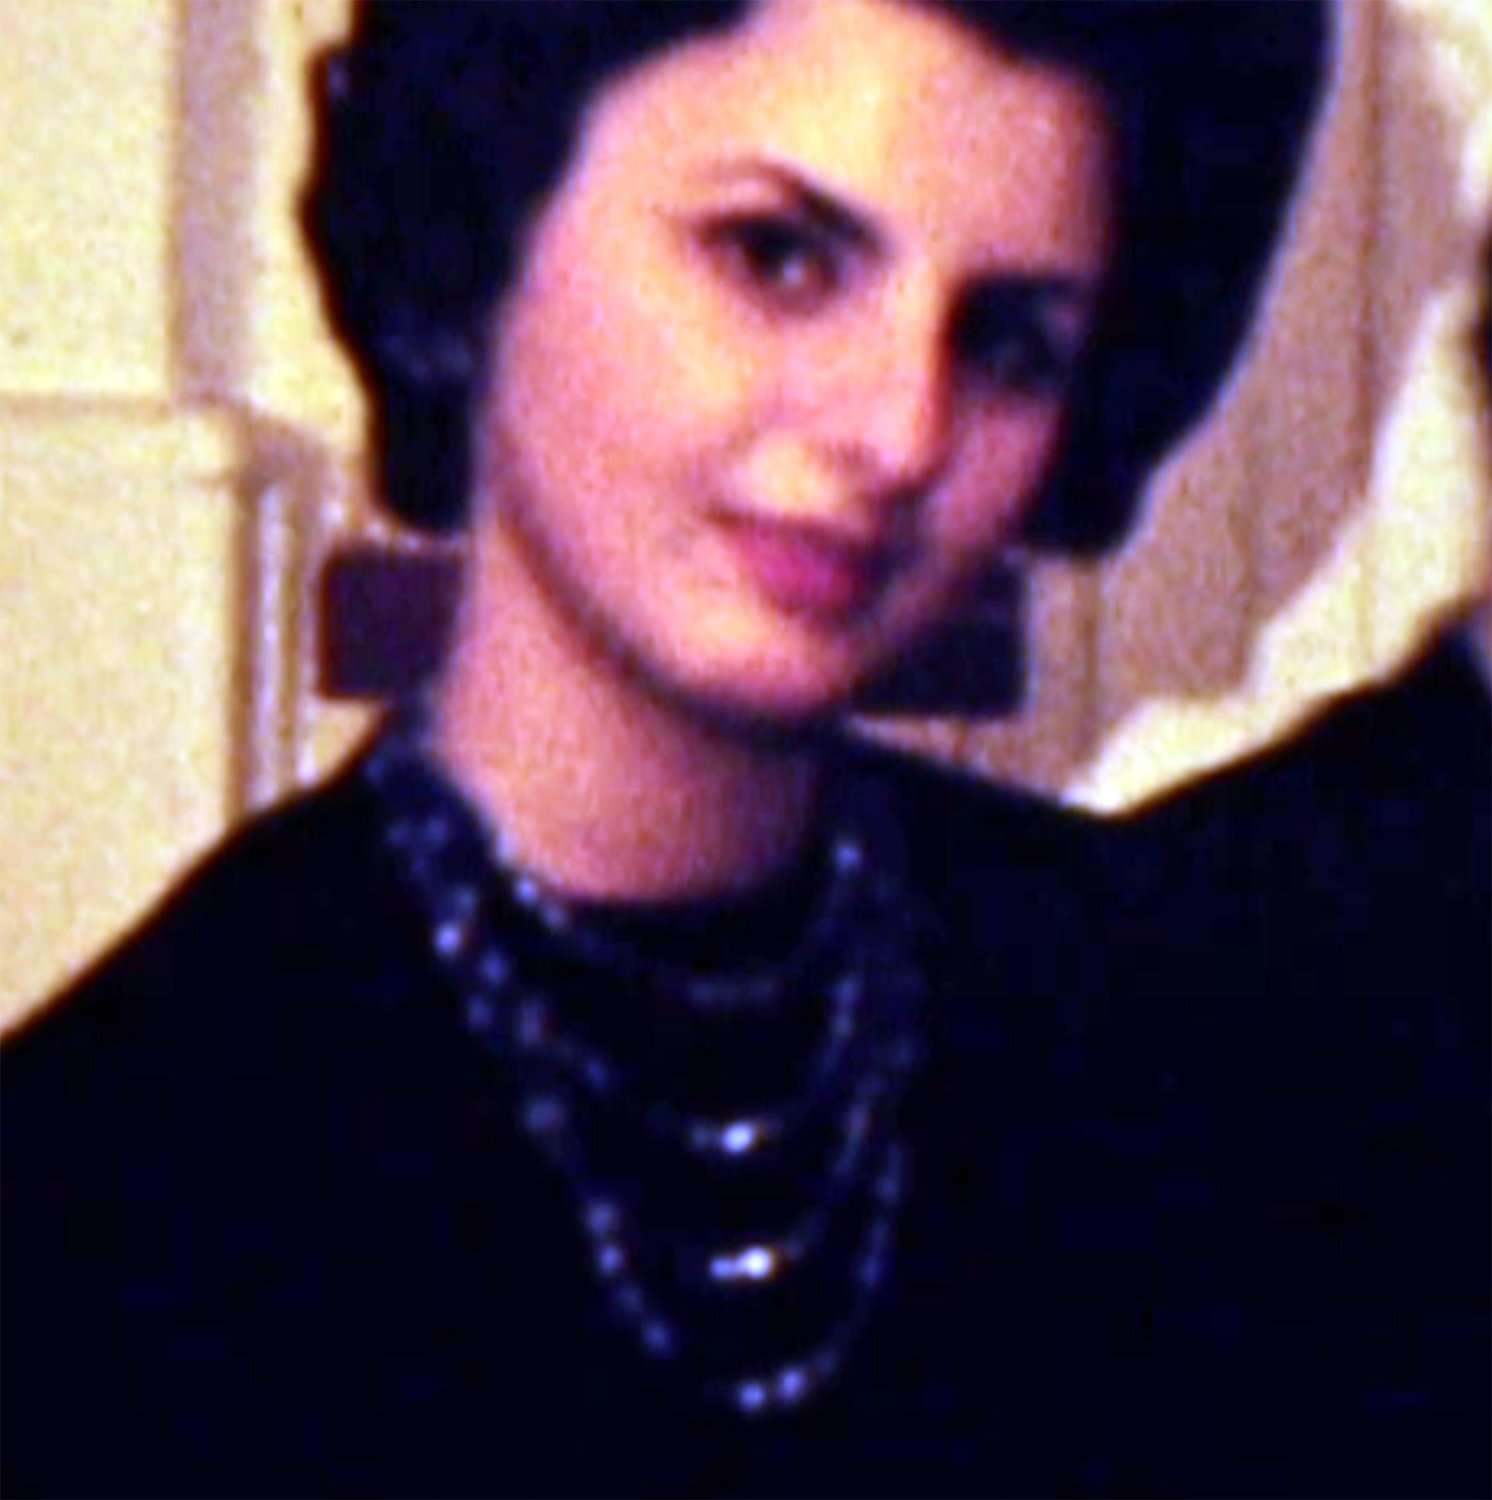
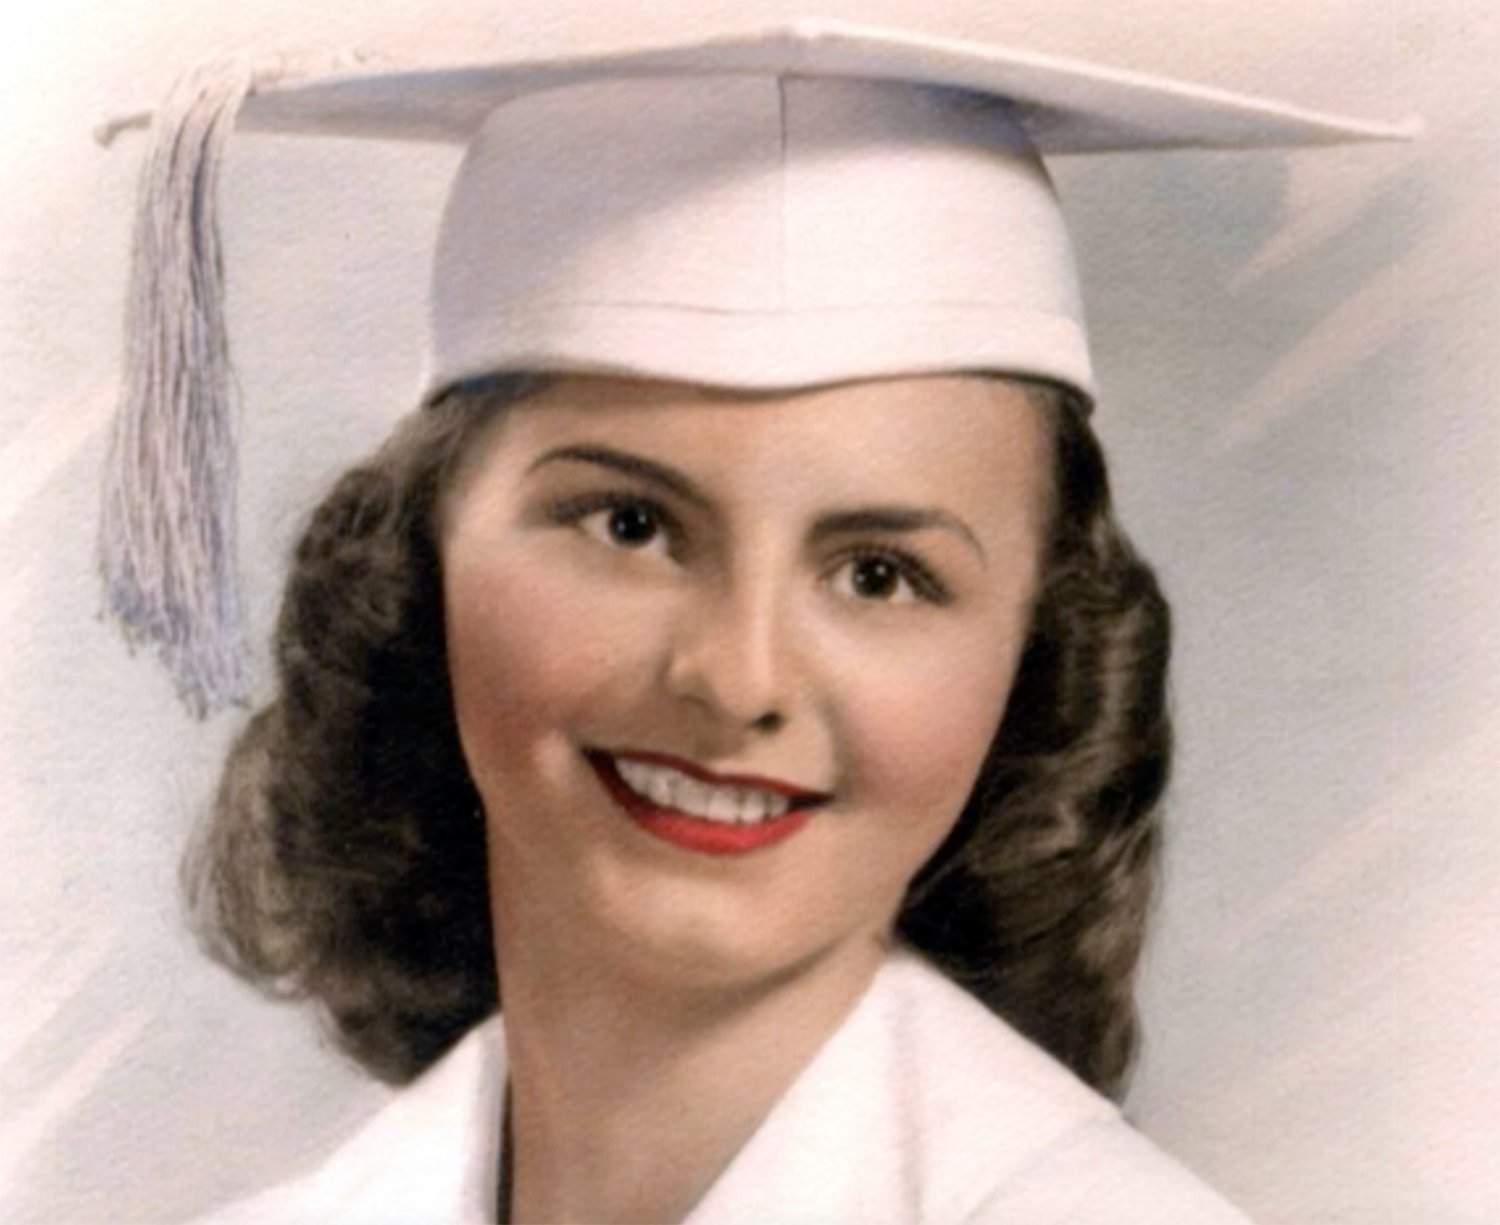
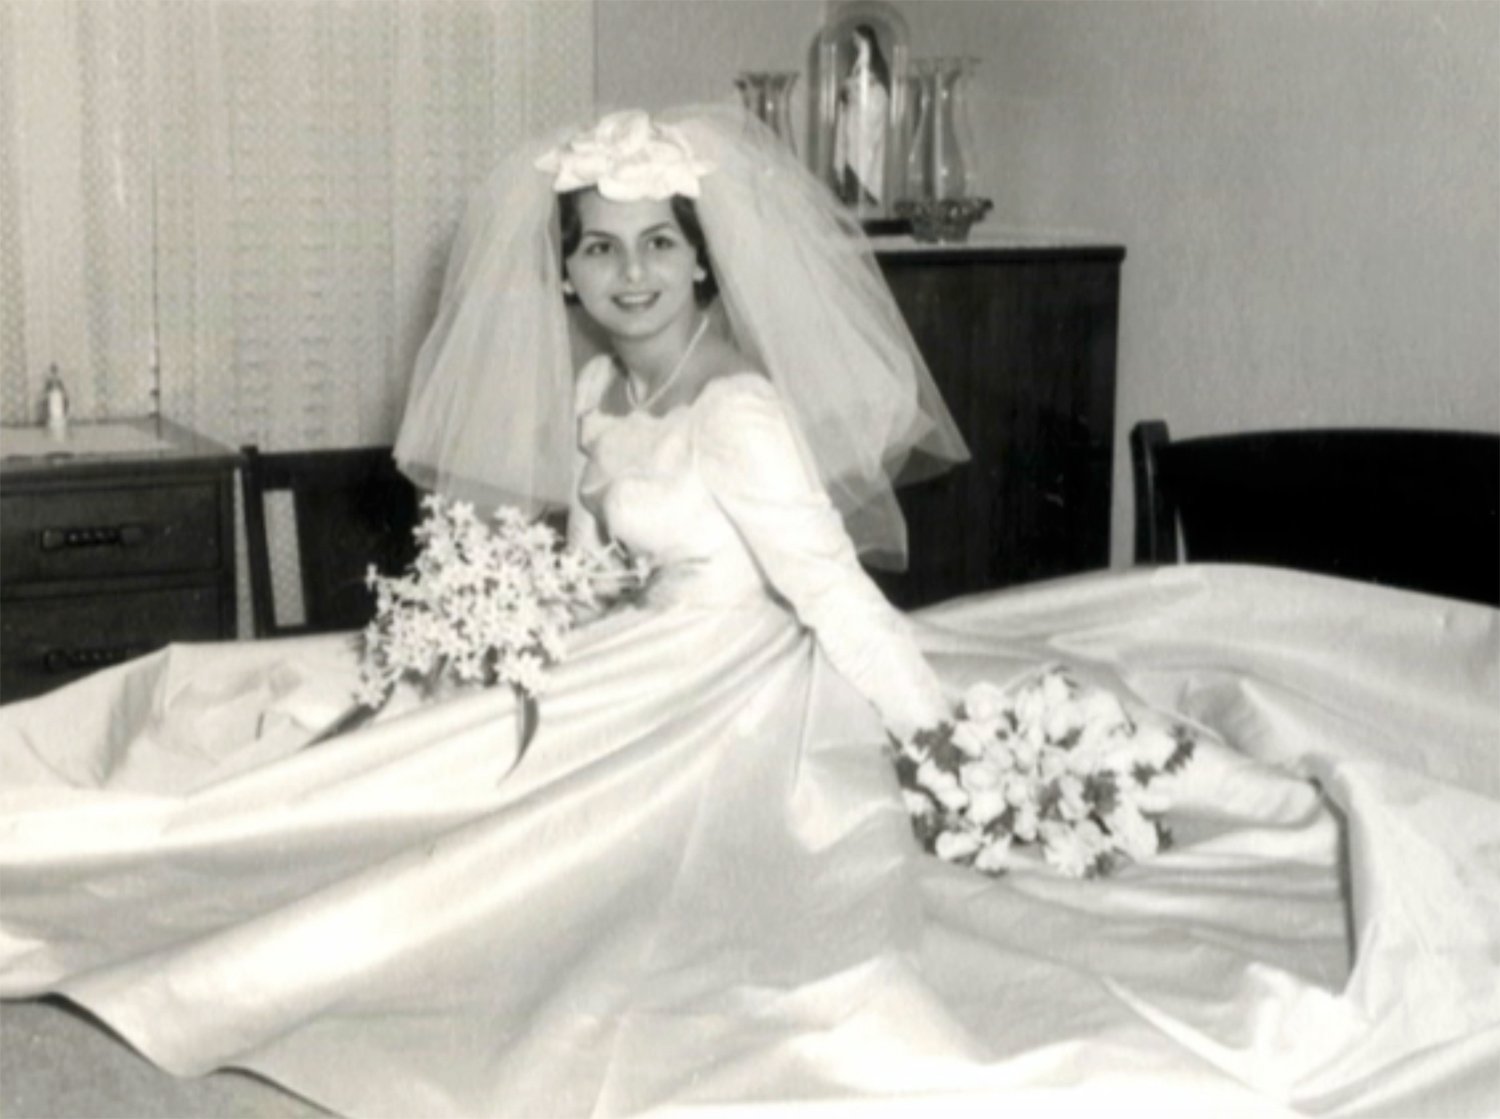
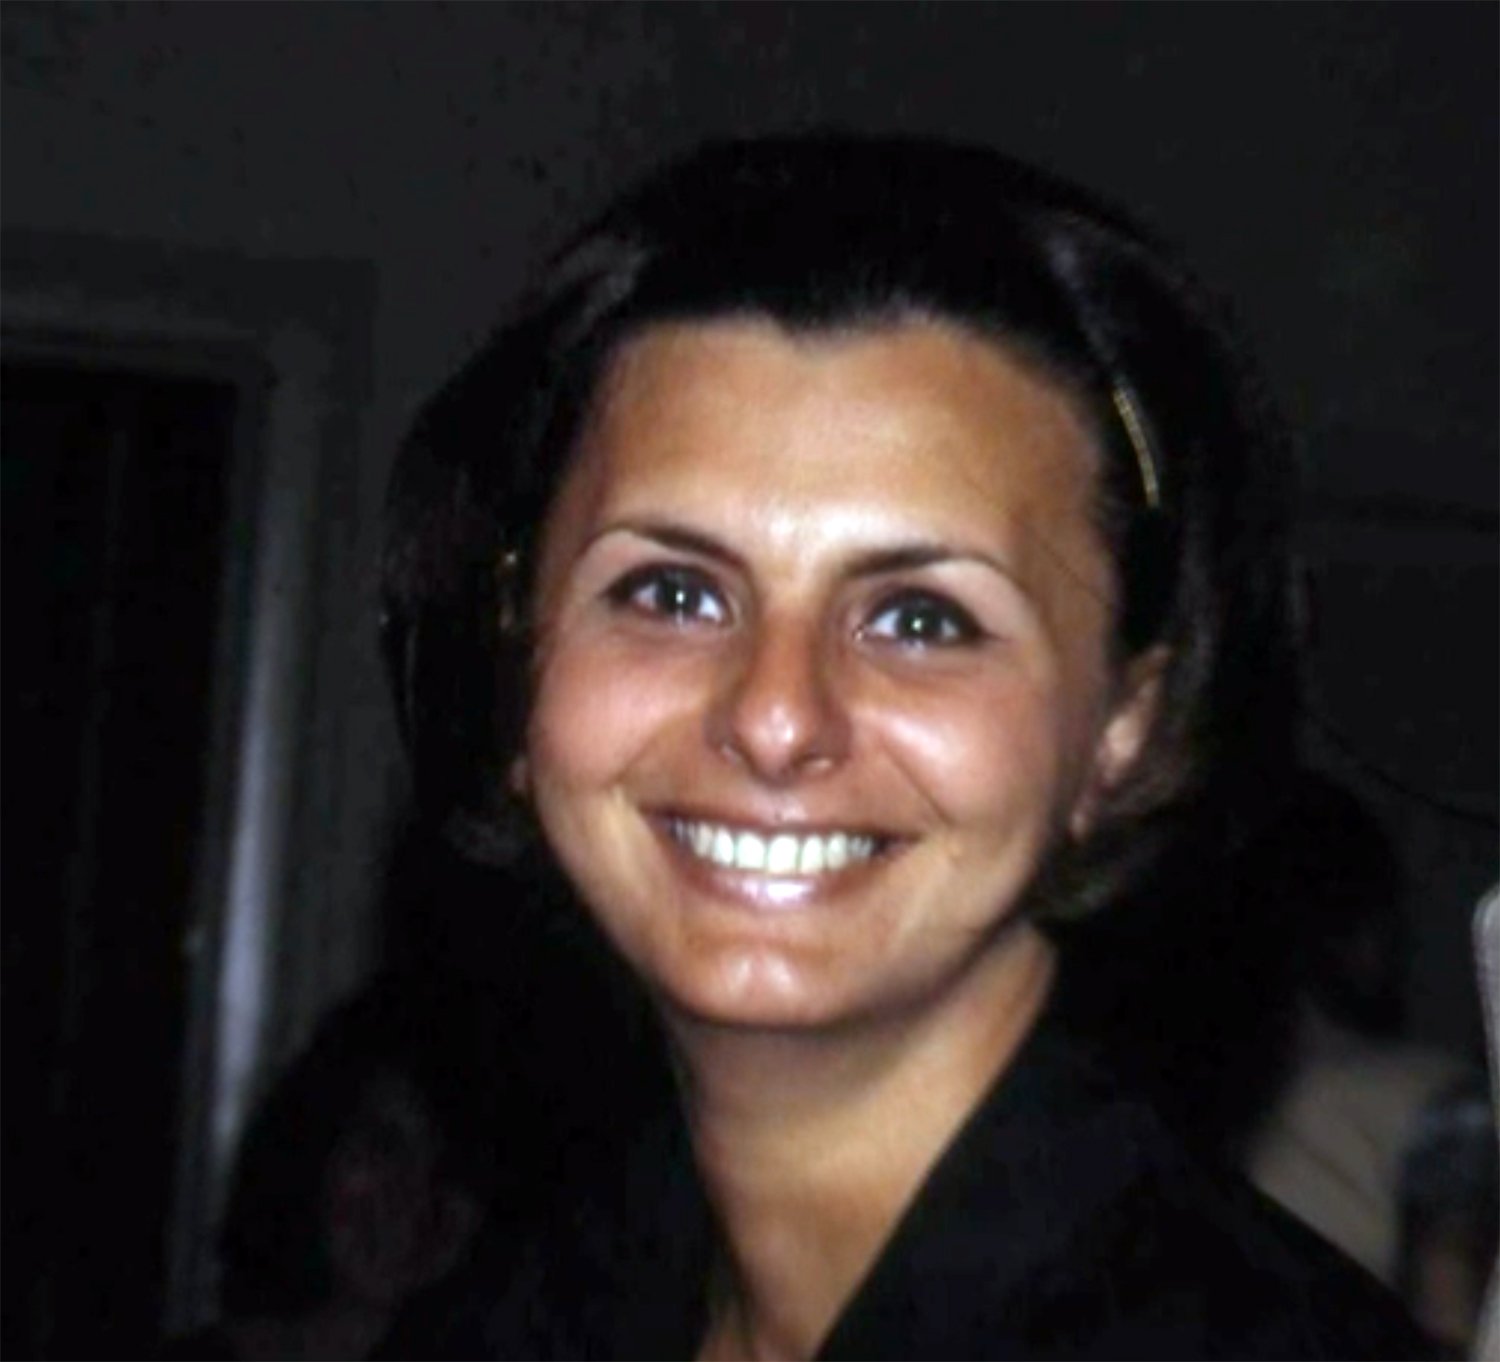
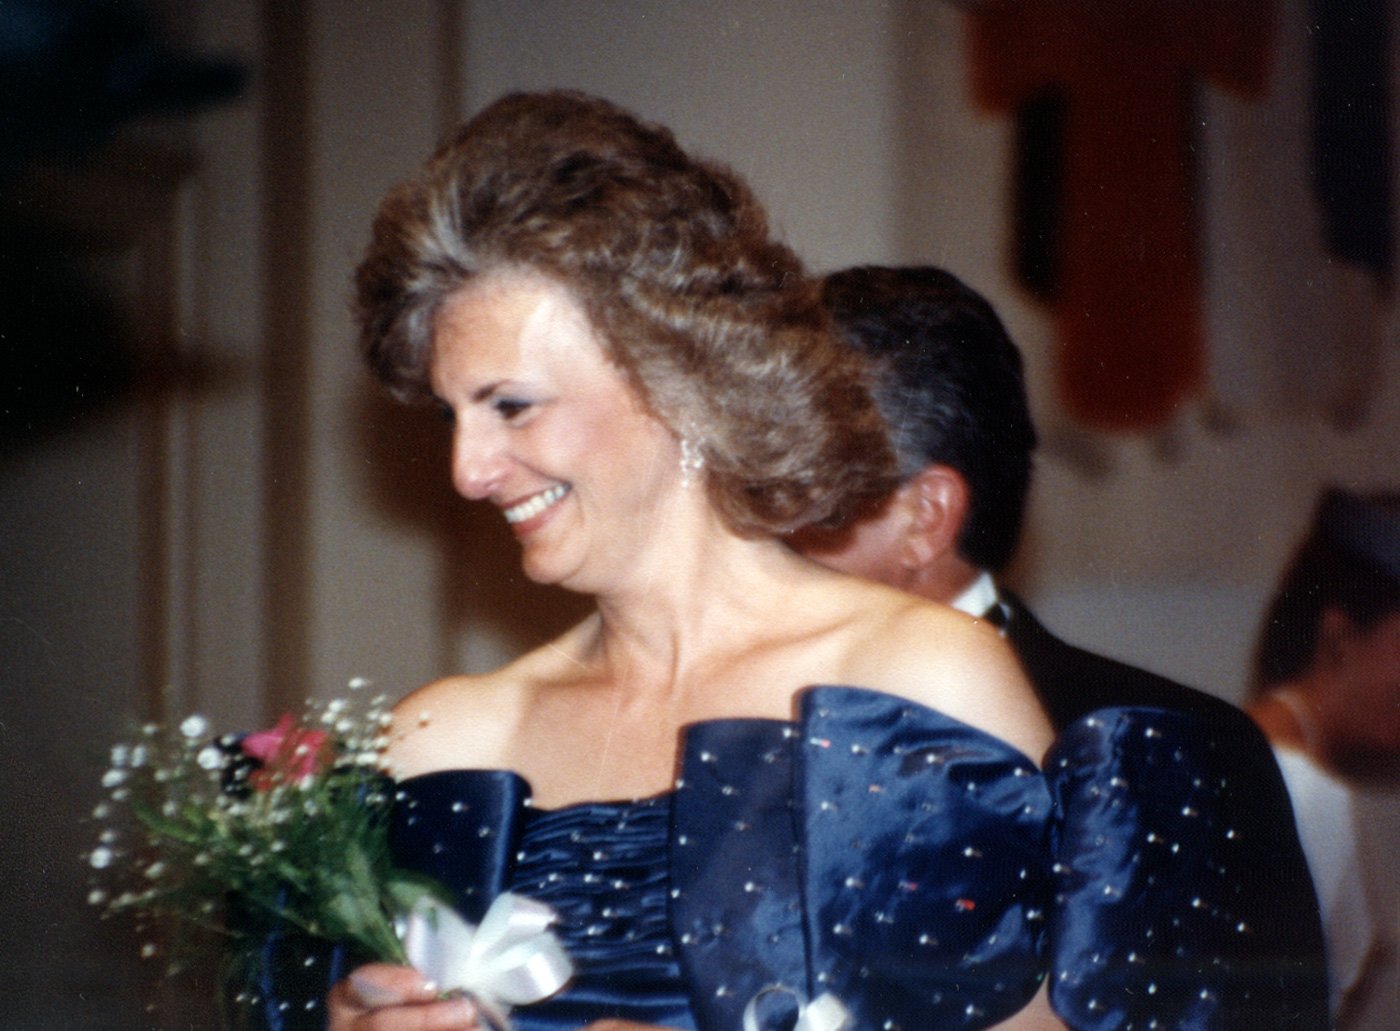
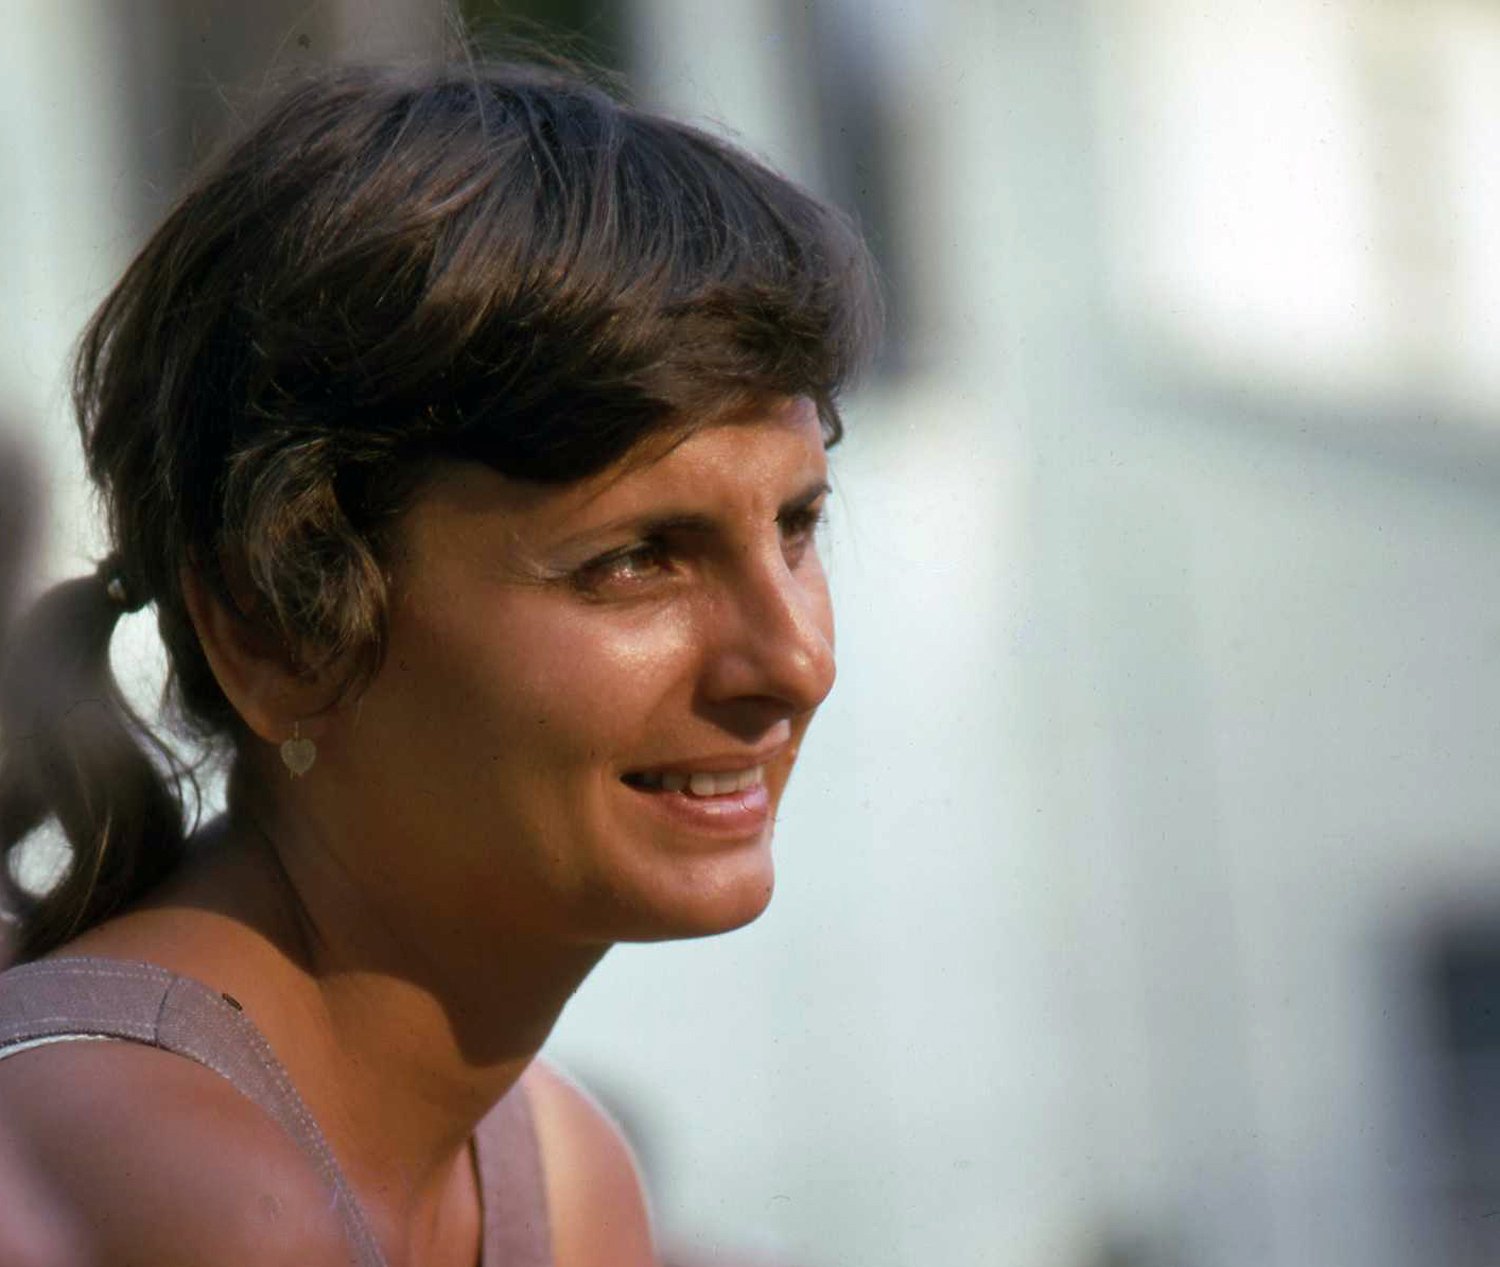
And when it comes to fashion there was nothing old about her. She was pure glam and had tremendous fashion sense. She dressed to the nines and looked like a movie star. Well, one movie star in particular… Sophia Loren.

I remember my mom telling me that she once saved up an entire week’s salary to buy one dress. If you were to calculate that in modern day’s dollars that was one pricey dress. I still have some of her clothes and hats and wear them with pride.

Sophia Loren, not my mom but could be…

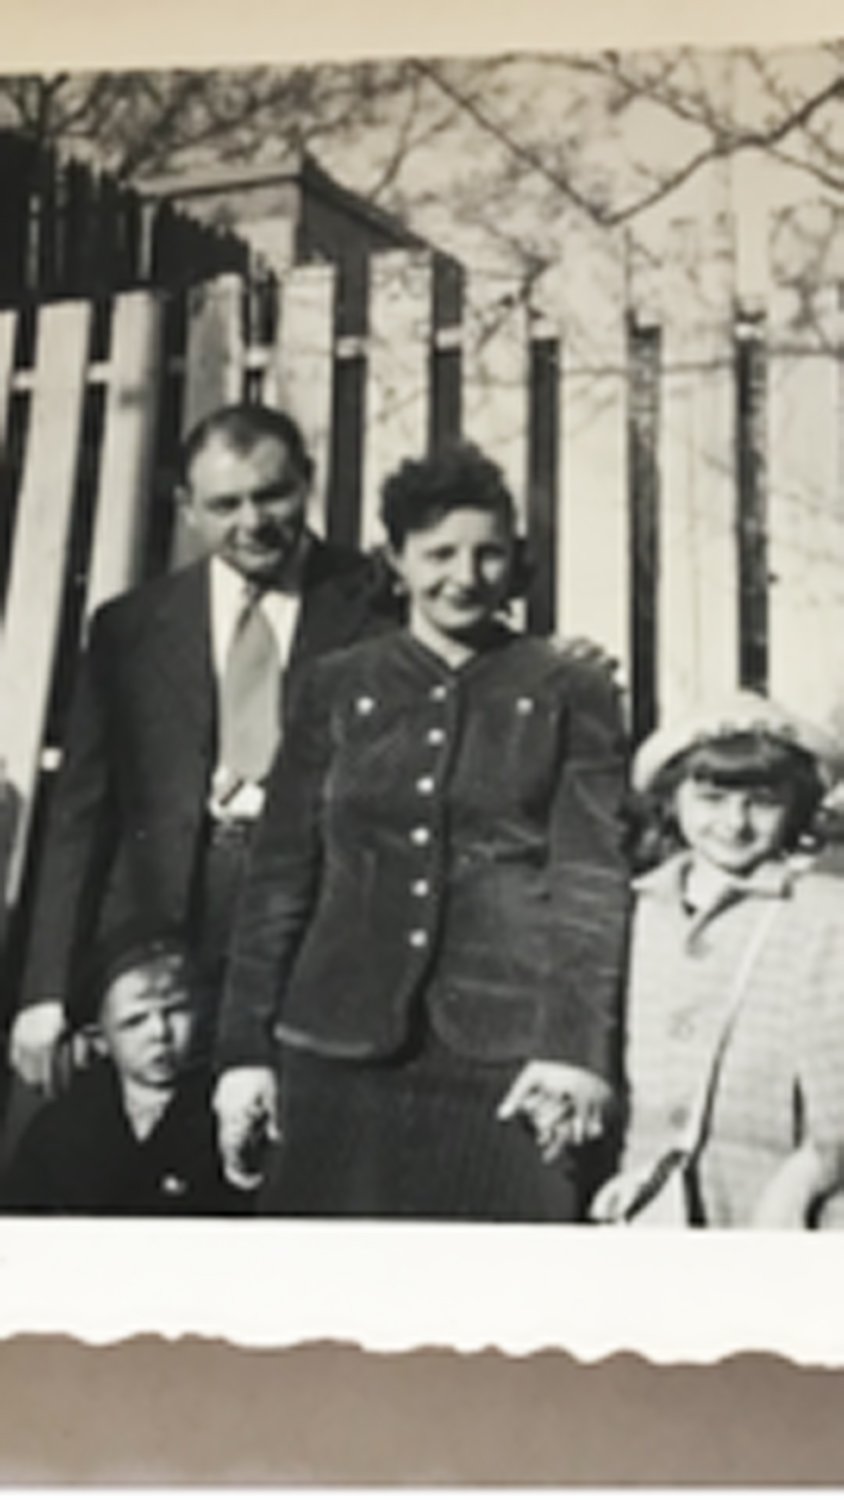
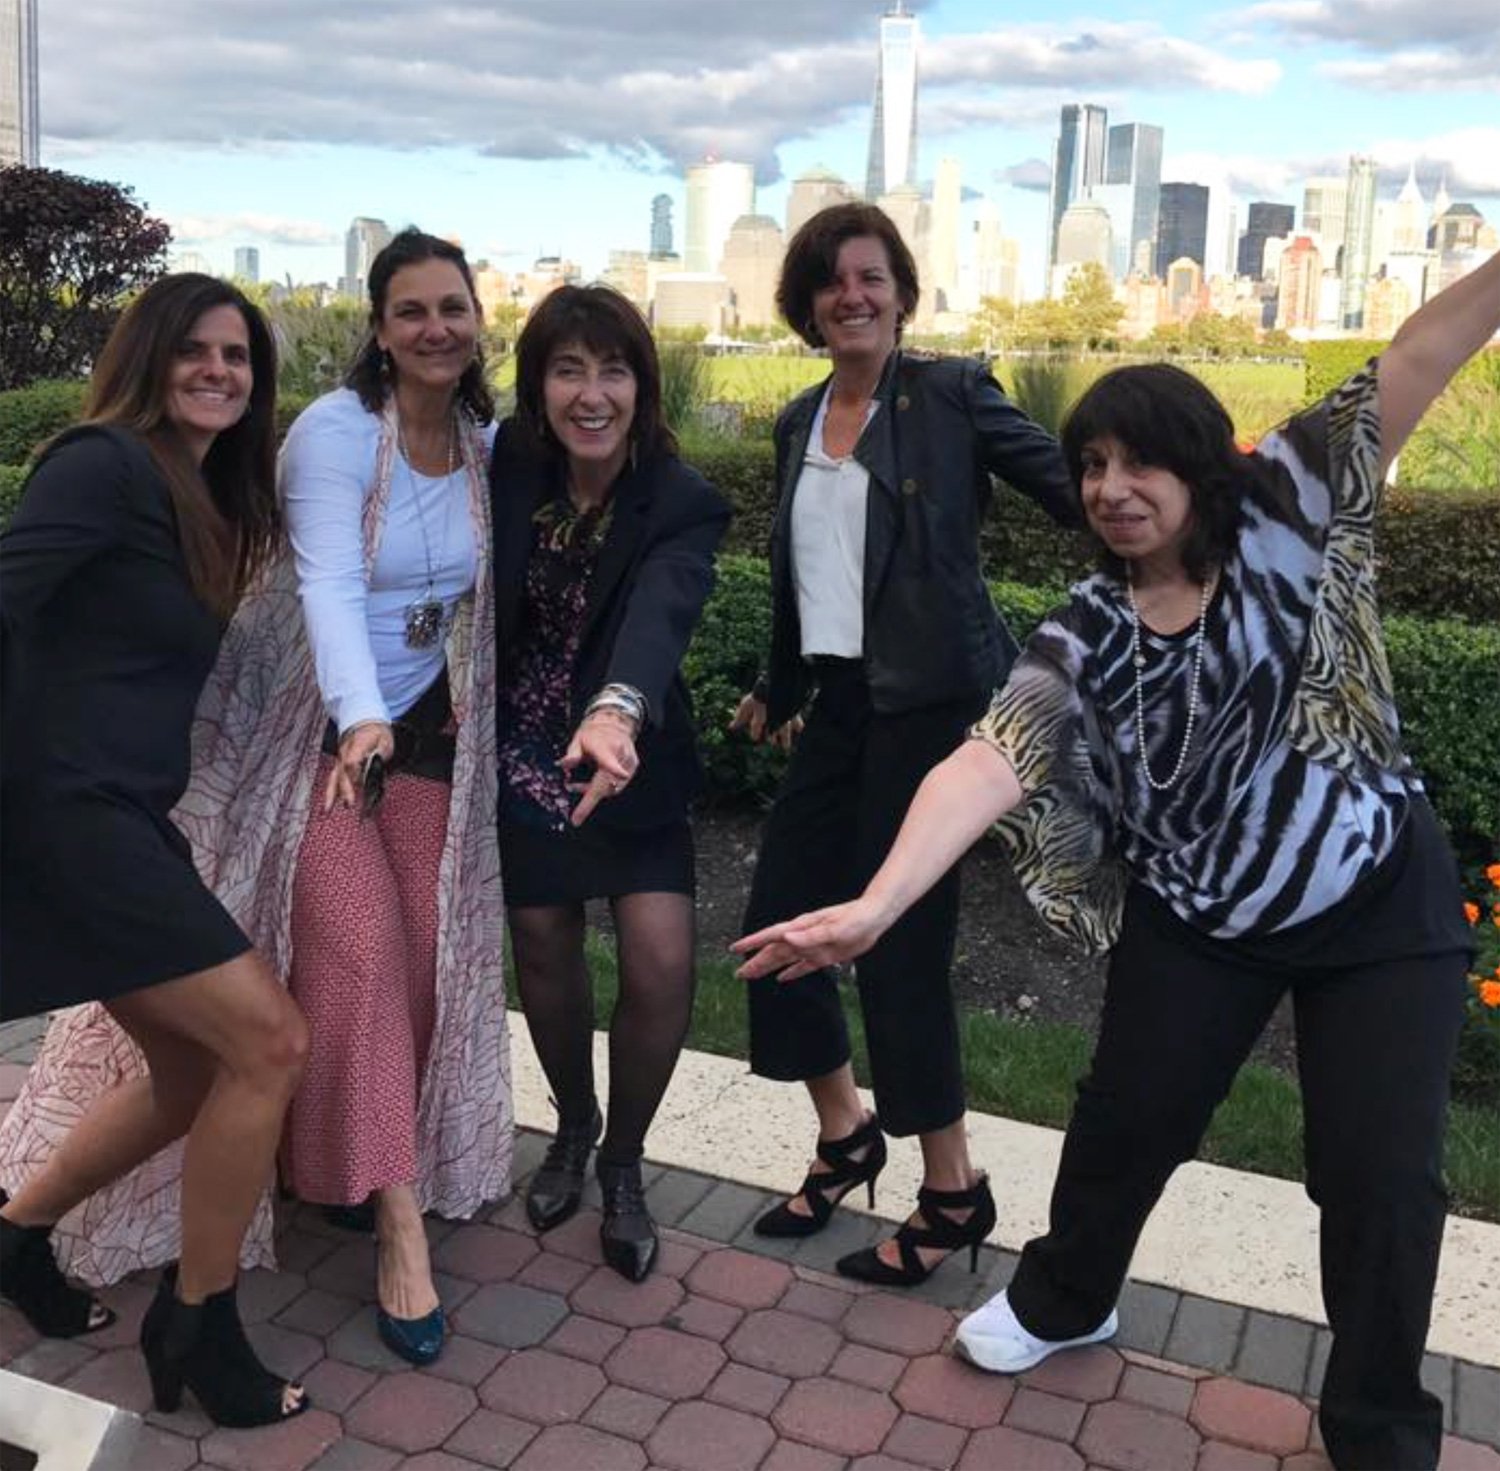
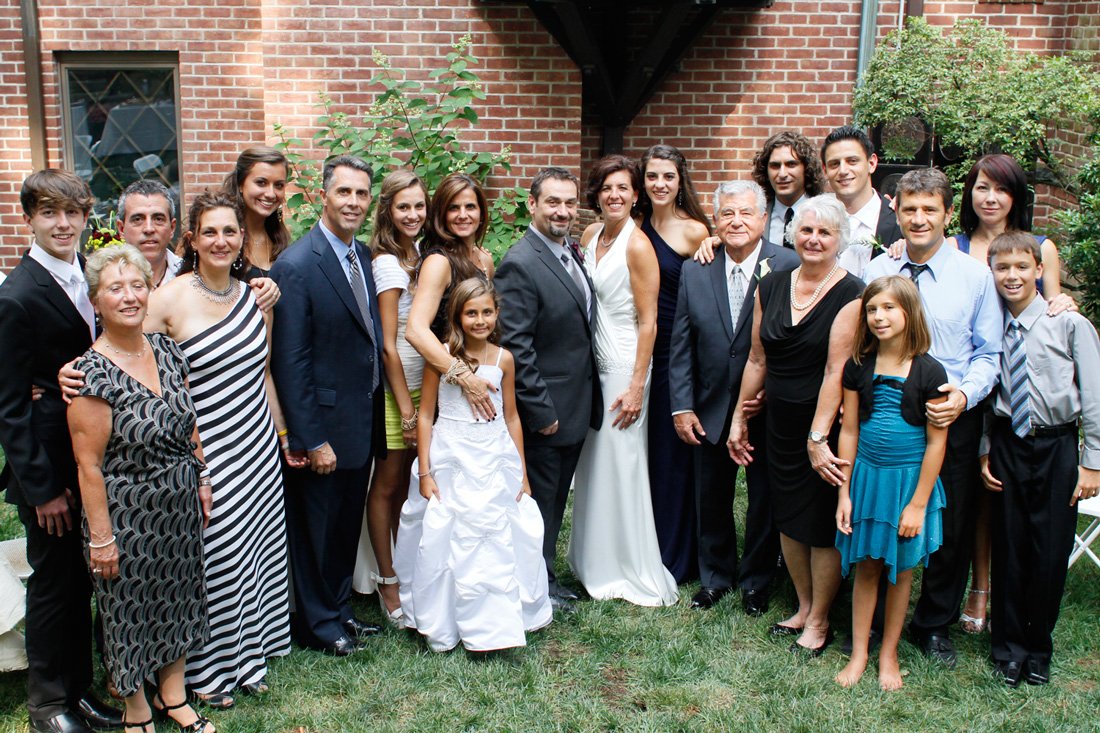
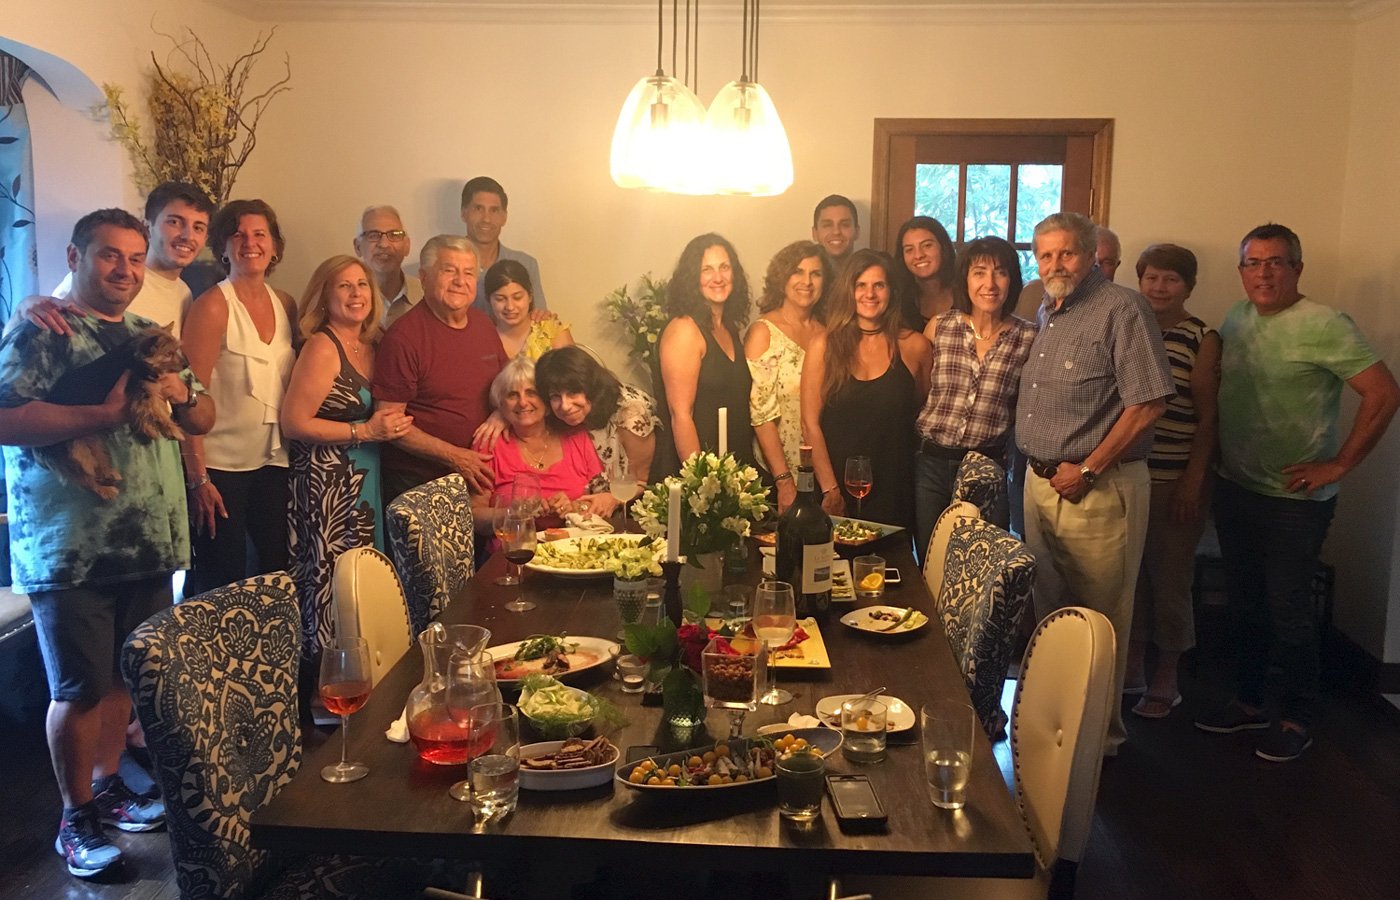
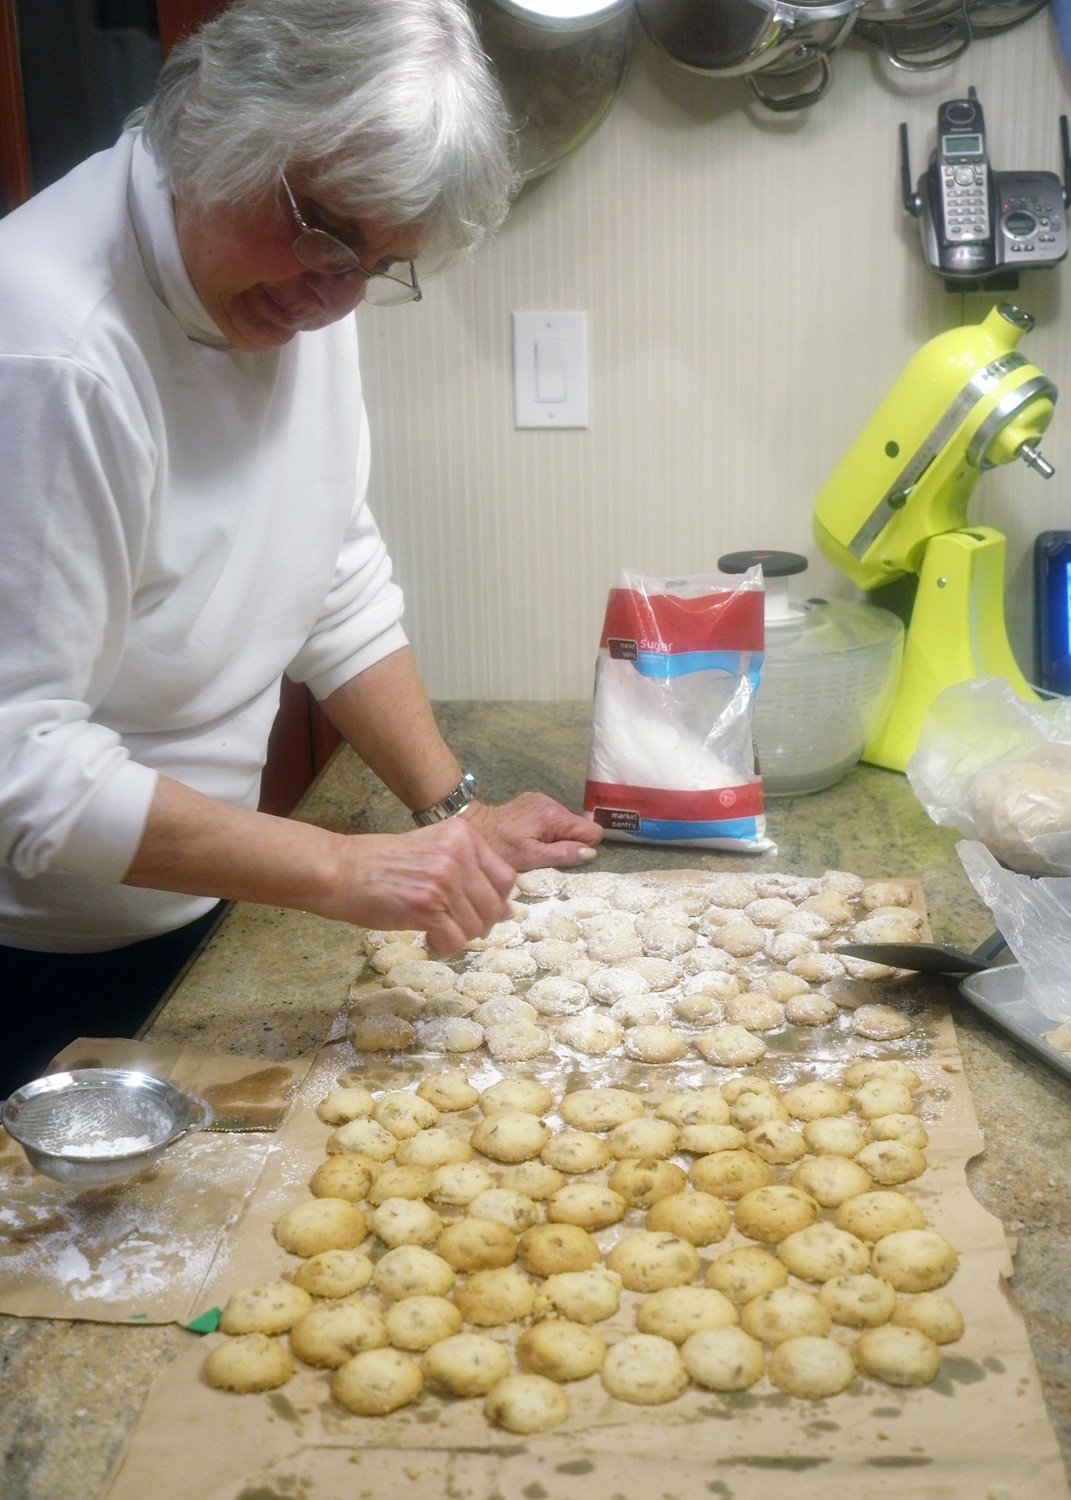
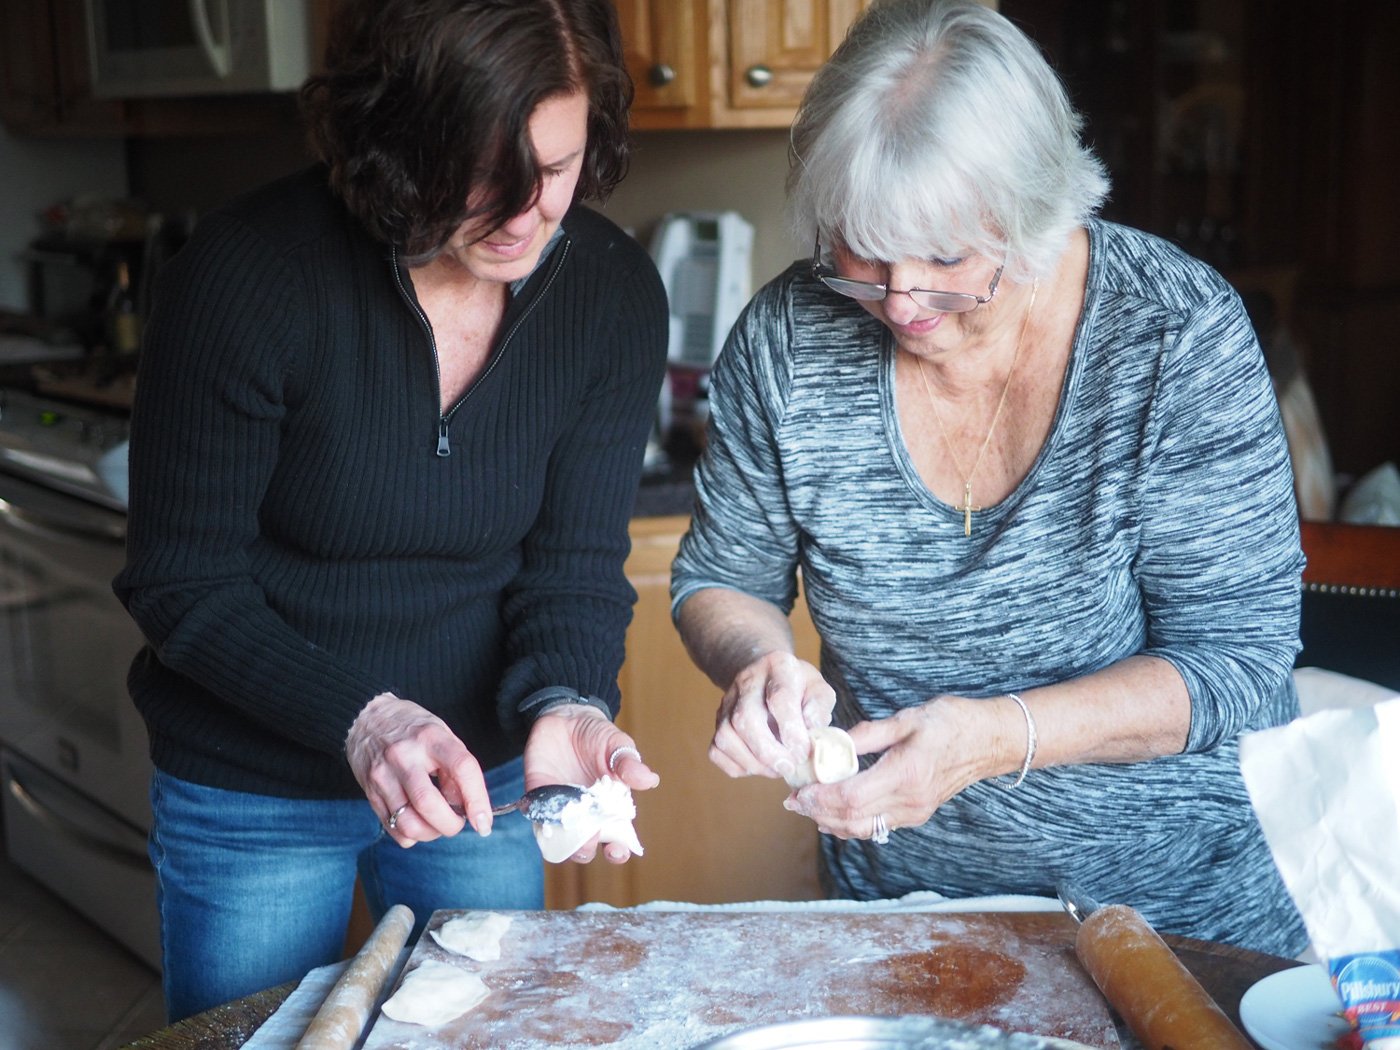
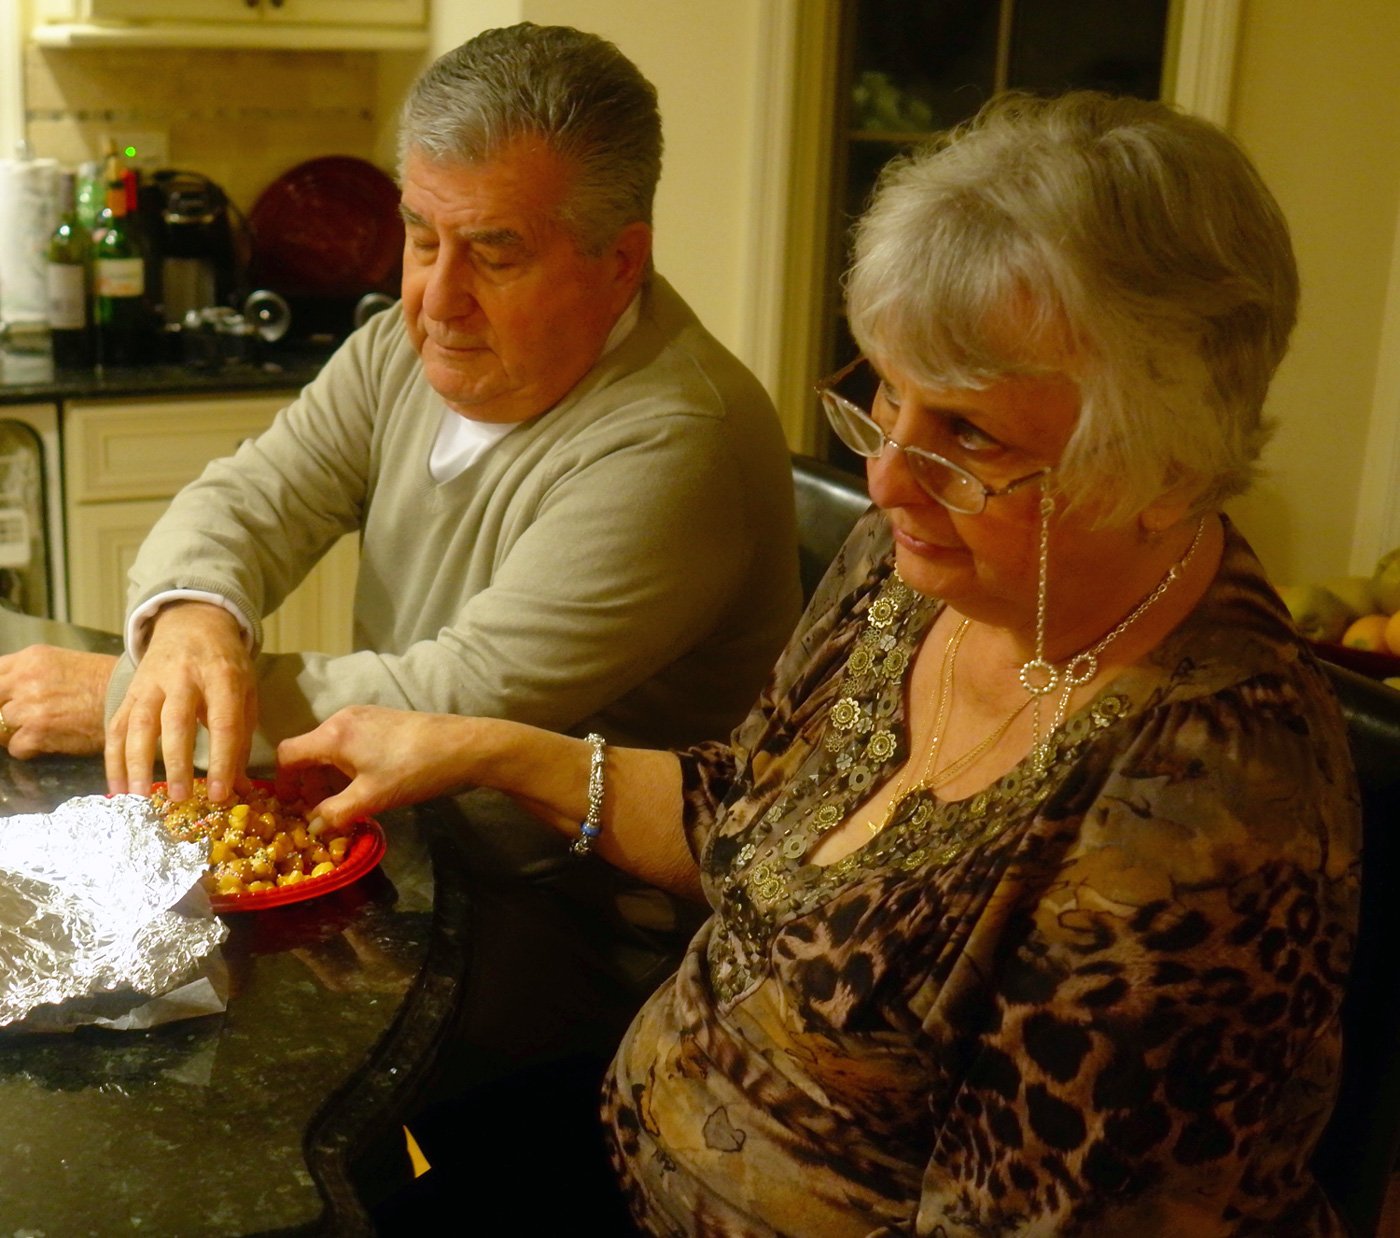
But she is so much more than her fashion and stunning beauty. She is a decent, loving, giving soul who had energy to spare. As kids, she would venture out with all of us, my cousins included, to take us on field trips; to Wollman Skating Rink, The Museum of Natural History, Jones Beach. She would pack us into the car and away we went. She was an avid supporter of anything we did, always showing up at our sports practices and games, cheering us on. She is the mother of all mothers, as is evident in the the glow on her face whenever she is holding a child - her own, her nieces/nephews, her grandchildren.

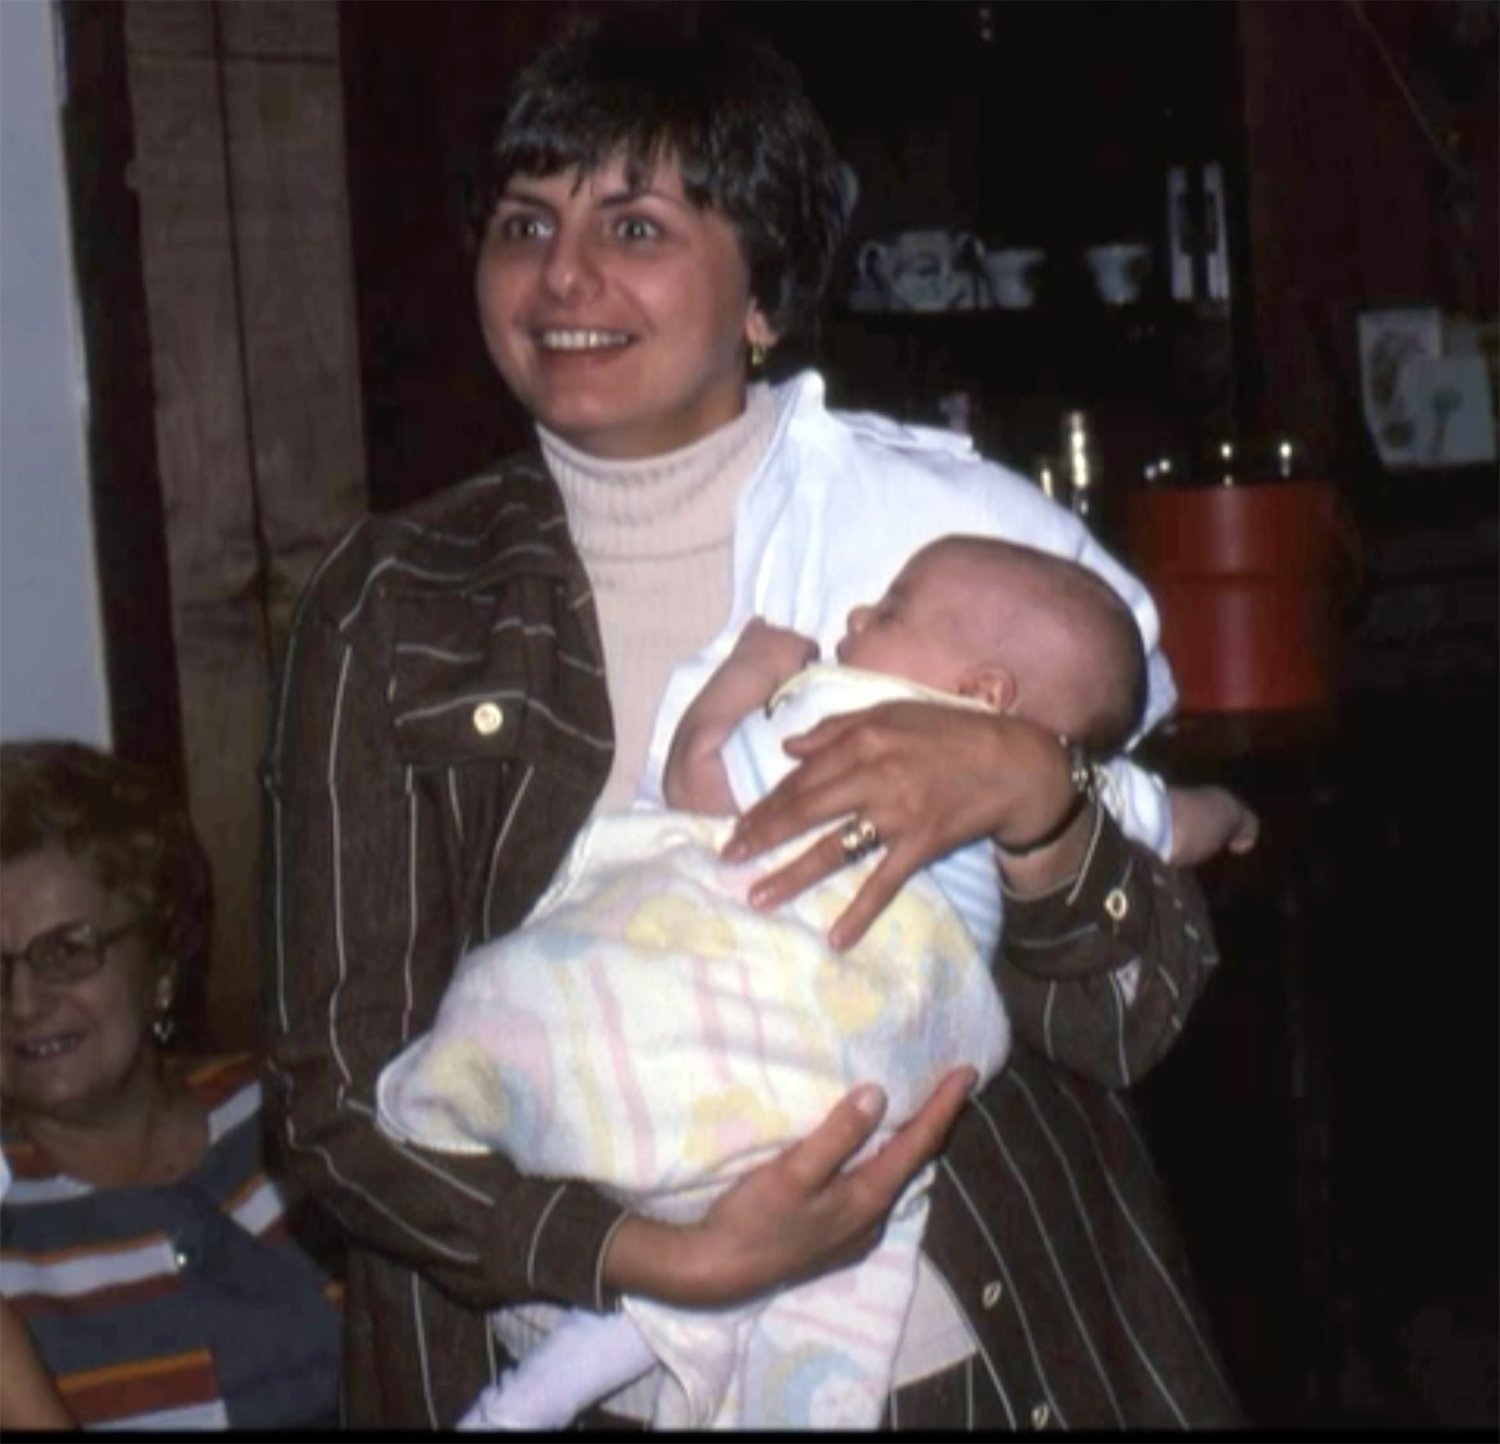
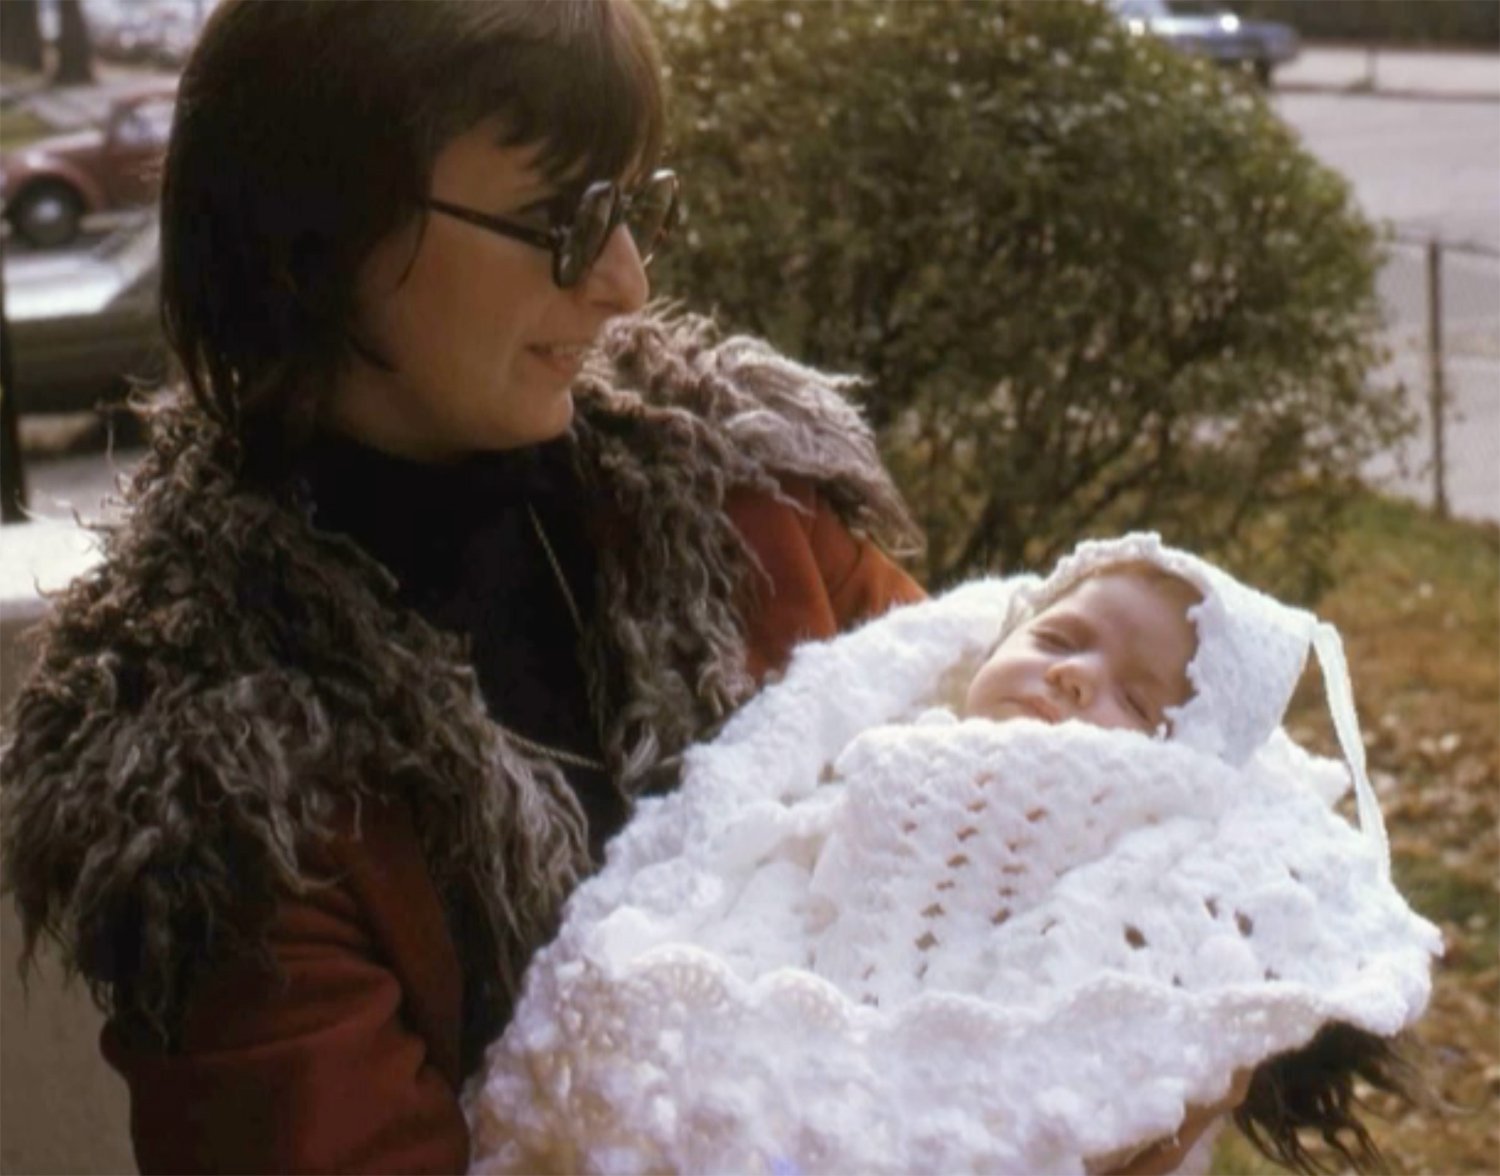
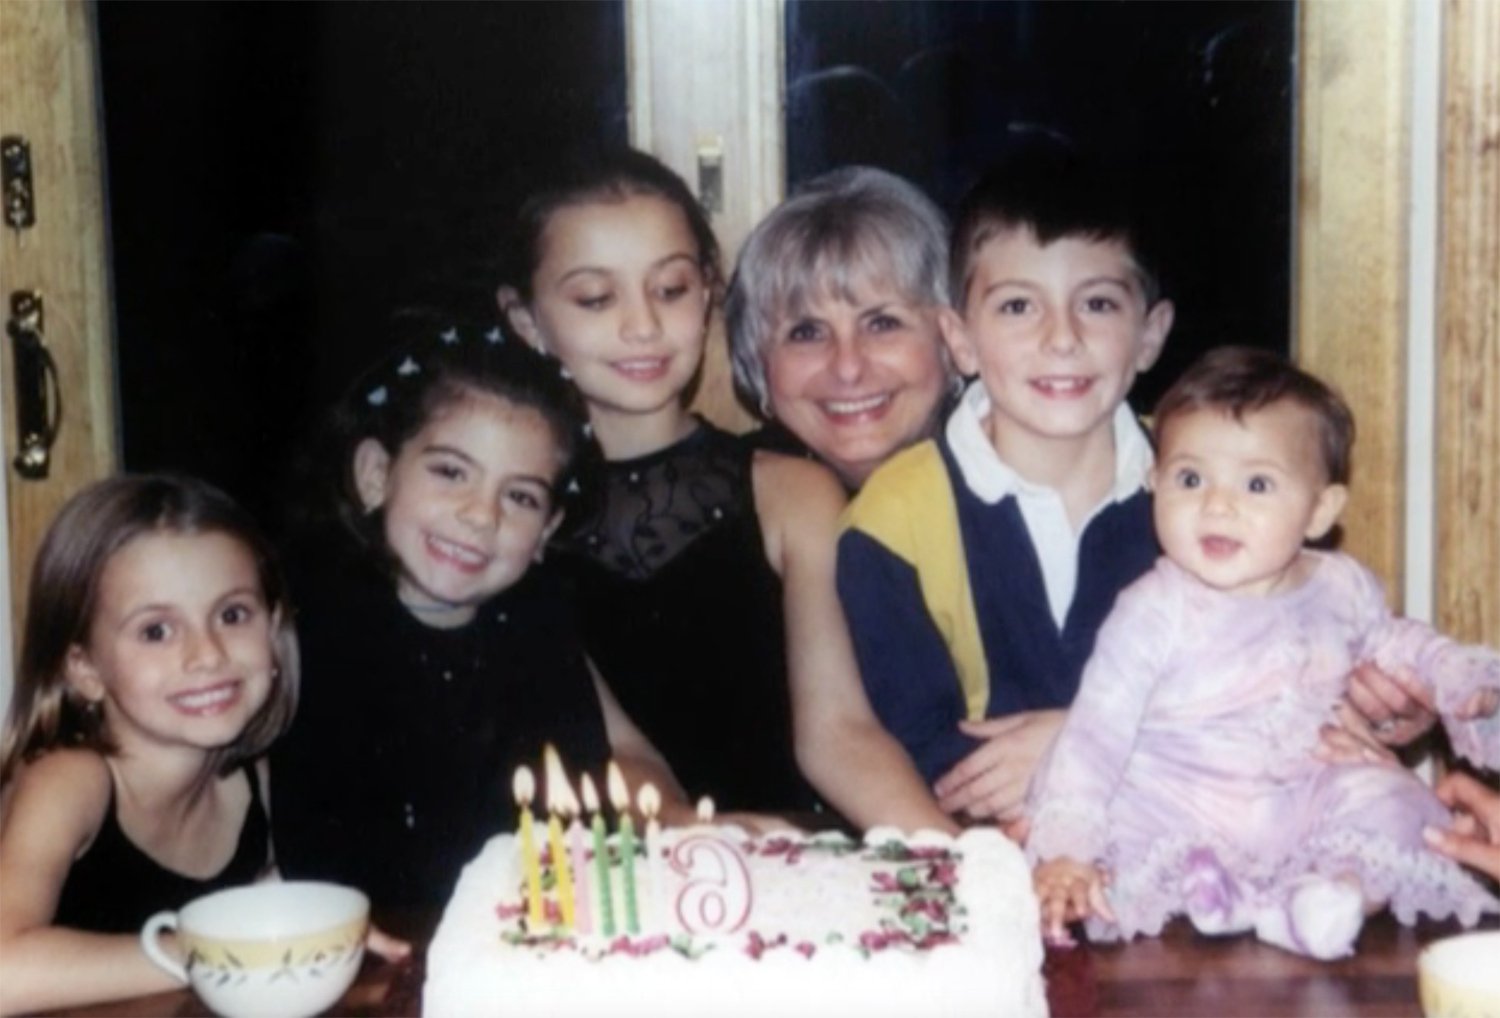
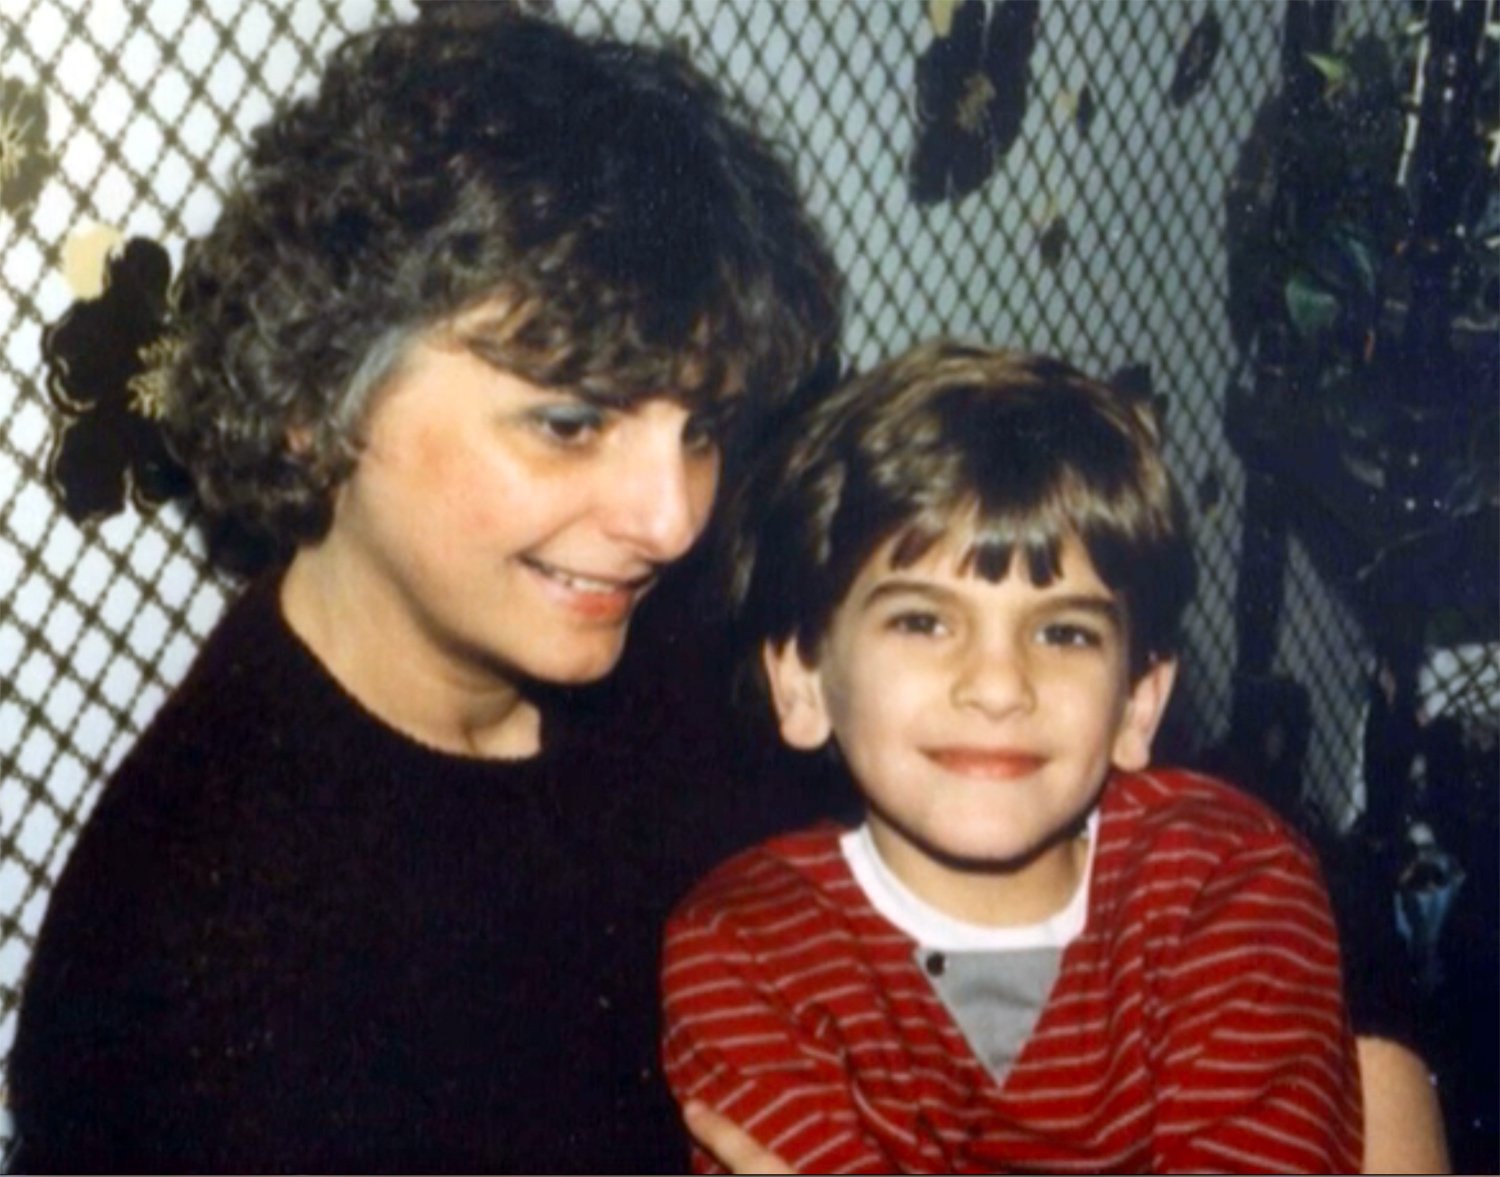
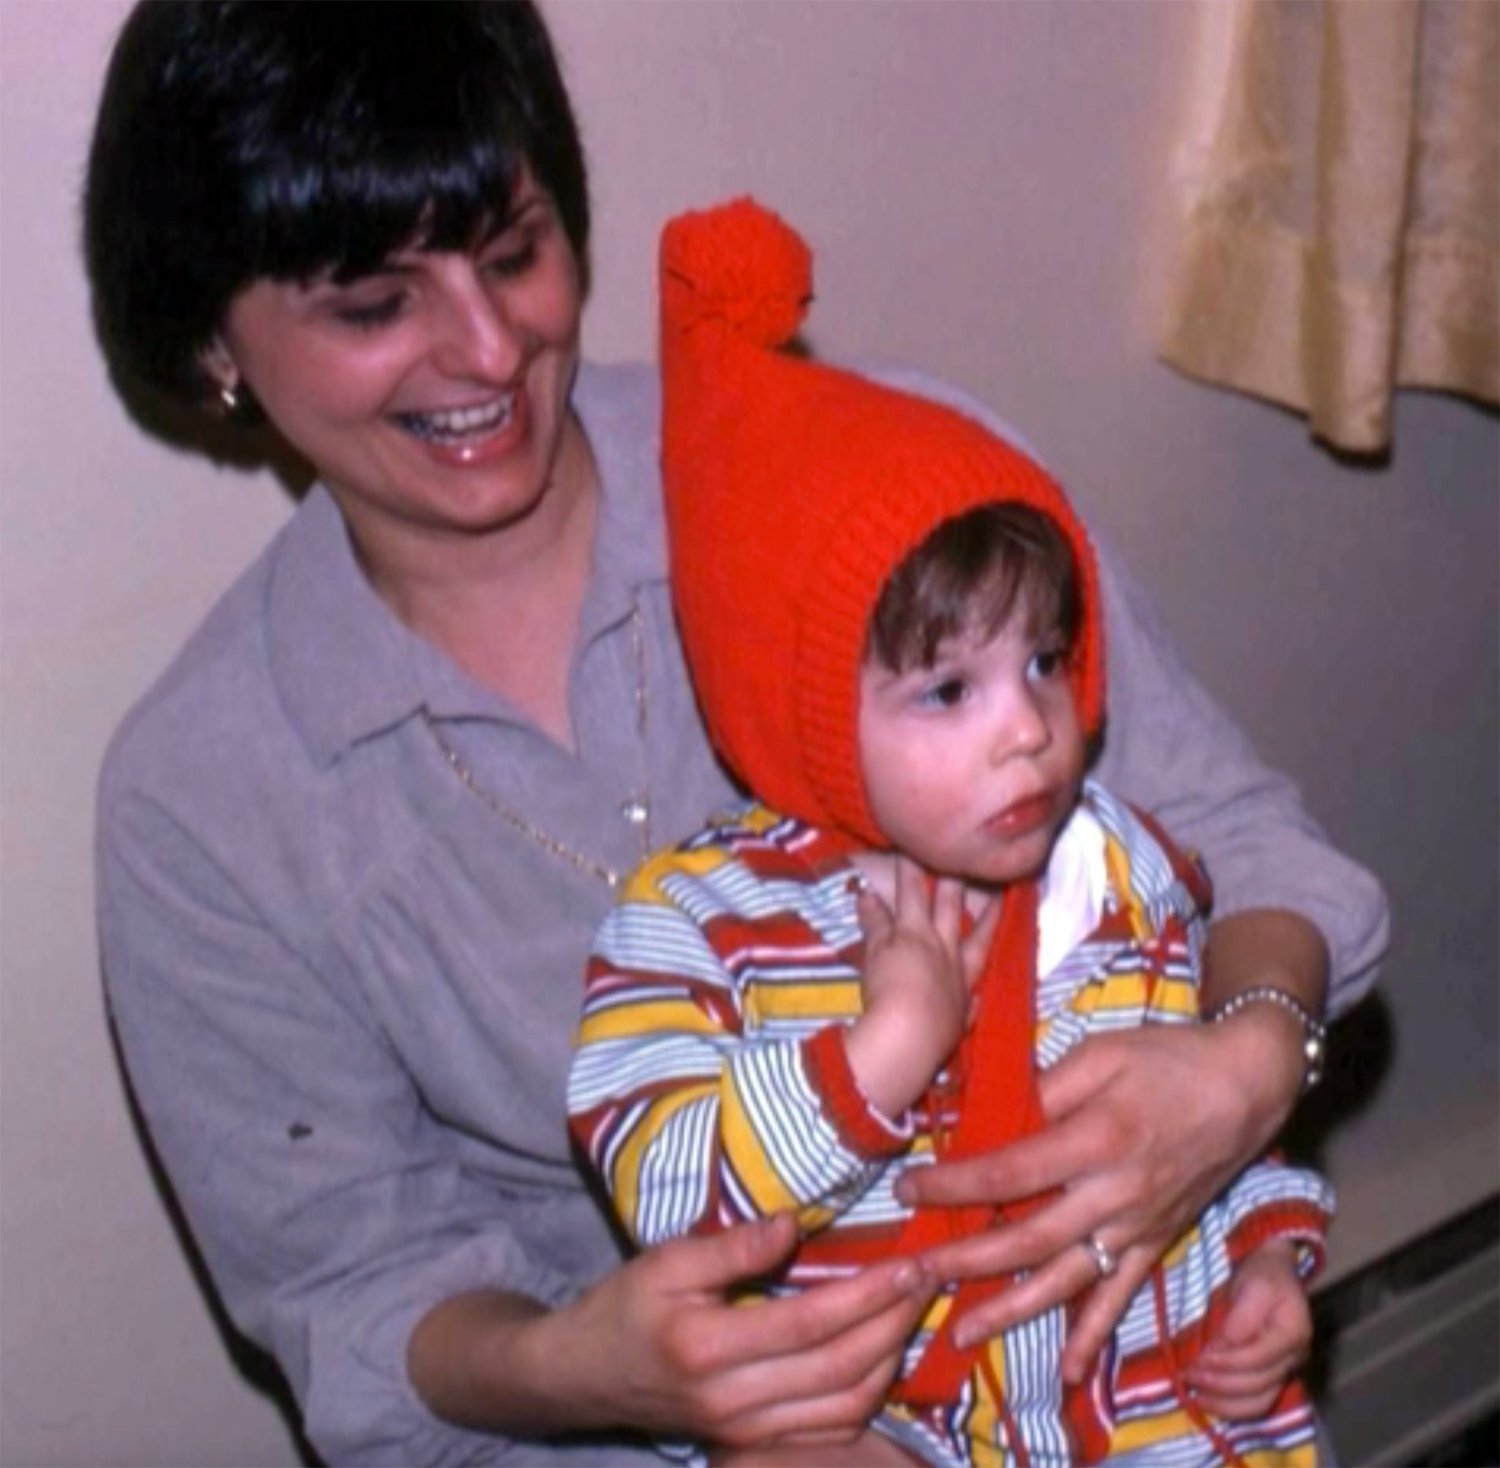
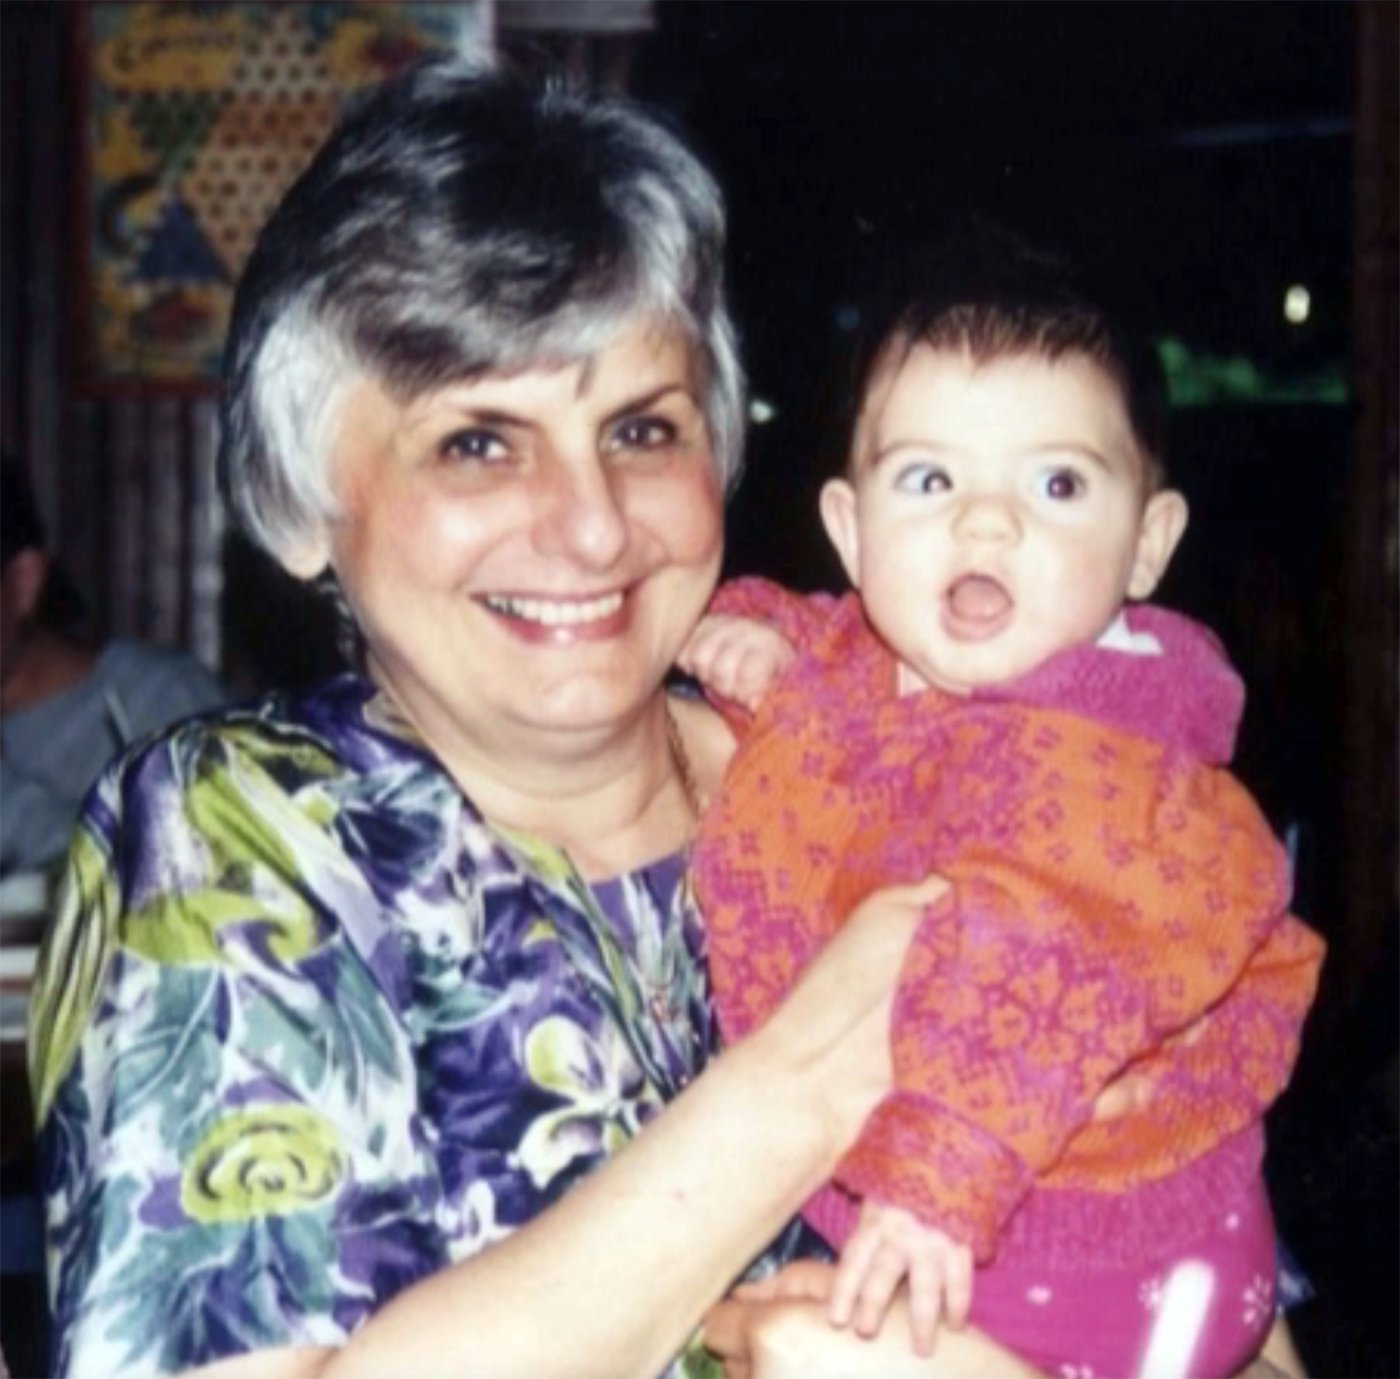
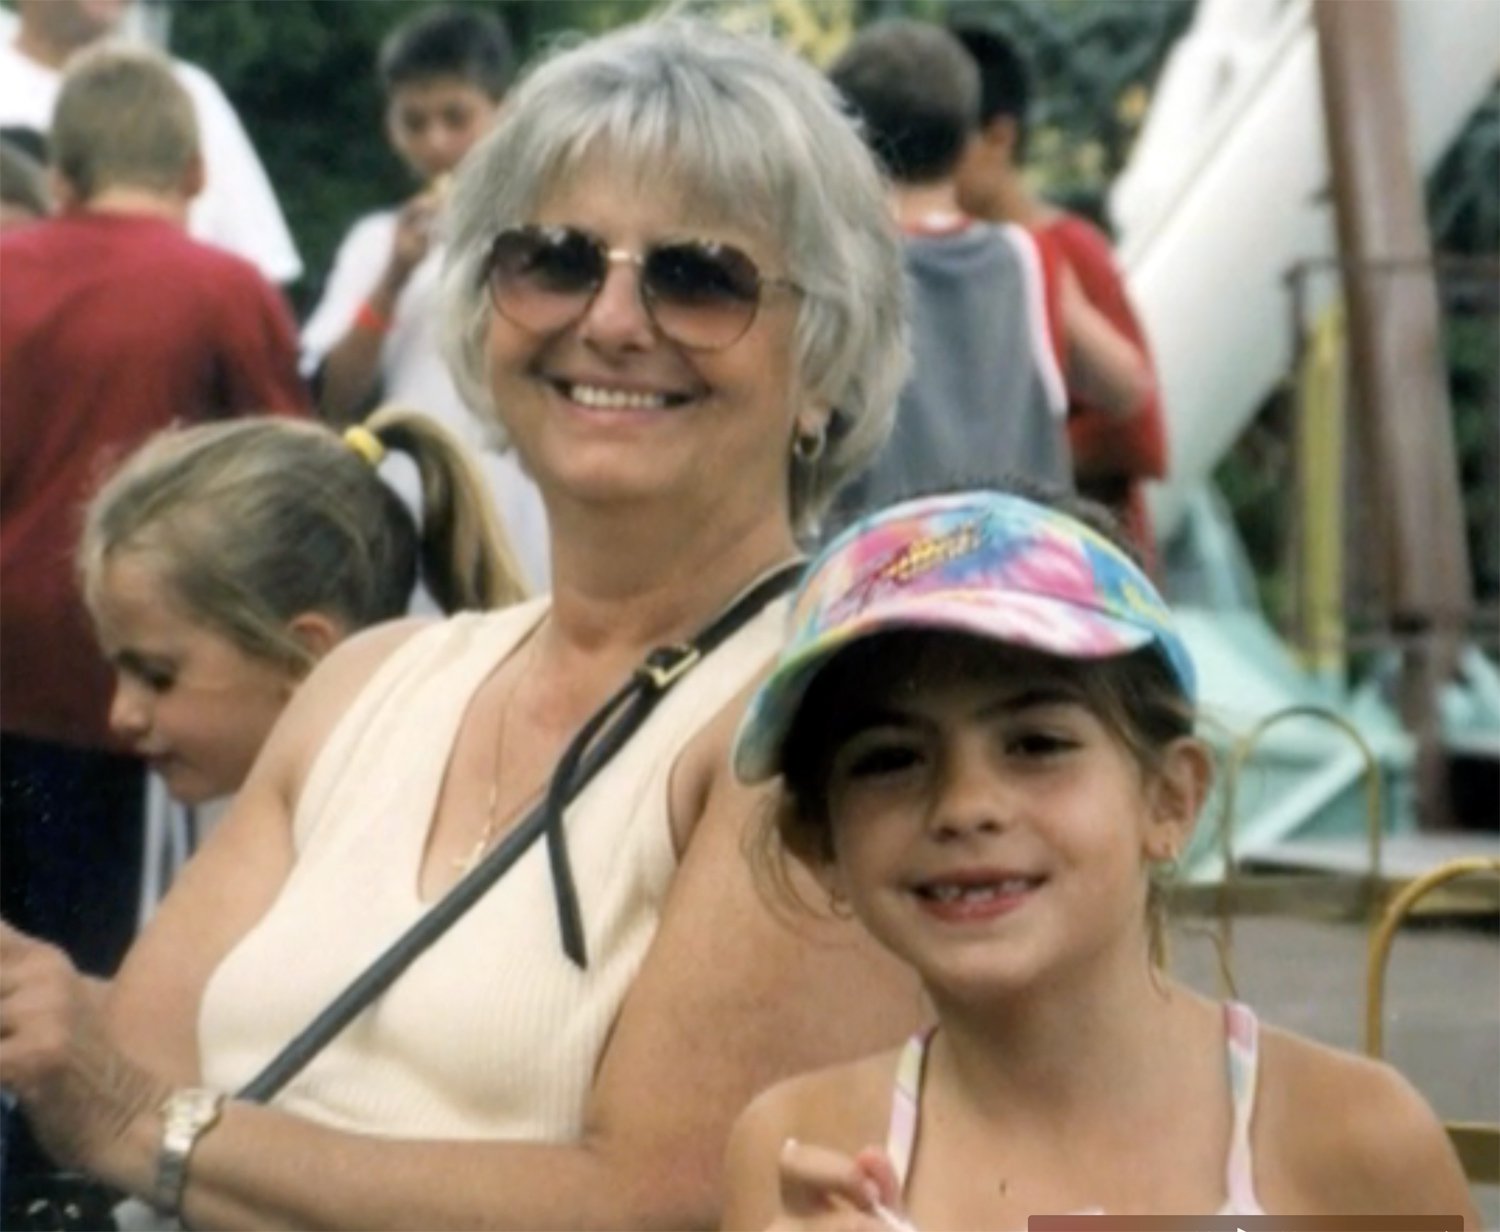
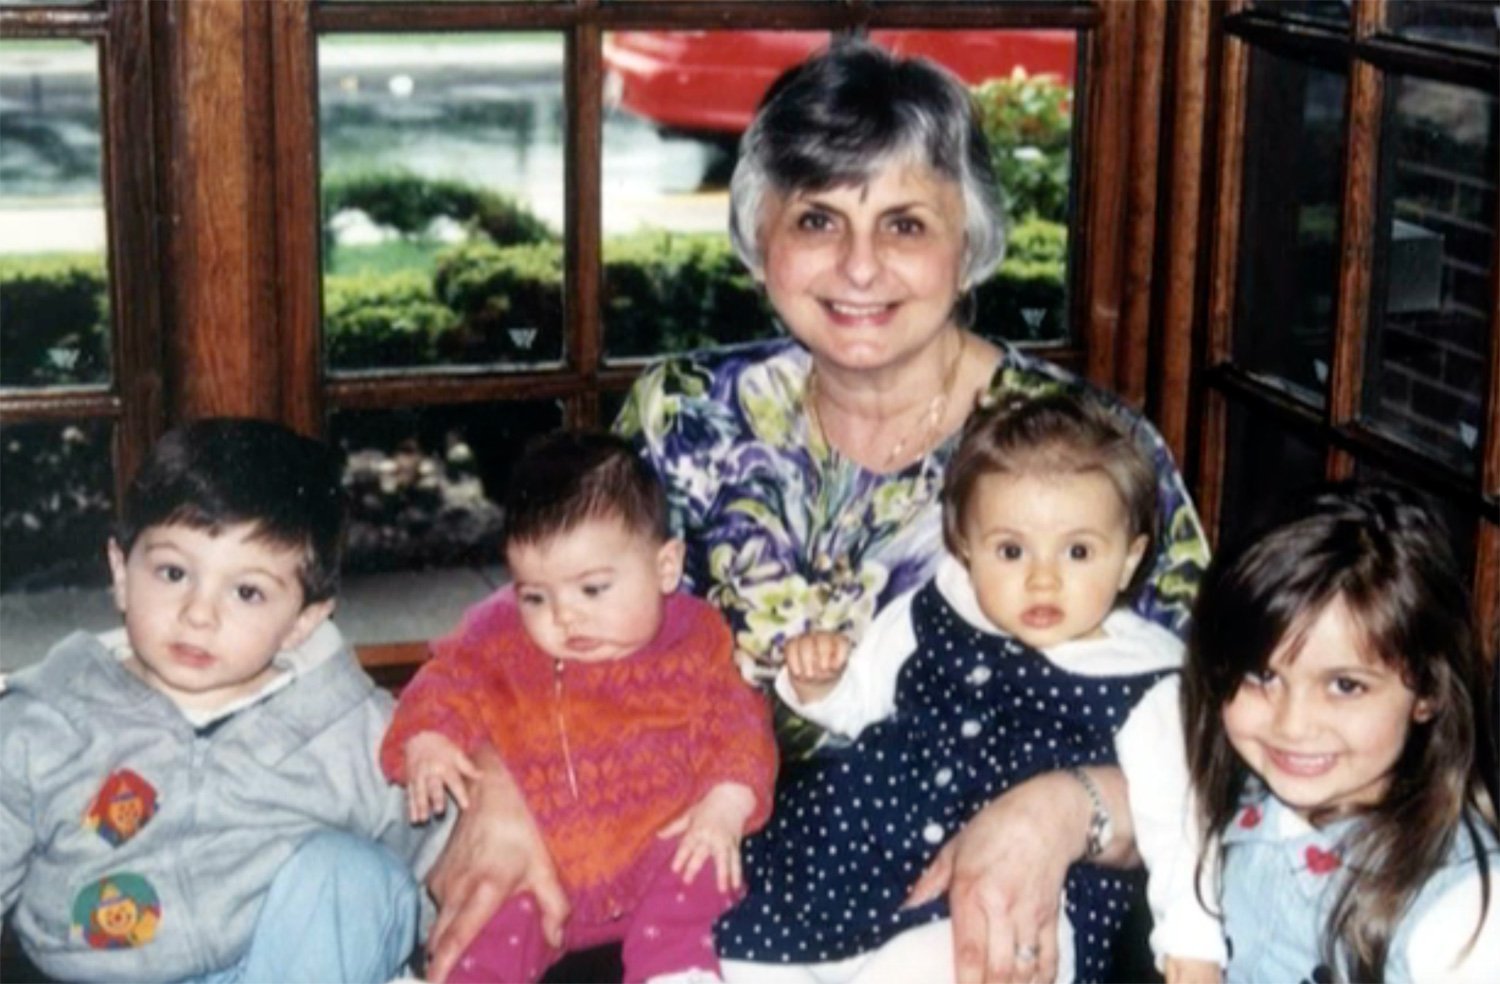
She is an awesome grandmother, aunt, sister, sister-in-law, friend, wife and an exceptional mother. I could go on and on, but I’ll let a poem I wrote awhile back for her 70th birthday do the rest of the talking and let all these images bring a smile to your face. I know they will because whenever I see her face and that smile, I can’t help but be filled with joy.

My Mother - My Fortune

I have considered myself fortunate all my life,
Never truly understanding my lack of great strife.
Fortune has different meanings to each and every one
But for me, and my siblings, it’s the definition of our Mom.
Adrienne Fortune, her name bears what she delivers
Her goodness and love is as long as any river.
She is the warmth of a blanket on a cold winter’s night,
She is the sun kissing your face, so warm, so bright
She is the breeze that cools you by the side of the bay
She is the laughter of a child on any given day
Our mother knows no other way
This is how she would spend each and every day
Giving to others their every want and need
She will give of herself without any heed
She is a woman full of grace
Full of love that lights her face
She is a woman of simple goals
The purest ones remain untold
The strongest woman I’ll ever know
She is the angel who has guided us to and fro
She complains not, asks not and does not hurt a soul
Treating everyone with kindness has been her title role.
My fortune has been great, and it started with my great fortune
A daughter
A sister
A wife
An aunt
A friend
A grandmother
A Mother, My Mother, My Fortune
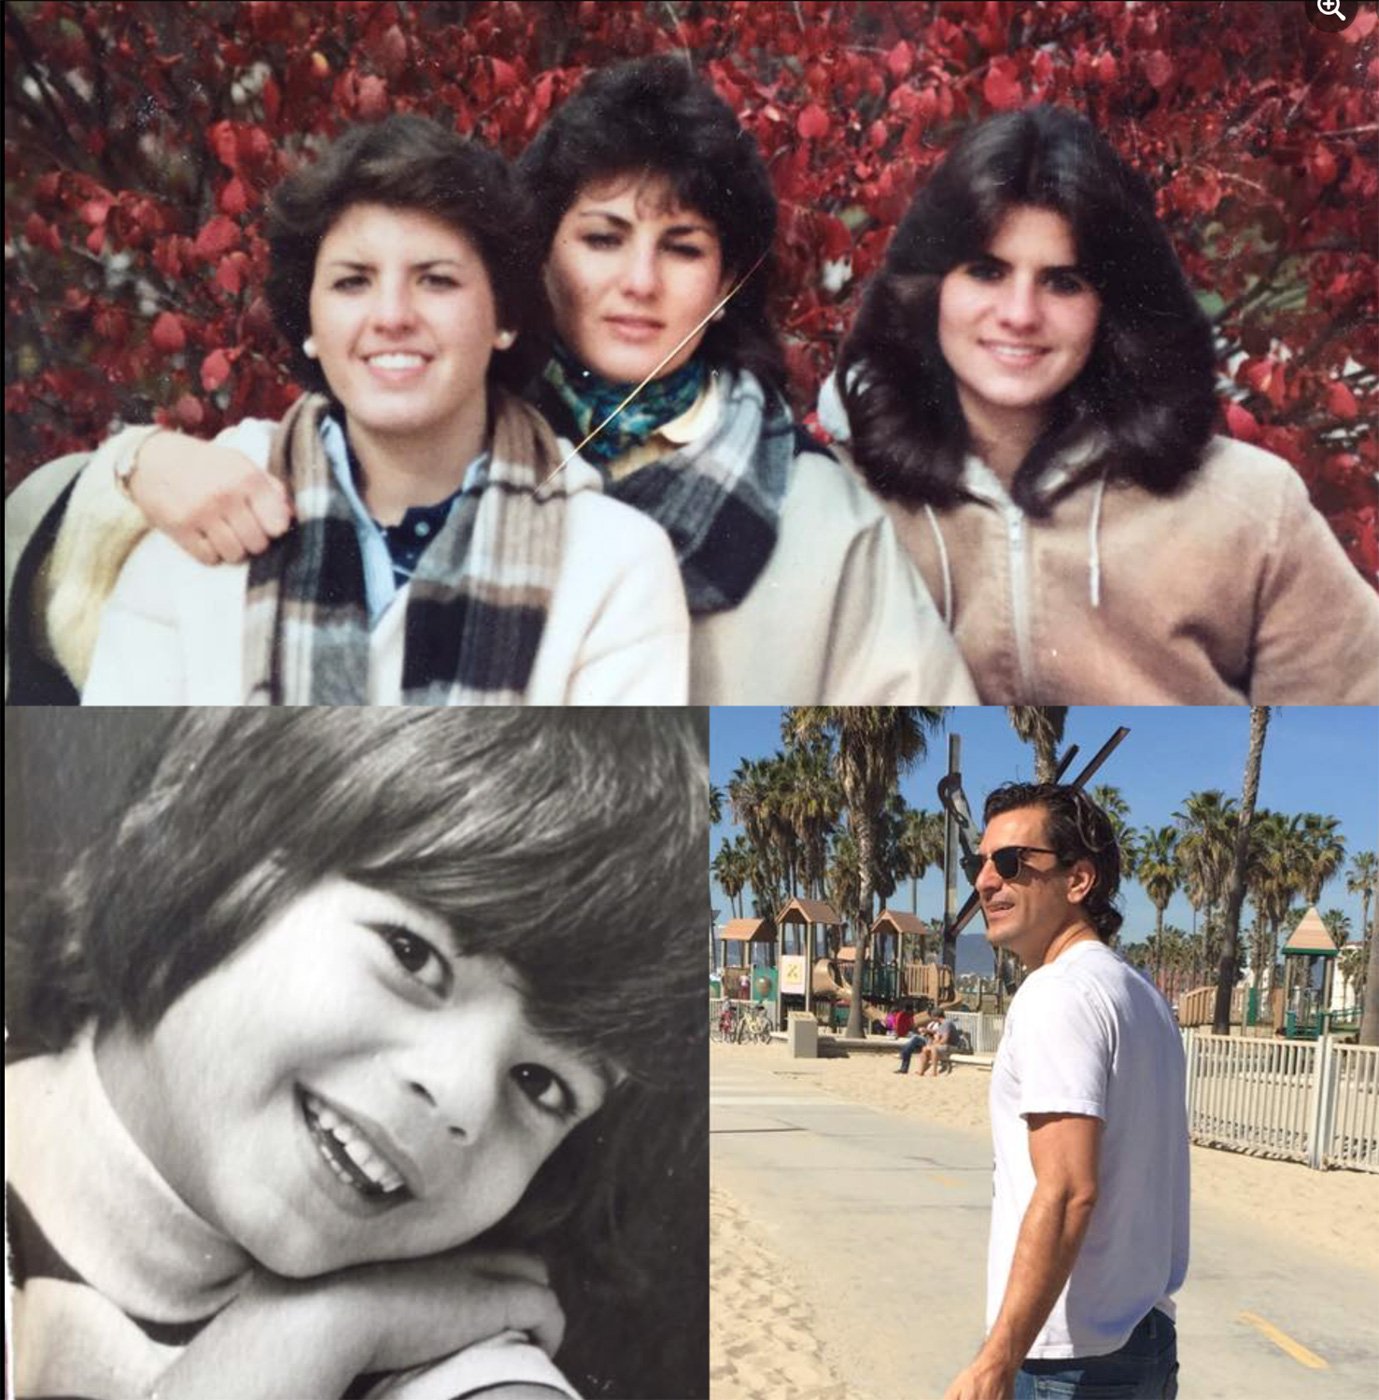
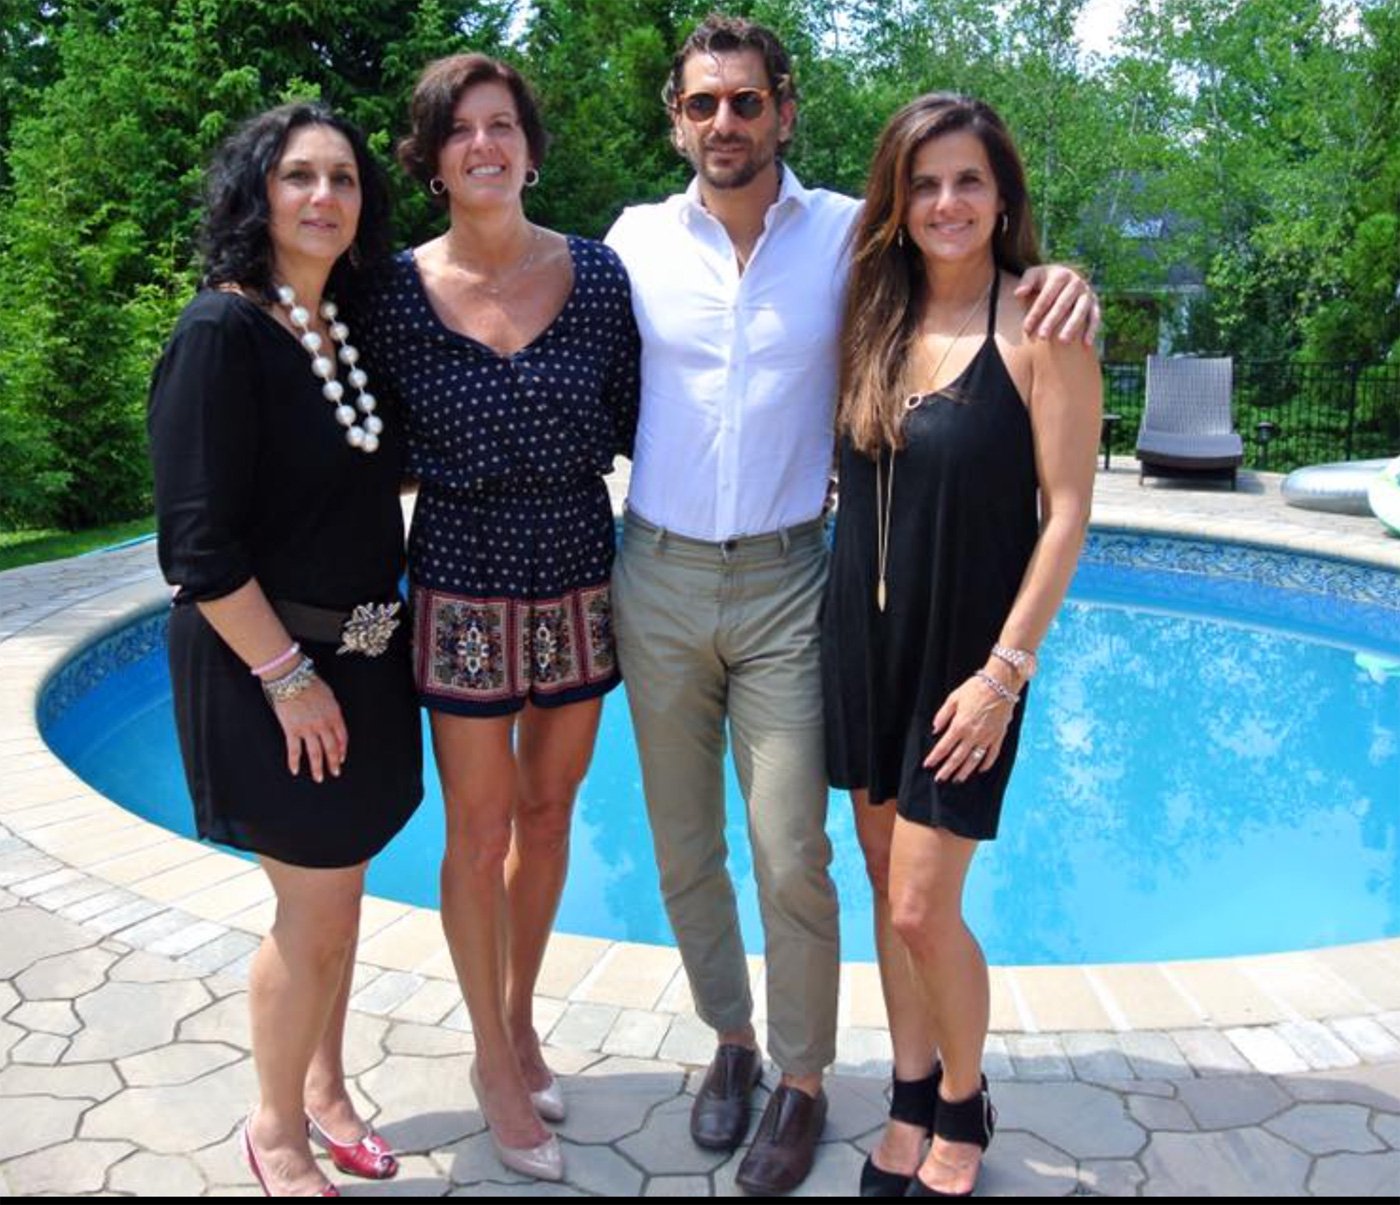
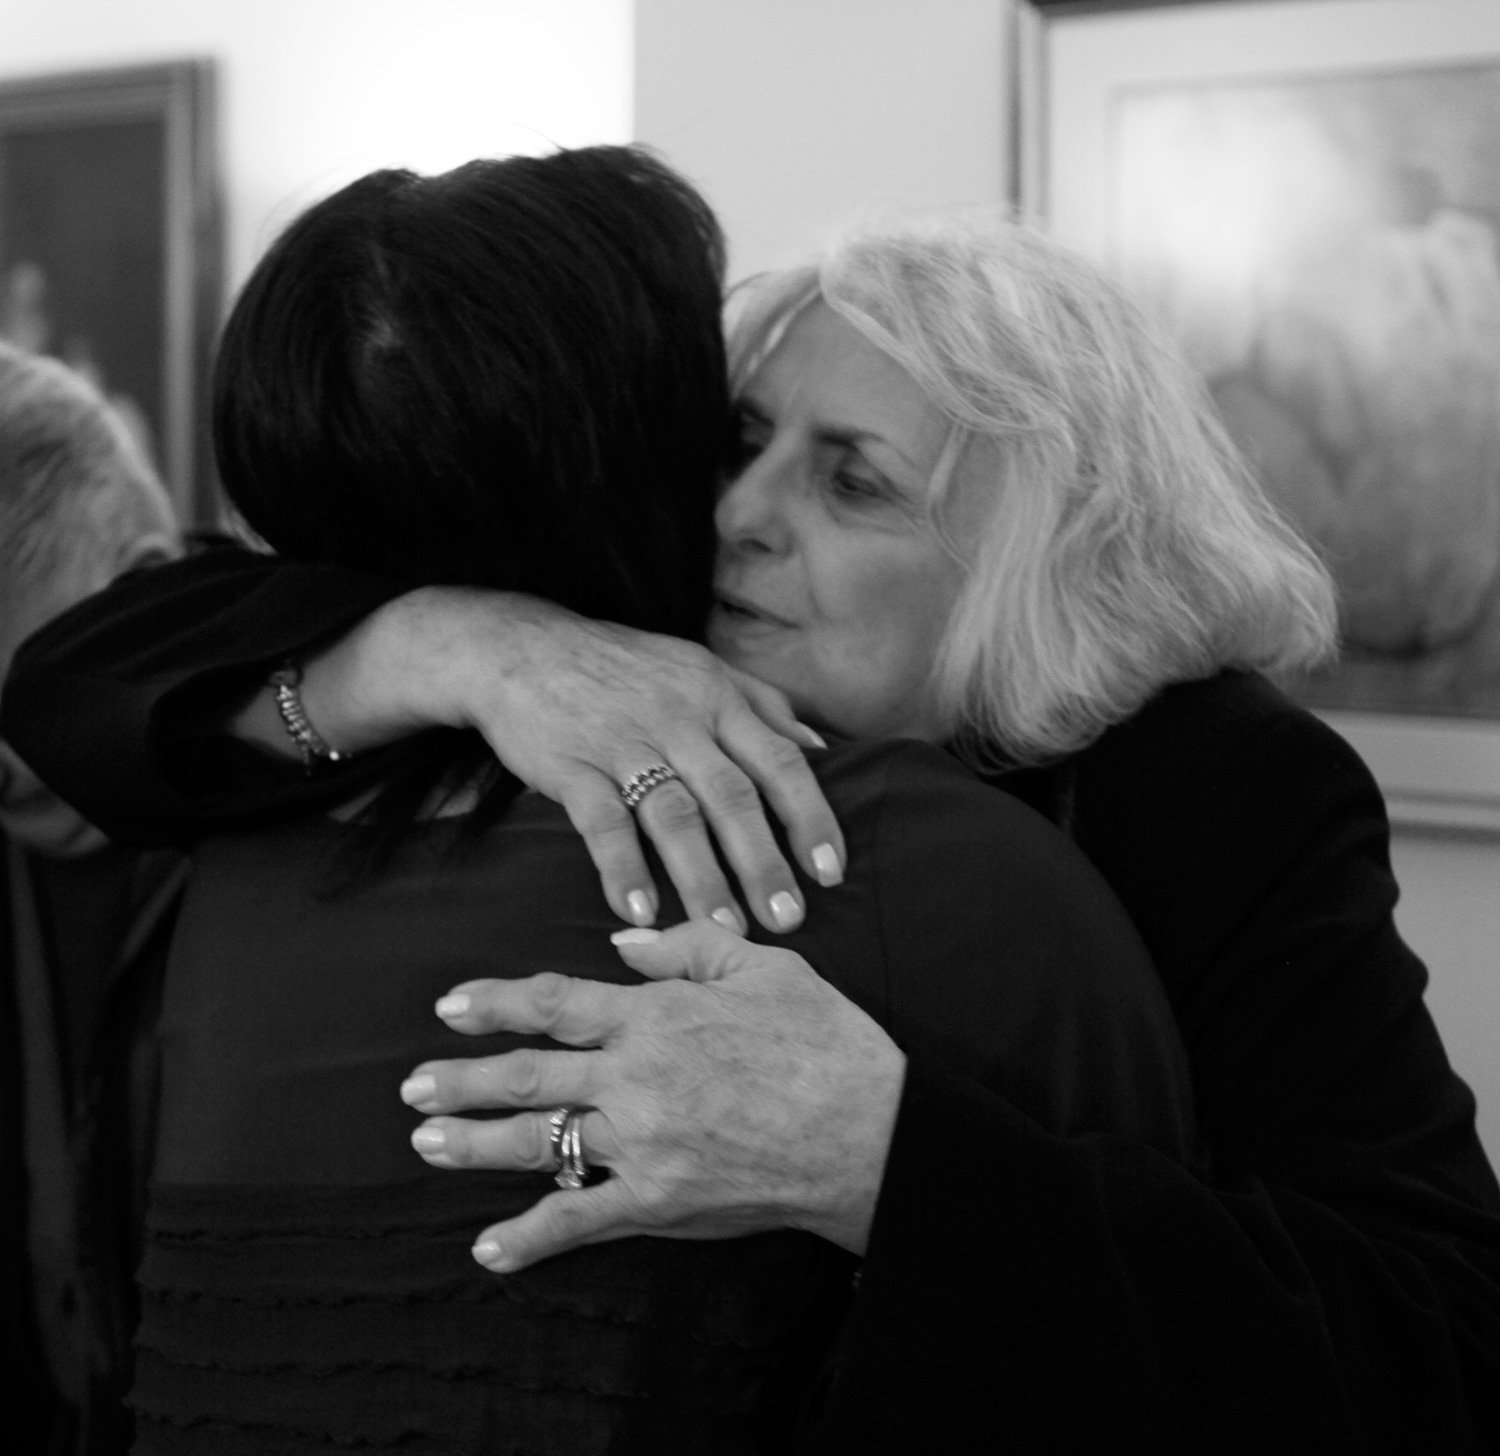
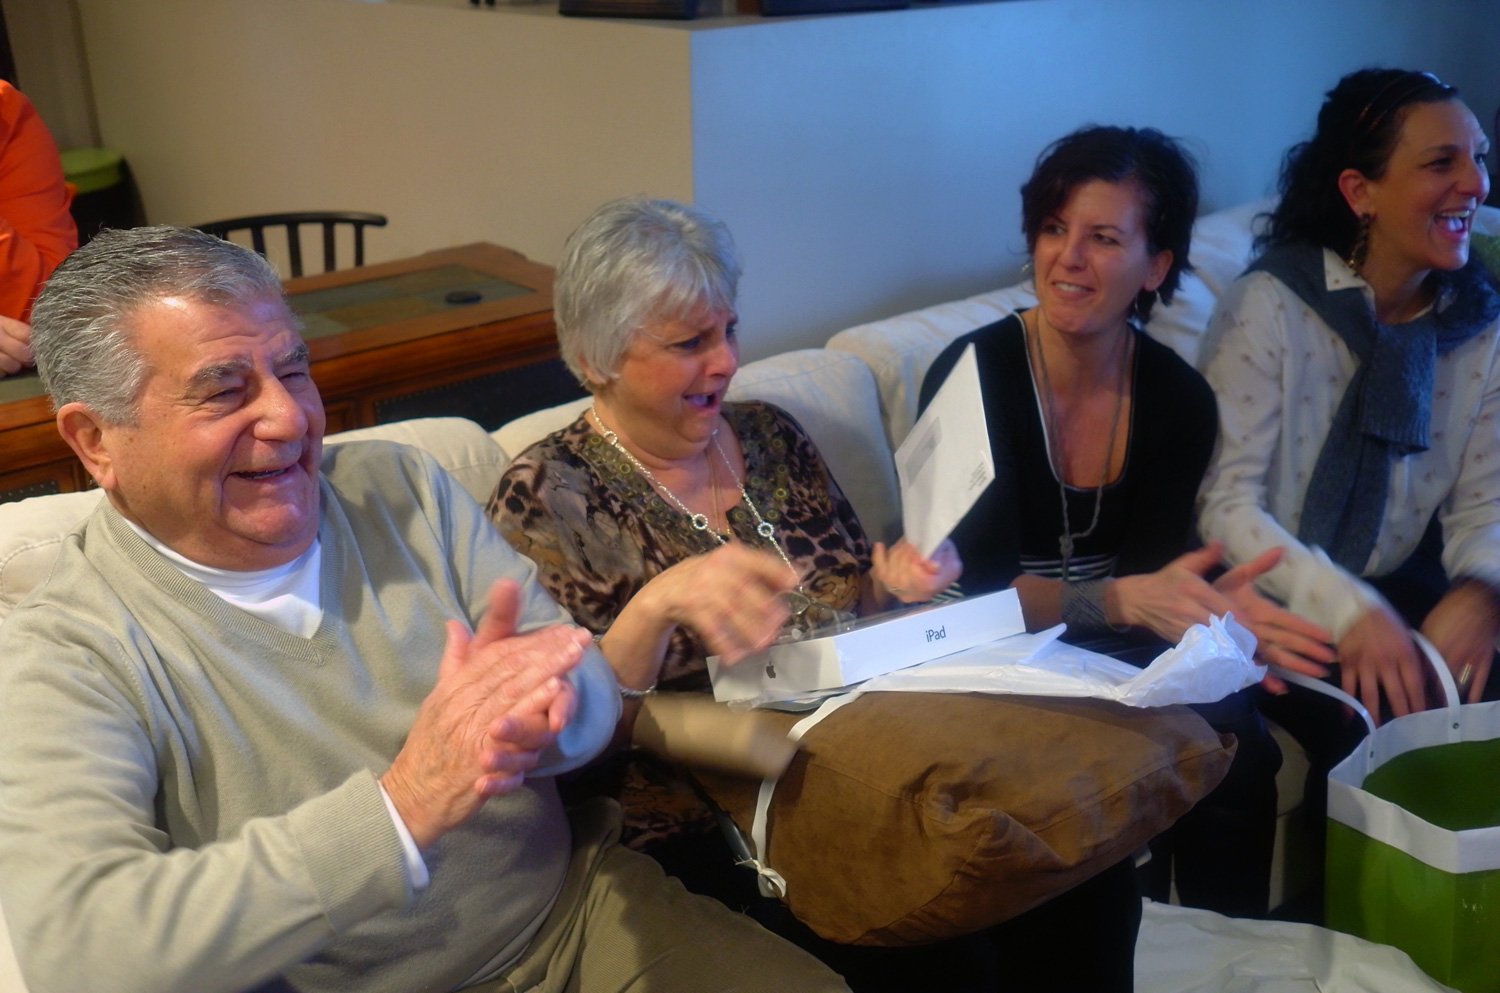
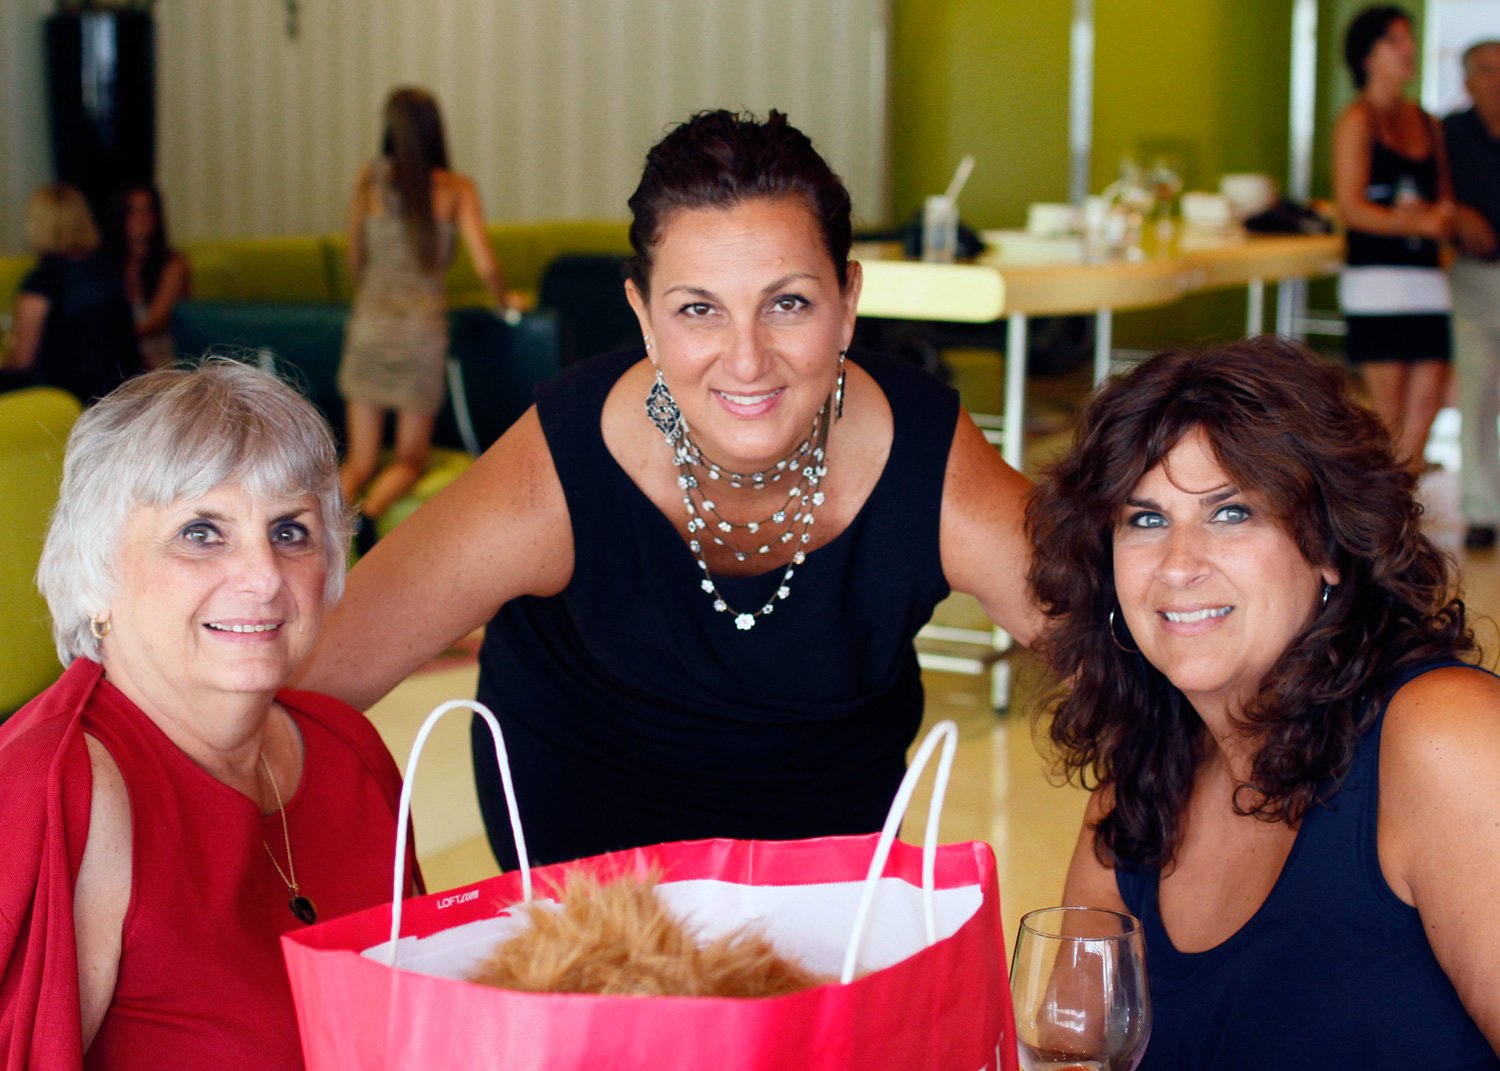
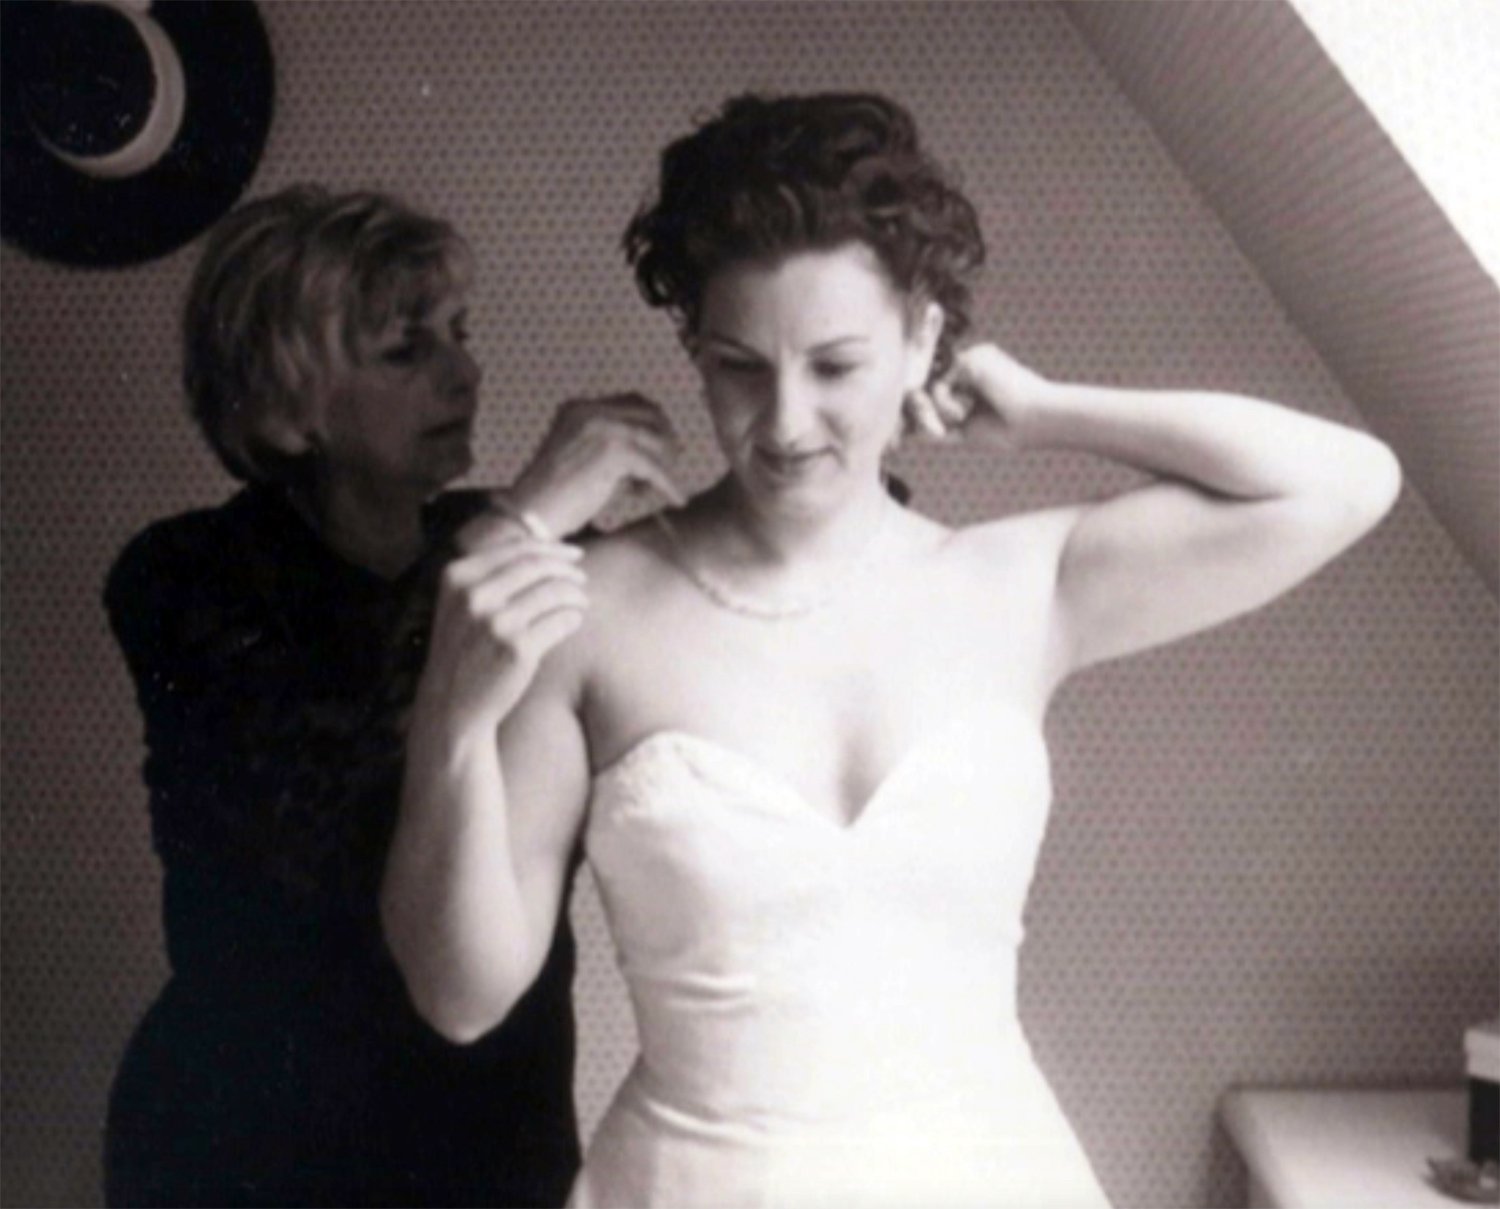
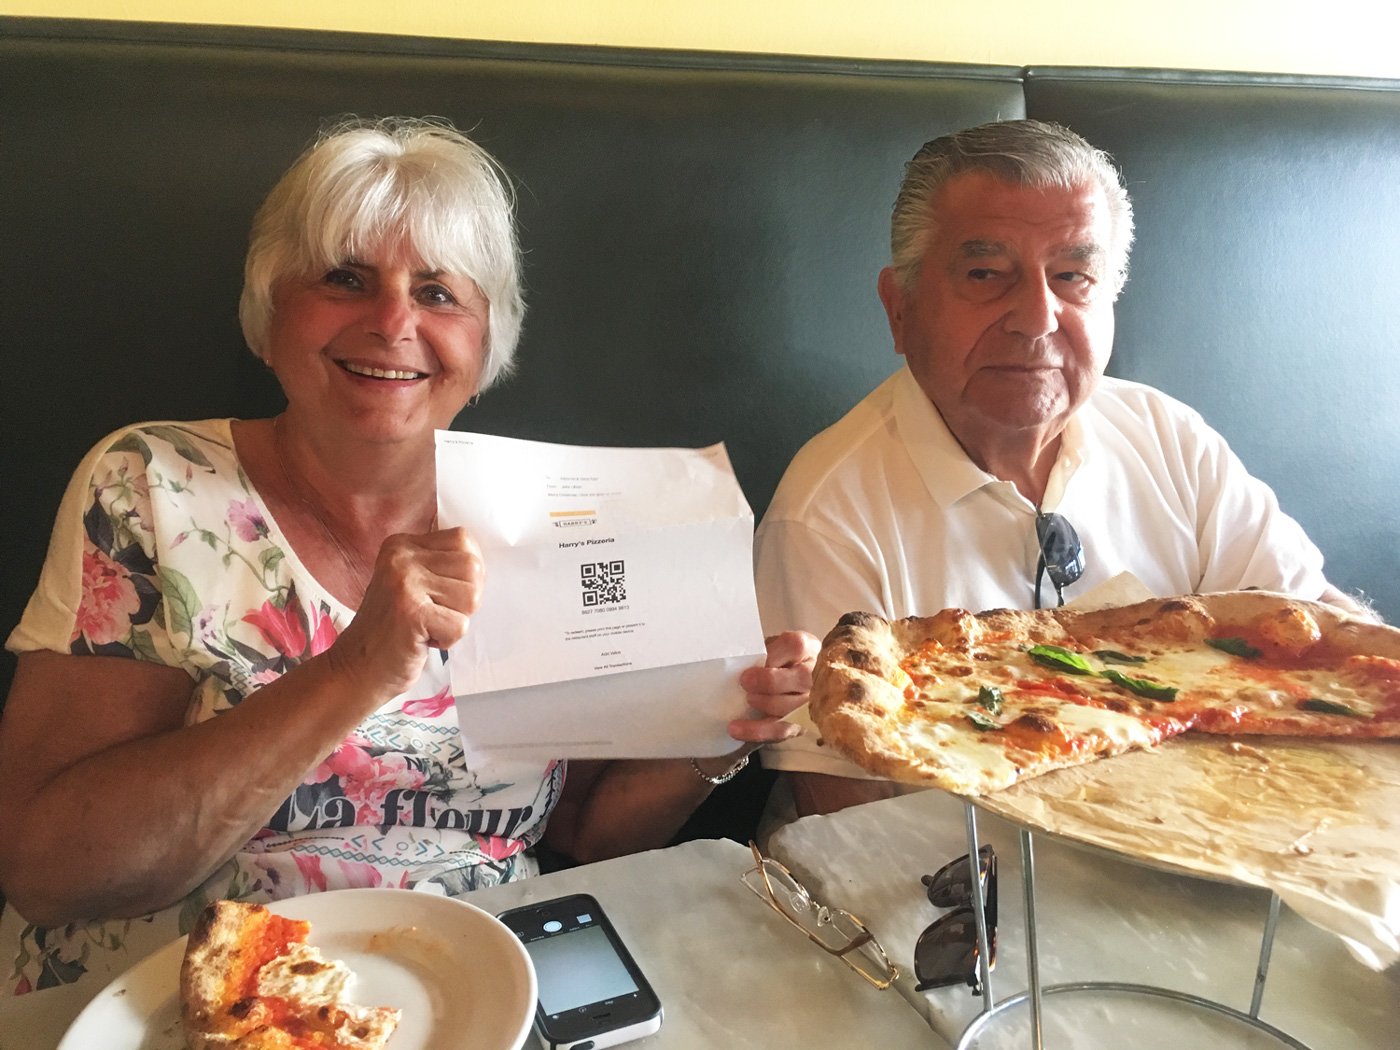
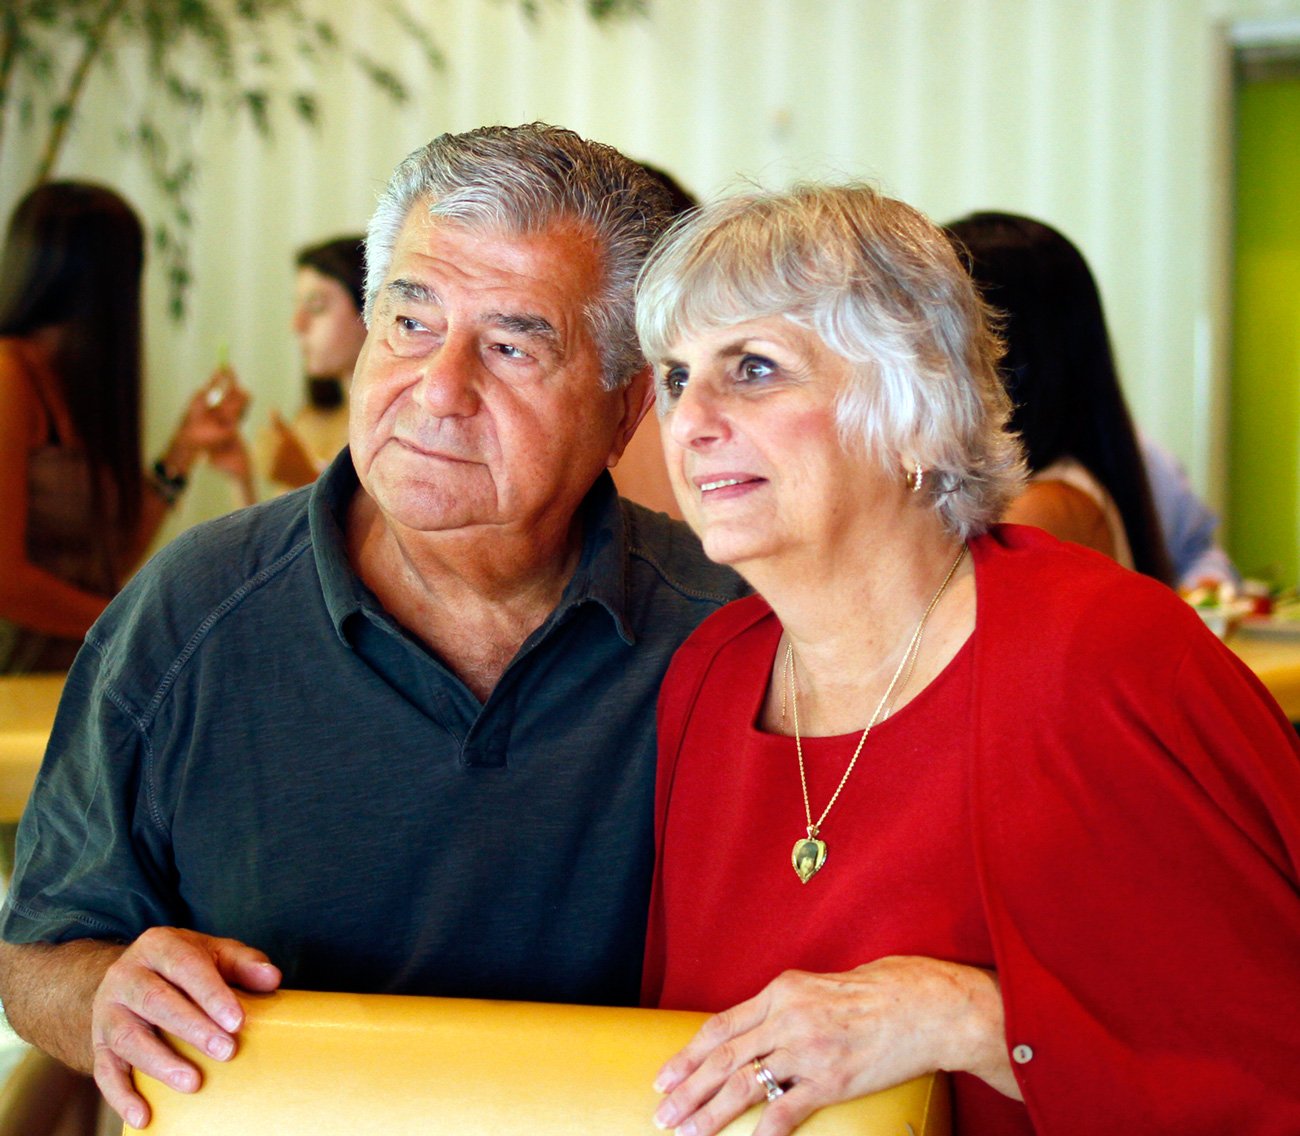
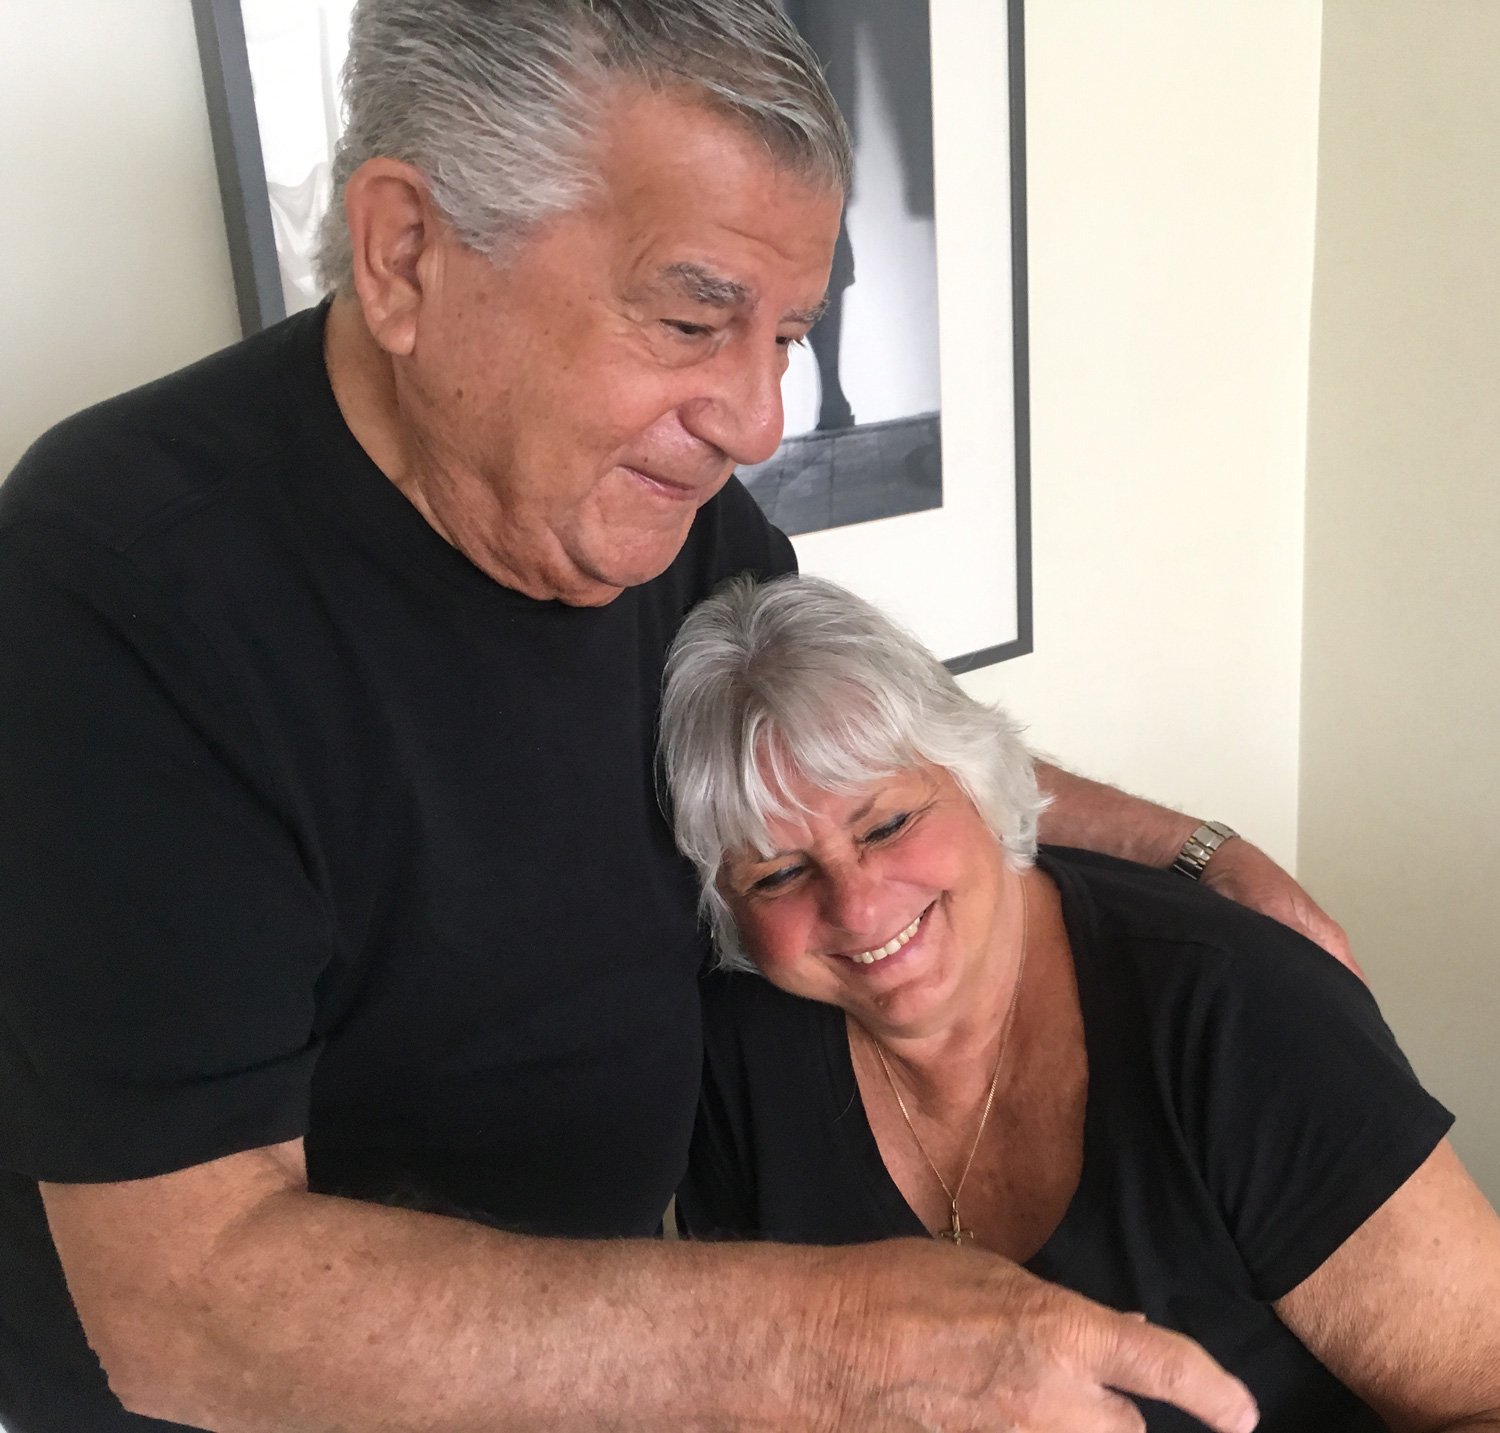
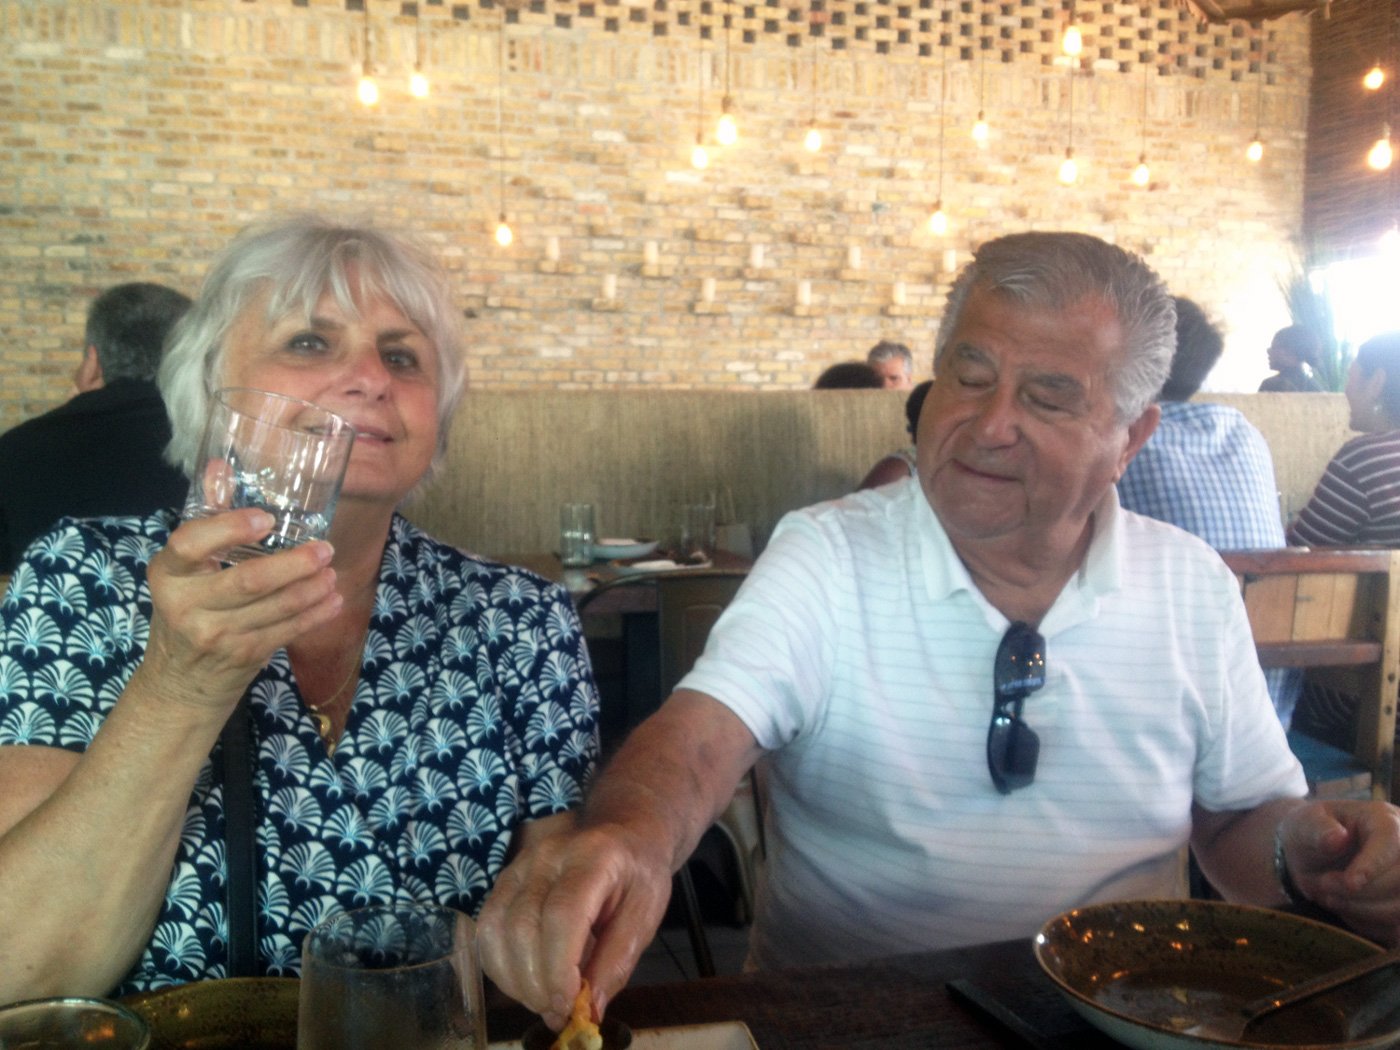
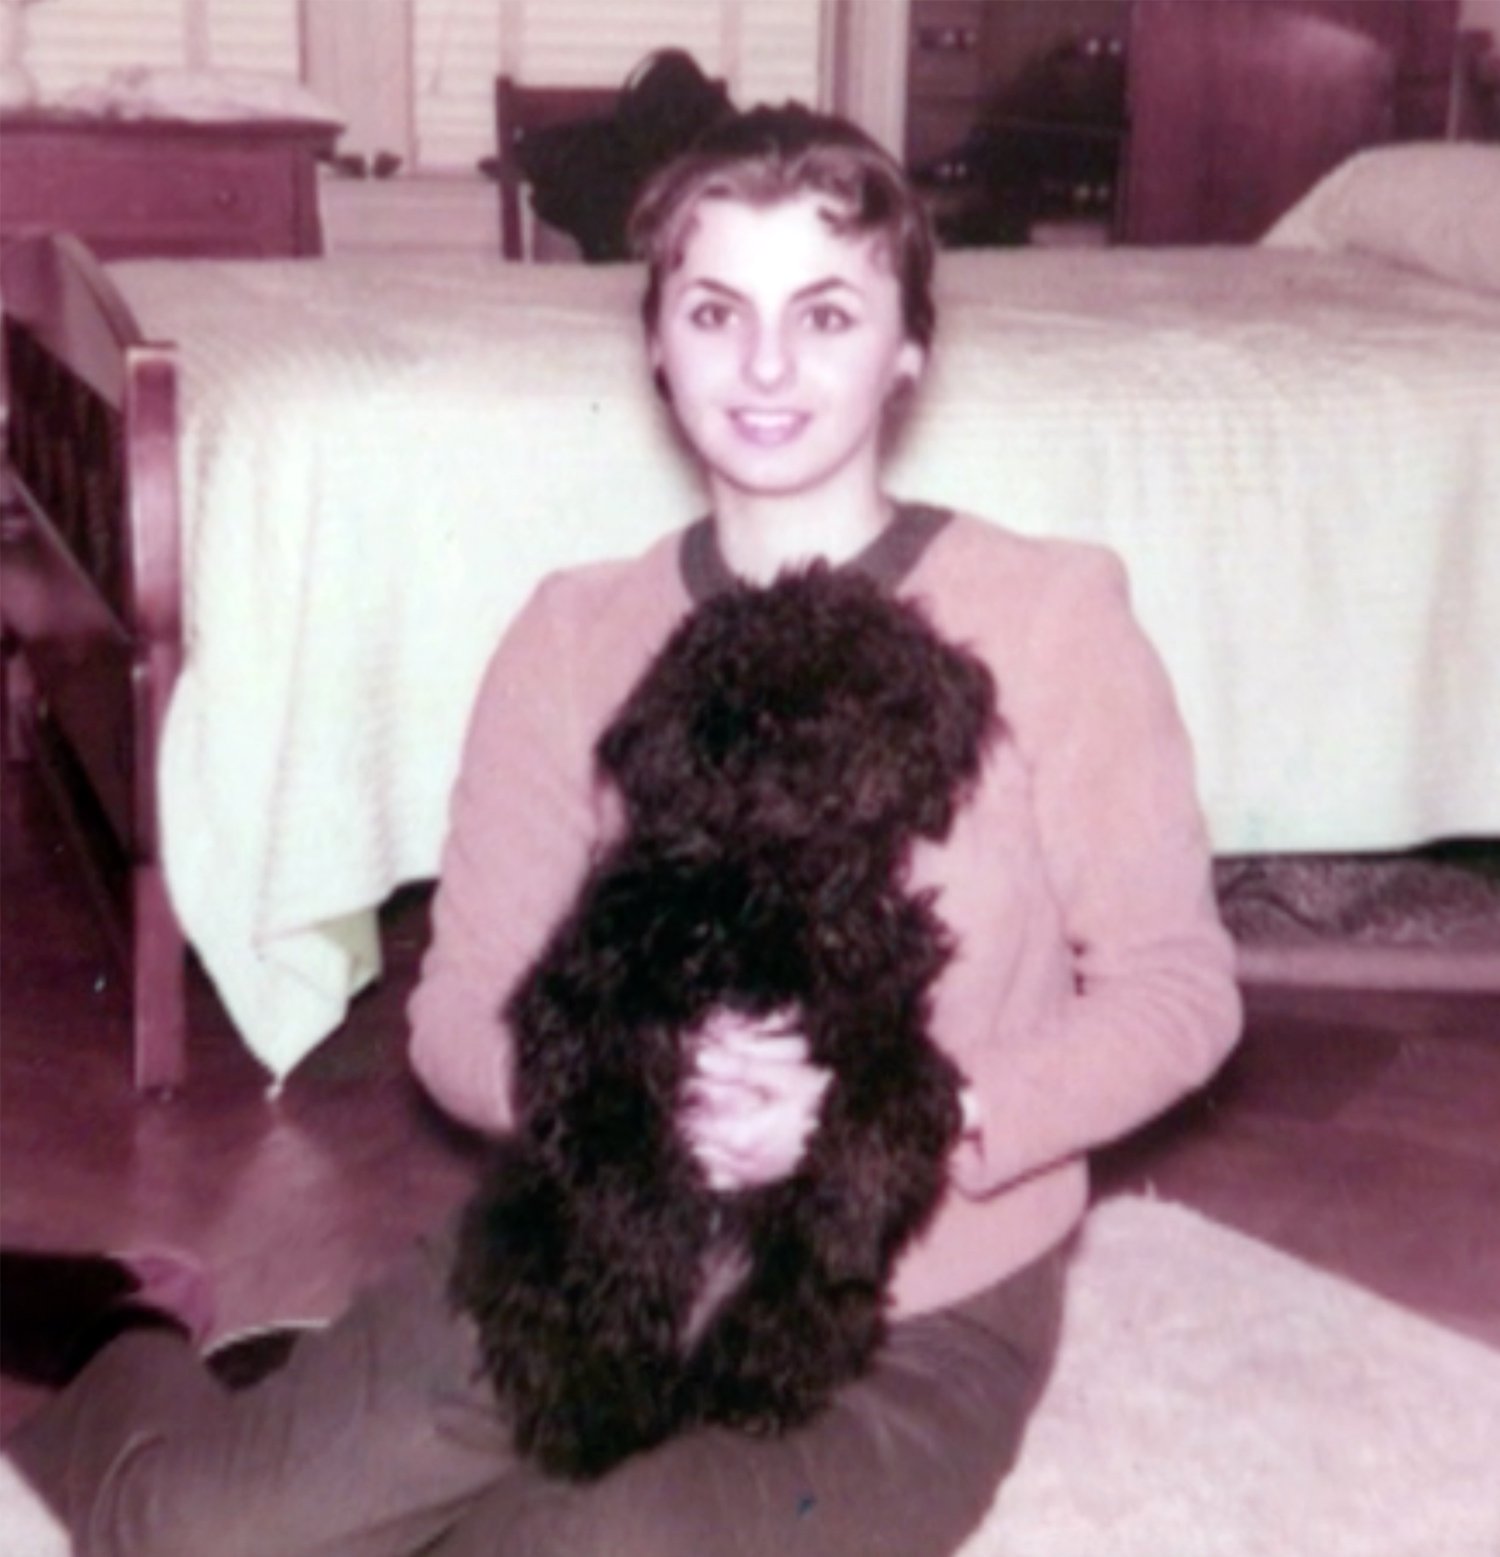
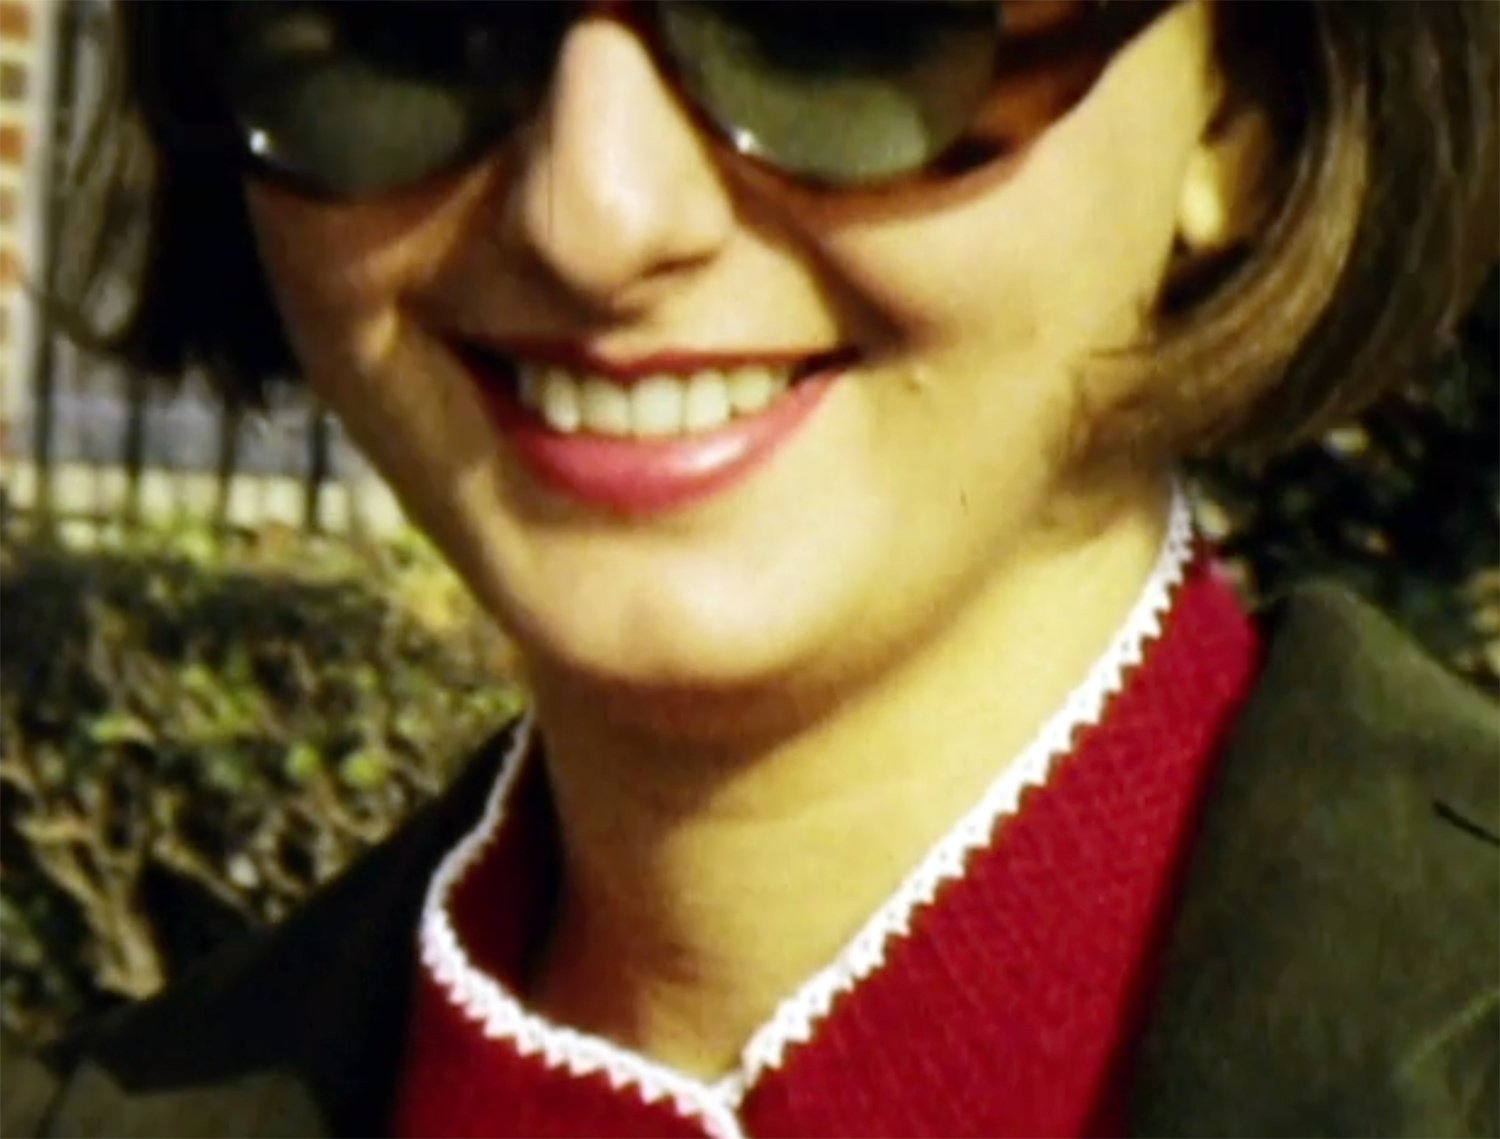
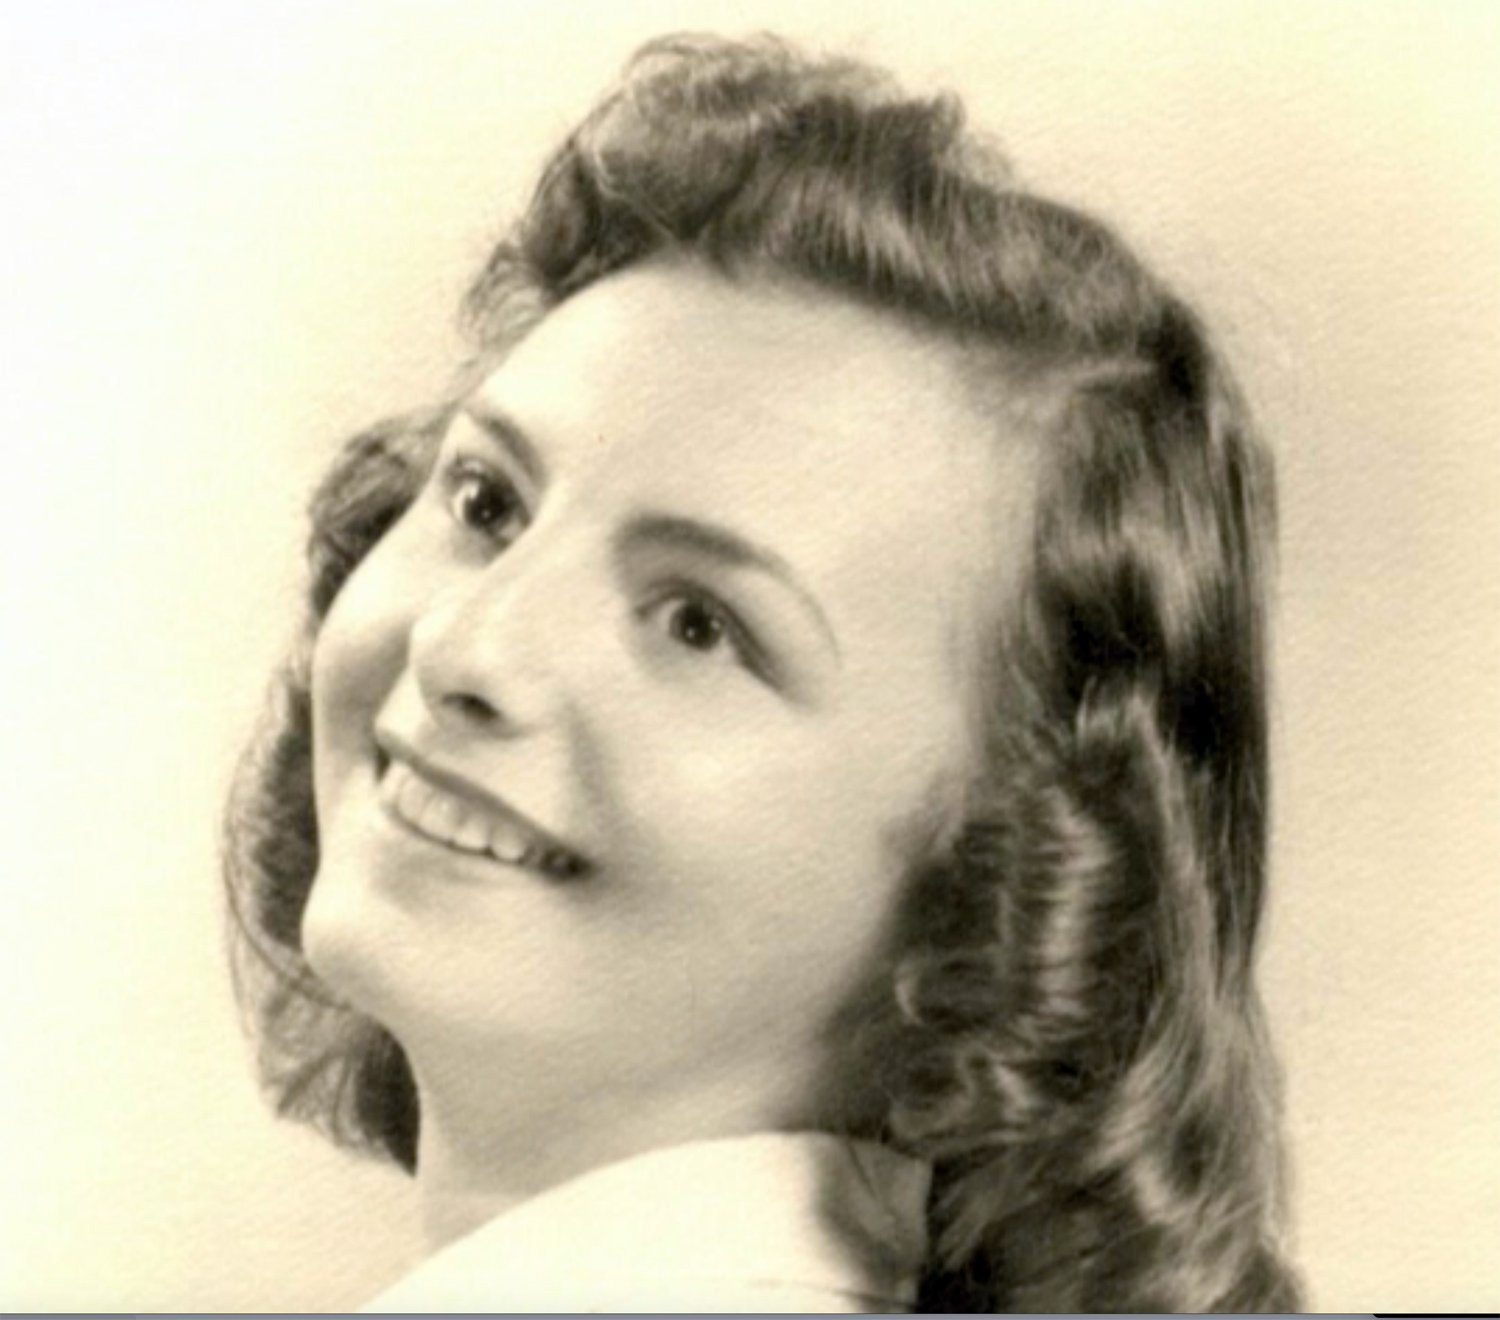
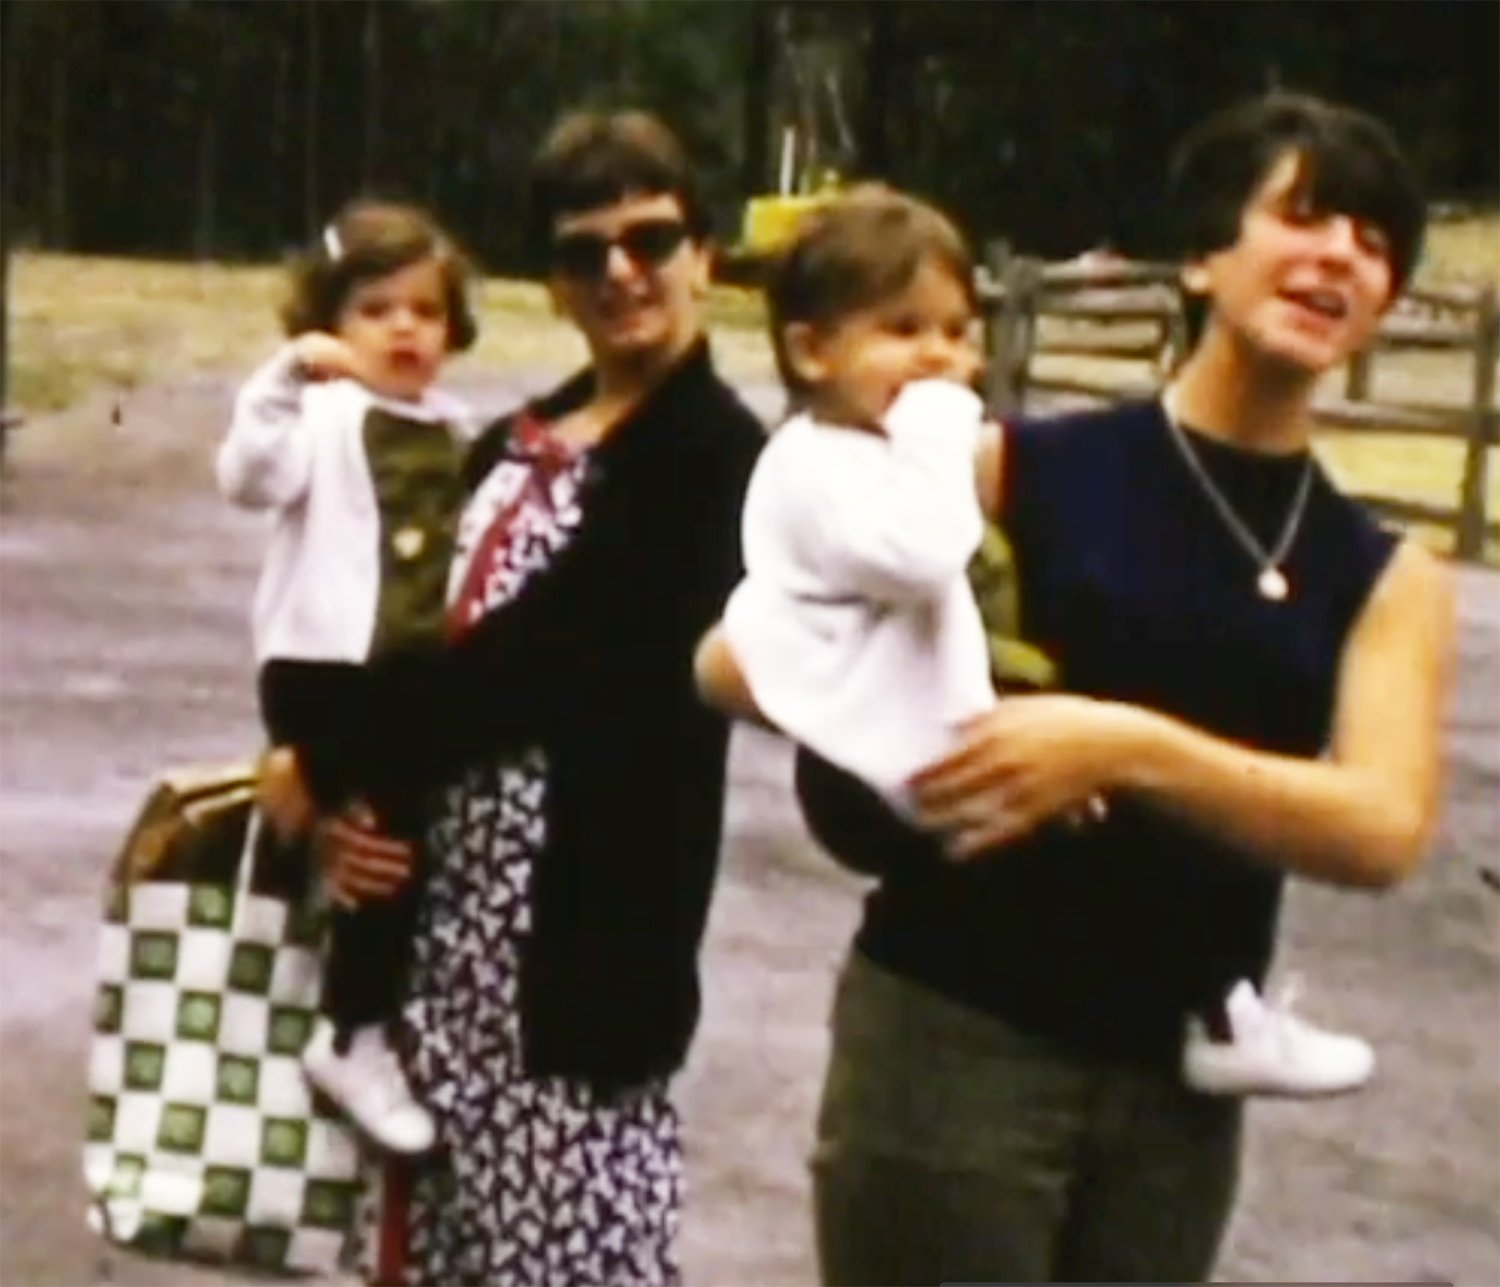
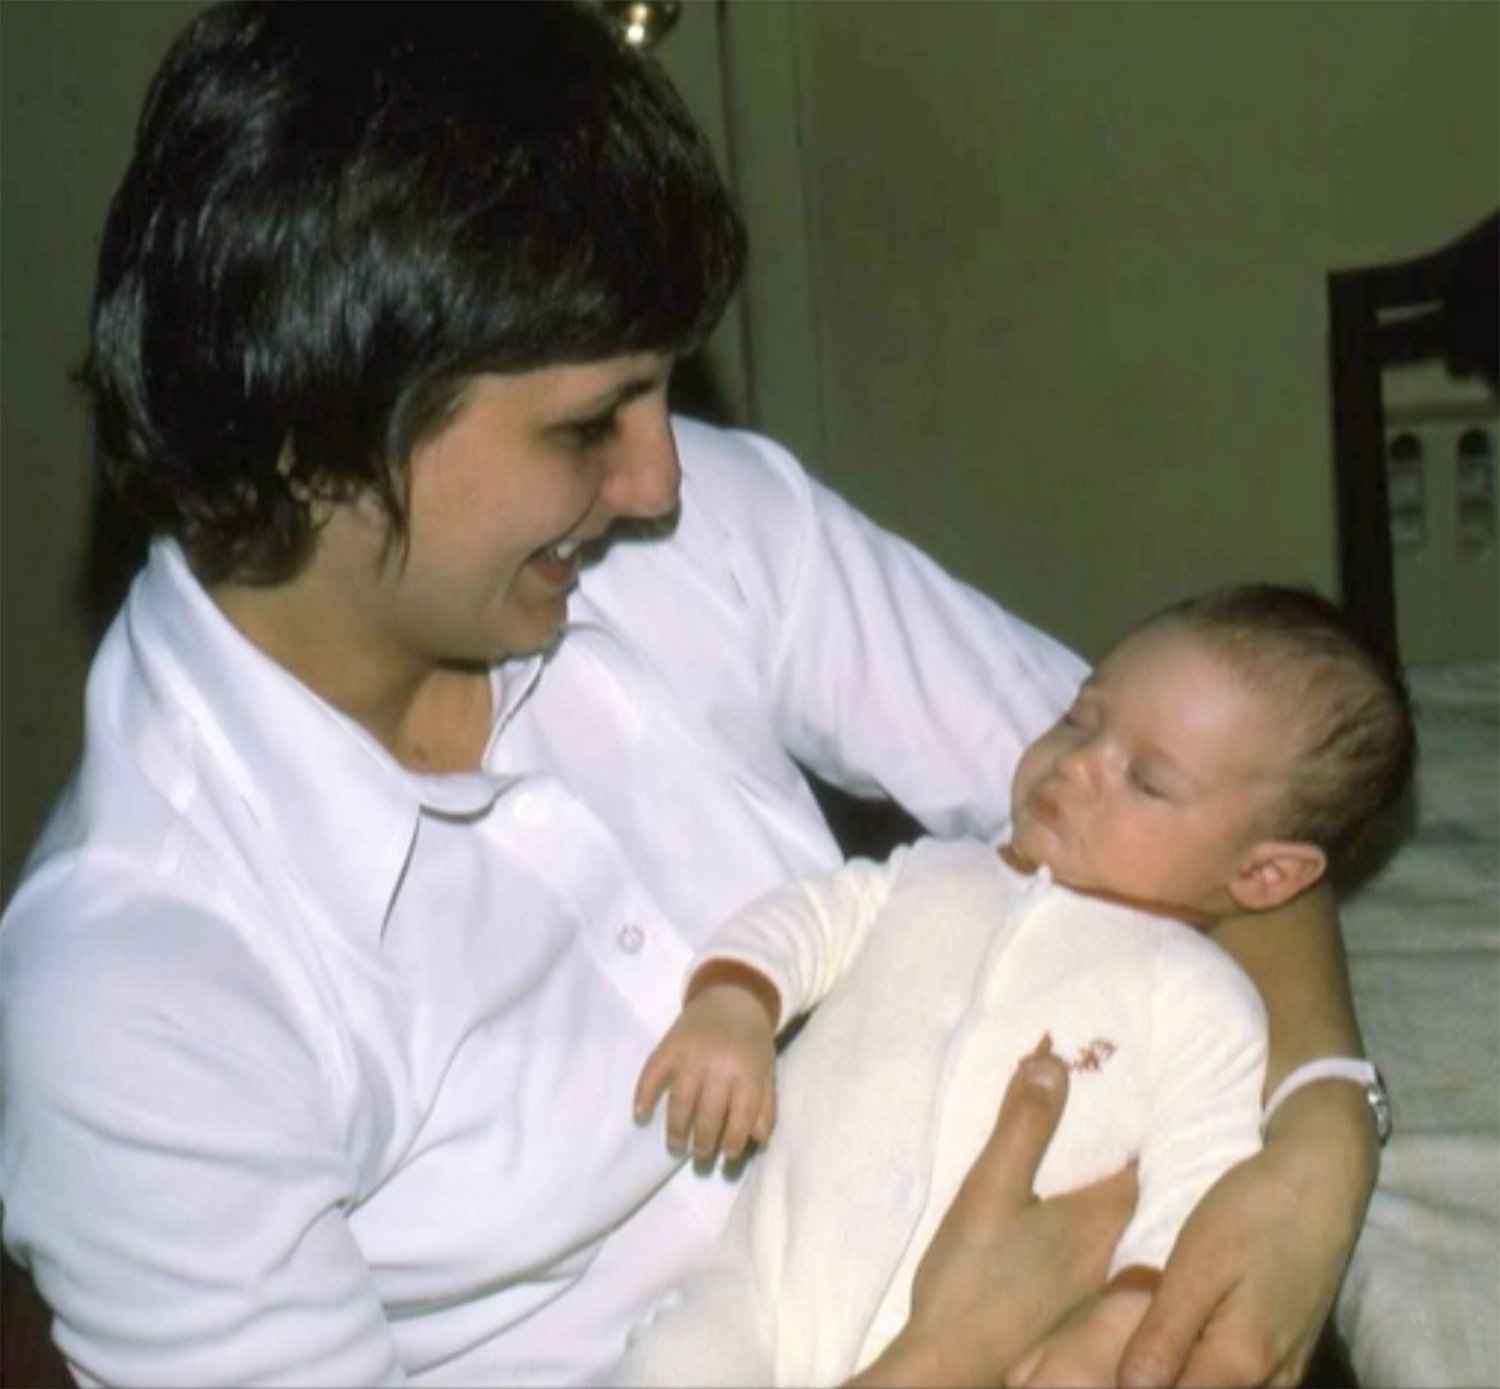
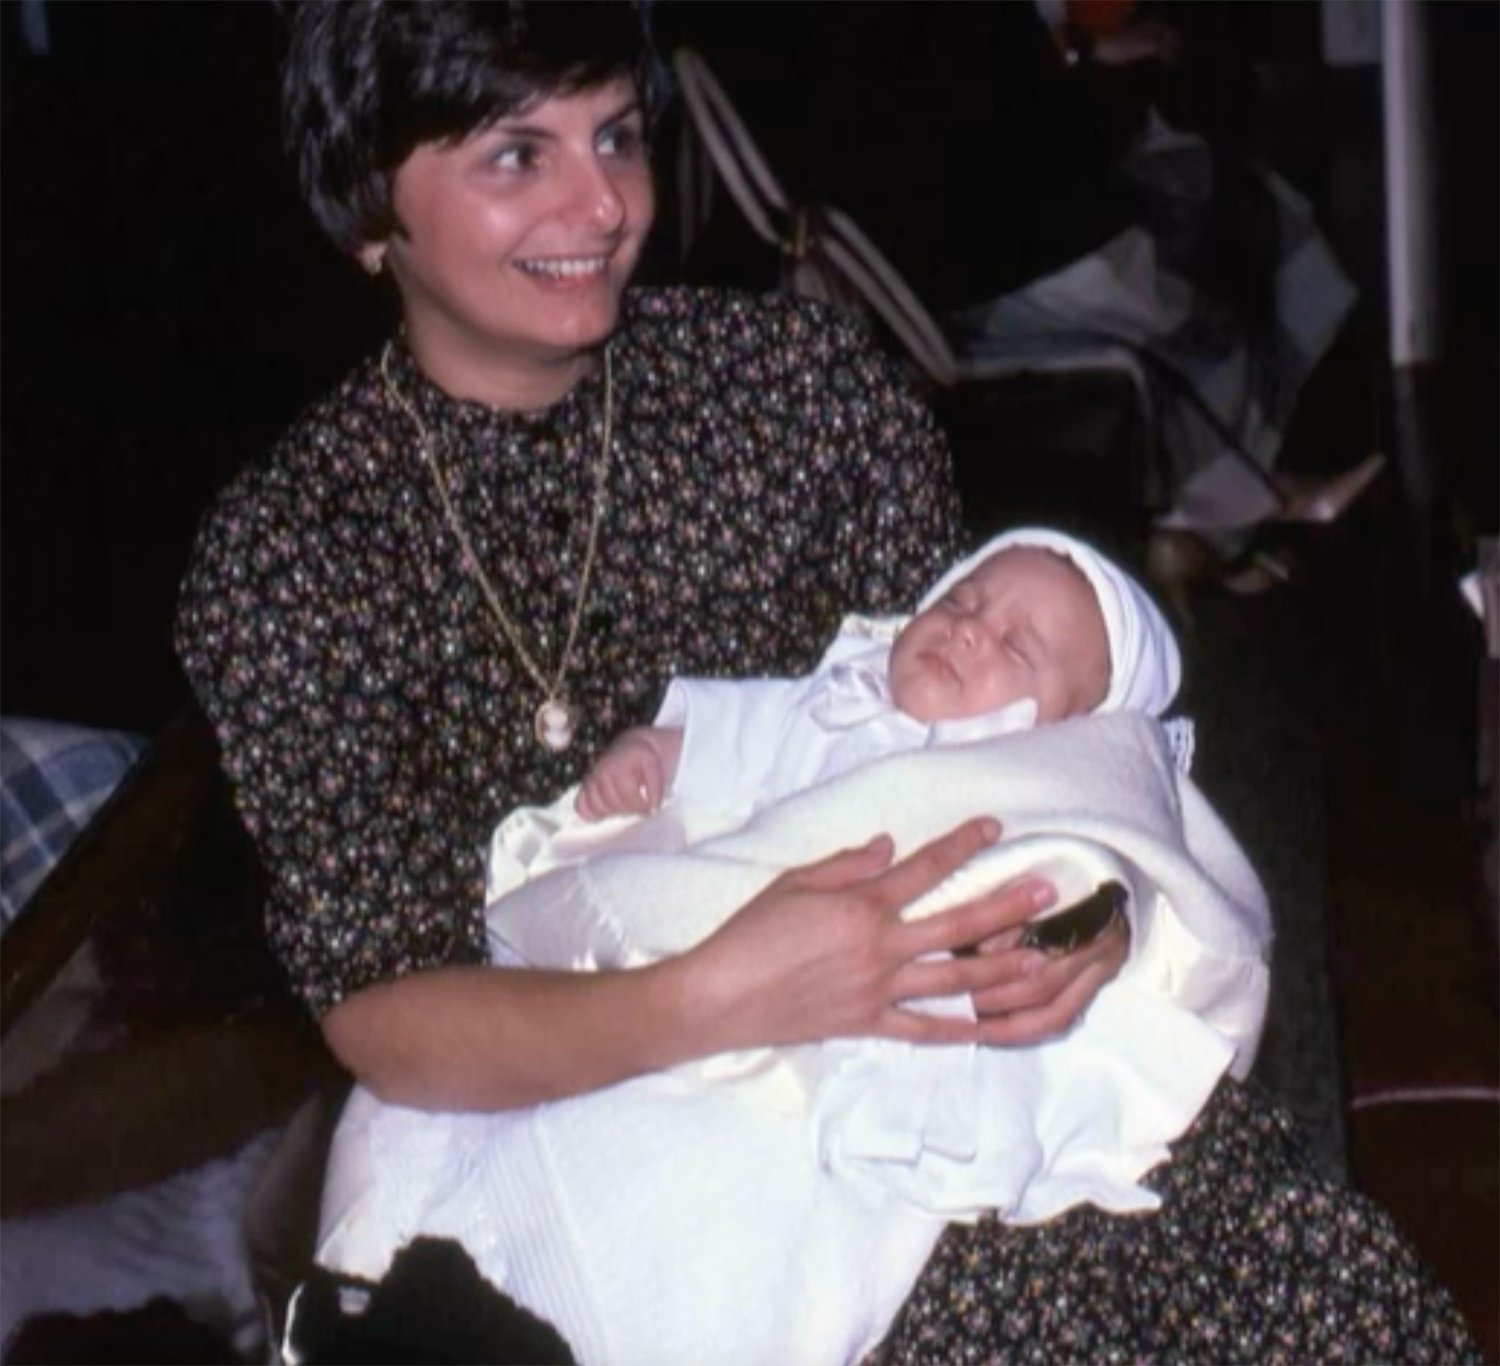
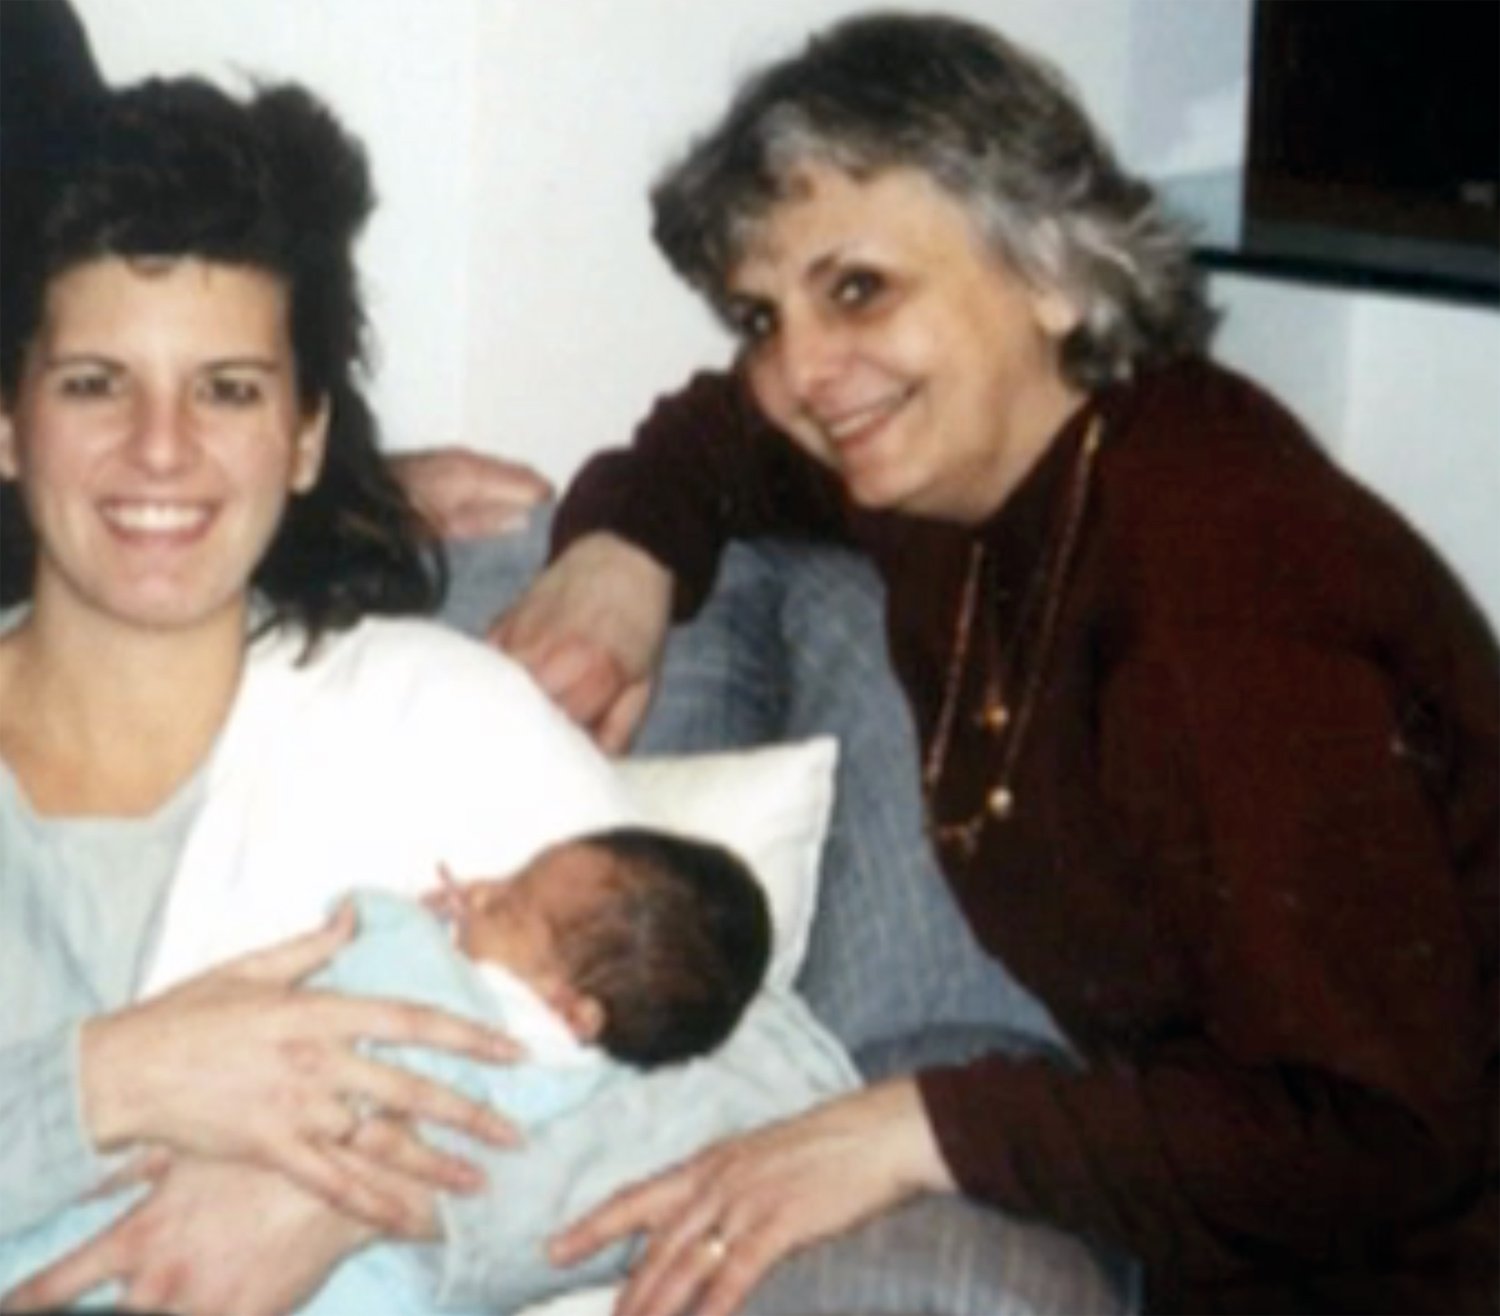
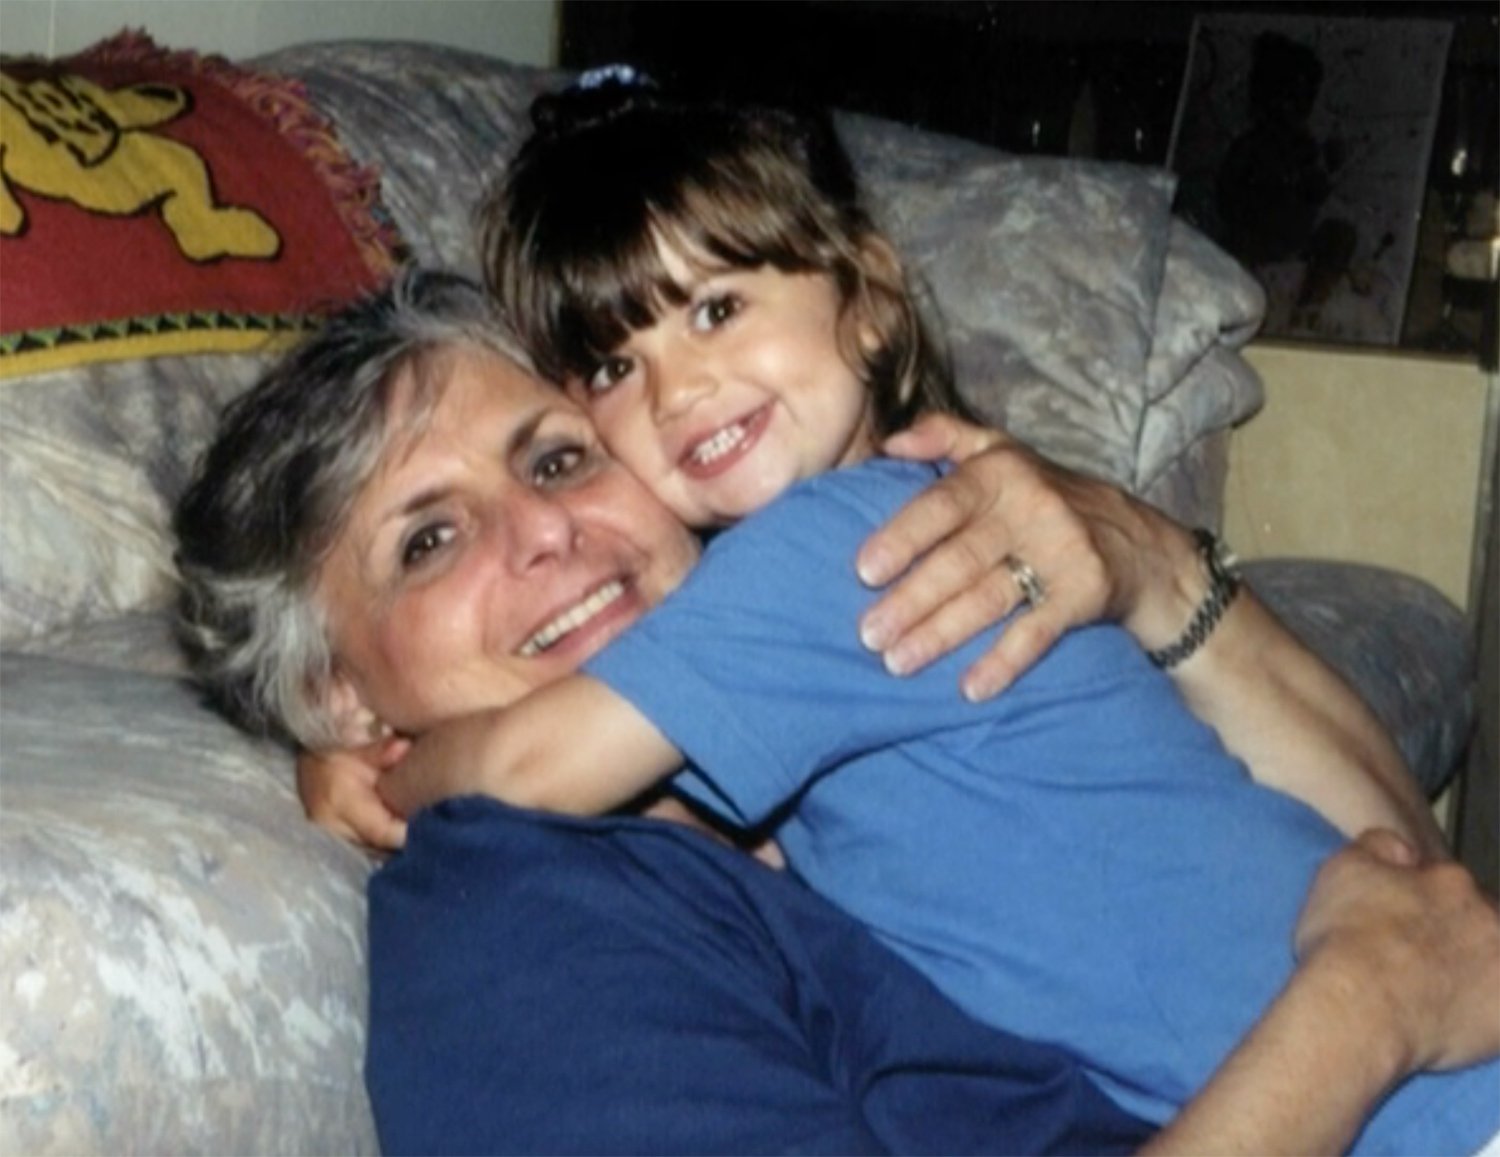
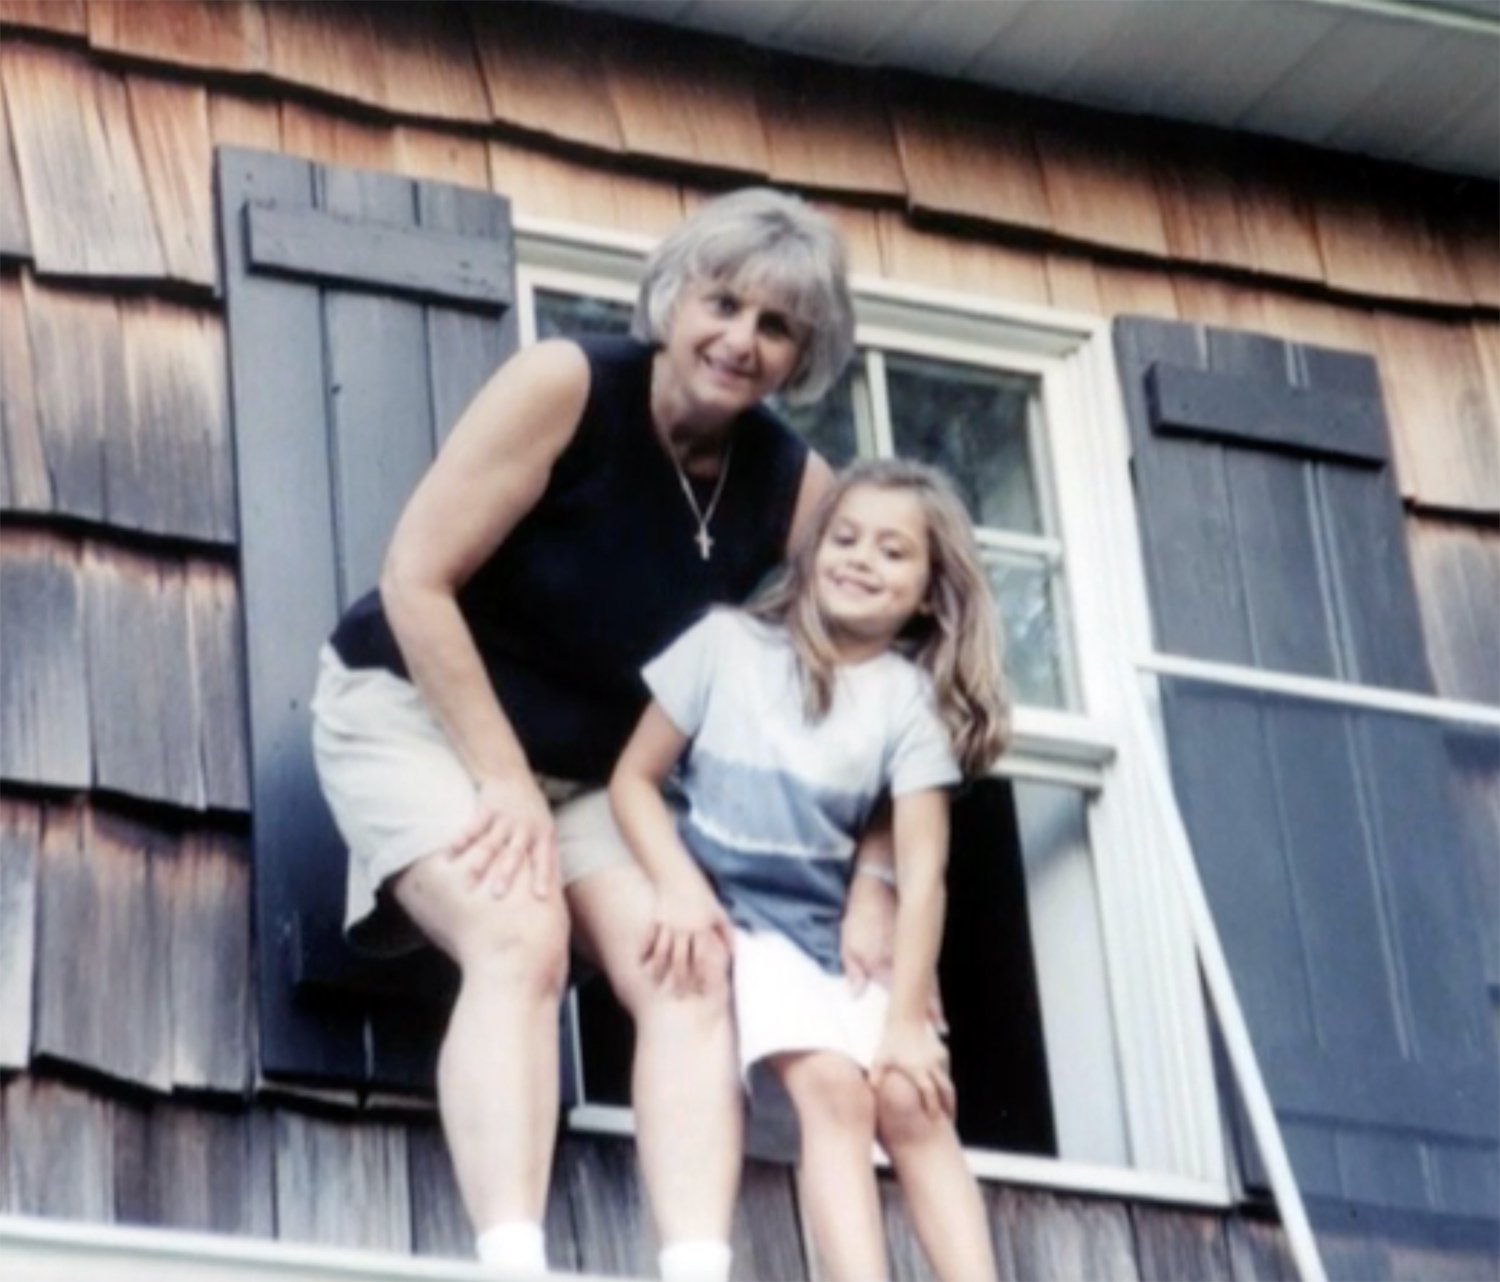
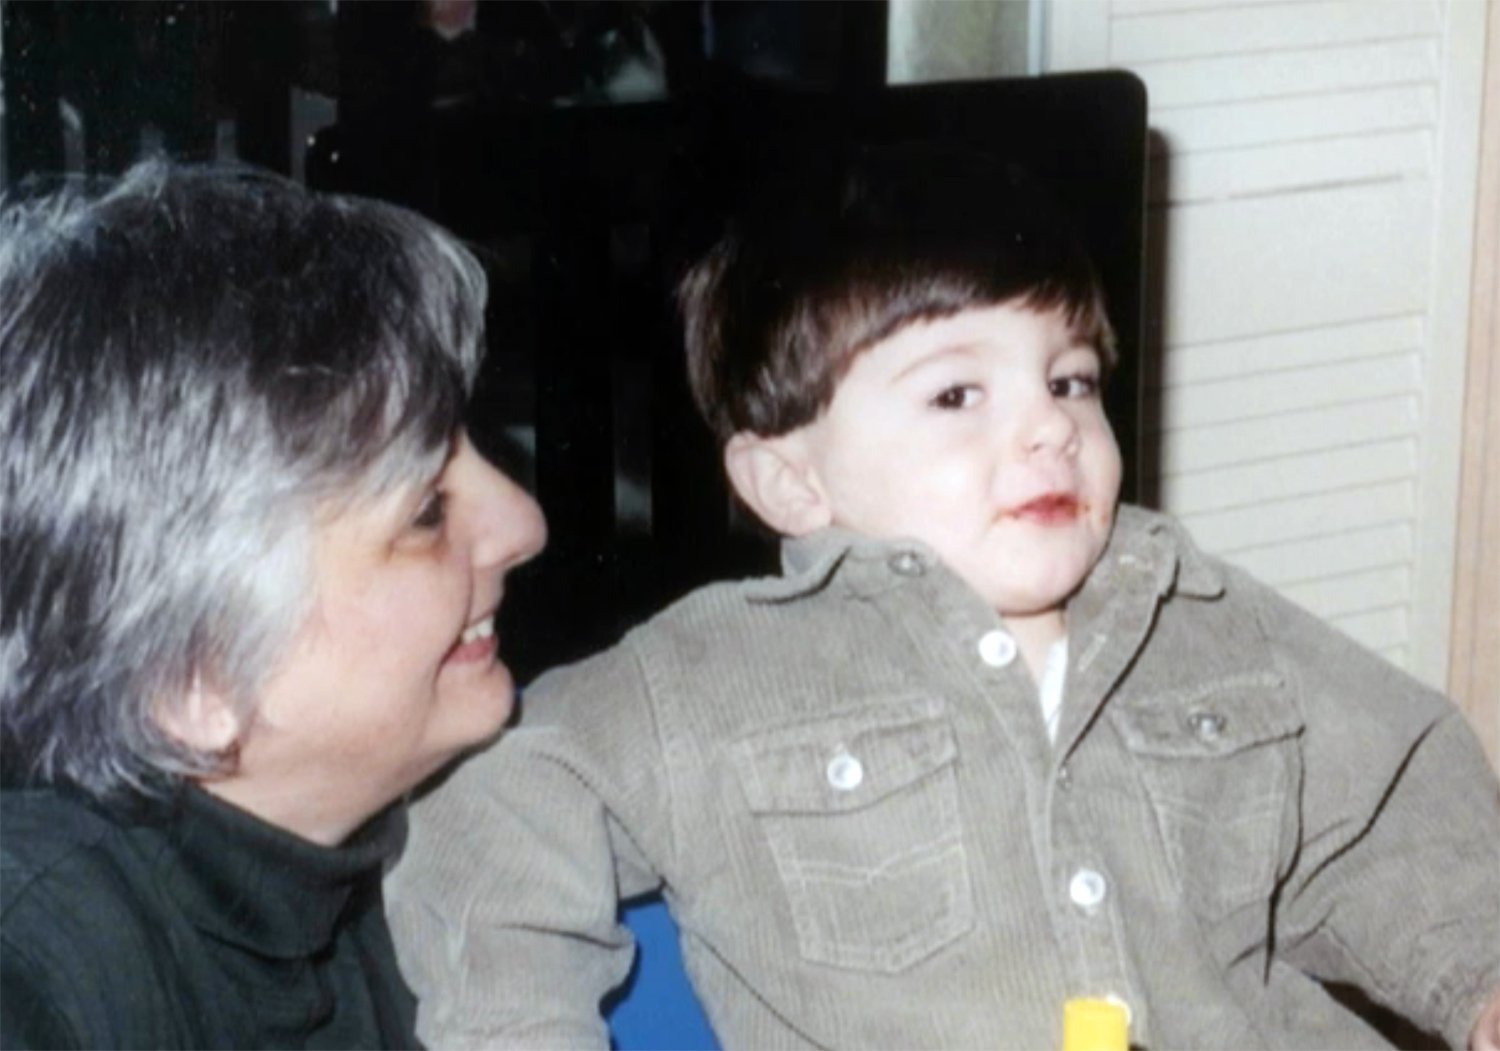
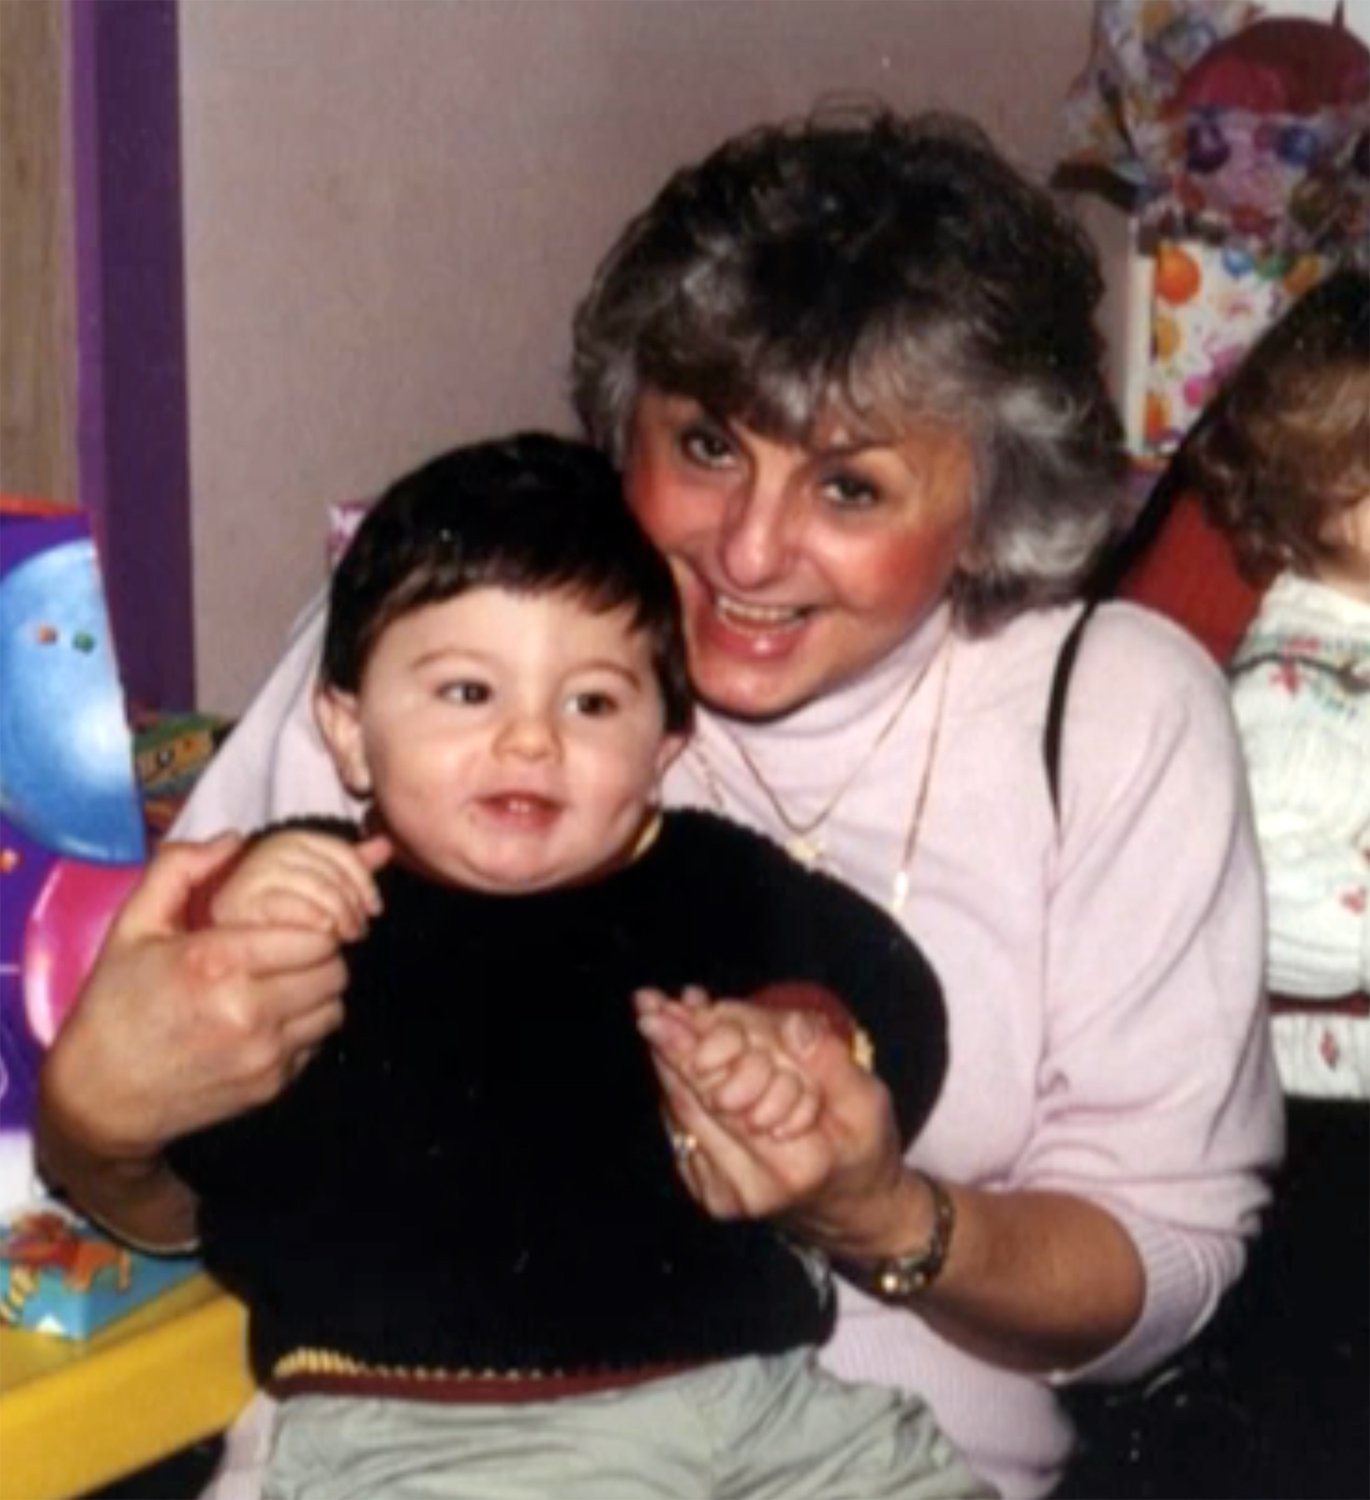
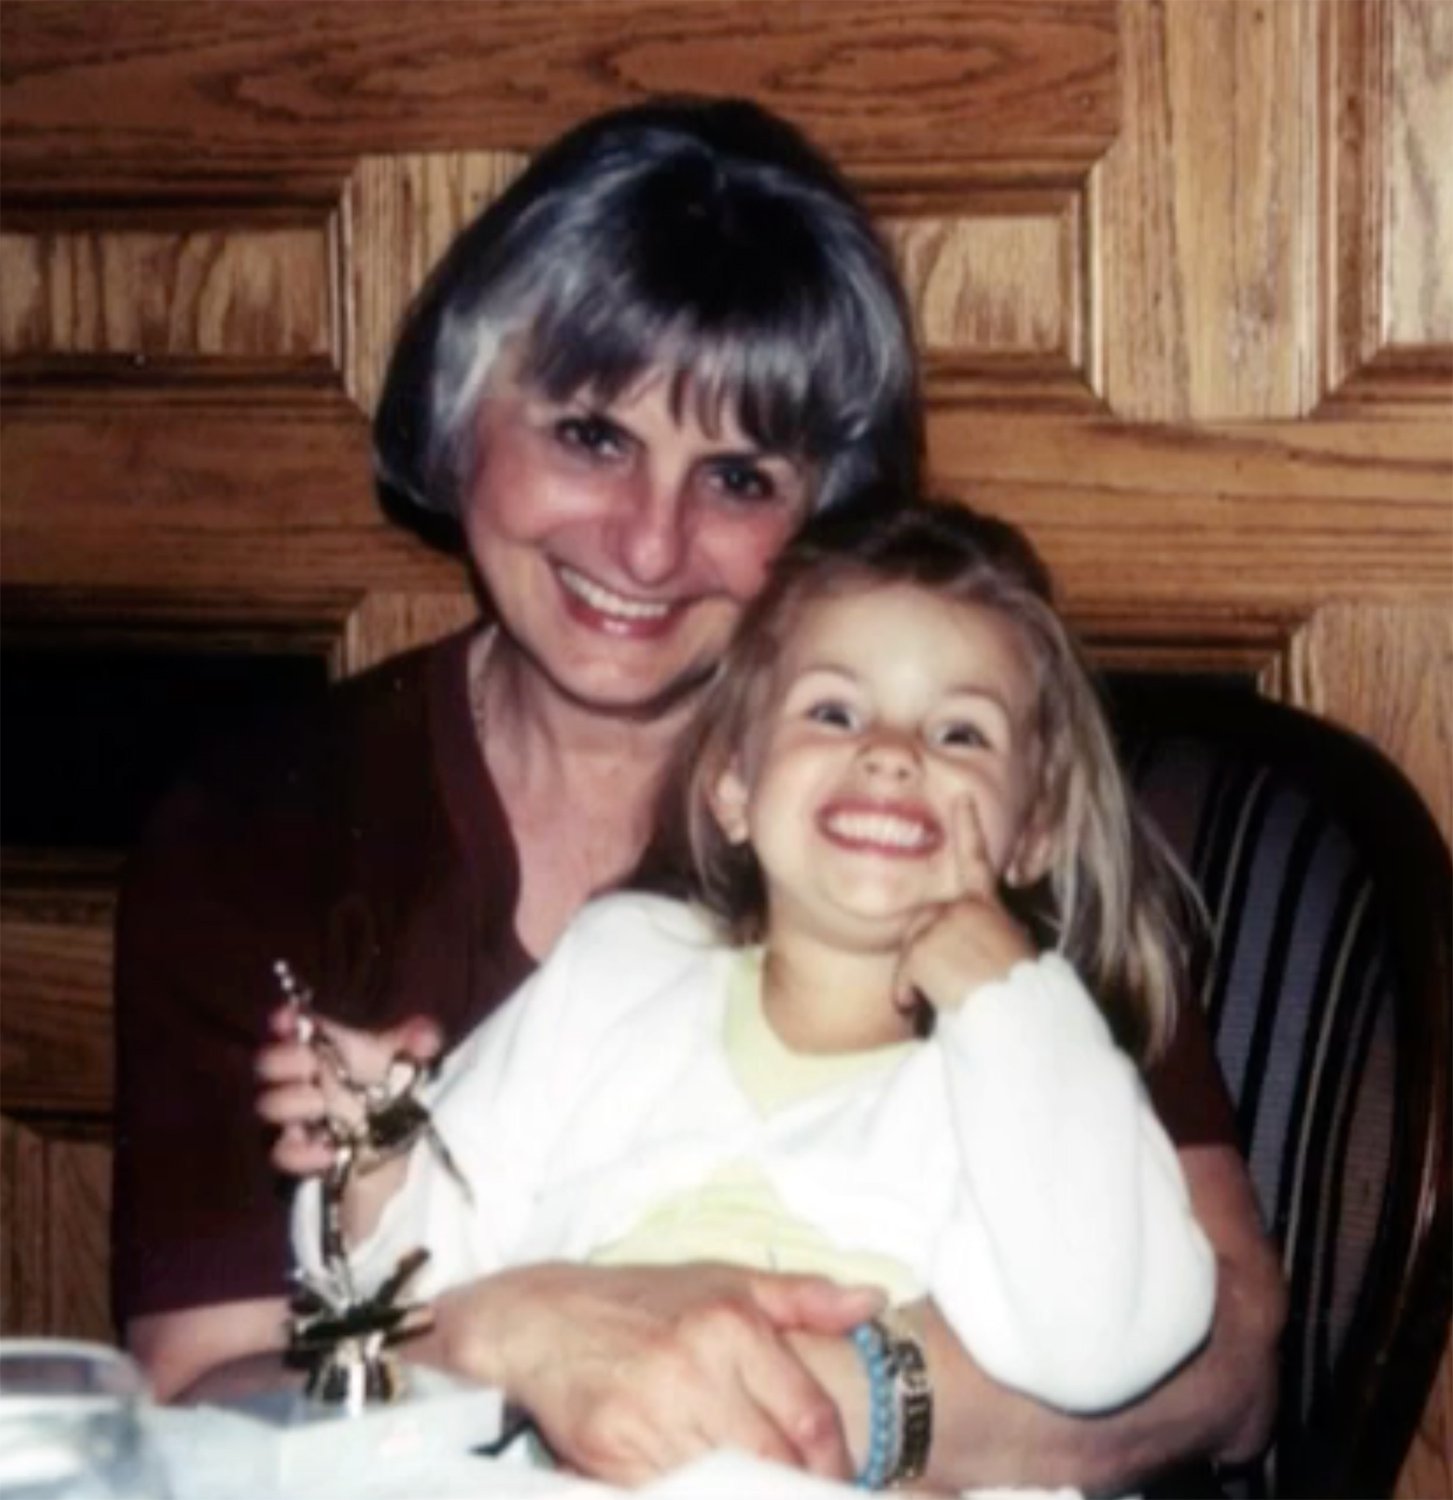
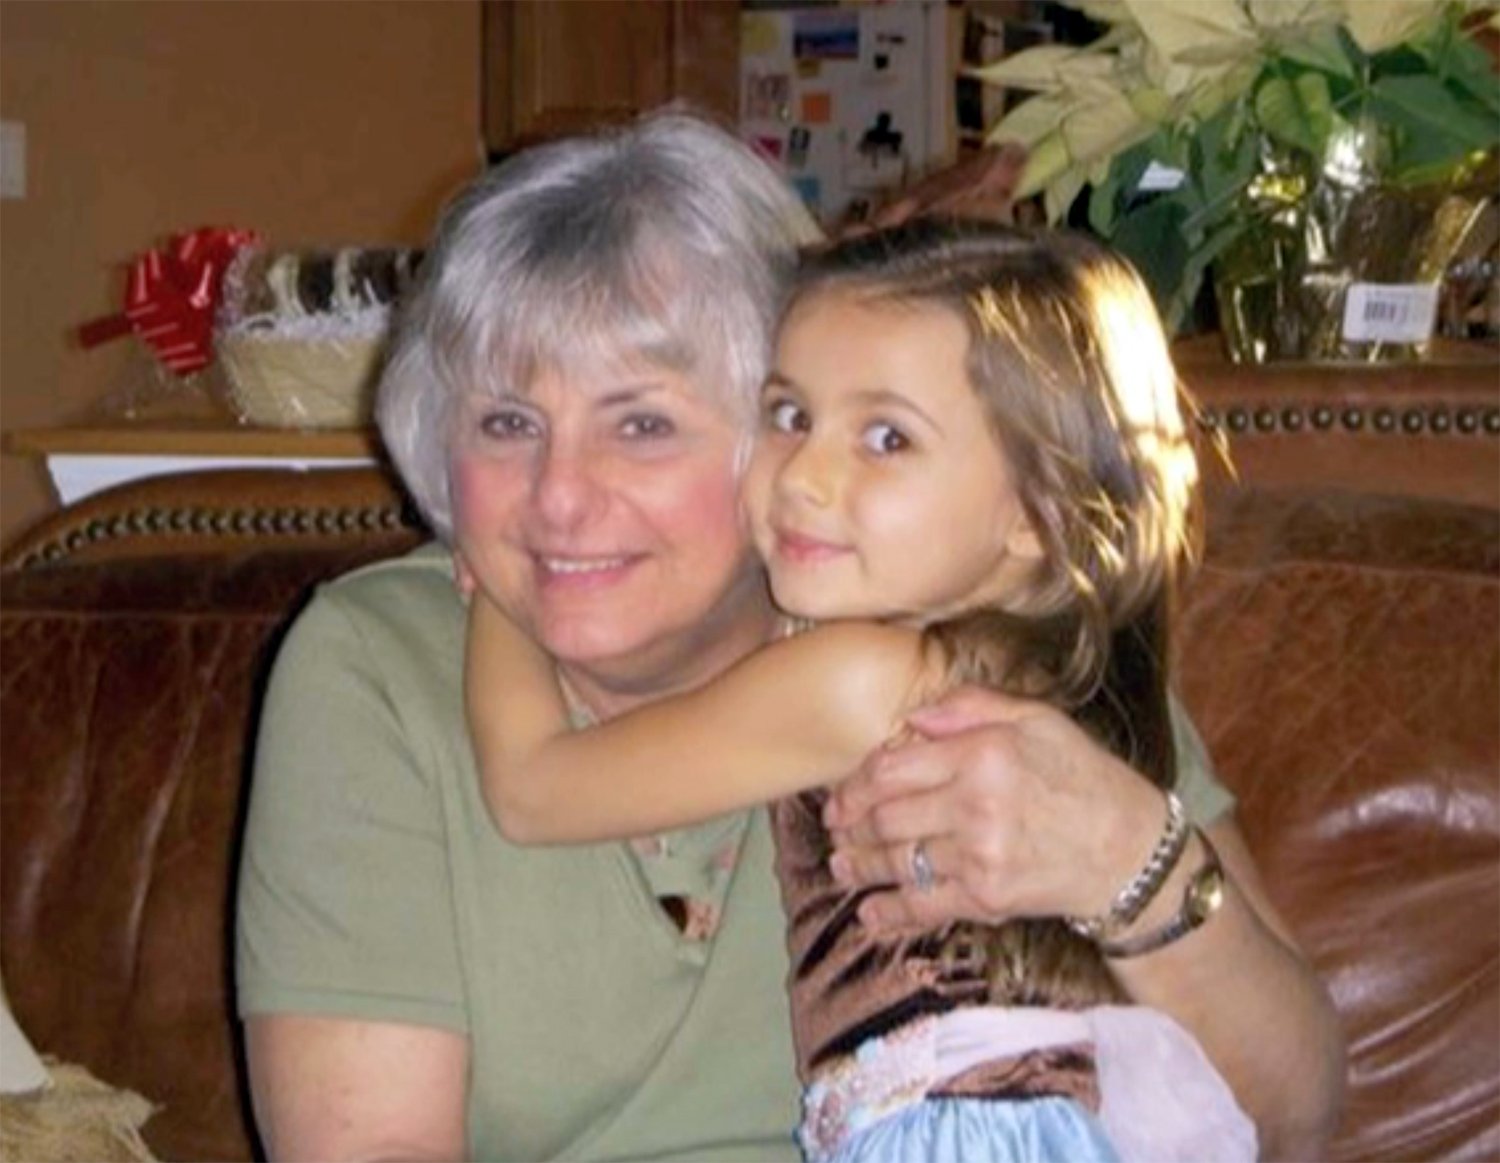
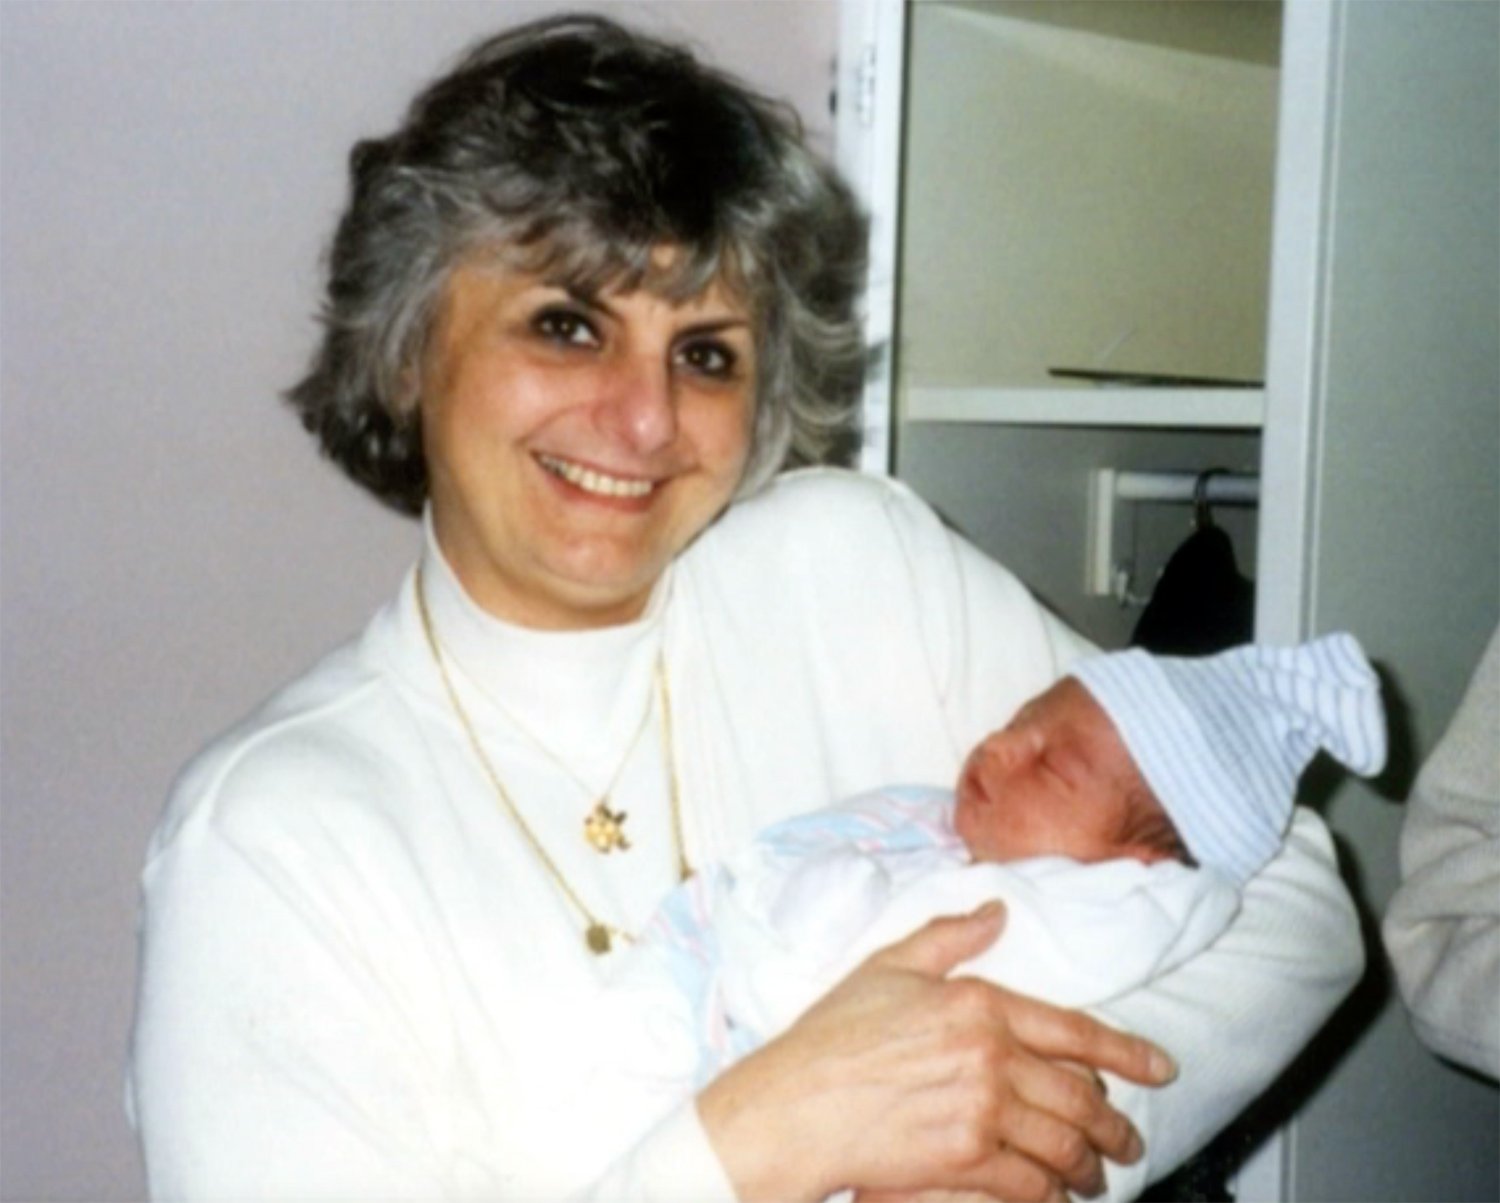
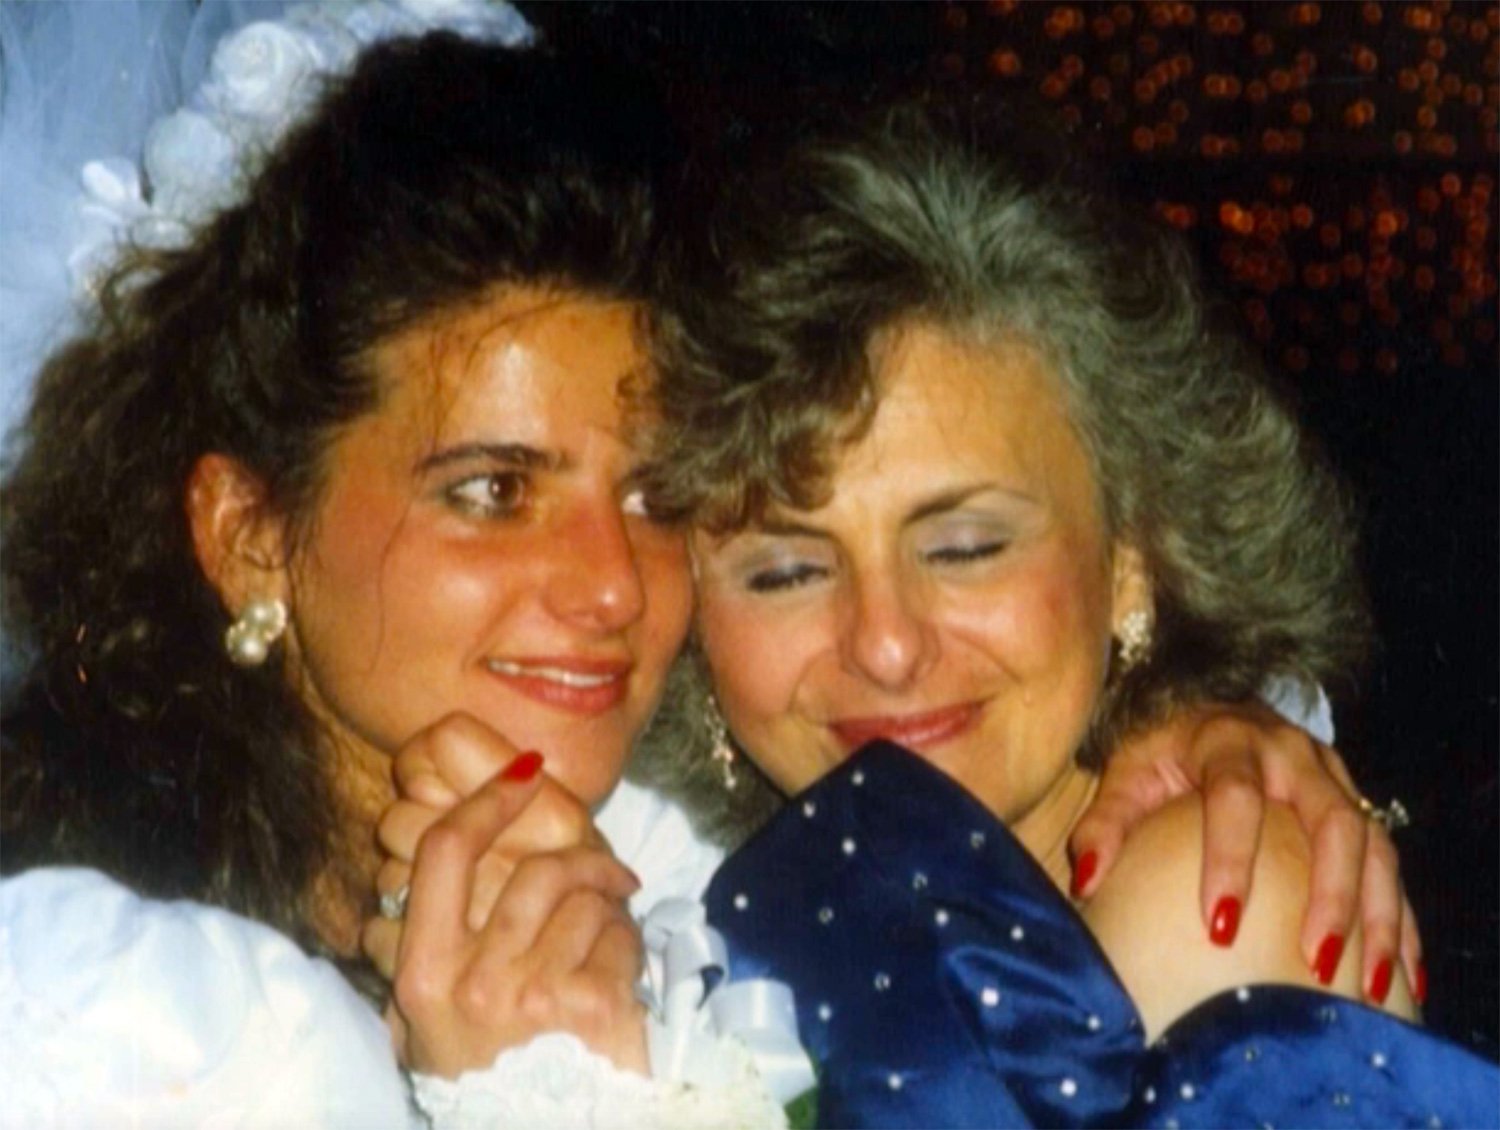
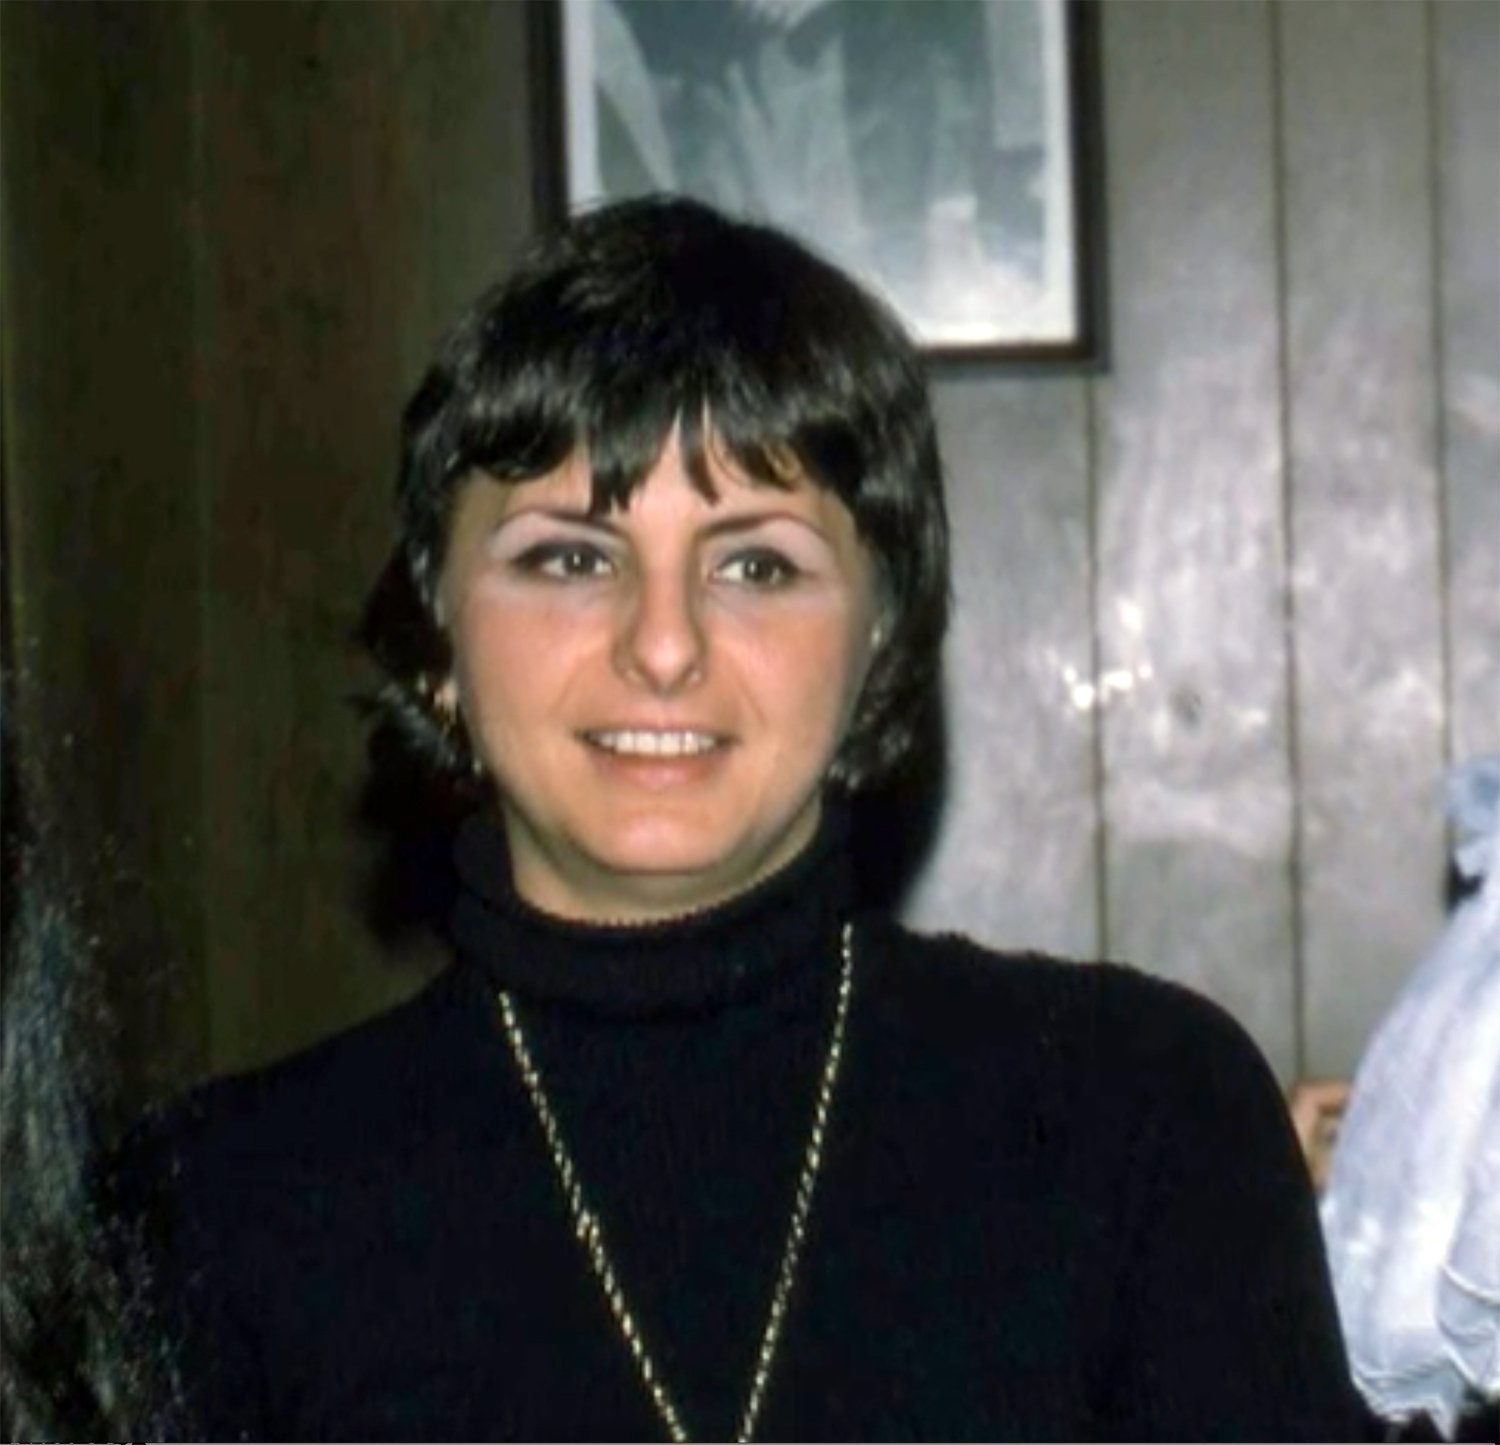
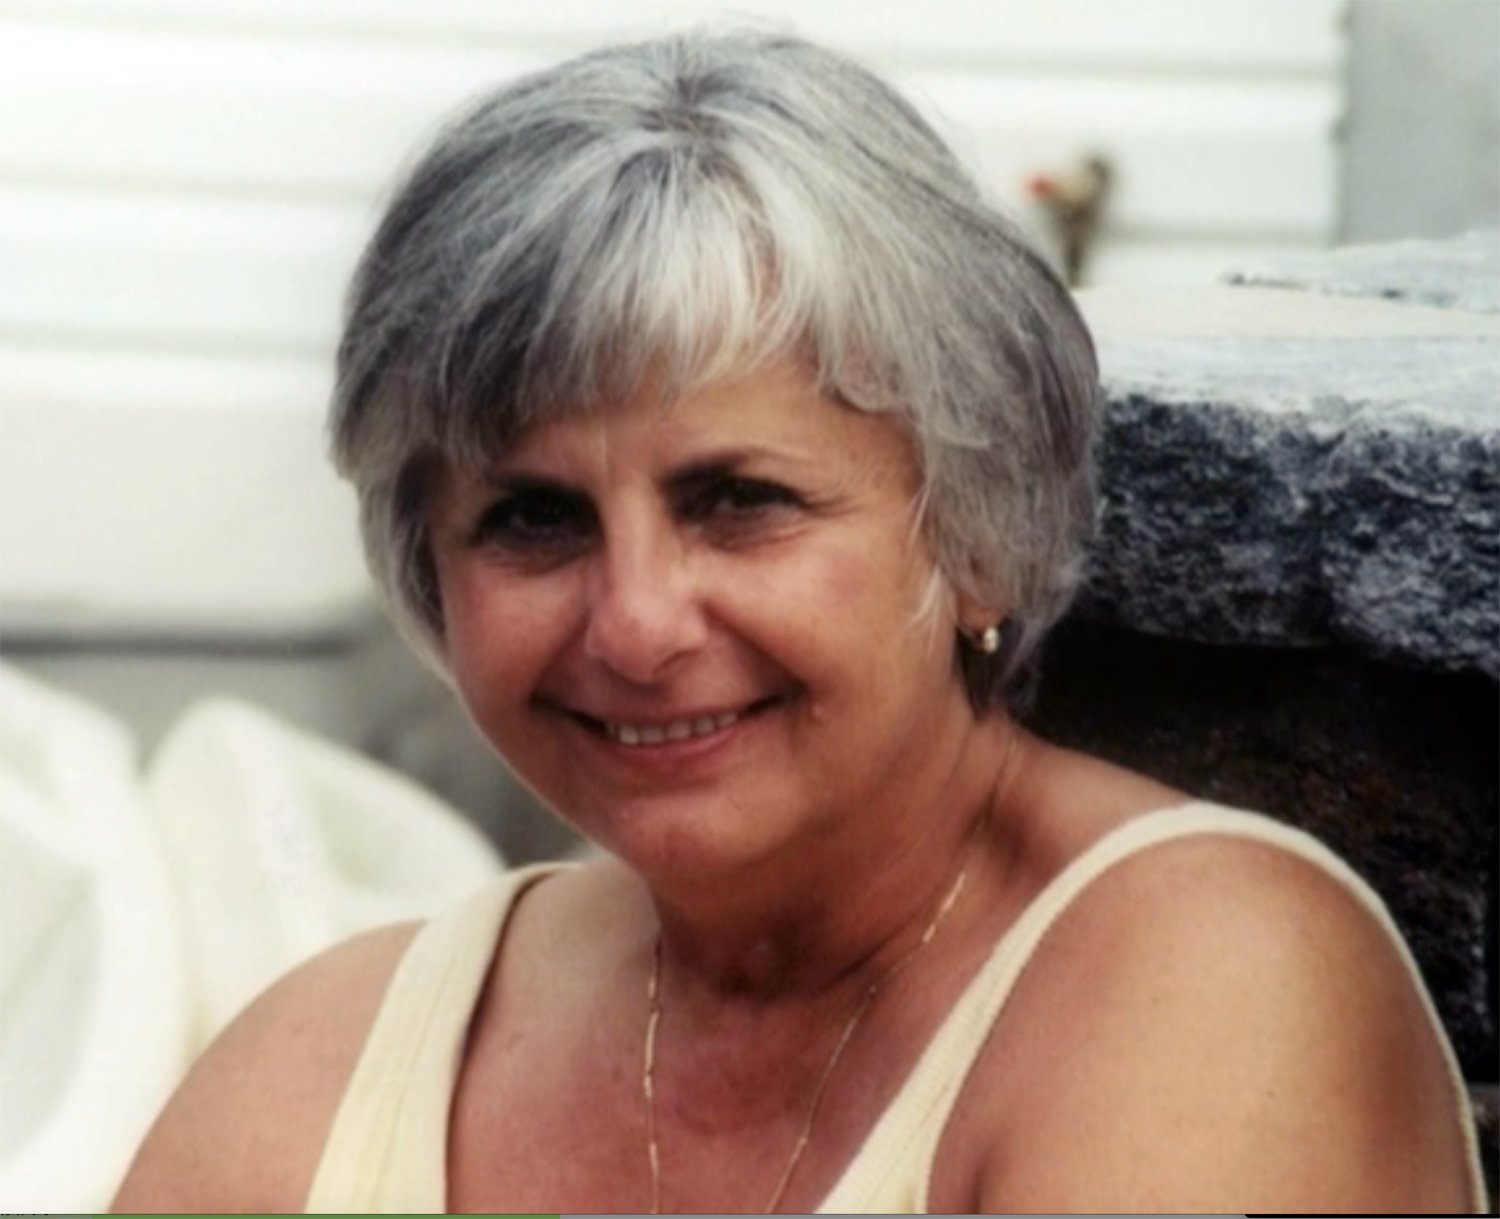
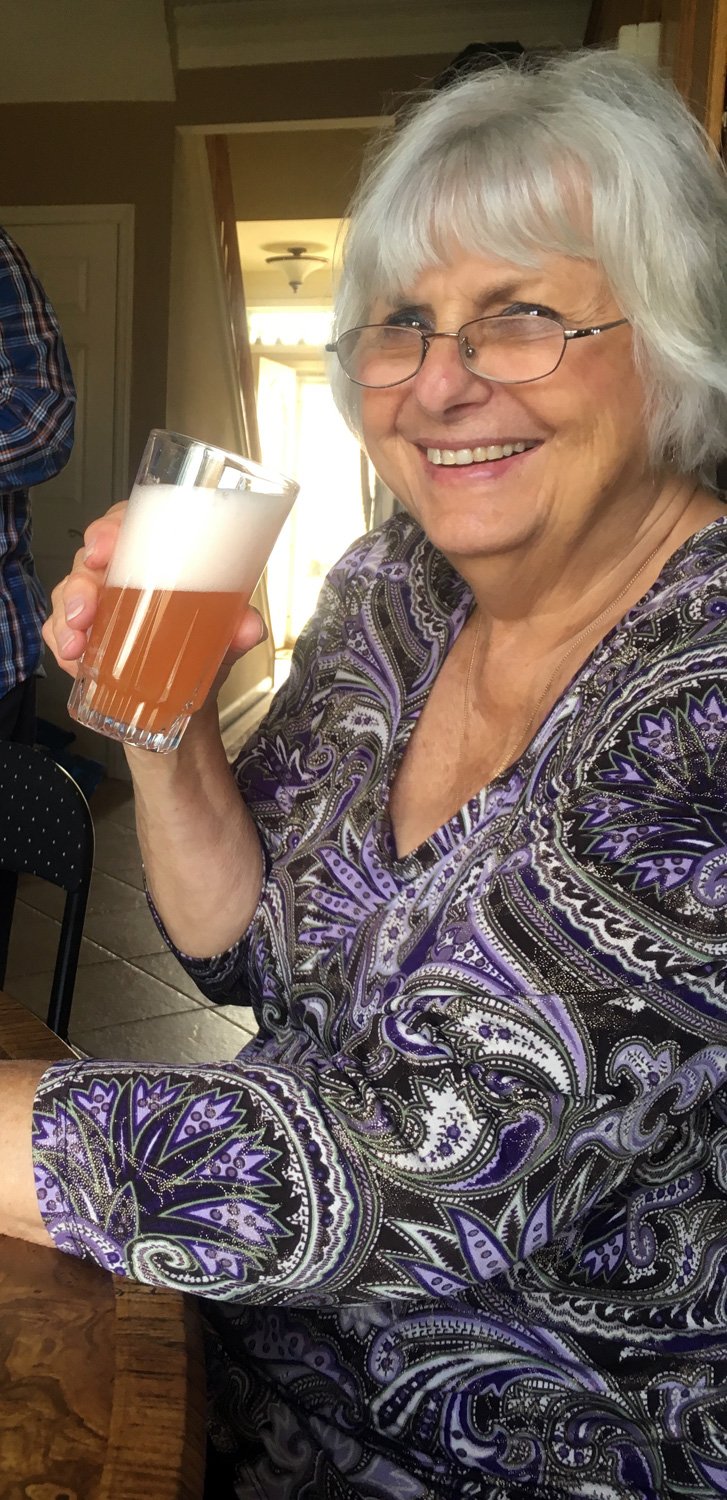
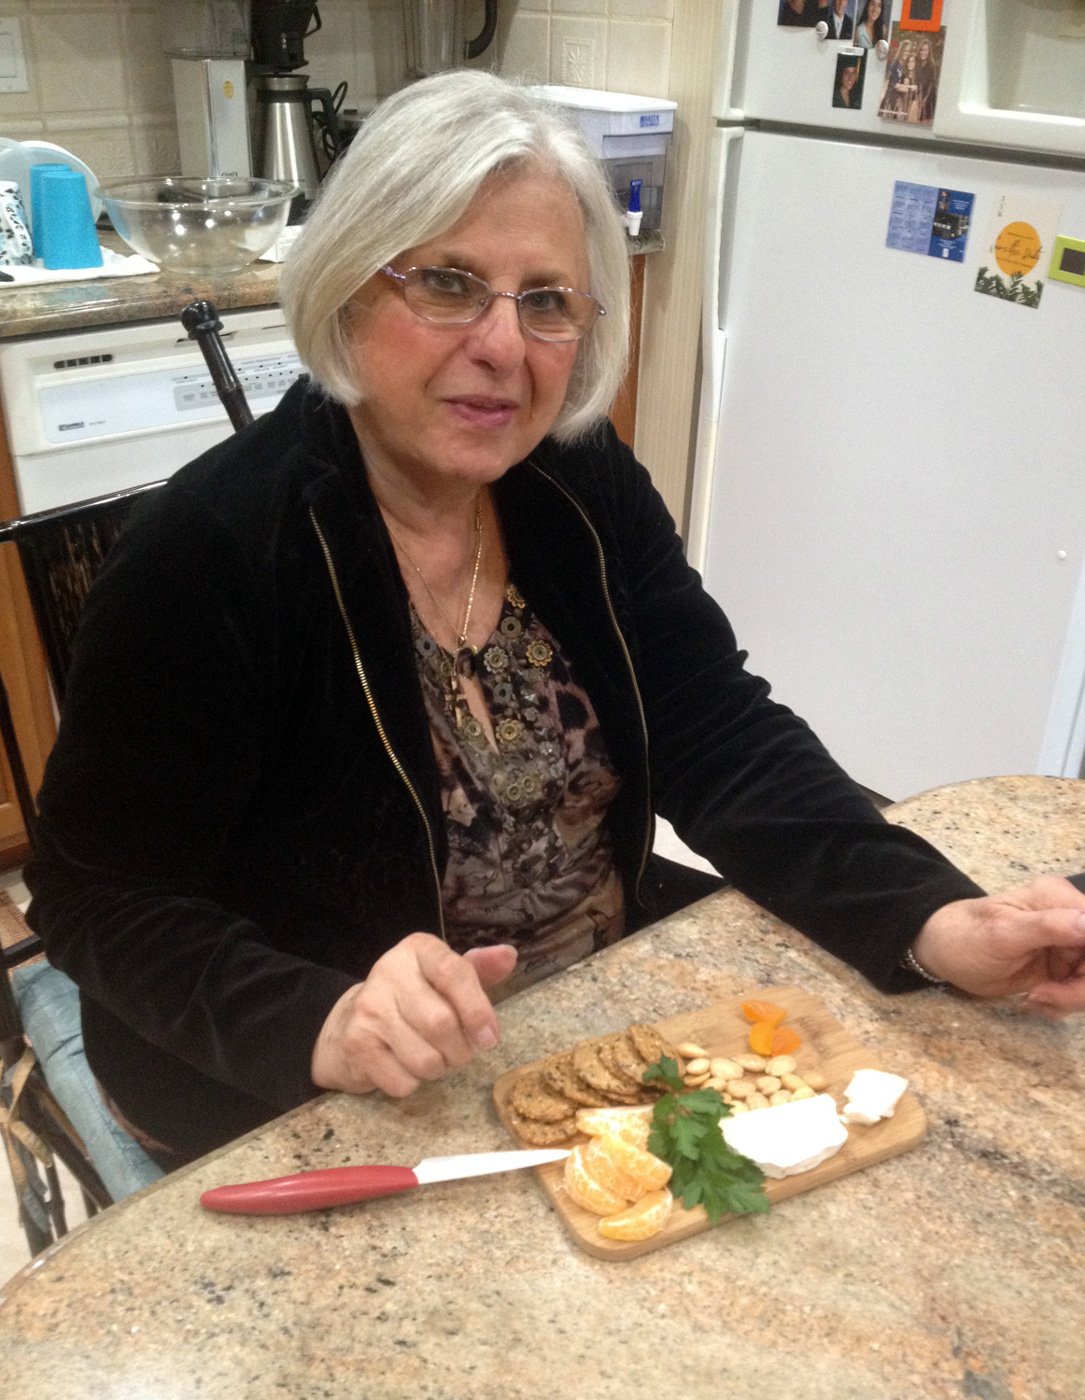
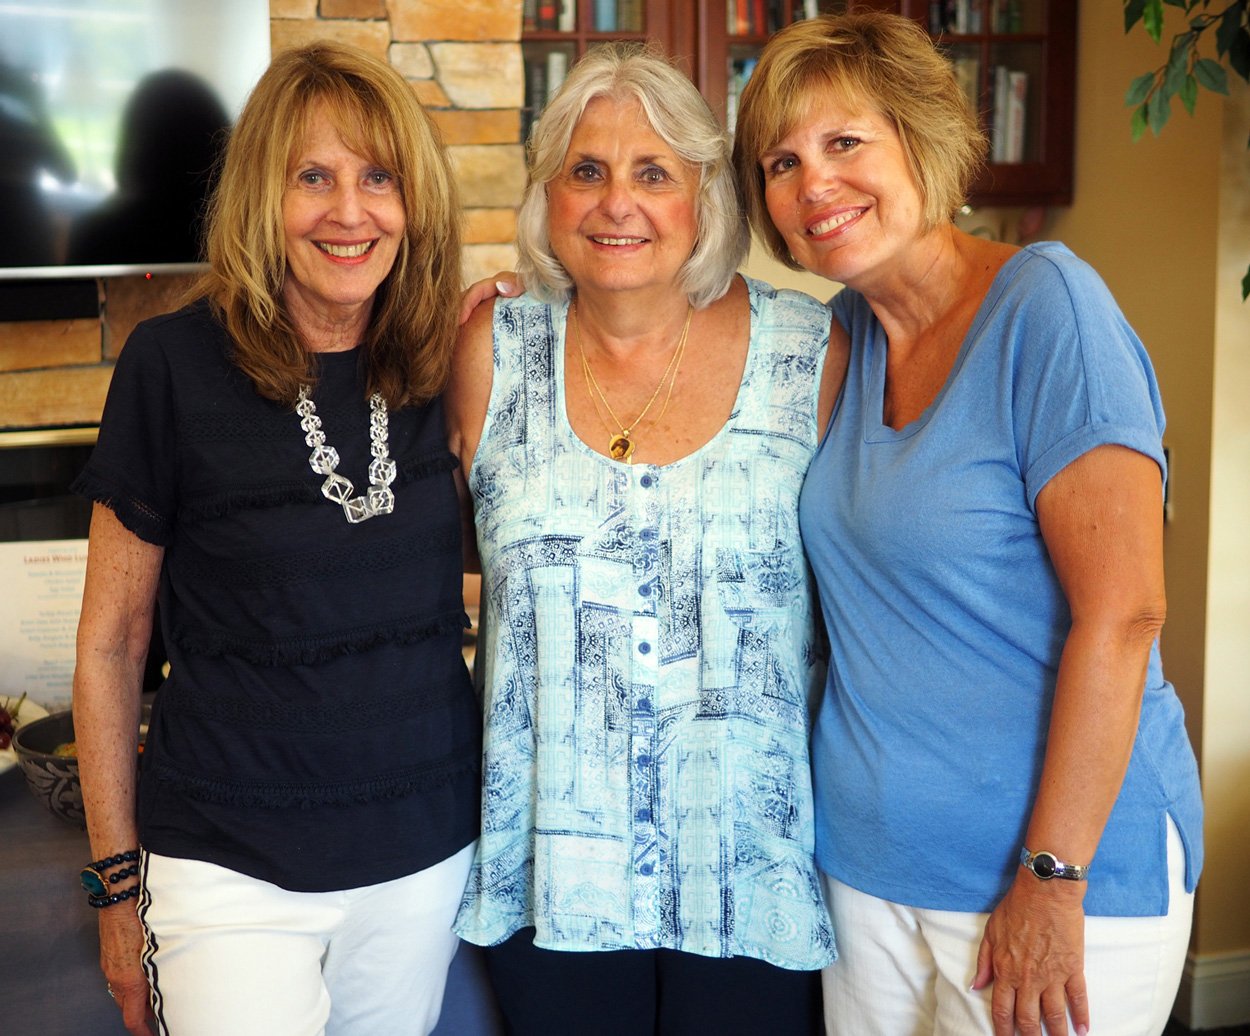
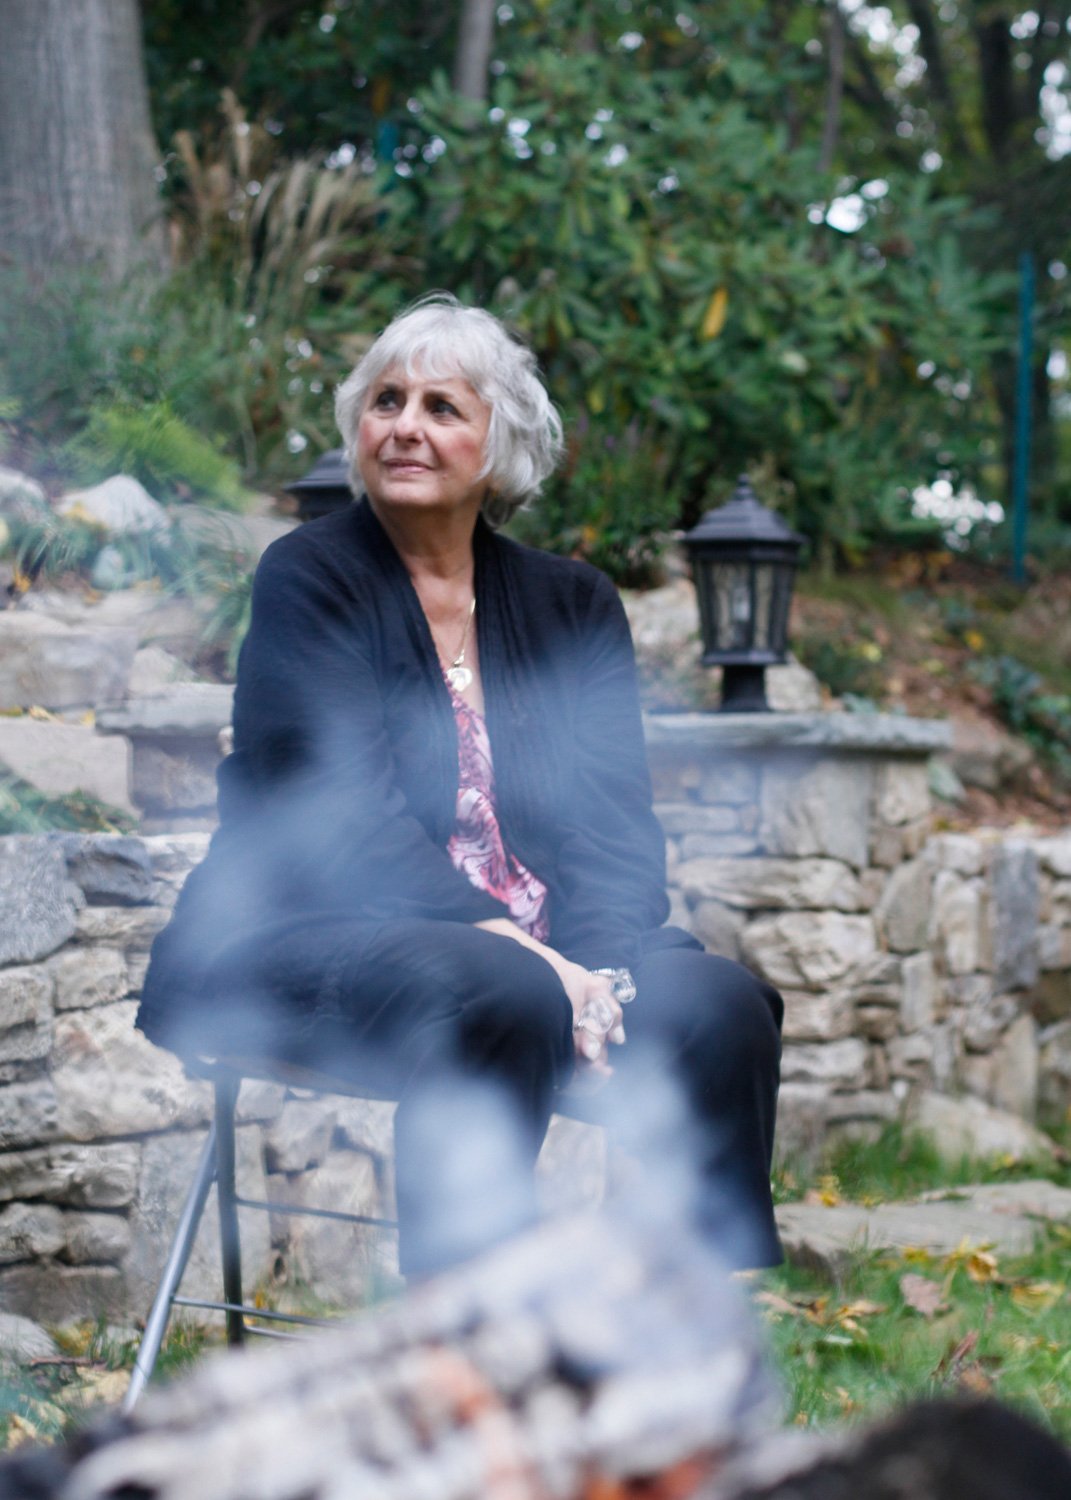
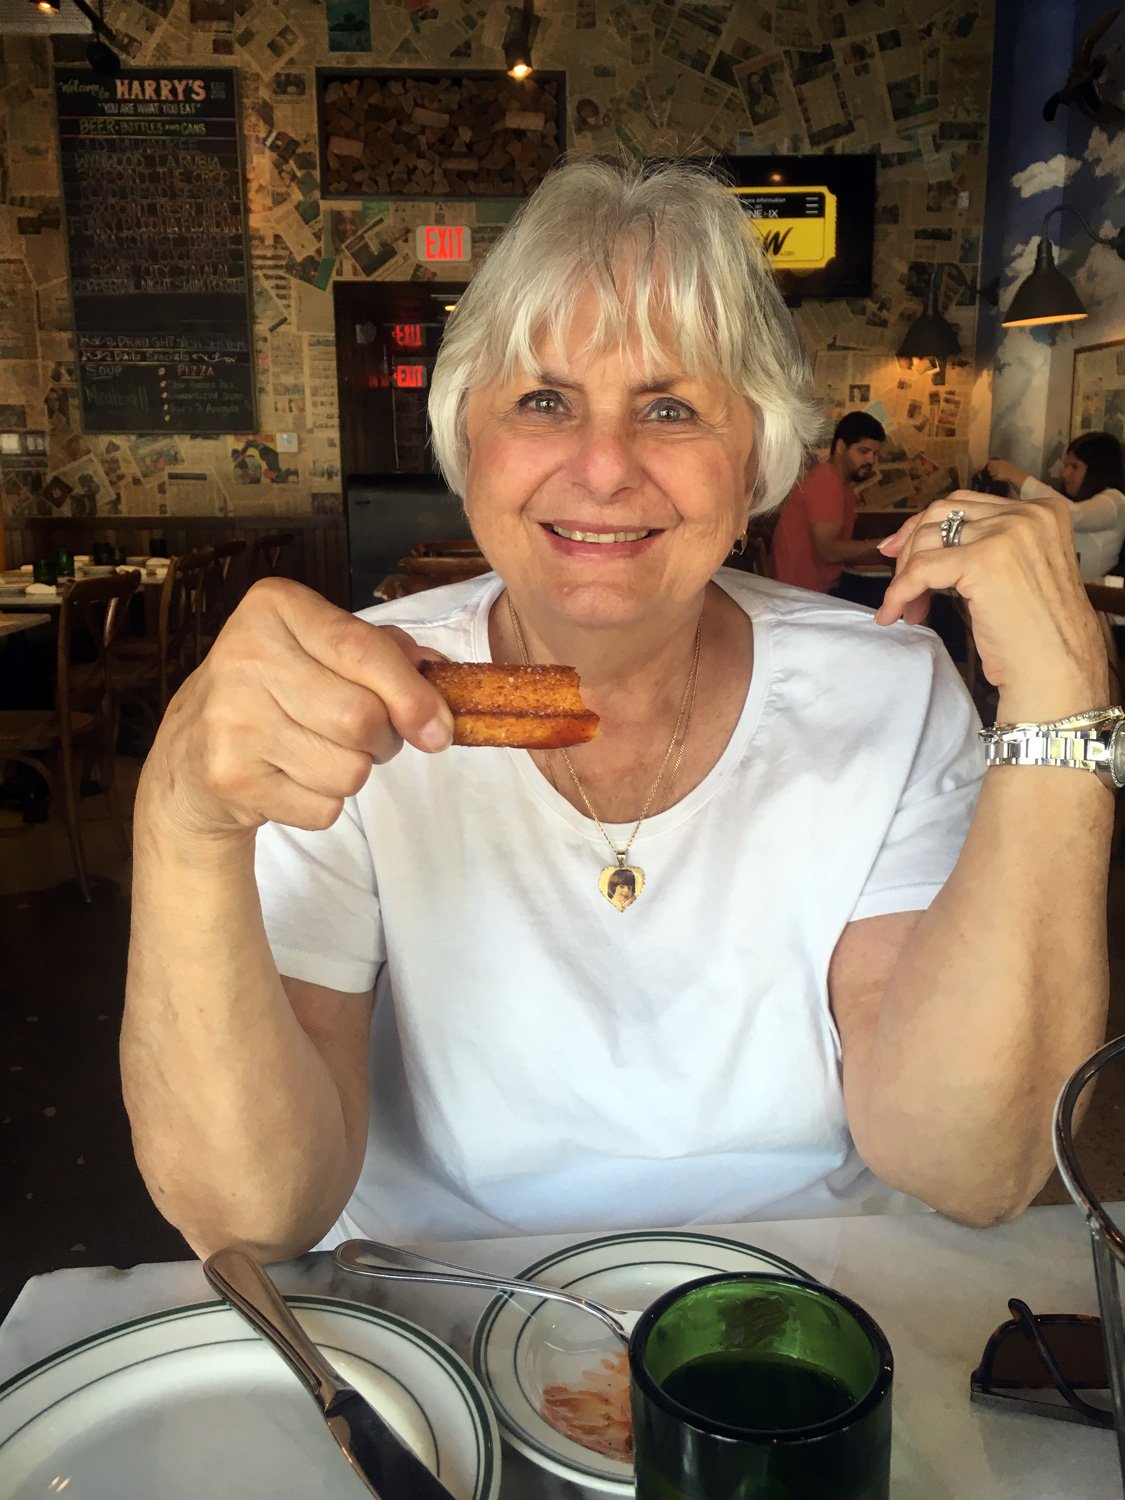
My mom and me

My mom and me

My mom and me

Happy Mother’s Day, Mom. I love you more than these words and pictures could ever convey.

Happy Mother’s Day to all those who have selflessly given their love and guidance to the children in their lives.

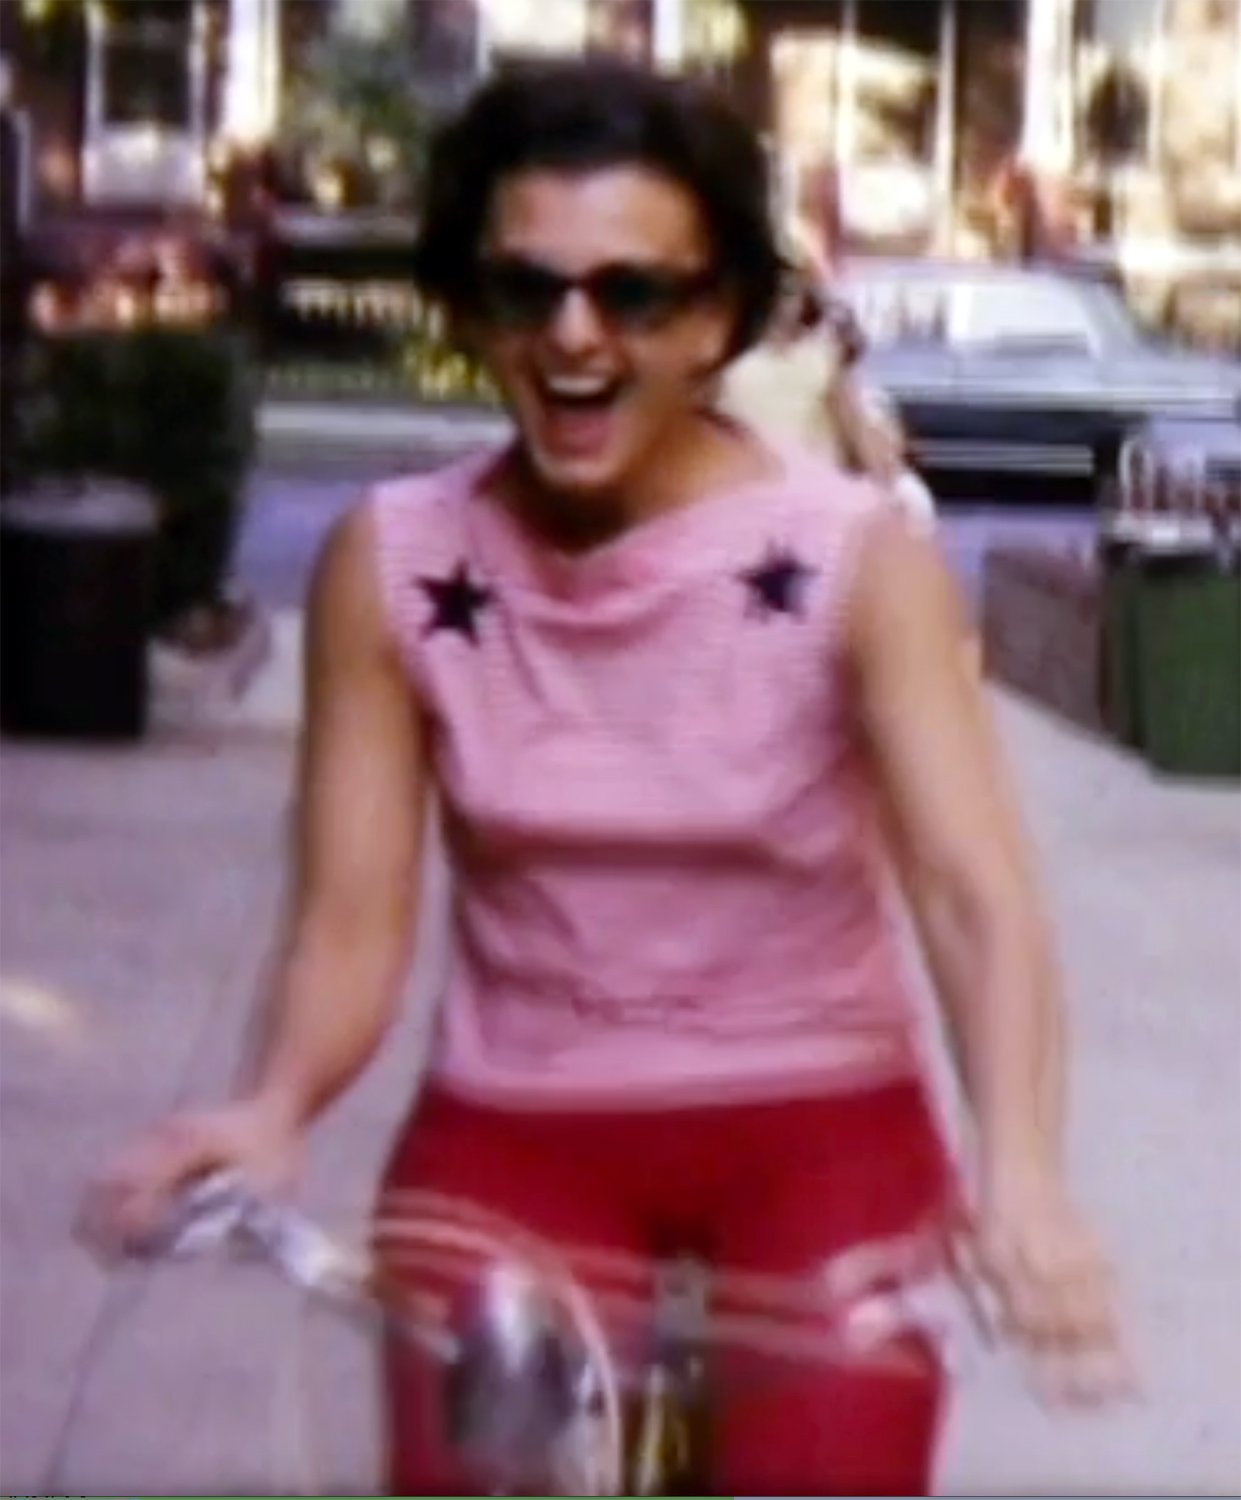
Photo credit thanks to my dad, Uncle Paul (mom’s bro) and my brother.

Table Settings - A Multitude of Options

I am forever staring at my linen collection contemplating the different combinations I could piece together with what I have on hand. As with my cooking, repeat performances are rare. I love to mix it up. I also like to find unconventional items to use. For instance, I’ve cut the ribbon, strings or ropes from boutique shopping bags and used them as napkin ties. Or I’ve used one of my silk scarves as a table runner. I often find remnant pieces of material that can be overlays or runners. This practice of using what you have is a lesson in buying restraint and making due with what exists. You don’t always have to run to the store for new items in order to finish your table. So, putting that idea to use, if you like some the choices I show below, I encourage you to scour your brain and your home for interesting pieces that could emulate the style. This post is all about the mix and match, focusing on how swapping out a placemat, a plate, a napkin, or even changing how to fold a napkin can make a dramatic difference.

I pulled out a variety of dishes of all shapes and sizes along with cloths, runners and napkins so I could play around.

A napkin sampling: from gray to beige, burgundy and blues and deep green

Placemats: different colors and textures create a completely different mood

Silver and gold chargers, plates and bowls…mix and match

Various materials used for runners or even tablecloths. From the raw and rustic to the chic and elegant.

In order to not drive myself crazy, for demo purposes I only created a single place setting for each style. No need to create an entire tablescape in this instance. The goal is to show the various styles, then you can build around the place setting, repeat for the number of guests and finish the table as we usually do with candles and florals.

Here we go.

Black & Gold

Using a textured black placemat and a black napkin, here are 3 napkin styles for different occasions.

Black Napkin Rosette
Place a a strip of neutral colored material down the center of the table as a table runner. I used a silk remnant I bought at a garage sale. Then add the black placemat, gold charger and white plates. I happen to have a crystal cut glass trimmed in gold to use for water. Use what you have to enhance the theme. Then, swirl the black napkin around to create a rosette and place it inside a small bowl.

You can use my simple swirl method to create the rosette or the fold and roll method (see videos below).

Tied Black Napkin Drape
Using the same set up, but maybe adding a tad more bling by adding a gold rimmed dish, fold the napkin in half, grab it at the center of the fold, let it drape and tie it off with a decorative ribbon.

Black & Gold Candy Cane
Fold the napkin in half and roll it up, then using a ribbon or rope wrap the napkin roll in a candy cane fashion. I like placing it horizontally.


Whites & Grays

In the unconventional items category, this one features a velvet and silk scarf of black and deep red tones with small silver beads for sparkle. Start by laying the scarf down the center of the table as you would any runner.

Whites & Gray Rosette
Use a stack of pure white plates and bowl then tuck a gray linen napkin rosette into the small bowl. (See video below for napkin demo). The white plates sandwiched between the dark colors create a balanced contrast. Add clear, simple glassware.

Whites & Gray Flat Flower
Same set up, this time creating a large flat flower petal to place between the plates. (See video below for napkin demo)

Whites & Silver
Keeping the same white plates and the gray linen napkin rosette style, swap the black runner for a silver one with some sheen. Change the glassware to more elegant crystal and now this place setting has upped its ante.

Soothing Blues & Whites

With Spring sprouting up, and Easter a week away, this next set could easily be used for the upcoming festivities.

Classy Checkerboard
No runner necessary, just a rich blue placemat. Use a silver charger and white plates with a long rectangular napkin fold placed vertically to create contrasting visual lines. If you have glassware that can add to the blue notes, great. If not, opt for simple glassware.

Checkerboard Roll
Keeping the same set up, this time make a chubby little roll with the napkin and place at the top of the place setting.

Circles & Squares
Swap out the white salad plate for a deeper blue square plate, swirl the checkerboard napkin into the rosette to be featured in the center small bowl. If you don’t have a square blue plate, maybe you have a plate with florals that could compliment the blues. Think Springtime.

Pointed Blues & Gray
Swap out the white salad plate for a deeper blue square plate and mimic the angles with a long triangle folded gray linen napkin.

The Regal Velvets

Burgundy & Gold
Velvet makes anything more elegant. Deep hues like burgundy and hunter green continue that royal feel. A simple napkin roll adorned with a gold napkin ring, paired together with gold and crystal glassware all amp up the elegance factor.

Silver & Gold Grounded in Green
Swapping the gold charger for a silver one makes both the plate and the placemat pop. Replacing the burgundy placemat with a green one to match the napkin then using a ribbon that repeats the silver tone in candy cane wrap method completes the look. This silver and gold with green approach is elegant with a touch of contemporary.

Silver & Gold

This series is all about mixing silver and gold pieces together.

Sparkle & Drape
Silver shimmer runner with silver charger and gold plates. Gold glassware and a neutral beige napkin delicately draped to the side. I love this place setting. It’s elegant with sparkle and would make a lovely Easter table setting that is a tad off the usual trend.

Sparkle & Abstract
A simple switch of the same napkin creates a different mood. Lay the napkin in an abstract puddle on the center of the plate. (See video below on easy it is to create this effect.)

Elegant Daytime
Swapping out the silver runner for a white sheer fabric lightens the feel. Place the salad plate to the left and a gray linen napkin tucked in a large water goblet. Still elegant but more daytime feel.

Gray Triangle
Keeping the same set up as previous but folding the linen napkin in a large triangle then tucked between charger and dinner plate.

Gold Take Charge
Swap the silver charger for a gold one and create a rosette with a deep rich burgundy napkin.

Gold Take Hold
Using the gold charger and runner with golden hues, add a gray/silver napkin in a fluted fold under the salad plate

Freshen Up with Yellow
Brighten the whole setting up with a burst of yellow. A simple long rectangular fold is all that is needed to bring on the freshness. This is another lovely Easter setting.

The Floating Table
I have several pieces of remnant materials that I use either as a runner, a tablecloth or an overlay. For my birthday this year, JuanCarlos said he would make me a special dinner. And since it was a special birthday, I wanted to create a pretty table. I used my silver and gold theme to create an elegant table for two. But as I said, it was a special celebration, so he and my sister, Alyssa, surprised me with a dinner party that included some of my family. See how easy a table for two transformed into a table for 8. This is a perfect example of how to take an idea and expand it out.

And what would a celebration be if not for the food, glorious food. I snapped a few photos of the meal. All my favorites things, with some of my favorite people. And yes, I made my own gluten free carrot cake adorned with candied carrot shards.

I know this might have been a lot of options to digest, but really they were variations of a similar theme. The goal was to demonstrate how changing a charger or a napkin or even the placement of the items can alter the look and feel. I hope these gave you some ideas and jumping off point to decorate your next table-scape.

For more table setting and napkin ideas, don’t forget to review some older posts:

Napkin Folding - 5 Basic Folds - Countless Options

Creamsicle Table scape

Easter Ideas - A Refresher Course

An African Flare Table Setting


Cauliflower, Sweet Potato, Chick Pea Curry

As with many of my recipes, they come to fruition out of chance, hence the moniker ‘something from nothing.’ In this case, it just so happened that chance came in the way of an enormous cauliflower.  As much as I love my Faux Creamy Cauliflower Soup (and I highly recommend you try it), I was dreaming of another dish from the past.  When I used to travel into the NYC for work my commute took me through Grand Central Station.  For those NYers, you know that pre-pandemic there used to be a plethora of food choices on the bottom floor, convenient for those of us running for a train.  I would sometimes frequent the Indian take out joint for their vegetarian options.  One of those was a cauliflower curry, which sometimes had chick peas.  (Side note: I would try to eat my Indian food before boarding the train or wait until I got home.  Because quite frankly the deep curry aromas, although alluring to me, would be overwhelming to others as they perfumed and permeated the entire train.)

My luck, I always stock my pantry with various beans. Chick peas: checked.  I also had some sweet potatoes on hand, and they seemed like a likely player in this mix.  Plus they would add some much needed color to this dish.  (Cauliflower: white, Chick peas: beige, Coconut milk: white. Sweet potatoes - happy orange!)

Now, you know that I do not proclaim to be an expert in Indian cooking or spices. Far from it.  I stick to what I know and use my instincts on quantities and combos.  That said I feel like I’ve been batting 1000 on my Indian dish experiments thus far. So, I was feeling pretty confident I could make this dish tasty.

Since I only had the germ of an idea on how to bring this dish to life, I was working through the prep and cooking method as I went along.  Typically, I try to make most of my recipes fairly simple without too many steps or without a laundry list of ingredients.  Nothing turns me off from trying a new recipe from another chef as 20 ingredients, or a choreographed dance of steps.  This one does require a few more than my usual but still all quite manageable.  And I’m sure it will go faster for you since while I was riffing on how to do make this I also had to measure, write it down, photograph and then make sure I didn’t get any curry on my camera lens.

Admittedly, the amounts I made were for a small dinner party or a large very hungry family.  It’s been just JuanCarlos and I round these parts, so we might be eating this for breakfast, lunch and dinner.  It made a ton.  When I wanted to use up the cauliflower I didn’t realize how enormous it was when I added the sweet potato and chick peas.  But you can either cut it down by a quarter or make a large vat of this and freeze it, as I did. It held up pretty well.

Also, you will note that I cut the onions and ginger in two ways. Sometimes the different sizes not only add a texture but it also delivers another flavor depth.

Ingredients 

1 lg (1000g/35oz) Cauliflower 
5 c (523g/19oz) Sweet Potato, cubed
2-3 med (431g) onions (half diced 1.5c/half large cubes 1.5c)
2 29 oz cans of Chick Peas
1 Qt Vegetable Stock or water (I used the water I cooked the cauliflower/potatoes in)
2 13.5 oz cans Coconut Milk
1/2 c oil
100g ginger 5-6 t grated, rest sliced
2t turmeric
2.5 t cumin
3 t cumin seeds
3 t rounded curry
1/2 t red pepper flakes (add more or less depending on your heat level)
4-5 t salt
1 c Aquafaba (chick pea liquid)
2 heaping T tomato paste

Instructions

  1. Measure out all your spices.

Top row: Salt, Curry Middle Row: Turmeric, Cumin, Tomato Paste Bottom Row: Cumin Seeds, Red Pepper Flakes

2. Prepare all the vegetables: Break cauliflower into large florets. Peel and cut sweet potatoes into cubes. Dice and slice onions, grate and slice ginger so you have everything ready.

Now you can more clearly visualize the Happy Orange that the sweet potato brought to the party.

3. In salted boiling water, cook both cauliflower & potatoes until semi soft.  Not mushy, you want them to still have a firmness to them.  Strain and place on a baking tray to let cool. Keep the water to use as stock.

Remember to not overcook these. They should be tender but still slightly firm. You can also add an onion and celery to the water to create a veggie stock to use later.

4. Meanwhile, sauté diced onions in oil with salt until soft, approx. 10-12 minutes.

5. Add all the spices and ginger and let toast together 3-4 minutes.

Once the onions are softened, add all the spices and ginger.

6. Add tomato paste, let lightly brown then add cubed onions and 1 c of aquafaba.  Let this cook until softened for 5-7 minutes.

You can really start to see all the deep flavors developing. Building up flavors at each level creates a much more flavor packed dish.

7. Add chick peas, stock, coconut milk to the pot and stir together and bring to a soft boil.

I love coconut milk. And in Indian spiced dishes it adds a cooling agent to all the spice.

8. Cut the larger cauliflower florets into smaller bite sized pieces. Then add the cauliflower and sweet potatoes to the pot and simmer to let all the flavors merge.

Taste for additional seasoning.

Serve with rice, add pepitas to top for crunch.  The first time I made this dish I opted for paella rice instead of Basmati because I wanted more of a chew the to starch. Short grain rice definitely offered that chubby quality I was looking for.  Plus I needed to experiment with it for a dish I’m offering up to my customers. So win win on that front. The second time I made this was for a small dinner party with my sister and brother in law. I serve basmati rice and it was equally delicious. How can any type of rice be bad when it’s goal is to soak up goodness?

Green & Black: A Graphic Table Setting

To say I was nervous about hosting a small dinner party during the pandemic would be an understatement. I know most people have ventured into this territory many moons ago, but JuanCarlos and I have been super cautious. And rightfully so, since we know plenty of people who have had COVID, some of whom we were attempting to meet with until luckily we found out their positive status prior to gathering. We’ve had a few of those close calls so you can understand our hesitation. Thankfully, everyone we know has recovered and is fine.

With our caution has come both a sense of safety and a deep sense of isolation. Therefore, it was time to step out of our shell, out of fear and into joy again. And so we did. And indeed joy we felt. I spent the day preparing food and thinking about a table setting. (Well, it only took me that long because I had to stop to photograph everything, not because I made a feast.) Even though our dinner party total would only amount to 4, I wanted to make it feel a bit elegant and momentous given it would be the first time I’ve set our dining room table in over 2 years!! It’s the dead of winter here in NY, and the temps have been frightful. I have plenty of tablecloths that evoke Spring and Summer, even Fall vibes. But oddly enough not as many for Winter. I wanted the setting to be appropriate for the temperature but not feel cold.

I settled on a very graphic green and black table cloth that set a strong tone. Next was figuring out all the other elements that would complement without becoming overwhelming. Believe it or not, I had a hard time deciding on what napkin to choose. And that is saying a lot since I have a fairly large collection of napkins.

Please, no judgement. I’ve collected these over the years. And pre-pandemic, we entertained ALOT.

The black napkins seemed like an obvious choice but quite frankly there was plenty of black in the main cloth. Plus they wouldn’t have added anything to the party in the way of color dimension. White was clearly too stark and didn’t blend at all. Orange, as you can see, was way too shocking and garish, and would have been too many strong colors competing. Sometimes choosing a napkin is instantaneous, but this time around it took some thinking.

The orange and white ones felt too harsh of a contrast to me. The black might have worked but just felt Blah.

I landed on a multicolored stripe cotton napkin that softened the tablecloth’s intensity and added a whimsy of muted colors. Even though these napkins tend towards a springtime feel, their tonality was the ideal softening agent. To bridge that creamy base color in the napkins I decided to include a soft beige placemat.

Like Goldilocks and the Bears. This choice felt “just right”.

Since this was not going to be a formal dinner party, but an easy Saturday night with my sister, Alyssa and brother in law, Peter, no charger plates were needed. But a little bling was essential. Choosing white plates with a gold rim would help with that. Now that gold was introduced, adding the votive candle holders that I hand painted would finish off that golden touch.

Yes, those are OUI yogurt jars that I saved and hand painted with gold. I have a ton in silver too. I like how the design works with the movement of the tablecloth. Happy coincidence.

Votives provide a lovely low light glow, but I also like height. Which brings me to the candle sticks. Simple cut glass would add the height I wanted and also some sparkle without pulling attention away from everything else going on. Ugh, but now what color candle stick??? I must be out of entertaining practice because these decisions usual come to me in a flash. However, I do think showing this process helps to serve as a great demonstration of how a simple choice can change a look. And that there are no wrong decisions here. Just preferences. I had several choices; greyish silver, maroony purple, yellowy gold, or green. I chose the yellow gold, but any one of them would have worked just as well.

I might have immediately chosen the green since it was a perfect match, but for some reason I only had one.

Ok,
Tablecloth, check
Napkins, check
Napkin rings, check
Plates, check
Glassware, check
Candles, check
Let’s set a table…

When using placemats, sometimes I like turning them in other direction so they don’t cover as much of the tablecloth.

Gather all your elements. Once you see them all together the picture becomes clearer.

First layer down. I started with all the place settings in the center of the table, but right before our guests arrived I rearranged the seating.

To add some additional height, I went vertical with the napkin. Using a simple napkin ring and pulling the center of the fabric through to create an octopus-like vibe. It’s super simple but makes a visual impact.

This is a simple napkin style. For more options, check out my post entitled: Napkin Folding - 5 Basic Folds - Countless Options

I wasn’t serving any fish or seafood, but I did think the napkin resembled an octopus. It created the height I wanted and was playful.

I love how the whole table came together. It’s elegant but not fussy.

Finish with silver and glass ware, some florals and my first in-house pandemic table setting was in the books.

Some random thoughts:

I absolutely love the movement of this tablecloth. The big, graphic swirls are so eye catching. When you take in the whole print from above, with the flowers perfectly centered, the roots of the tree really come alive.

I also adore the details of this print. Every time I see the figures on this cloth I can’t help but to think of the famous Robin William’s line in The Bird Cage: “Who sets a table and doesn’t look at the bowls?” For those who know and love this movie, no explanation is needed. For those who don’t, I implore you to watch this very funny movie.

I hope this has inspired you to take a chance on setting a table with a super bold, very graphic, intensely strong tablecloth print. With the right complementary elements It can be fun and is sure to make a statement that will impress. The first thing my sister said was, “Wow!” Unlike me, who is clearly very wordy, she is a woman of few words, but in this case, only one was needed.

And in case you were wondering what we served… Here are a few images, and the menu.

Cheese Board

(Hot Peppers, Olives, Mini Bread Sticks, Majorero Pimentón Cheese, Mary’s Gone Crackers, Murcia al Vino Cheese, Dana’s Nuts: Spiced & Candied, Goat Cheese with dried herbs, Jammin’ Onion Jam, Manchego Añejo, Apple Paste)

Tomato Tartlet

Tomato/Avocado/Hearts of Palm Salad

Cauliflower, Sweet Potato & Chick Pea Curry with Basmati Rice

Roasted Spiced Carrots & Onions

Oven Roasted Chicken

Apologizes, I didn’t take photos of the last two items to share.


Chick Pea Fritters - Gluten Free Treat

You know why it’s important to learn baseball when you are younger? So you can hit life’s curveballs when you are older. You never know when the universe is going to toss one at you. But rest assured, a few will be pitched your way. Some are serious and life altering, Some are less severe but still require adjusting. Some curveballs are disguised as opportunities. Actually, let me rephrase that. Most of life’s curveballs actually ARE opportunities.

This past summer, I had an awesome gig come across my plate. I was hired to cook for a family of 7 adults, providing lunches and dinners for a two week period. (The family ended up loving what I provided that they extended it for entire month.) This was a huge undertaking in every sense of the word. And there were plenty of fastballs and curveballs pitched my way.

Curveball #1: Refrigerator and freezer needs. I have 2 refrigerators with 2 regular freezers plus 1 full freezer. Yet that was not going to be enough. But as luck would have it our neighbors sold their house, moved out and the new owners weren’t moving in for a month. Coincidence or Fate? I say lifesaver as I packed their fridge and freezer to the brim.

Curveball #2: The clients many food restrictions which required a complicated menu planning.

Curveball #3: The management of each meal, heating instructions, and color coded labeling system. With so many containers being delivered, the only way they would know what to heat up was having a color coded labeling system so they knew what dish went with what and for when. They would also need instructions for re-heating and for sauces/dressings. M/L = Monday Lunch, F/D = Friday Dinner and so on.

Other challenging parts of the gig was that I had to deliver the food over an hour away twice a week which required a well orchestrated shopping-cooking- delivery schedule, using various coolers and pack out lists to ensure nothing was left behind. Add to that the various food restrictions which included what proteins some of the guests ate and others did not. This meant that I had to come up with two mains for every meal. Ensuring that every person had sufficient protein was like solving a Rubik’s cube. Oh, did I mention, gluten free? That part is easy for me since I’ve been gluten free for over a decade. So, I won’t even count that.

There were other curveballs but I think you get it.
Big, Big, Big. And I’m always up for a challenge, especially one that requires logistical thinking. I have the detail oriented mind to tackle this type of task. All bragging aside, it’s actually one of my super skills.

I am a very visual person. In order to tackle this monster, I needed to see it. At first, I starting handwriting the menu and the to do lists. Then I typed it into the computer. But soon realized that it was a living, breathing beast which needed to be shifted and modified constantly. Moving items around on the computer wasn’t as effective since all the columns kept getting out whack. I knew the only way to confront this monster of a task was the old fashioned method of sticking it up on a wall. I needed a system that would allow flexibility, full visibility and the ability to easily move food offerings around without shifting others out of place (as what happens in a Word Doc). This could be the next new meaning of a Moveable Feast.
I printed out each offering, cut them into small strips and added painters tape to the back. It was the only way to switch out an item easily after staring at the entire menu and realizing that I might be serving rice 3 days in a row. Or that if I moved a dinner to another night then I wouldn’t have the spicy slaw as a leftover for lunch 2 days later. Rubik’s cube or mathematical conundrum? Anyway, this system worked beautifully and allowed me to see the whole scope of the project and ensure the client was happy with the diversity of offerings. I left it on the wall as art!

My moveable feast. A ‘place and stick’ menu system that kept me from going batty.

I literally used it everyday to keep me on track

Everything was going along swimmingly until one day the client made a late decision switch which left a protein hole for the vegetarian in the family.

Curveball # I lost count: Need an additional protein but no time to go shopping.

So, how do you sneak in extra protein at the last minute using only what you have available? Legumes to the rescue.

I decided the fastest, easiest solution was to make chick pea fritters. Don’t ask me why I thought this would be fast and easy since I had never made these before. But the idea seemed similar to other pancake like food, so that equaled a decent plan. Naturally, it had to be gluten free. This really wasn’t that earth shattering of an idea. It only felt dramatic because I had less them 8 hours to solve the problem and make the food using only available items, in order to make it for the next day’s morning delivery.

Here’s how it went down.

But just a few ingredients: Chick Peas, Gluten Free flour, jalapeño, egg, scallions and cilantro.

Ingredients

(Makes 14 - 3” round Fritters)

1 39 oz can Chick Peas
3 T Gluten Free Flour (or Chick Pea flour. If you aren’t concerned with GF, then regular flour can be used)
1 Egg, beaten
2+ Tbsp Jalapeño pepper, minced (add more if you like more heat)
1/3 c Cilantro packed leaves, 3 T chopped
1/2 c Scallions, sliced
1 t Salt
1/4 t black pepper
1/8 t red pepper flakes, optional
coarse sea salt to finish

Tahini Dipping Sauce
1/2 c tahini
6 T ice water
3 T Lemon juice/zest
2 T scallions, sliced
1 t jalapeño, minced
salt to taste

Instructions

  1. Slice, chop and mince the aromatics.

Mise en place: Chop, slice and have all ingredients ready.

2. Mash the chick peas, leaving some larger and smaller pieces for texture.

3. Add the jalapeño, cilantro, scallions and mix.

4. Then beat egg with salt, pepper and red pepper flakes and add to chick pea until combined.

5. Add the flour 1 tablespoon at a time and mix until the egg is absorbed but still it wet enough to hold it together.

Squeeze a bit into a ball to ensure it holds together.

6. Using an scoop, choosing the size you desire. If you want them as appetizers make smaller ones. If you want them as a side dish, make them larger. Depending on your style and also how you will be serving them, it’s up to you whether you scoop and free form them or scoop and press into a cutter for perfectly equal fritters. Once you decided, scoop, flatten and place them on the sheet tray for fast work. Again, you can choose super flat so they are crispier, or slightly fatter for the thicker more substantial bite. Your choice depending on your needs/desires. Remember, my recipes can be followed exactly or simply be a guide for you to create and make your own modifications. However it is important that when forming these pack them tight so they hold together.


Choose your tool

Scoop for free form, or scoop into a mold

Size matters…

7. Refrigerate for 1/2-1 hour or freeze for 15-20 minutes. This step helps to get the fritters together then frying.

Prep makes easy work. Plus I do recommend placing them on tray to refrigerate or freeze before frying.

8. I like using a cast iron pan when I frying. The heat from the pan allows for a good sear. If you don’t have cast iron, use your best fry pan or grill pan. Working in batches so as to not drop the pan temperature, add oil and about 6 of the fritters. Turn with a small spatula. When done, remove and place on a paper towel and sprinkle with coarse sea salt.

I prefer thinner fritters because I’m a sucker for crisper, crunchy food.

Golden brown and crispy. The paper towel absorbs any excess oil.

I made a tahini dipping sauce to go along with these. A little extra protein from the sesame. Below is the tahini sauce process.

Tahini

Whisk in ice water, and you can see how the water not only changes the consistency but it lightens up the color as well.

Add lemon juice, zest, scallions, jalapeño and whisk together.

Creamy topping. Try it on other foods.

The client immediately texted to let me know that her husband consumed almost the entire batch himself. Huge success. Happy customer, and now I have another little appetizer/side dish to add to my collection and to share with you.

A yummy combination.

You know me, my dishes are never just one use. They usually do double and triple duty. Serve up as an appetizer, or a side dish. You can even swap out toast and use them as a base for eggs. I made one poached egg and one fried egg to place on top of my fritters. I added a dollop of yogurt and some fresh parsley. A few apple slices rounded out this breakfast. I’d say I hit this curveball out of the park.

I fried my egg in a metal round the same size as the fritter to make it nice and tidy. If you use this method make sure to oil the inside of the mold so the egg removes more easily.

Left side fried egg, right side poached egg. Delicious, nutritious and packed with protein. Apple slices added a lovely crispy, freshness.

A happy husband