Traditions are my DNA. I cherish the ones my grandparents and parents have handed down to me, along with the ones I am cultivating.

My grandmother’s cookie recipe.
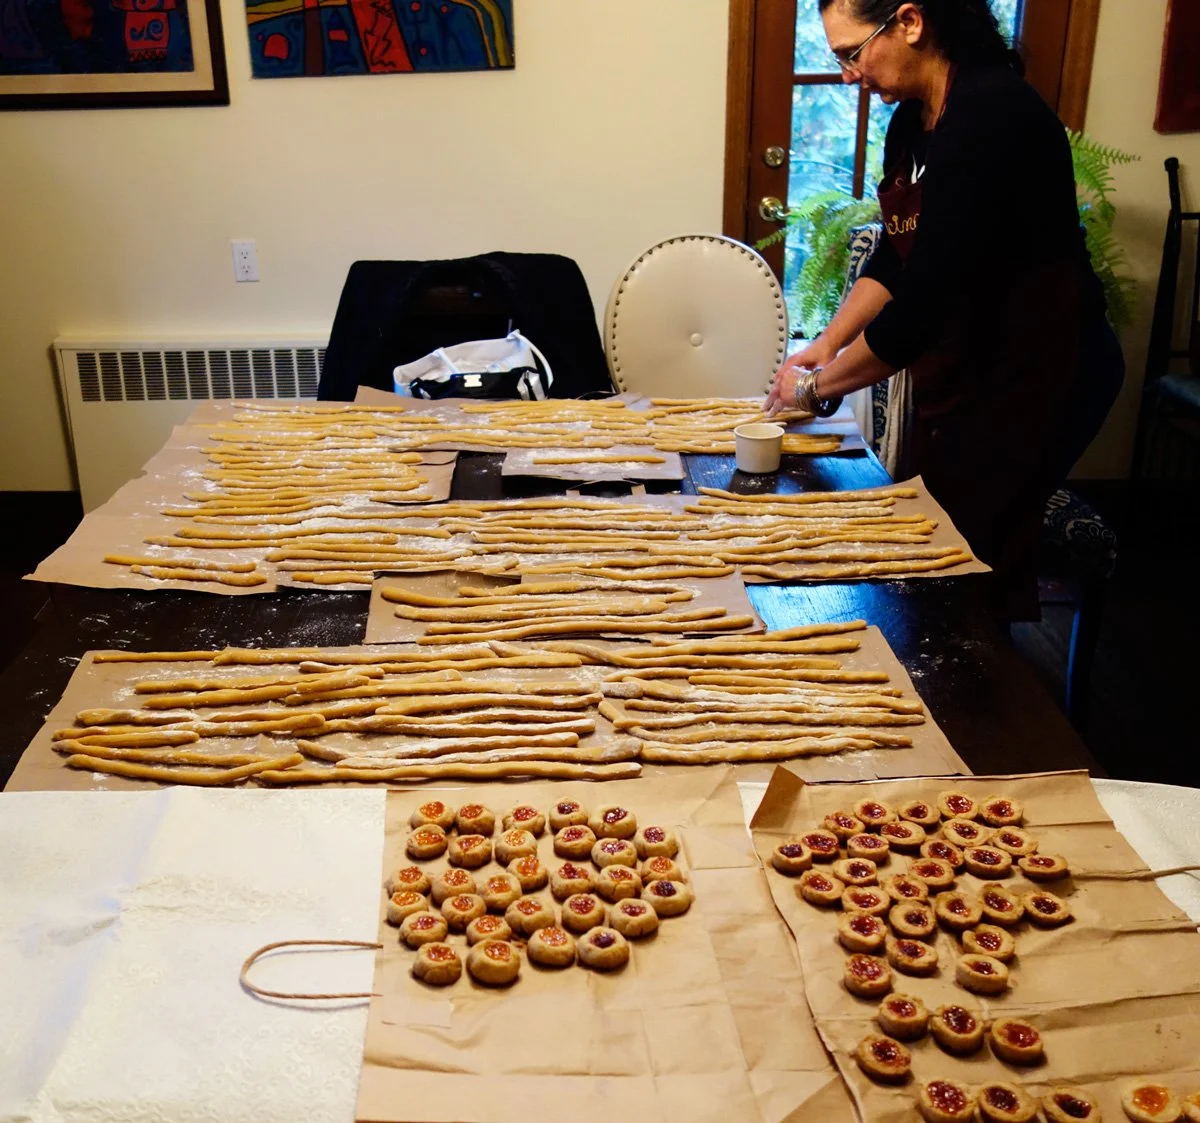
Drying out the struffolas before frying.
Frying the struffolas
So instead of the usual food or entertaining related post, a gratitude blog rejoicing in the past year’s moments is fast becoming my one of my traditions. I know I skipped a few but I’m back on track.
Also, I figure that there is so much going on the week and day before the holiday that you don’t need another idea to make you second guess your menu. Posting on the actual day would just be an intrusion with all you have to do; eye balls deep with recipes, sauces, measuring cups and the like. So a day or two after seemed like a good time for a another dose of gratitude to keep that feeling going.
Another year of me juggling ‘what do I want to be when I grow up’. I have so many ideas but having a hard time settling on one. And thinking maybe I should stick to what I’ve always done, juggling a few at a time. I continue to cook for my small but faithful local customers. Putting any production work on the back burner for now while trying to conjure up new other ways to earn a living. Hitting some bumps along the road may be difficult but they are gifts. Any stumble or road block is there to guide me, to push forward and through, to focus in on the work that needs to be done, and search my soul for the answers.

And so I do, with gratitude for all the opportunities and talents that are bestowed upon me. I am filled with joy for my good health, and my fortitude to continue seeking out ways to build on that health. To be grateful that I have so many people who believe in me, and to continue to find the courage to believe in myself.
Always and forever, there are my family and friends who are my rocks and a real sense of pride and joy for me. So here we go with the yearly roundup of just some of the joys that fill my life. My nieces and nephew, who are my absolute treasures. Grateful to my sisters for bringing them into this world, and raising such talented, accomplished, wonderful human souls.

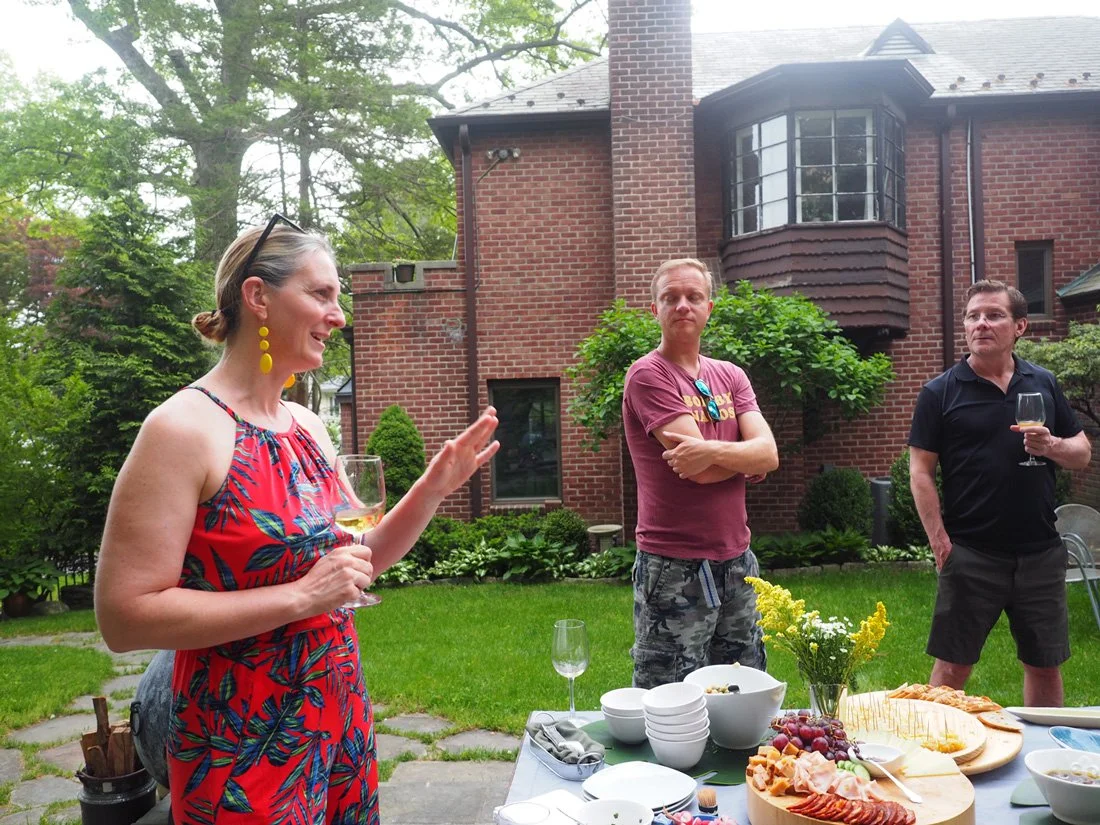
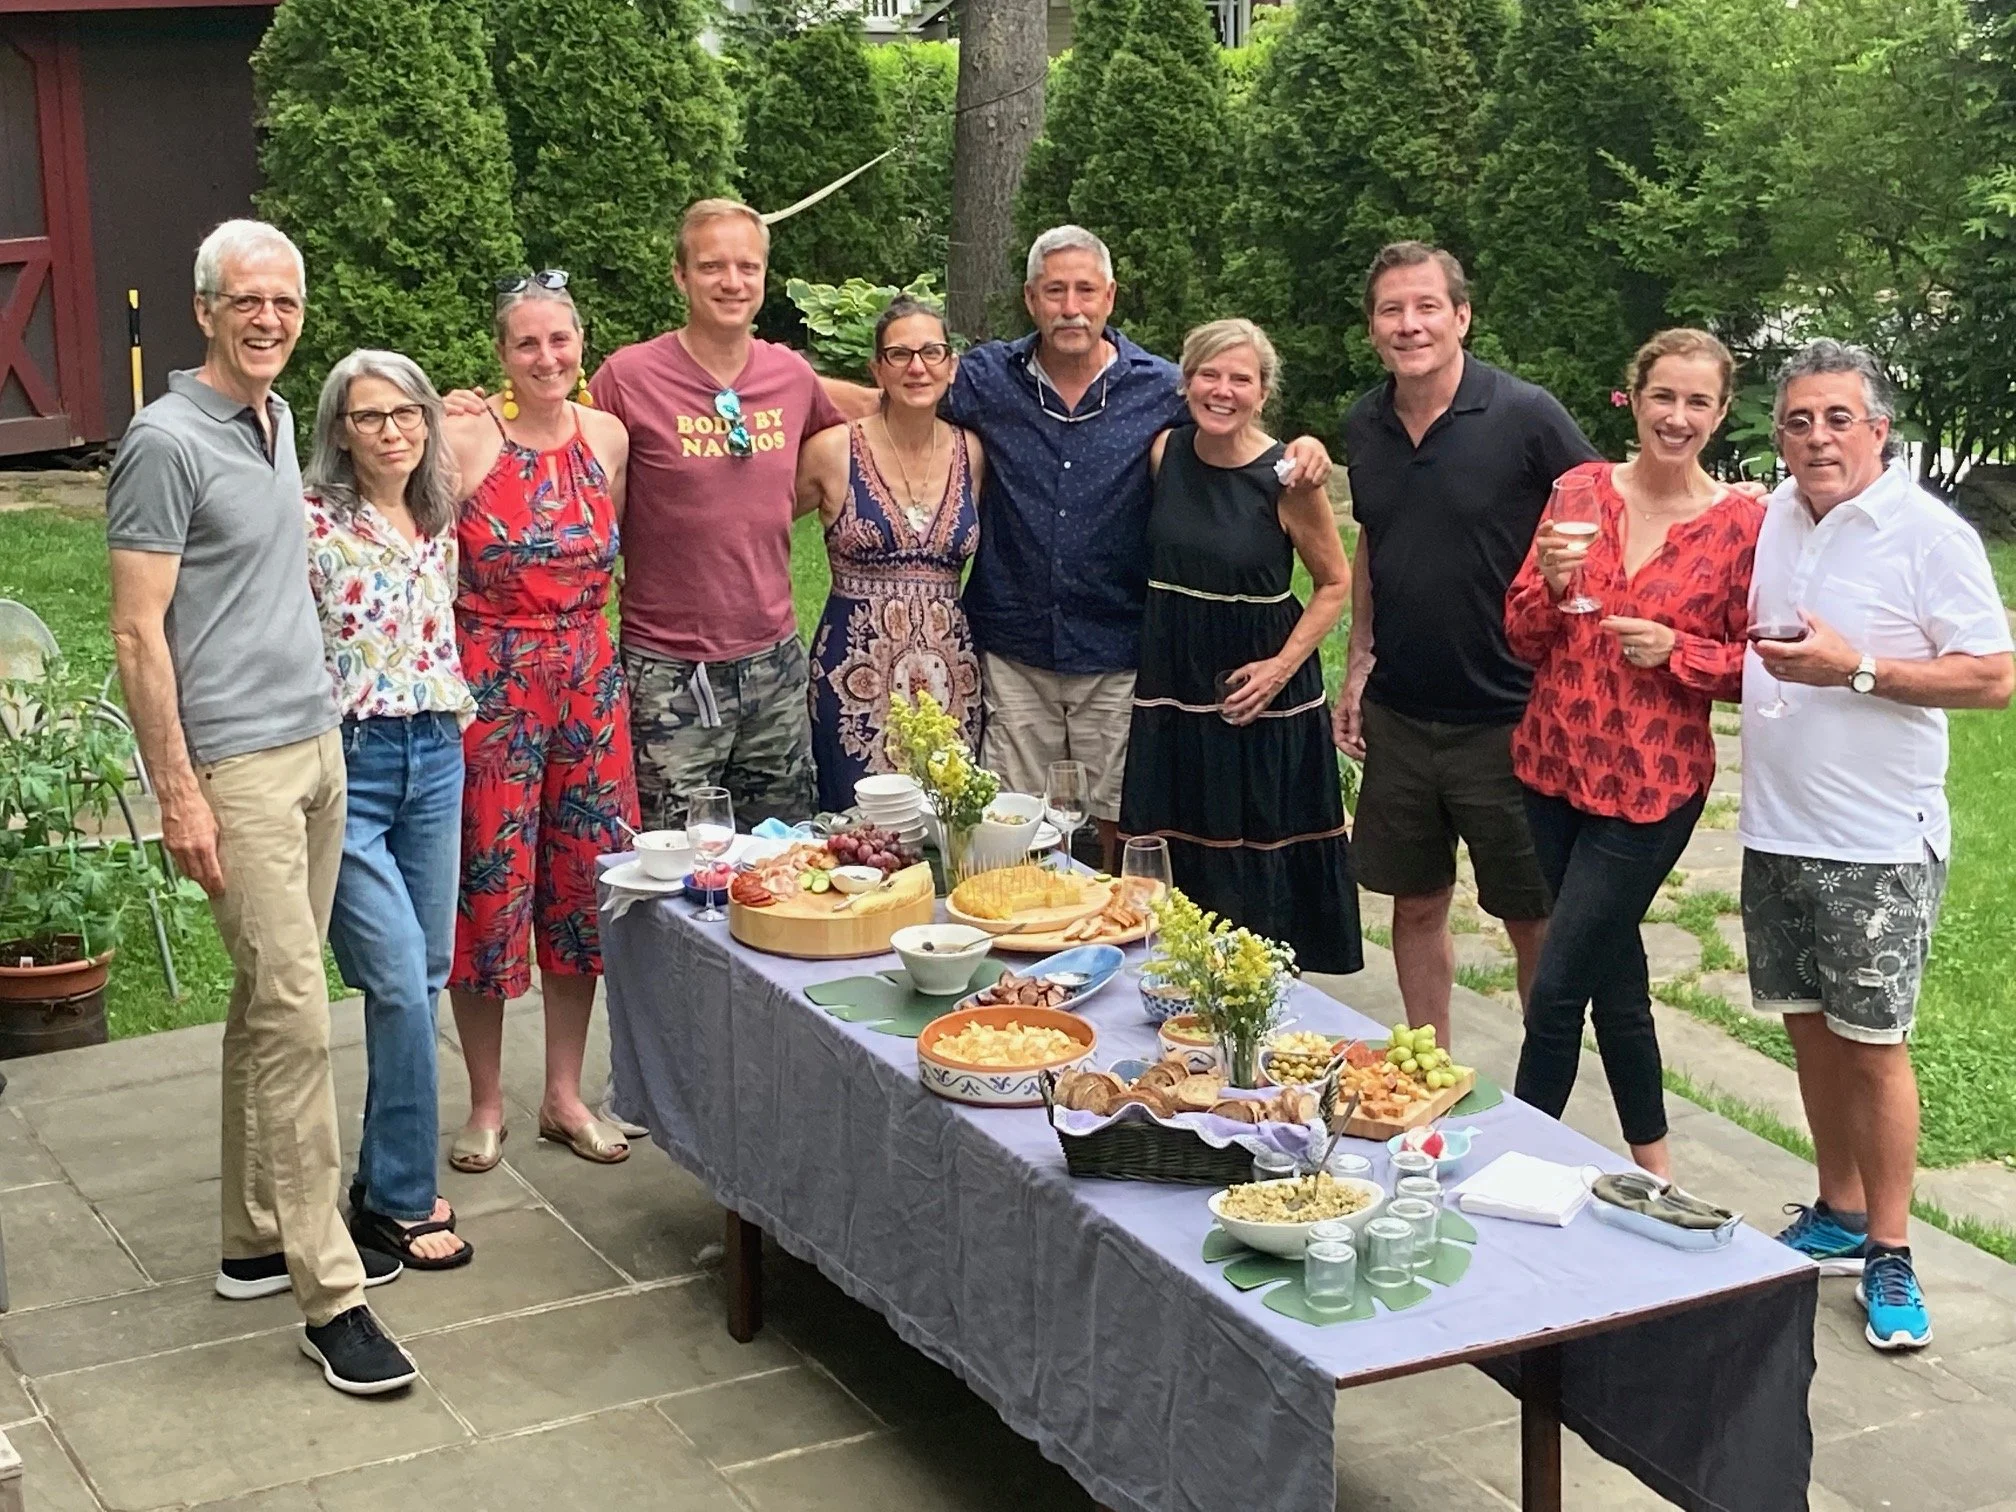
Part of our Italian Wedding Celebration: L to R: Nicolette, Jill, Gabrielle, John, Alyssa, Michella, Gianna, Robert and me.
Gabrielle Brooke
The leader of the niece and nephew group , she has had a most spectacular year. Continuing to develop, expand and rebrand her Social Media Marketing Company, Terra Collective, she has complied an impressive customer list and amazes me with her knowledge and expertise, not just in the social media marketing realm but in her business savvy. Besides buying another home, she got engaged and then curated the most magical wedding in Florence, Italy to her handsome, kind, wonderful husband, Tyler. When I say stunning, I’ll just let the photos do the talking. She has a gift for bringing a vision to life.
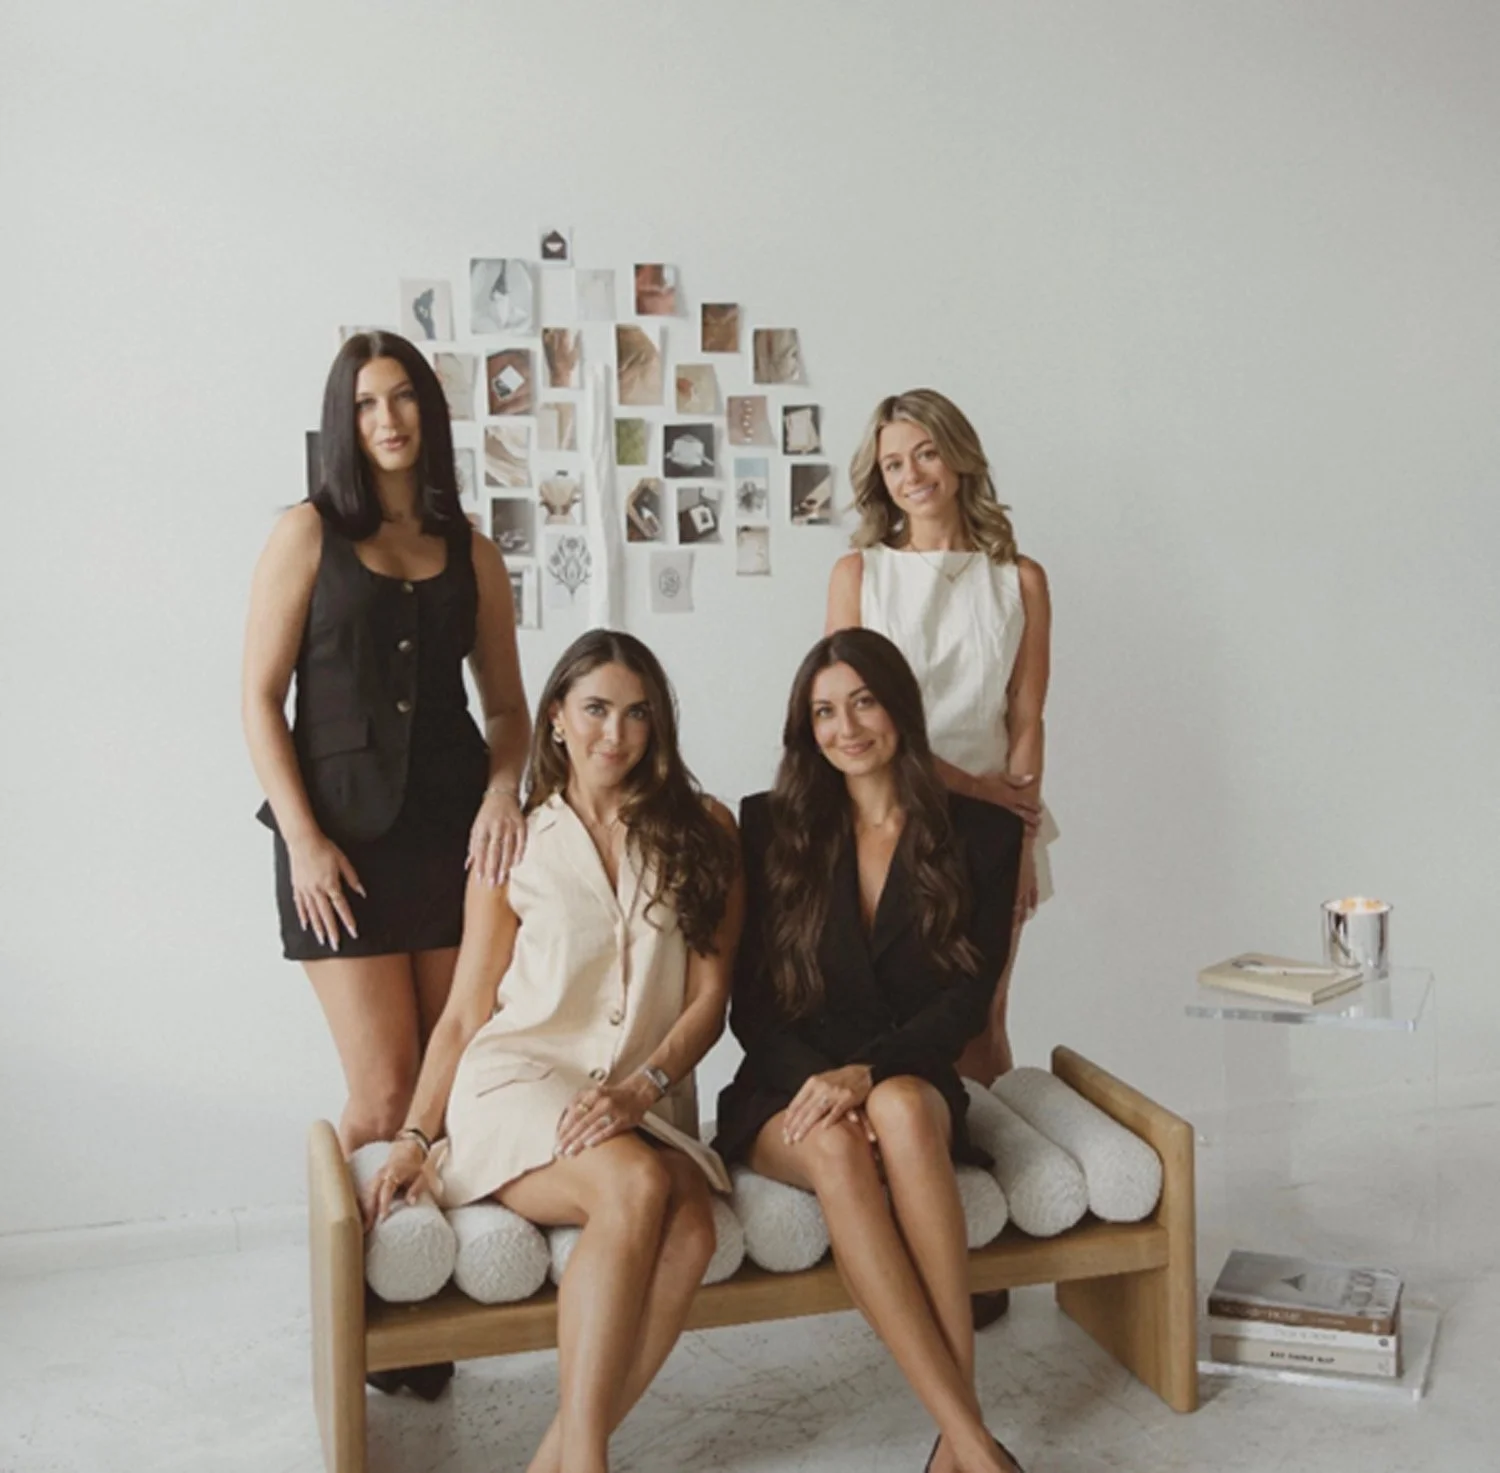
The powerful, all woman team at Terra Collective
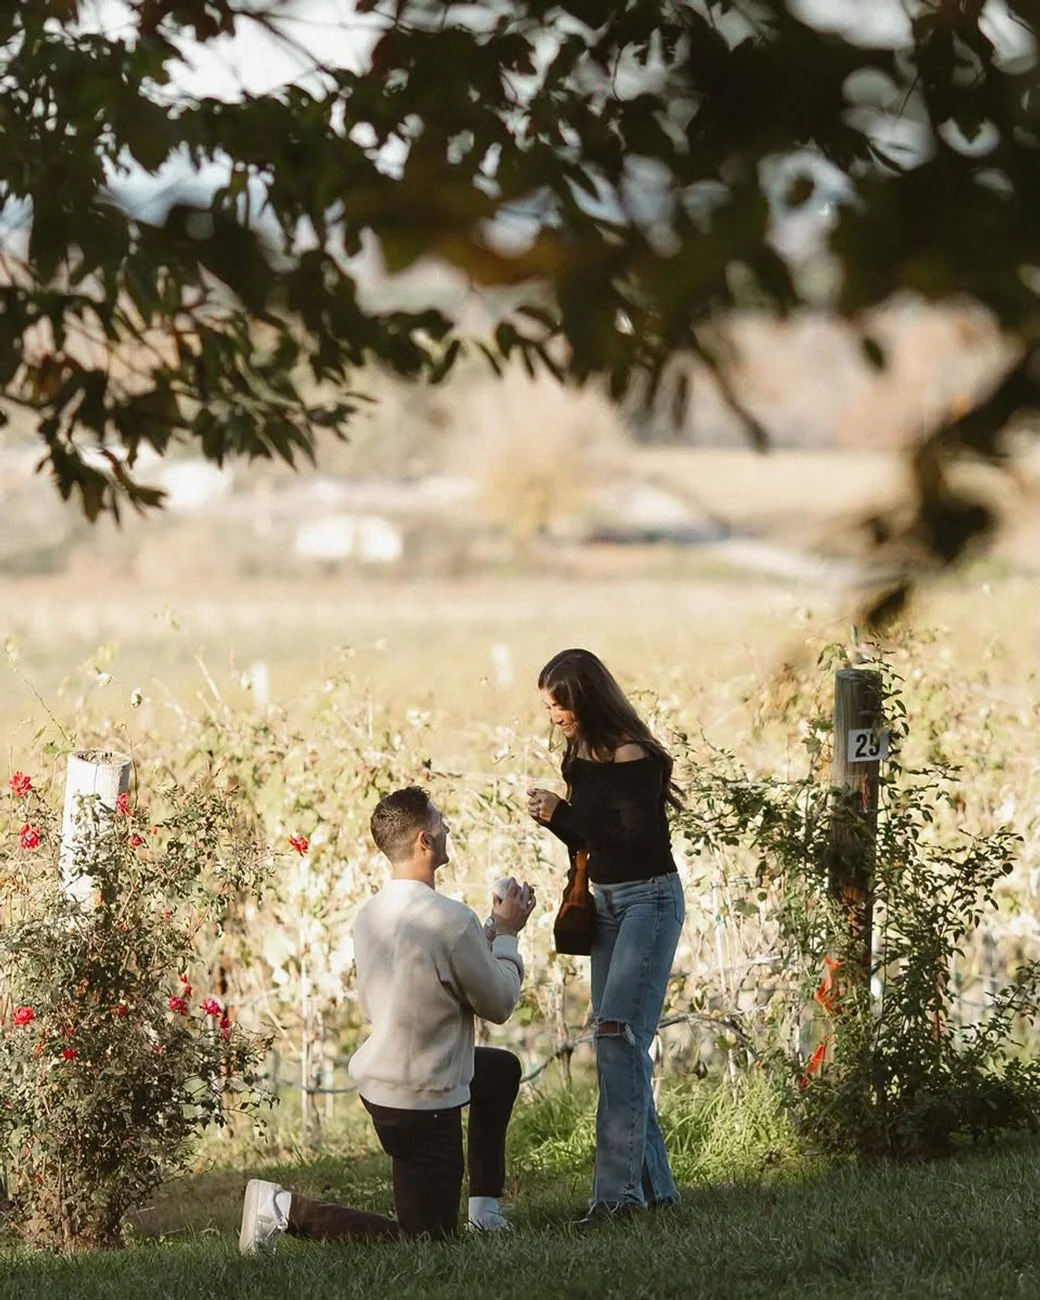
The proposal in a North Carolina vineyard. Photo credit: Erica Serrano


John Joseph
A man with a deep soul and knowledge seeking interest in all aspects of well being. Beside, mixing up smoothies and healthy food combos with his equally loving girlfriend, Charlotte, together they created CANDID. A set of playing cards that poses questions of introspection and curiosity. They both are soul seekers, and ones that not just propose that we reclaim a more analog lifestyle, they live it. They live life big and bold, and encourage others to do the same. Check out their CANDID cards. They will make you think, encourage you to create deeper conversations and certainly make great holiday gifts, especially stocking stuffers! He also performed the most inspiring, emotional and perfectly delivered ceremony as the officiant at his cousin, Gabrielle’s wedding. It brought us all to tears.


Michella Rae
What can I say but WOW for my godchild. Michella, natural talent combined with a work ethic and discipline that makes my head spin, has honed her on air sports reporting skills to the next level. She was invited to CNN to give her March Madness predications (yes, that is national TV, folks!). She was tapped for side line reporting for football and continues to shine a bright light on the exciting world of NCAA women’s Volleyball. She also bought her first home this year, marking a personal achievement among her professional ones.


Gianna Marie
My kind and gentle godchild has had a spectacular year professionally and personally. After honing her skills with long hours at a private research firm she landed a research position in the NY governor’s office. There she excels at detailed investigative work, is thorough and precise, and beloved by her team and bosses (and basically anyone who meets her). She and her fiancé, Trevor, bought their first house and had a great vision for its renovation. A stunning starter home. And you read that right, she also got engaged, plus adopted a dog, Billie. She is always at the ready to lend a helping hand so I’m fully expecting her trusted help with Christmas cookies!


Nicolette Grace
This little peanut is a peanut no more. She is taller than me (sure that may not be such a tough accomplishment, but it’s growth!) and stronger than ever. Not only did she juggle the intense sports regime of WCLA lacrosse, she garnered top grades graduating from University of Georgia with a BA in Political Science with minors in International Affairs | Public Policy and Management. All the while leading her team to a hugely successful lacrosse season going all the way to the Nationals and almost snagging the ultimate prize. She moved to DC to attend George Mason University for a one year intensive master’s degree in National Security and Public Policy . Her star continues to rise.


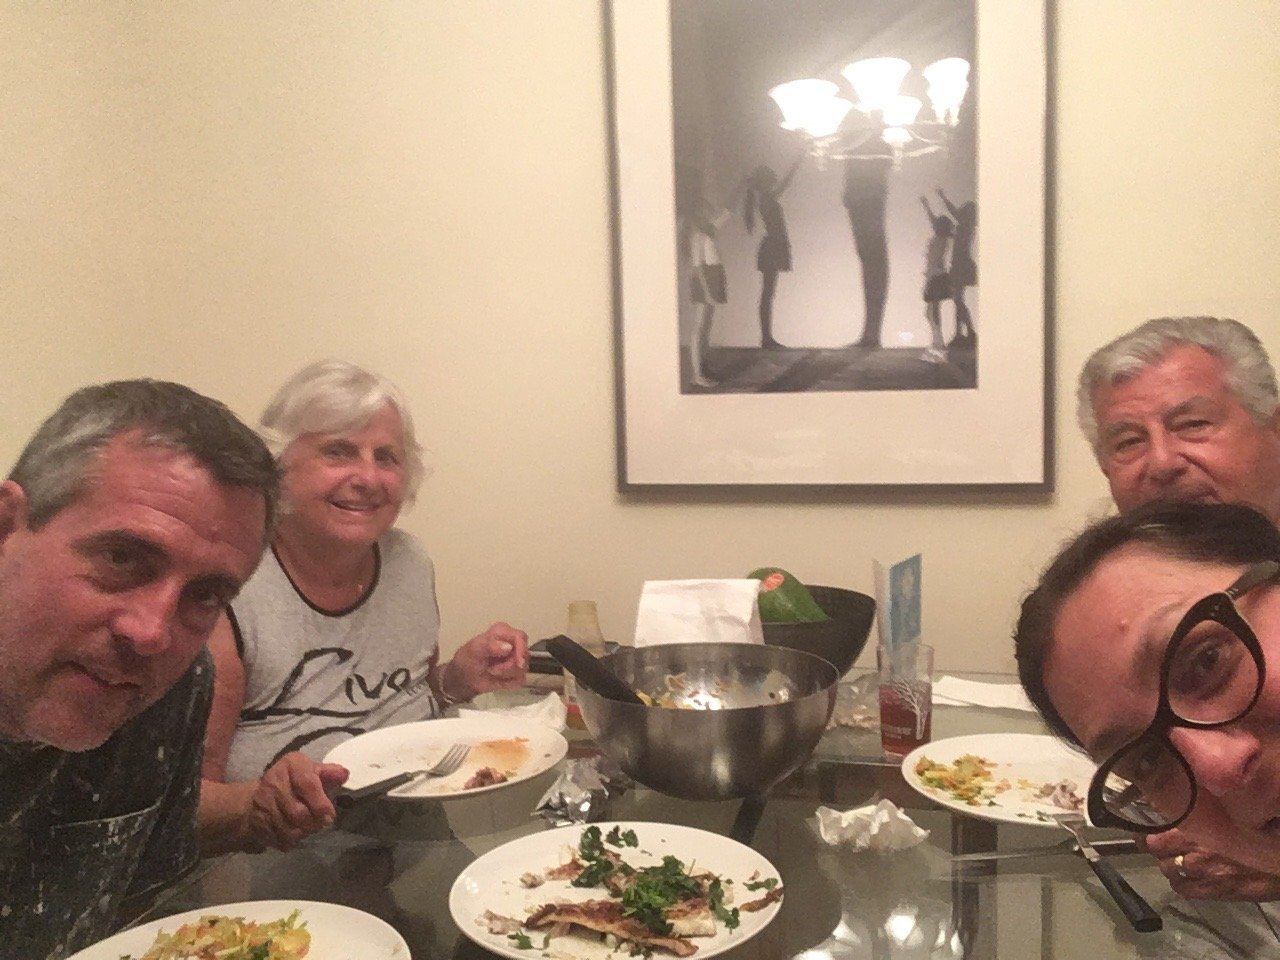
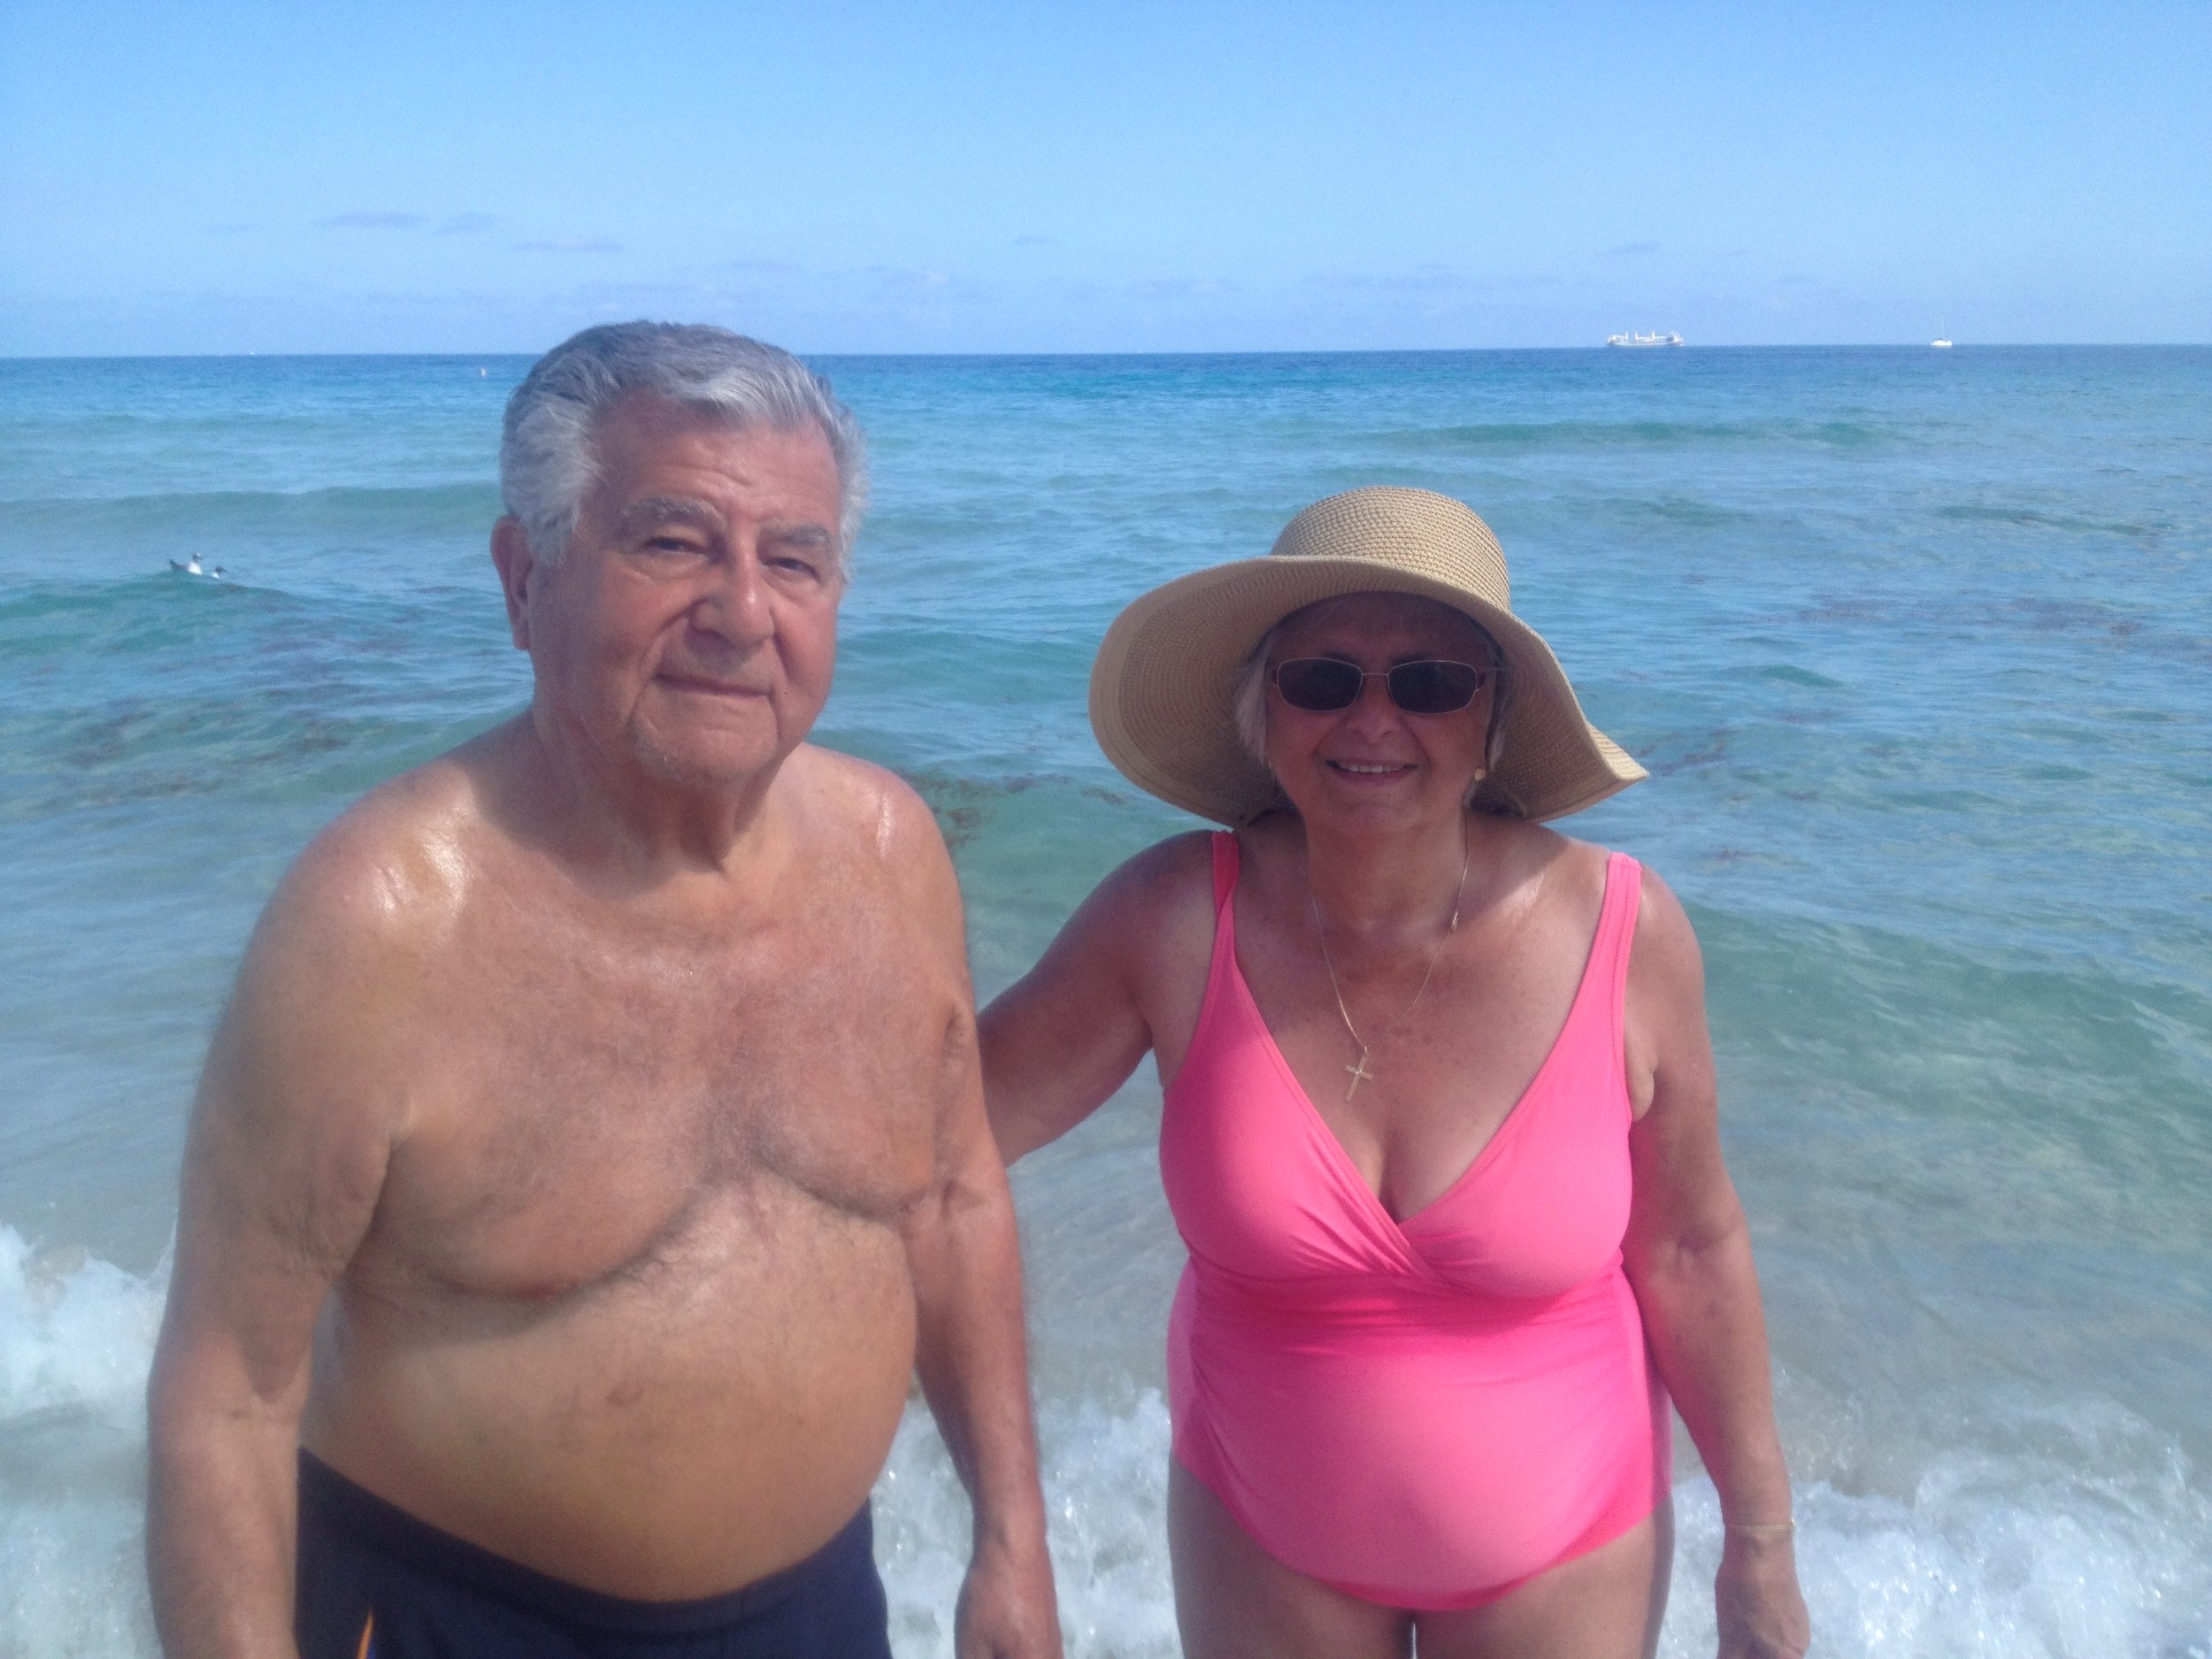
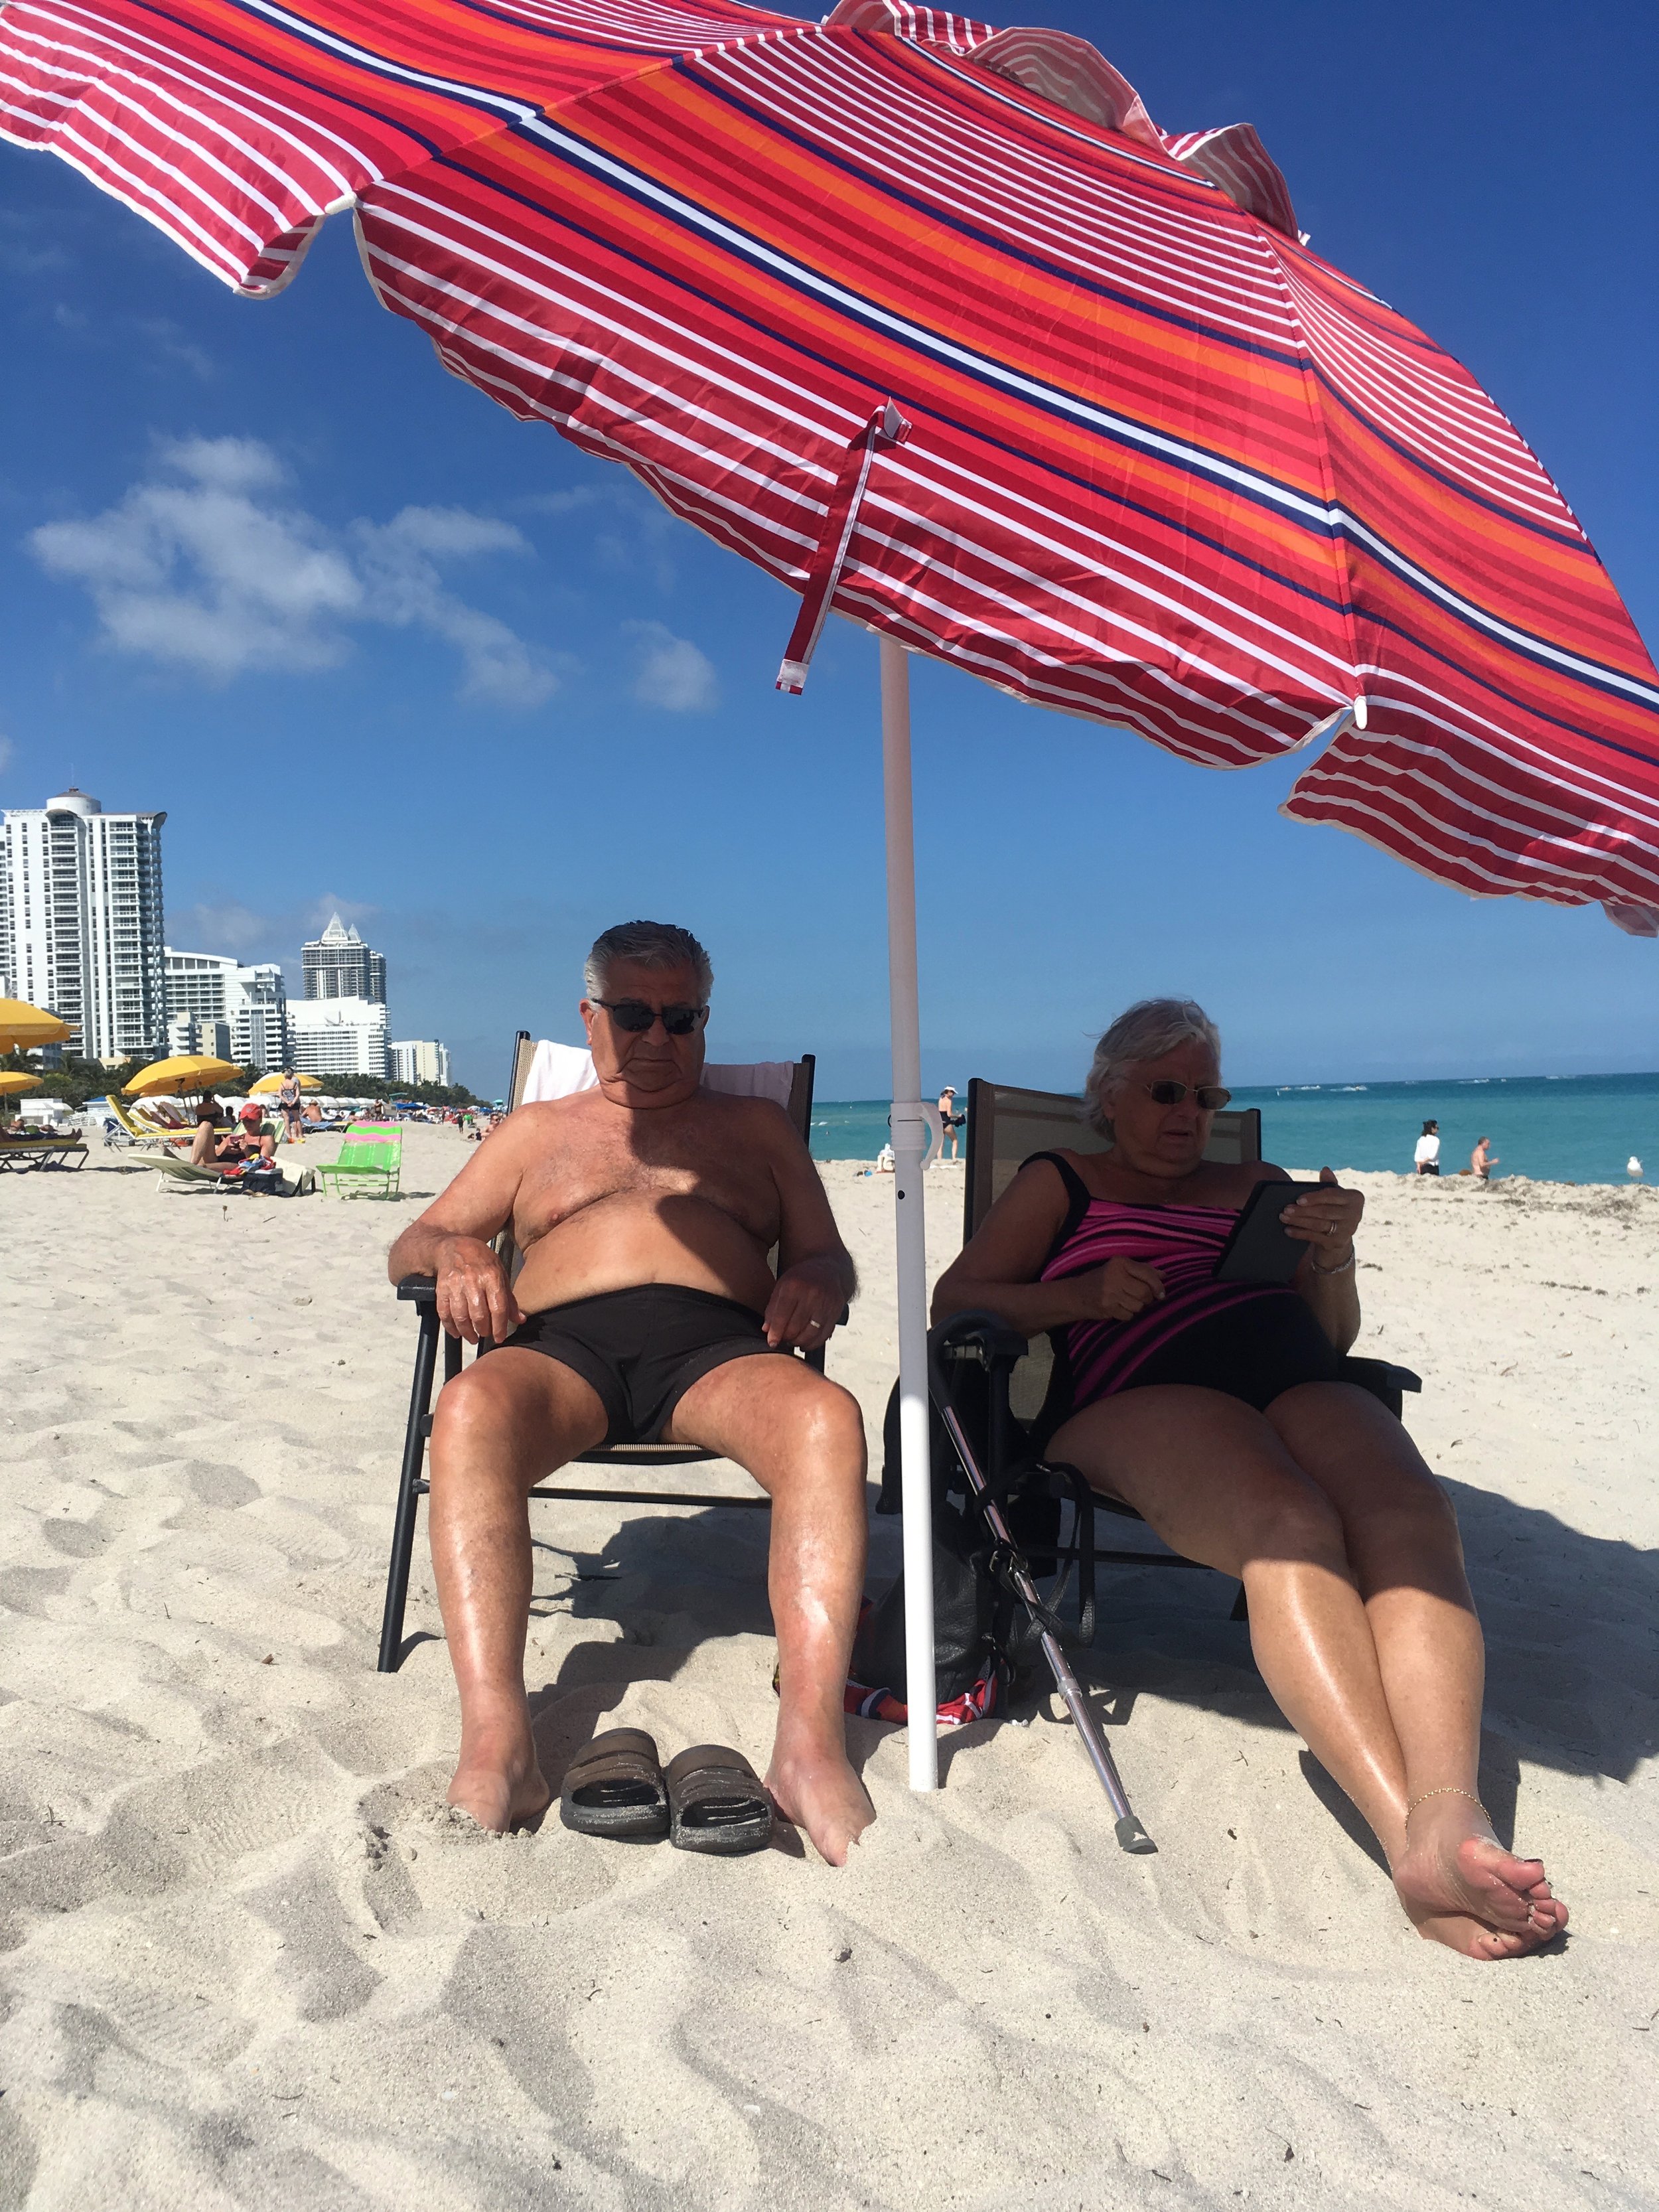
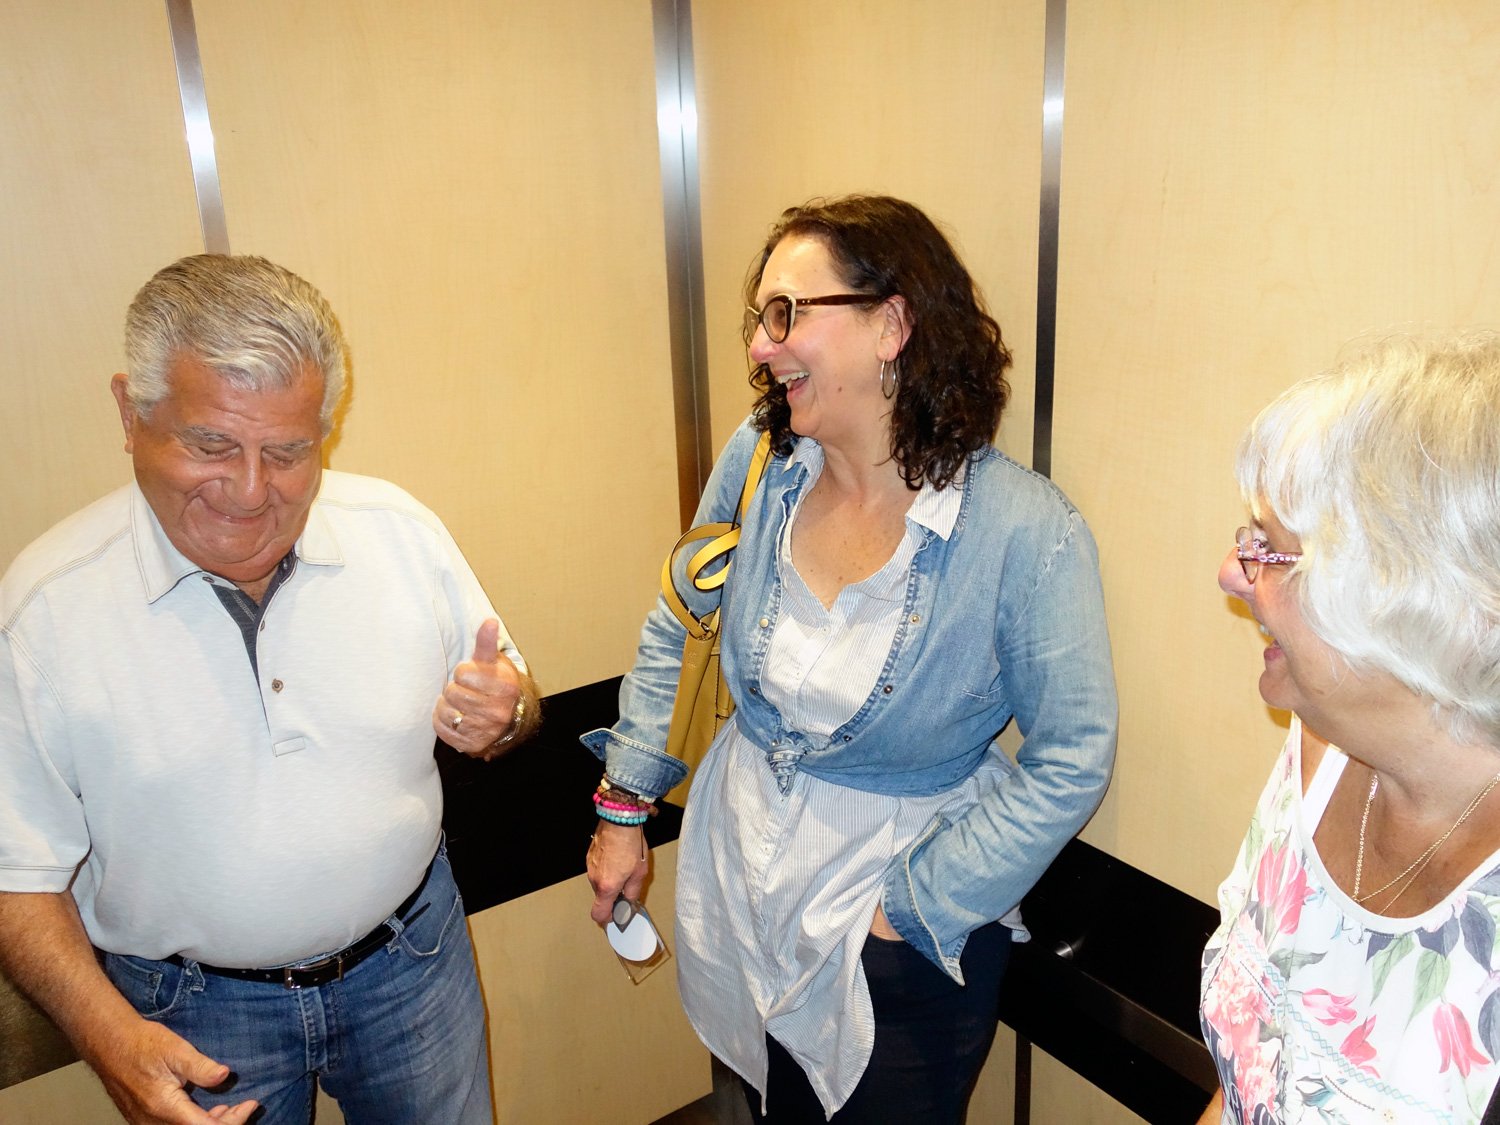
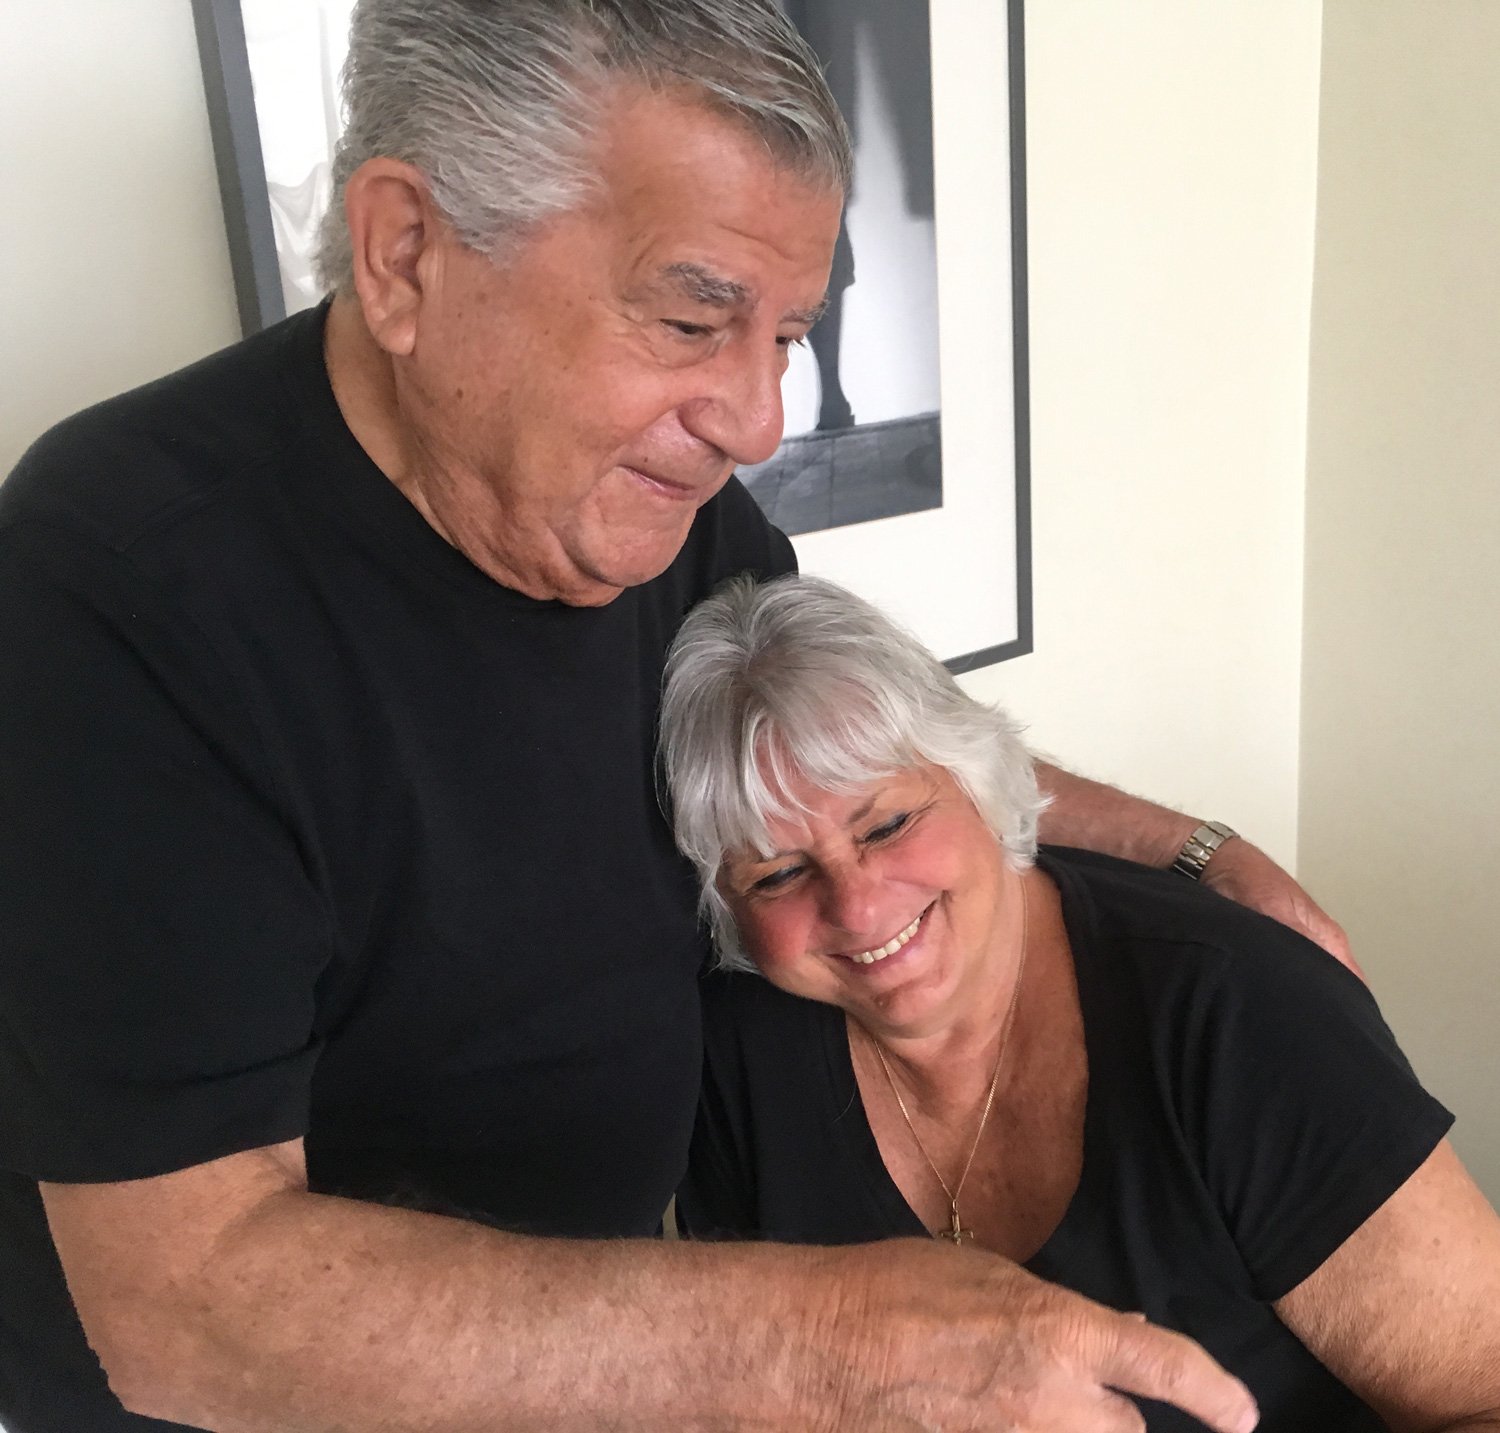
Adrienne & Gene
My parents are going strong. This year marked not only their 64th wedding anniversary, they also celebrated milestone birthdays. Dad turned 95, and Mom 86. We threw a surprise birthday party for them. Some questioned our choice to surprise our parents at their ages but they are strong troopers. We were so grateful to the many family and friends who made long journeys to be there, celebrate them and share the love. It was a spectacular day. We all feel blessed to have them in our lives especially after a tough year of health issues but with love and support there was an amazing rally back. Their love for one another is ever present, ever evident.


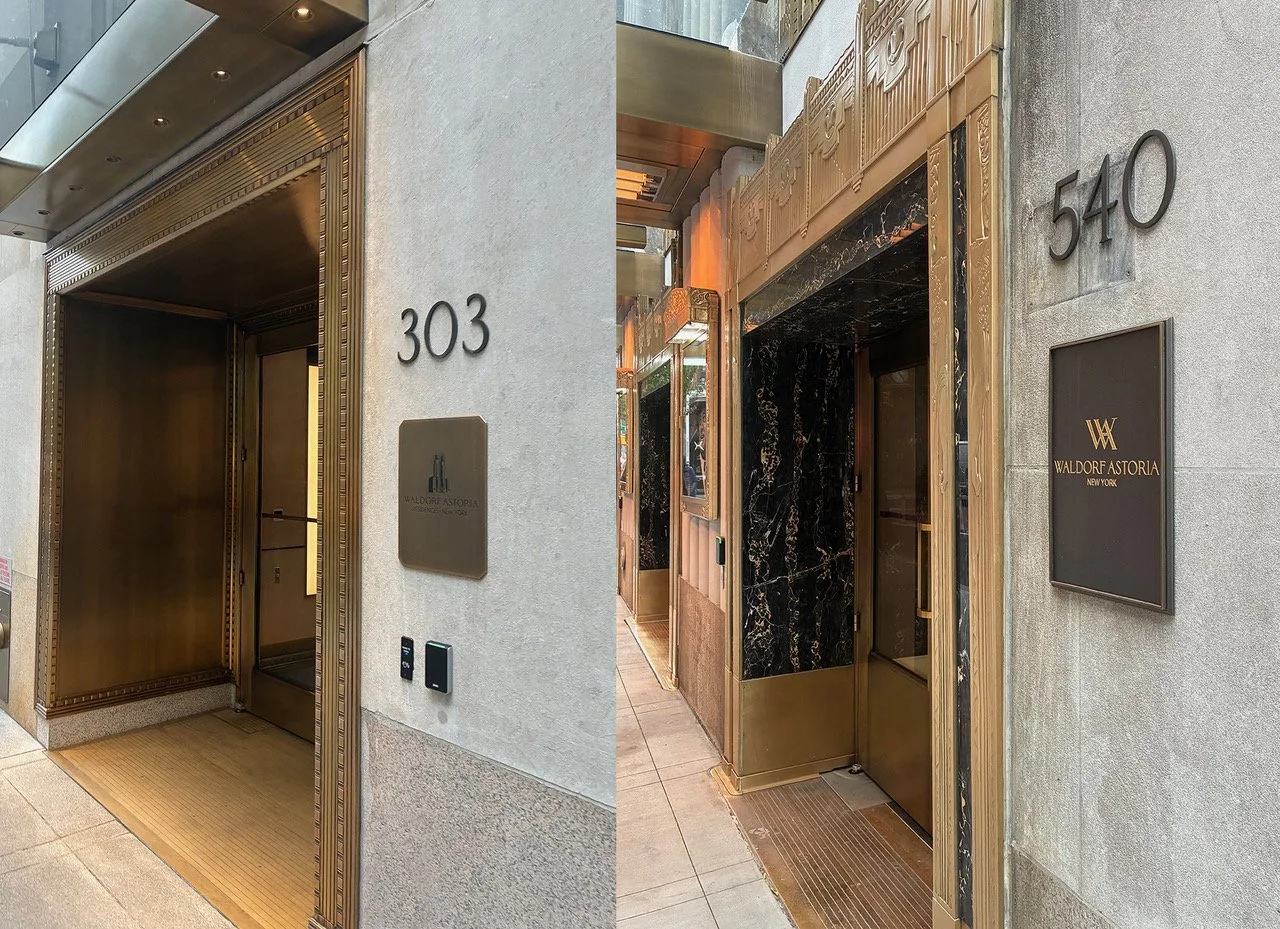
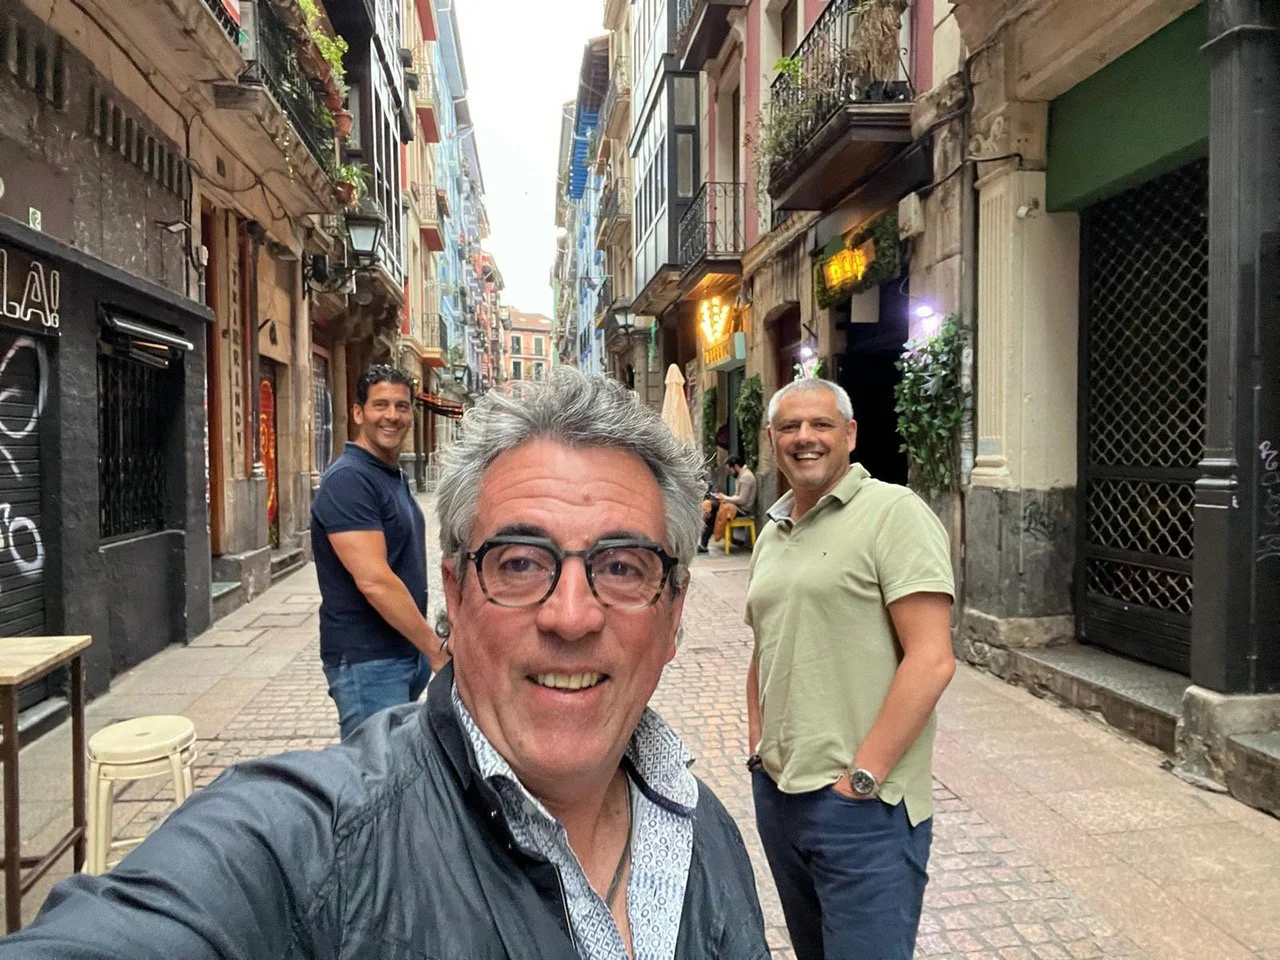
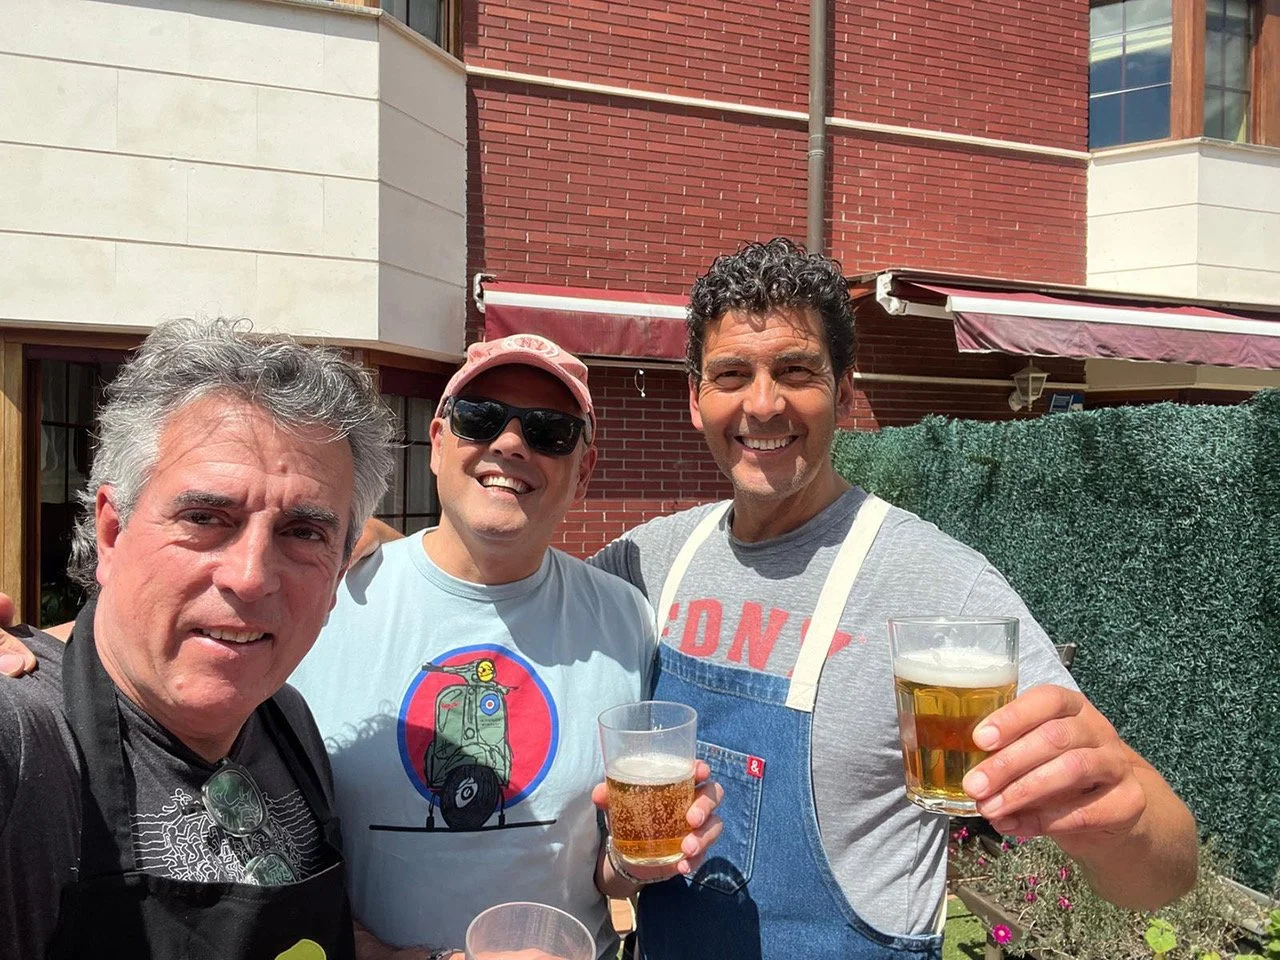
JuanCarlos
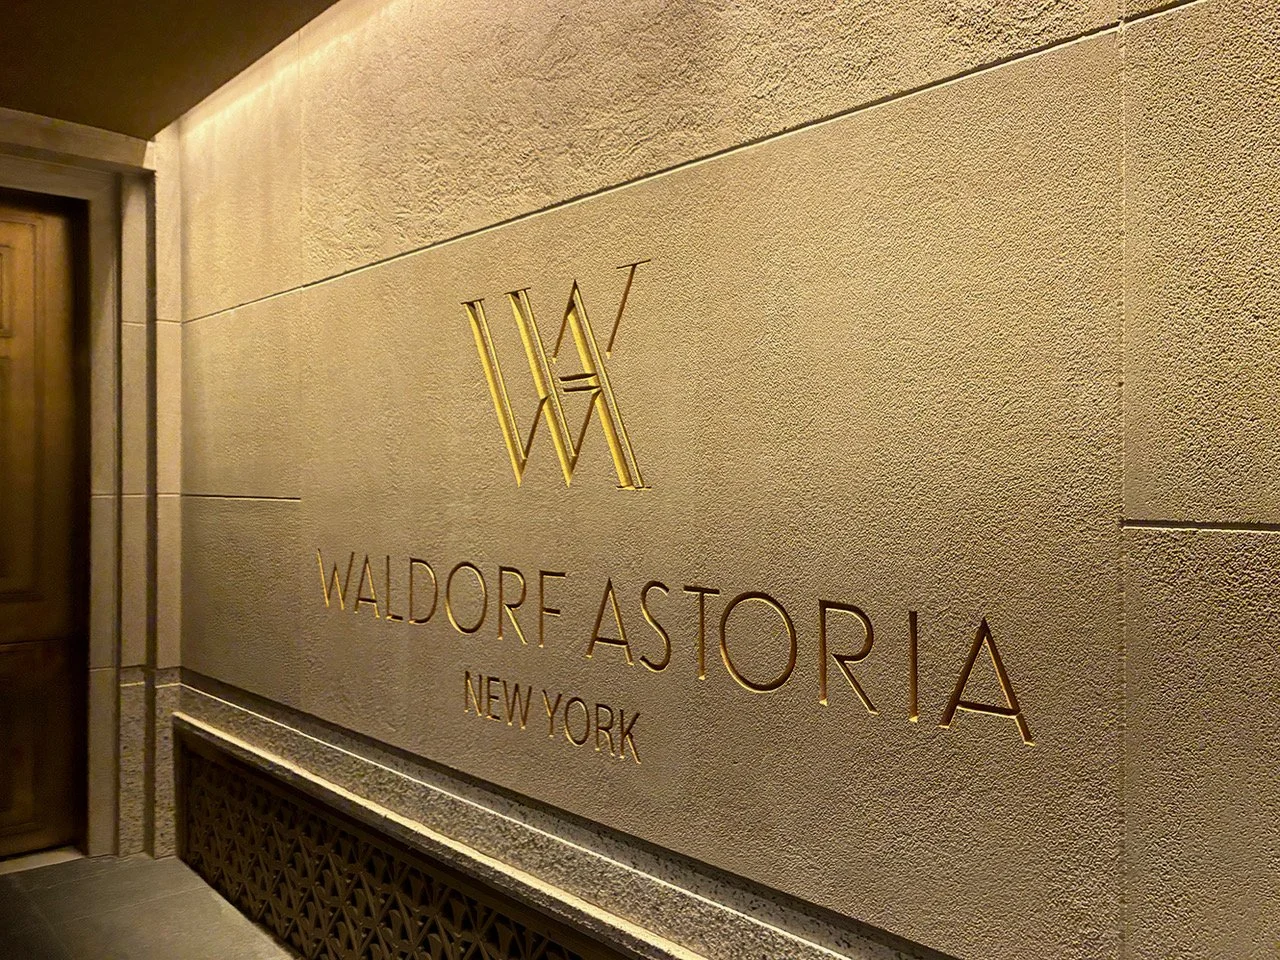
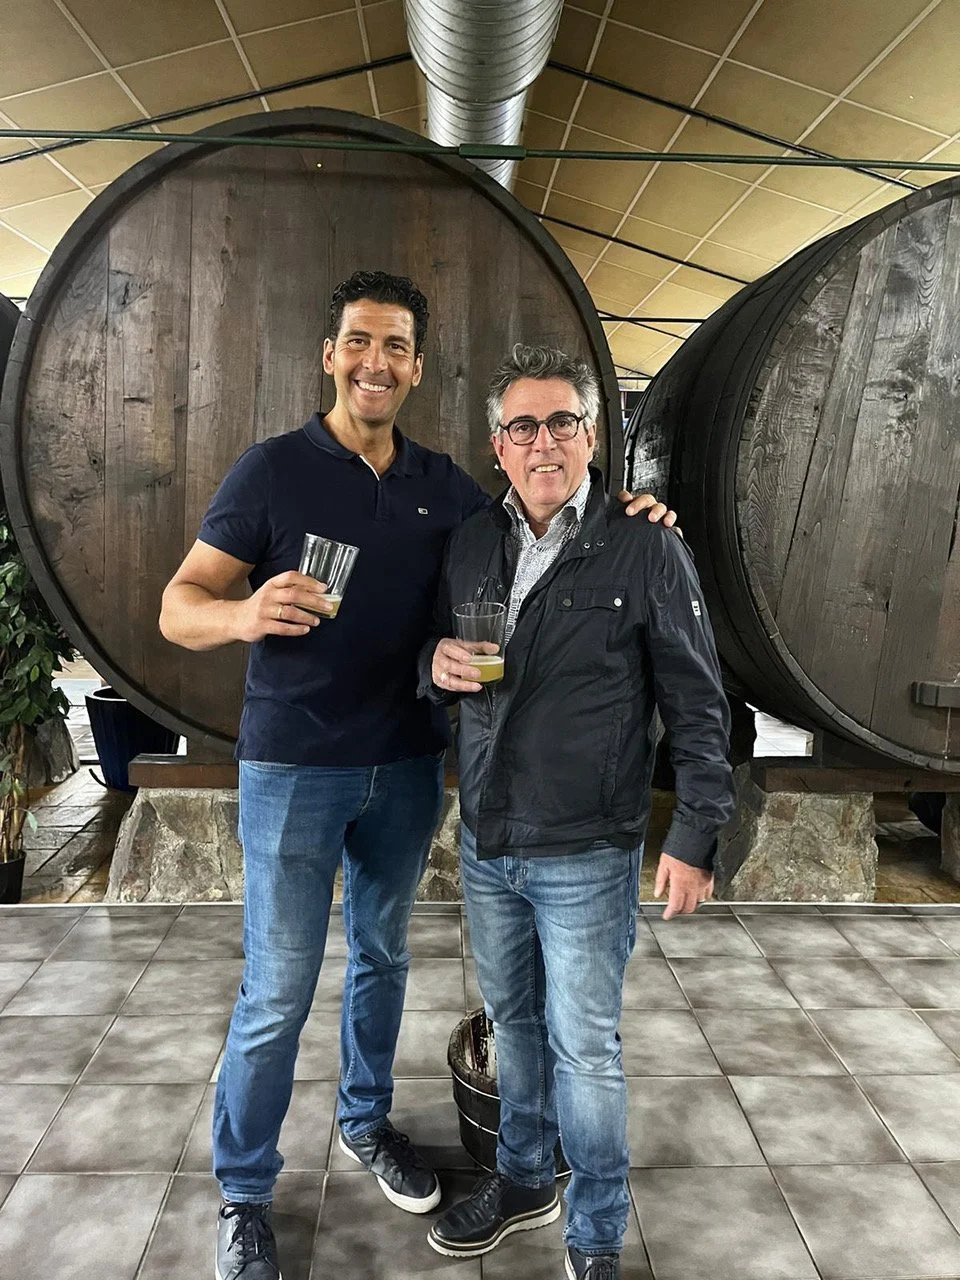
What a fabulous career year for him. After years of working on The Waldorf Astoria project he finally saw it’s completion, and grand opening. He is juggling more projects than ever all over the country as far a Hawaii and continuing to make his mark as a leader in his industry. (I’m sure you’re thinking he’ll take me to Hawaii, but NO) He carved out time in a busy work schedule to travel to Spain to cook and food explore with his good friend, Juanfran. And of course our fabulous Italian vacation for Gabrielle’s wedding.


An elegant black tie Italian wedding
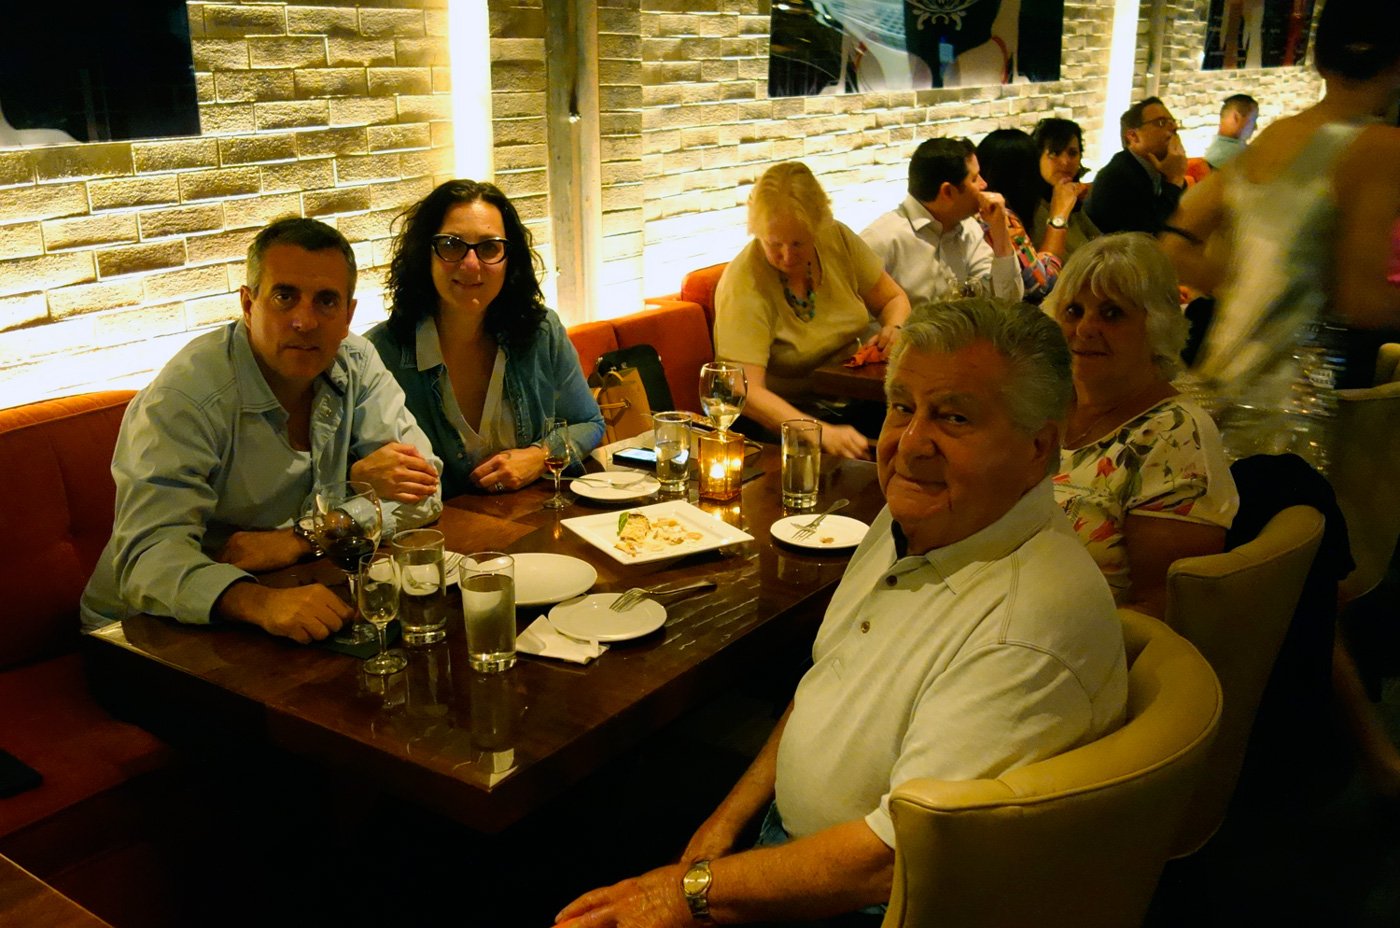
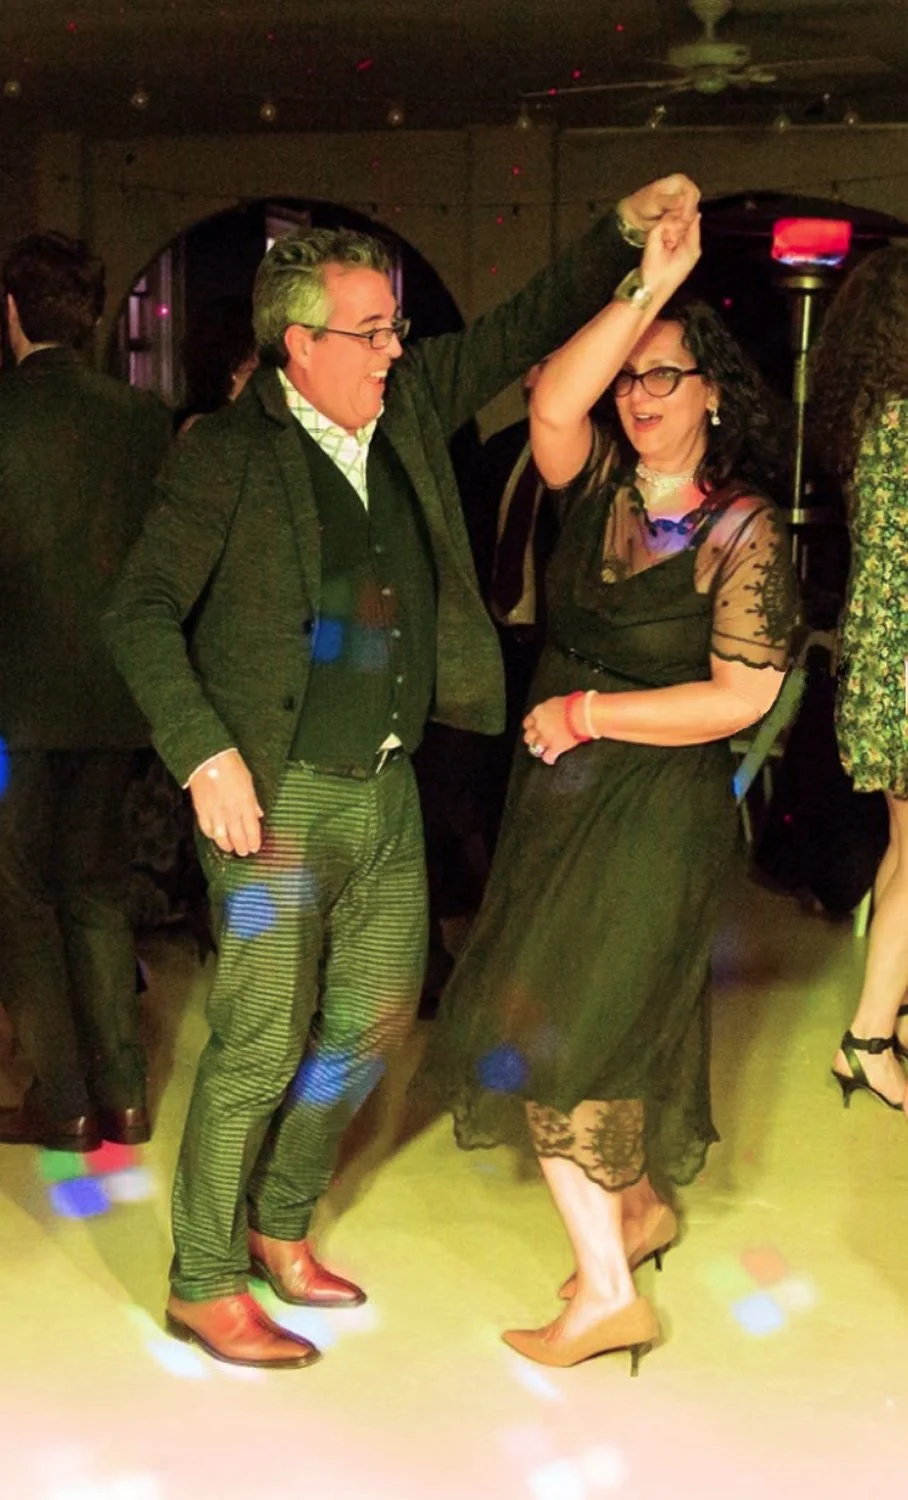
But mostly, he is my rock. Always there for me, building me up, supporting my back, making our dreams a reality. We celebrated our 24th wedding anniversary and continue to boogie to the dance of life together.
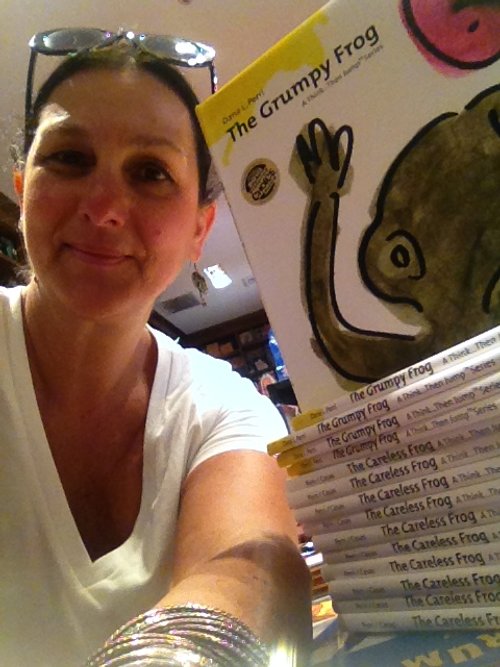
As for me, I had and continue to have many great joys. From receiving appreciative notes from customers not just for the delicious meals but for the relief it provides their family, to continuing to share my children’s books with schools and young readers.

The Grumpy Frog rests peacefully in our money corner.
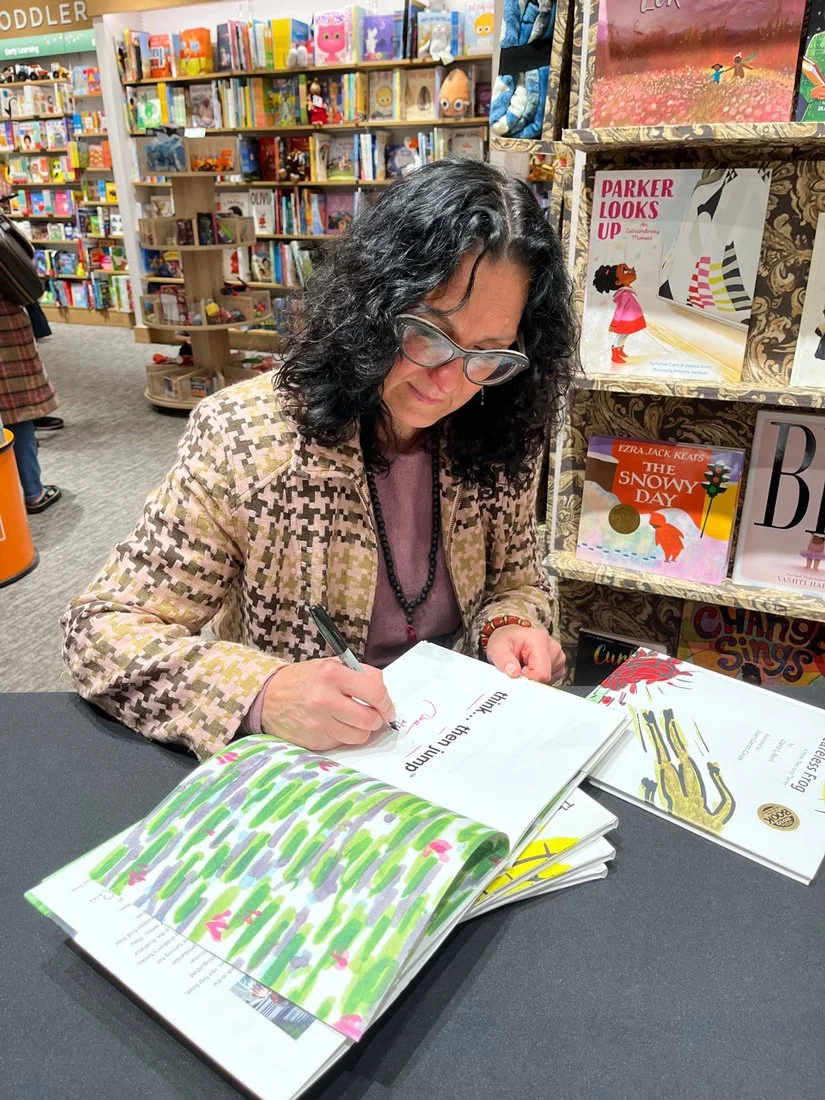
Book reading event at my local Barnes & Noble
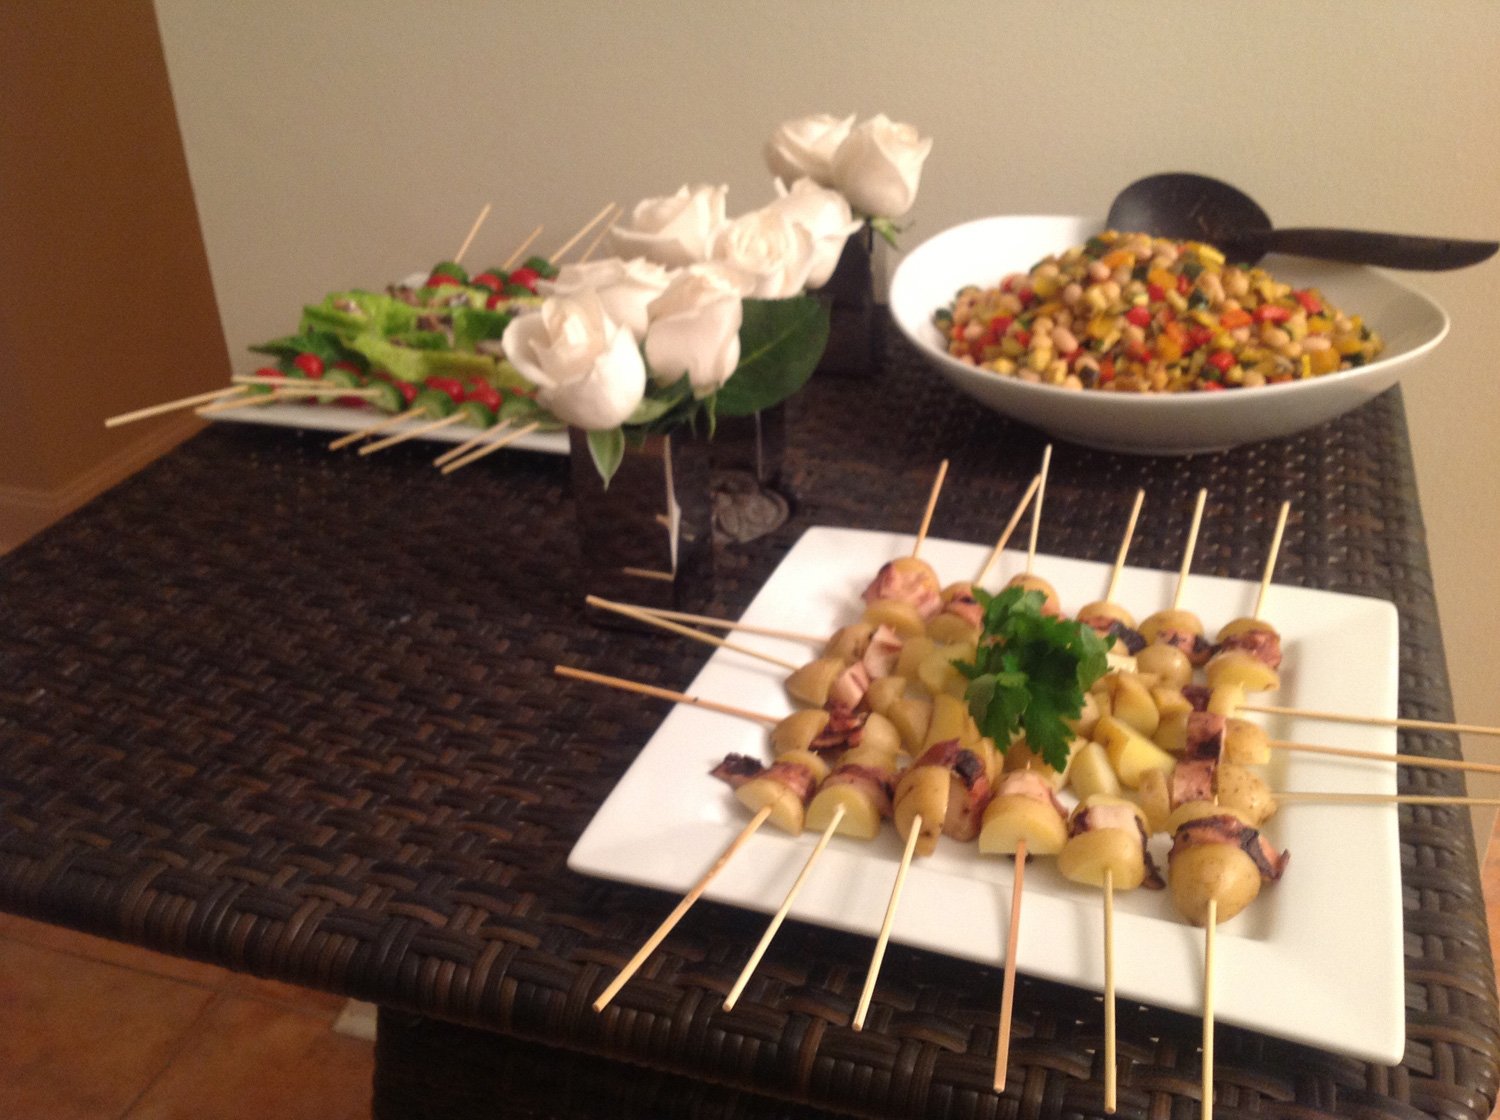
Grateful for our upstate Airbnb home and great guests, and being able to block out time so we can sneak away for some peace and tranquility. We love having a place where we can introduce good old friends to good new friends with a bounty of nibbles.
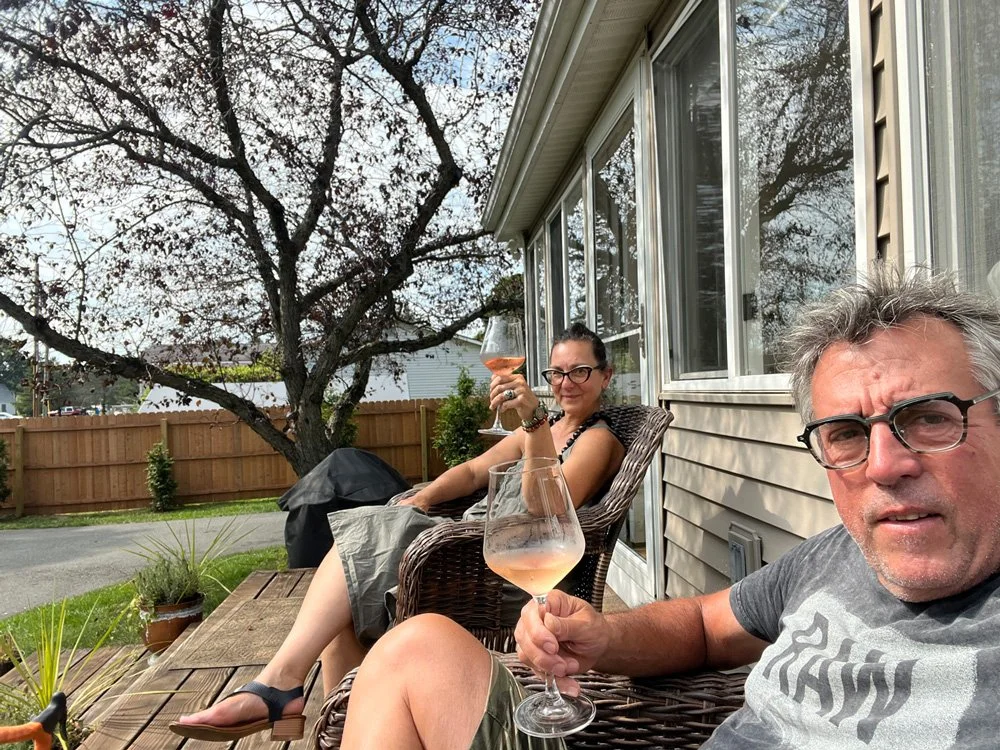
Relaxing weekend joy with my love


And the absolute joy it was to share the most wonderful Italian vacation as a family.


I am most proud of the Big milestone of the 20 year mark of great health! And all the small daily wonders. Gratitude abound - I’m filled to the brim.
As always, I am grateful to all of you, my faithful readers who I feel honored that so many of you continue to read and enjoy my blog for the past decade. And I am continually grateful to those who buy and share my books.
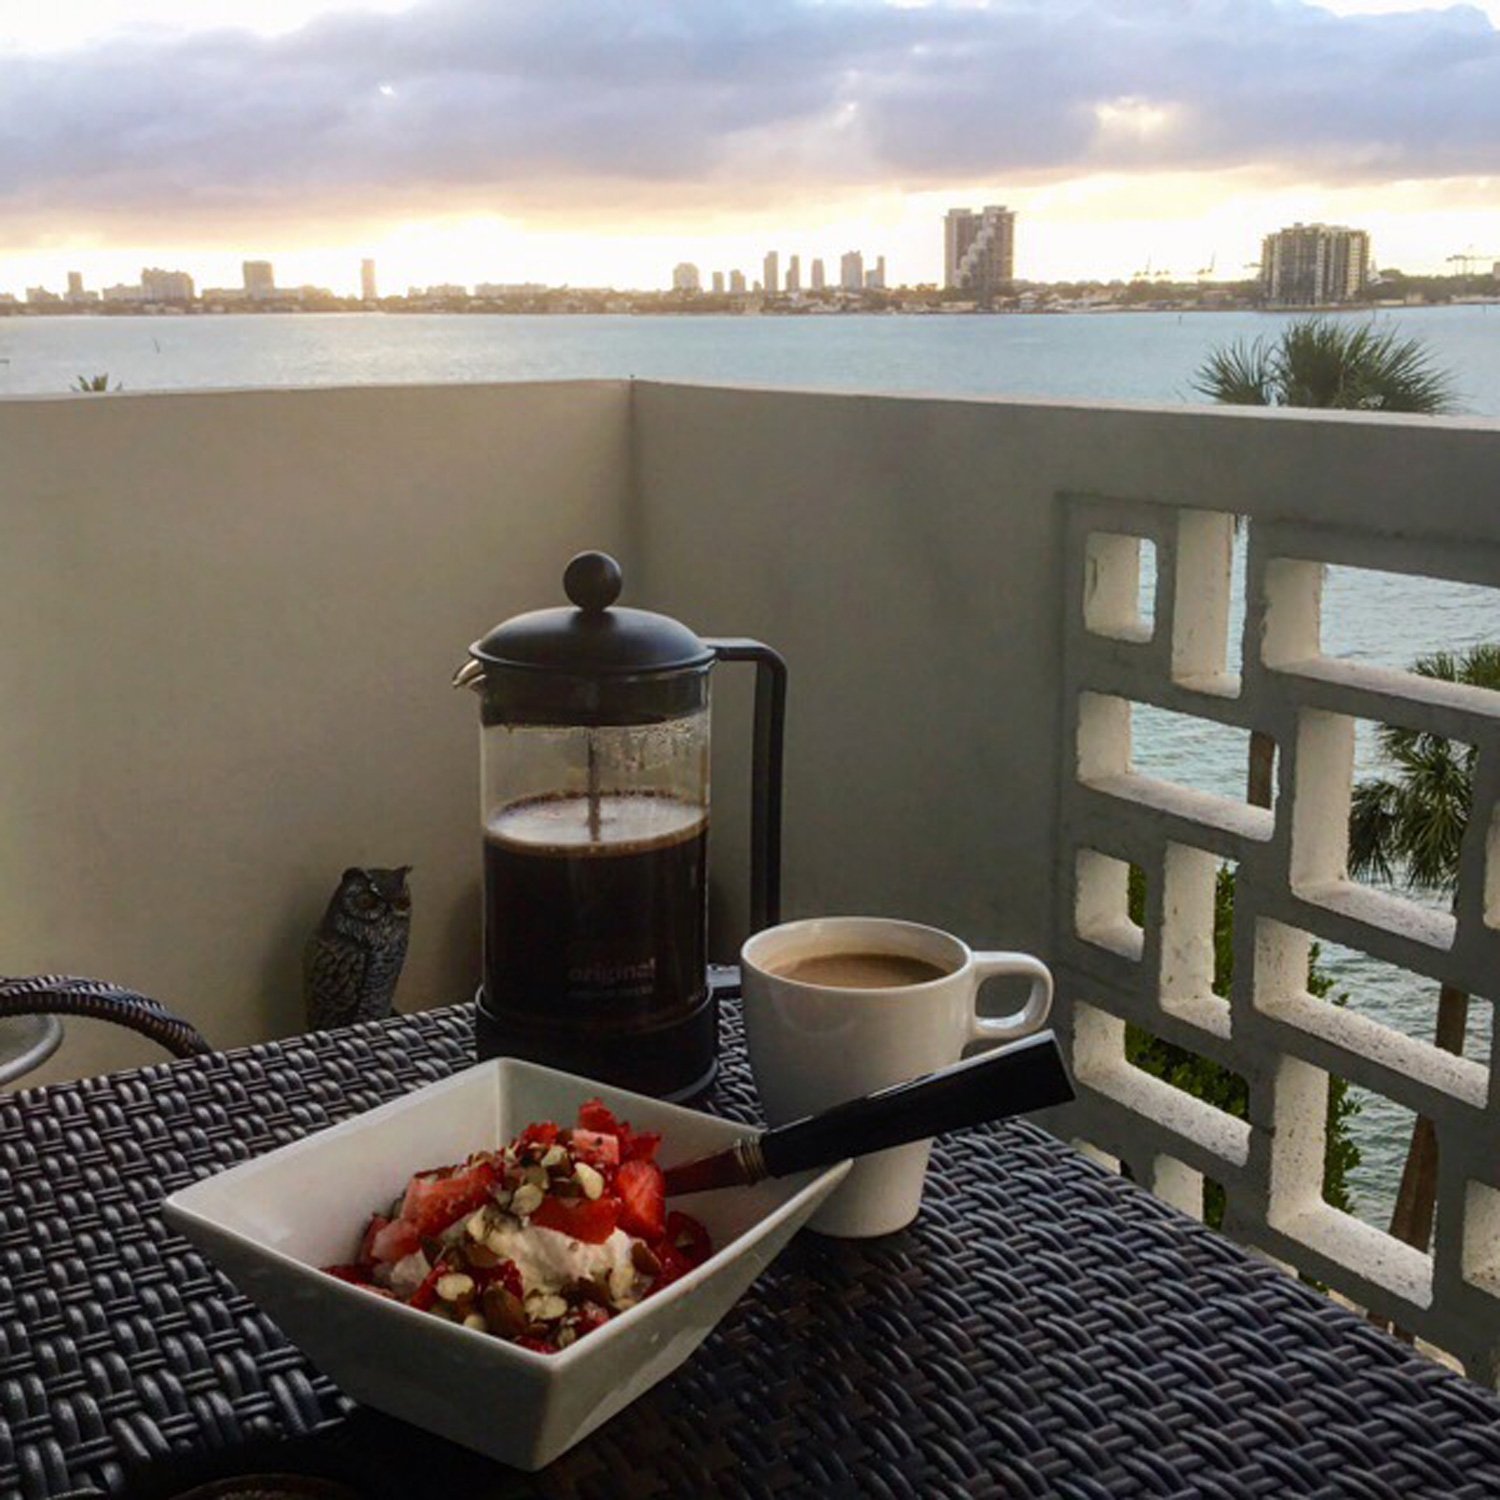
As much as the big accomplishments are wonderful to rejoice, and easy to recognize, it’s the small ones I like to focus on.
One, because they force you to dig deep to see the blessings in the small gifts.
Two, because they actually come more often, daily even.
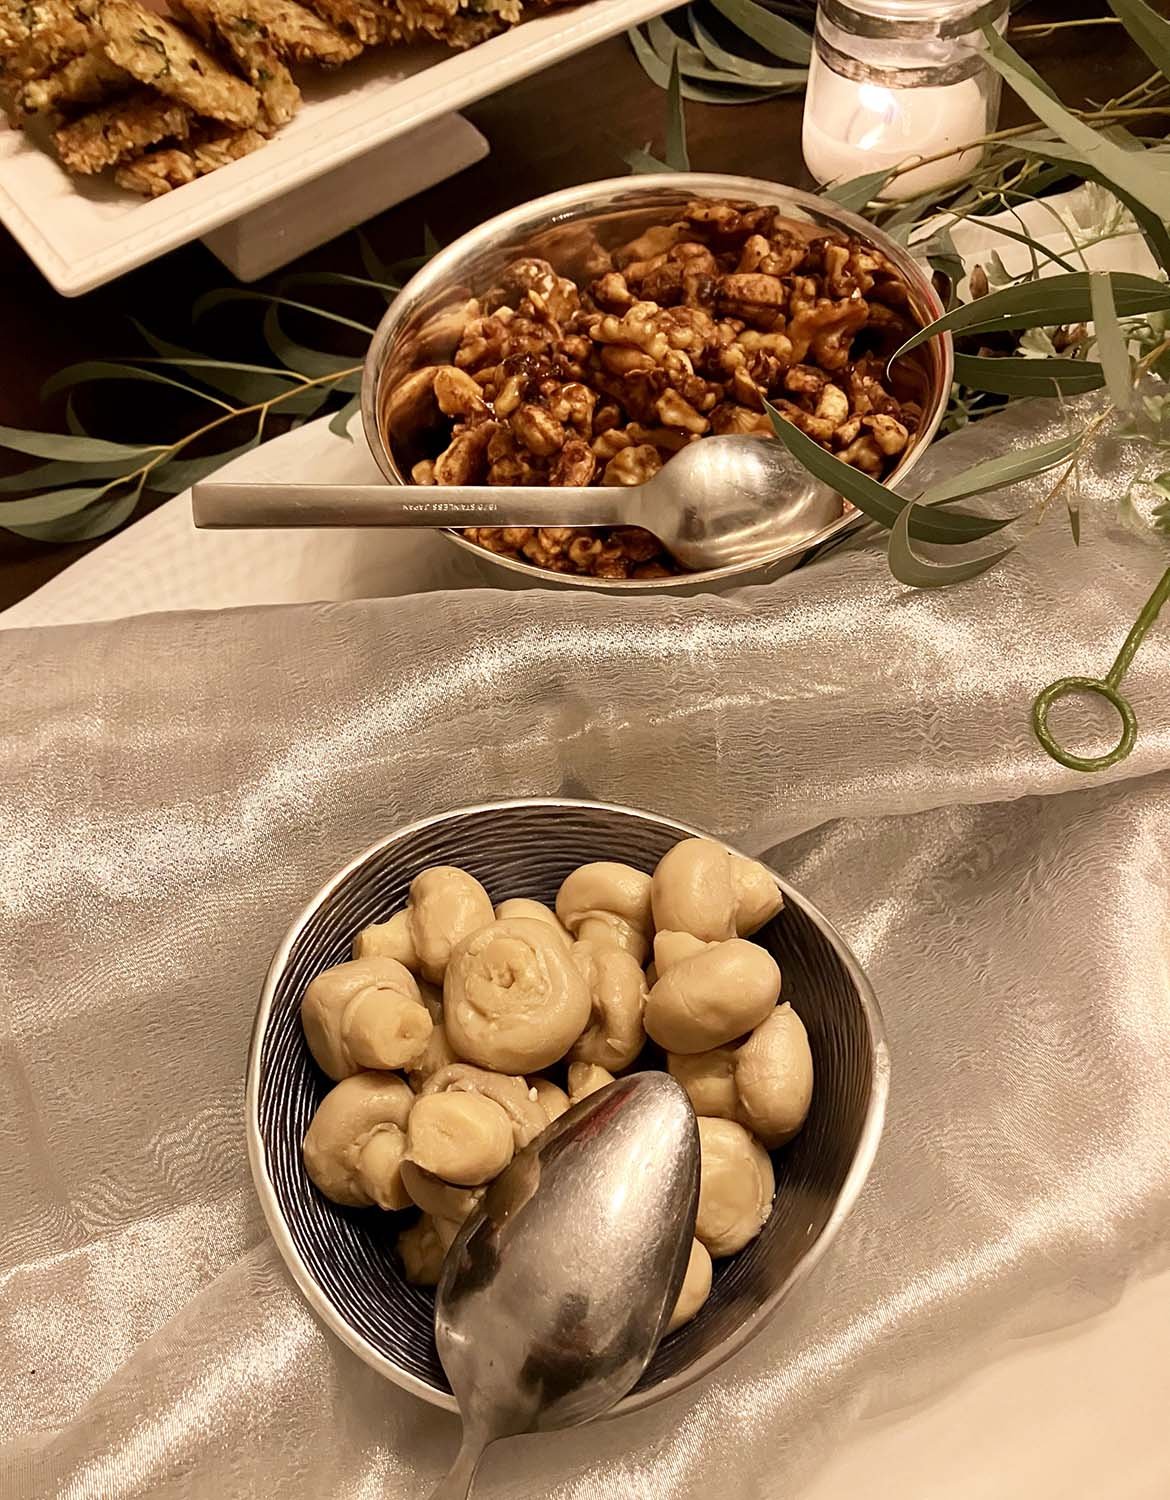
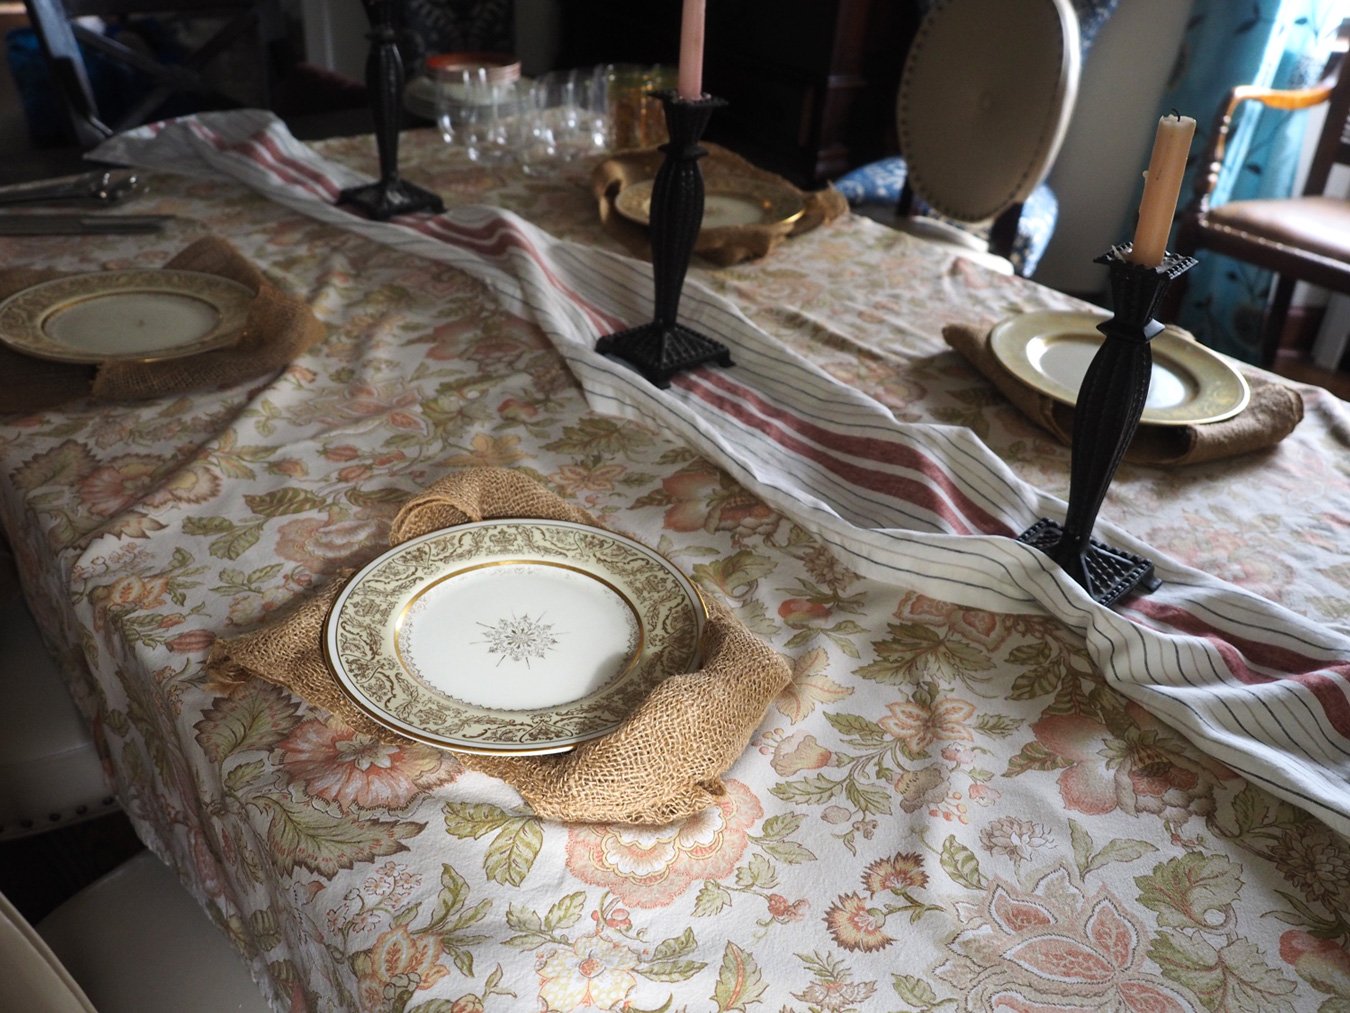
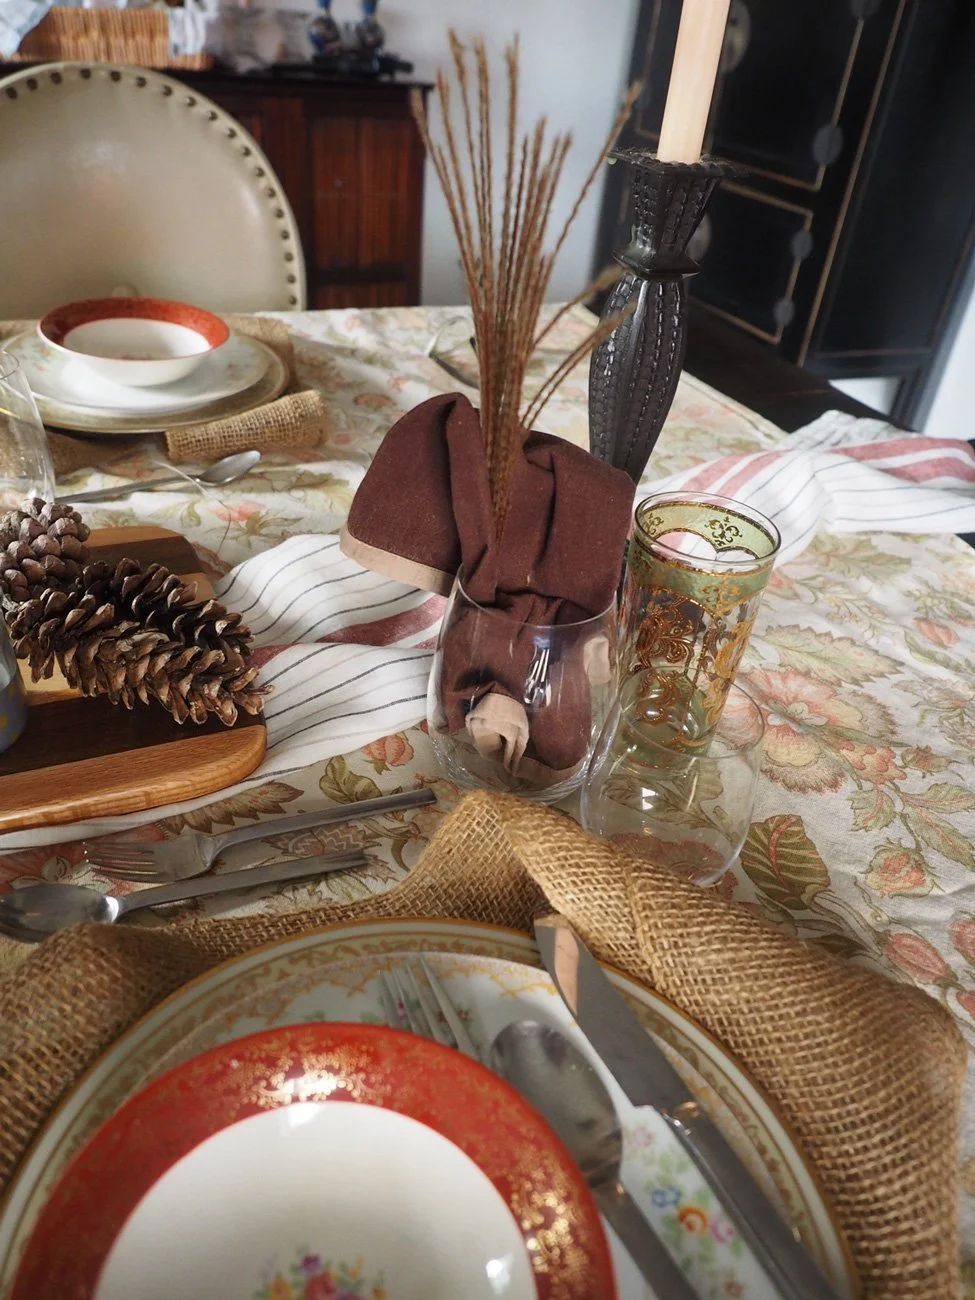
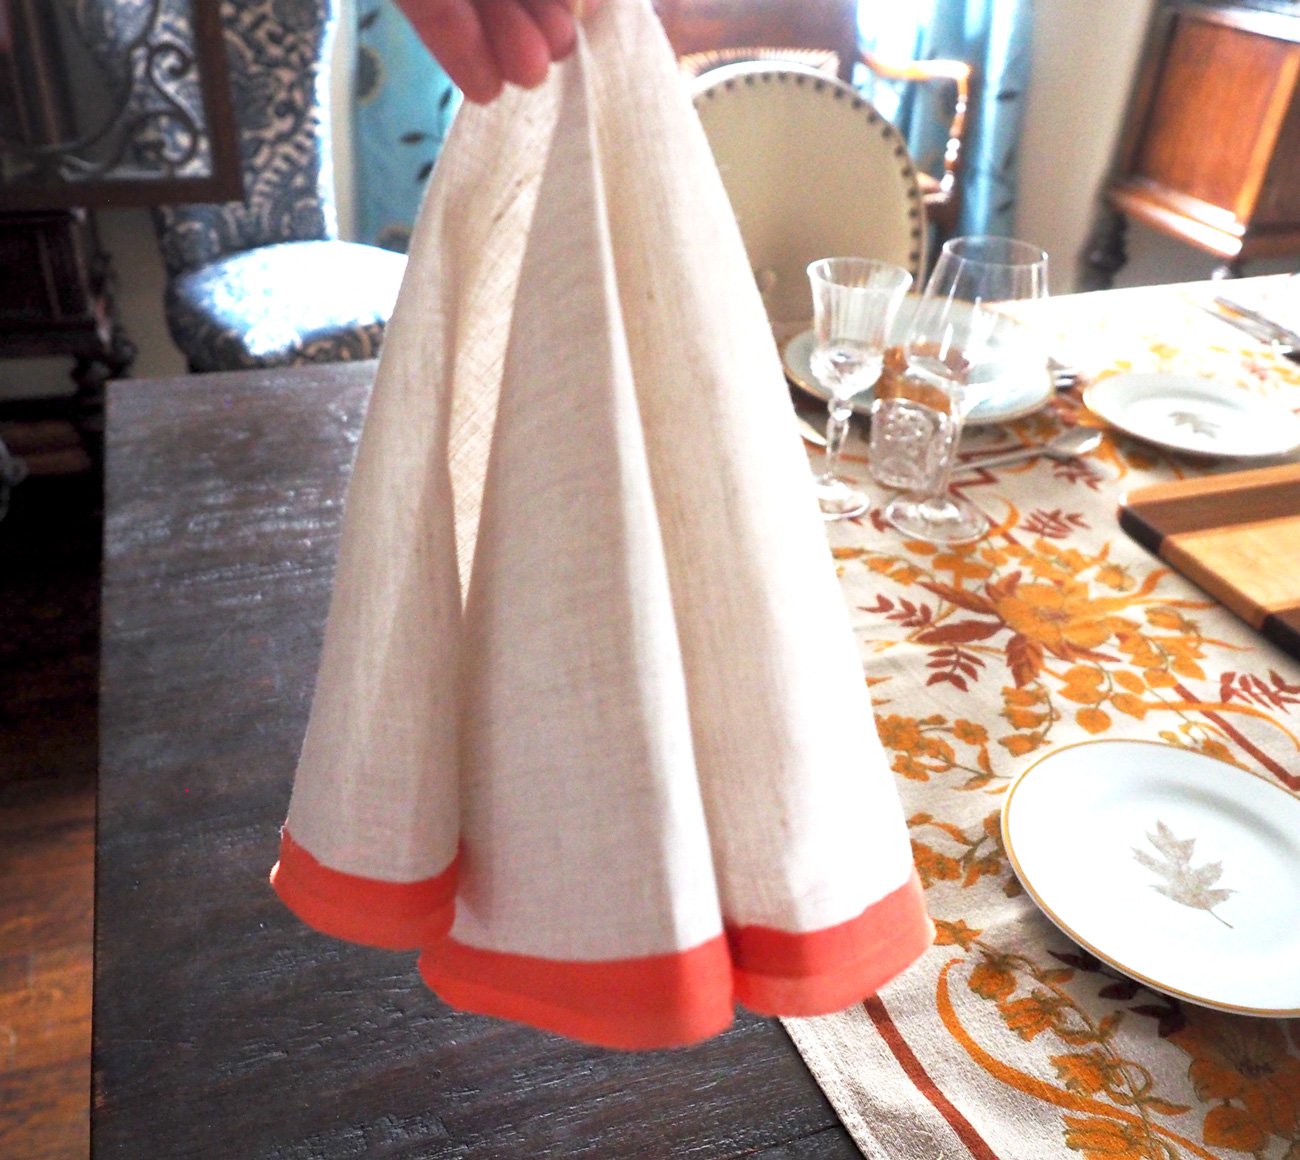
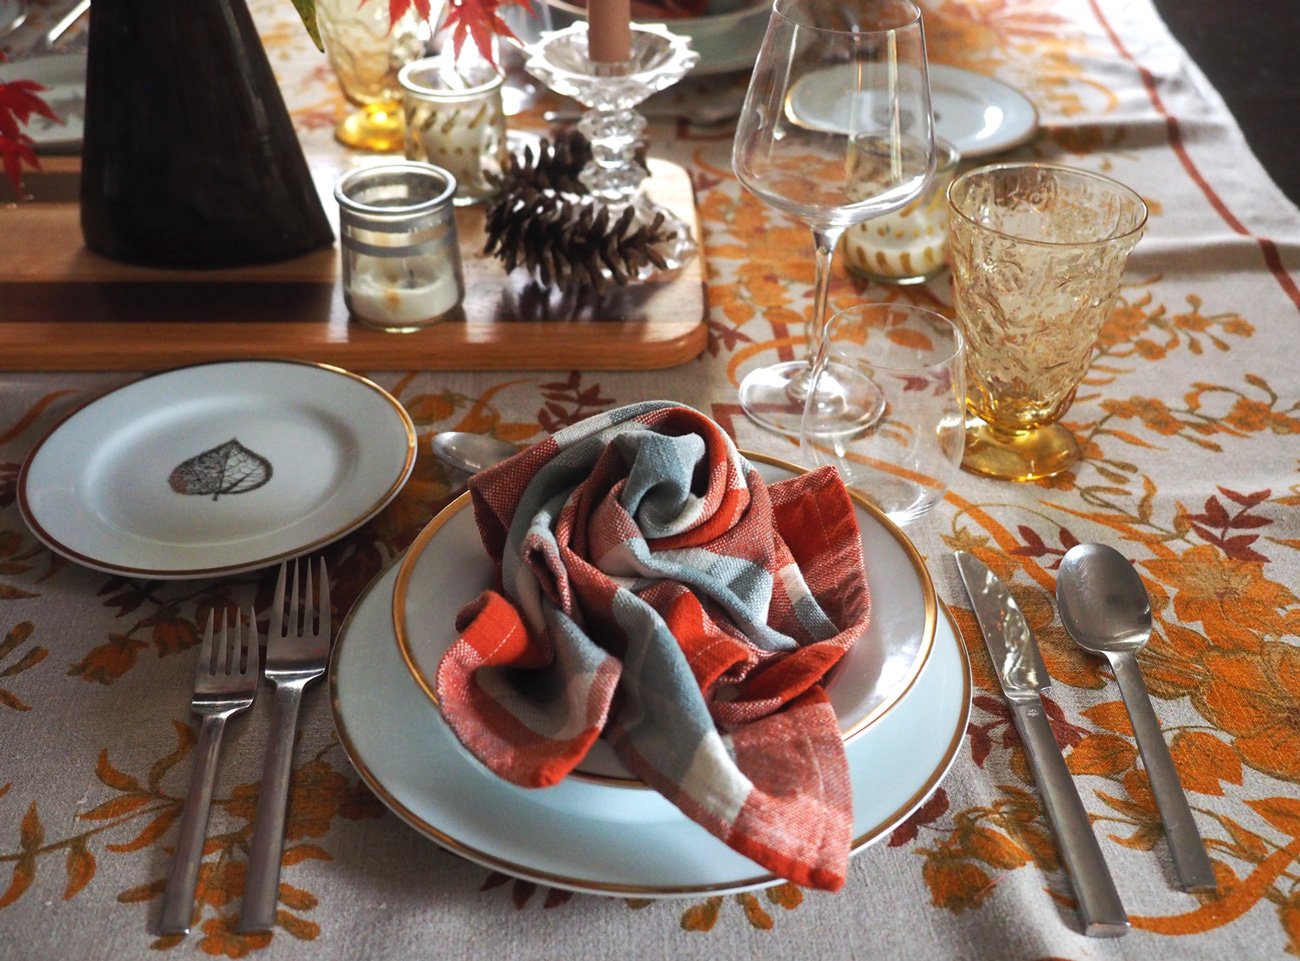
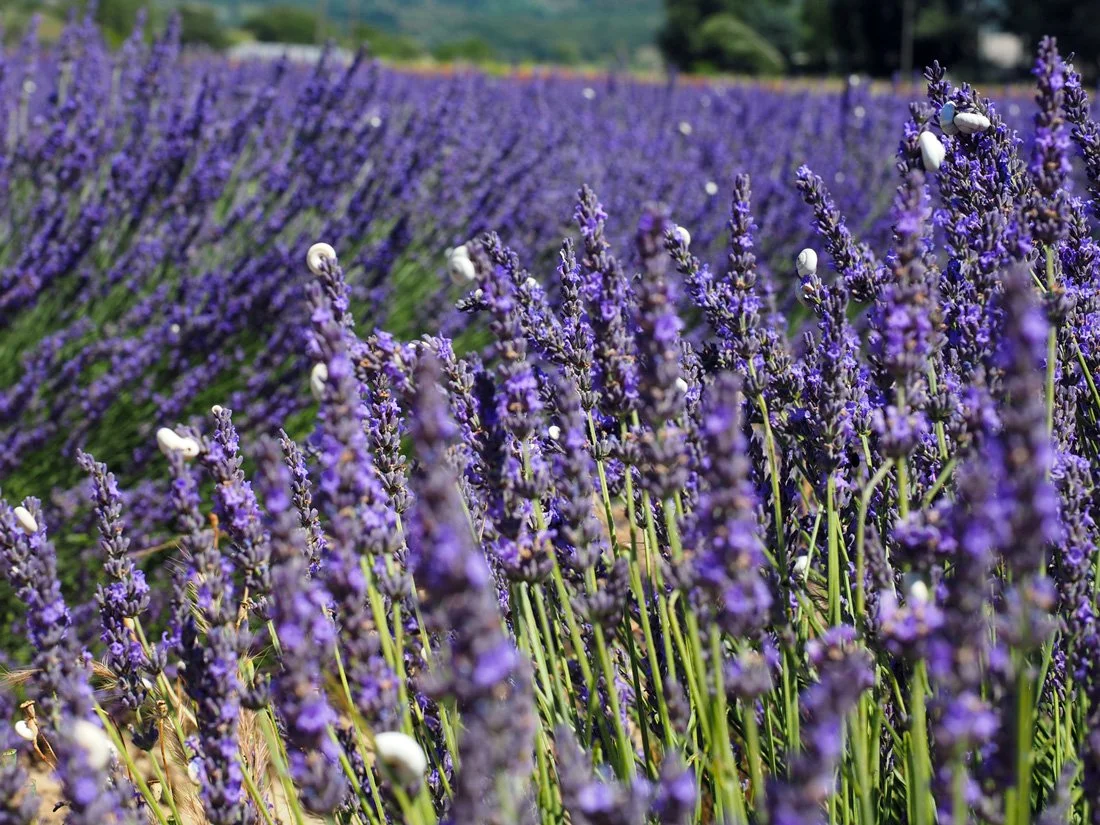
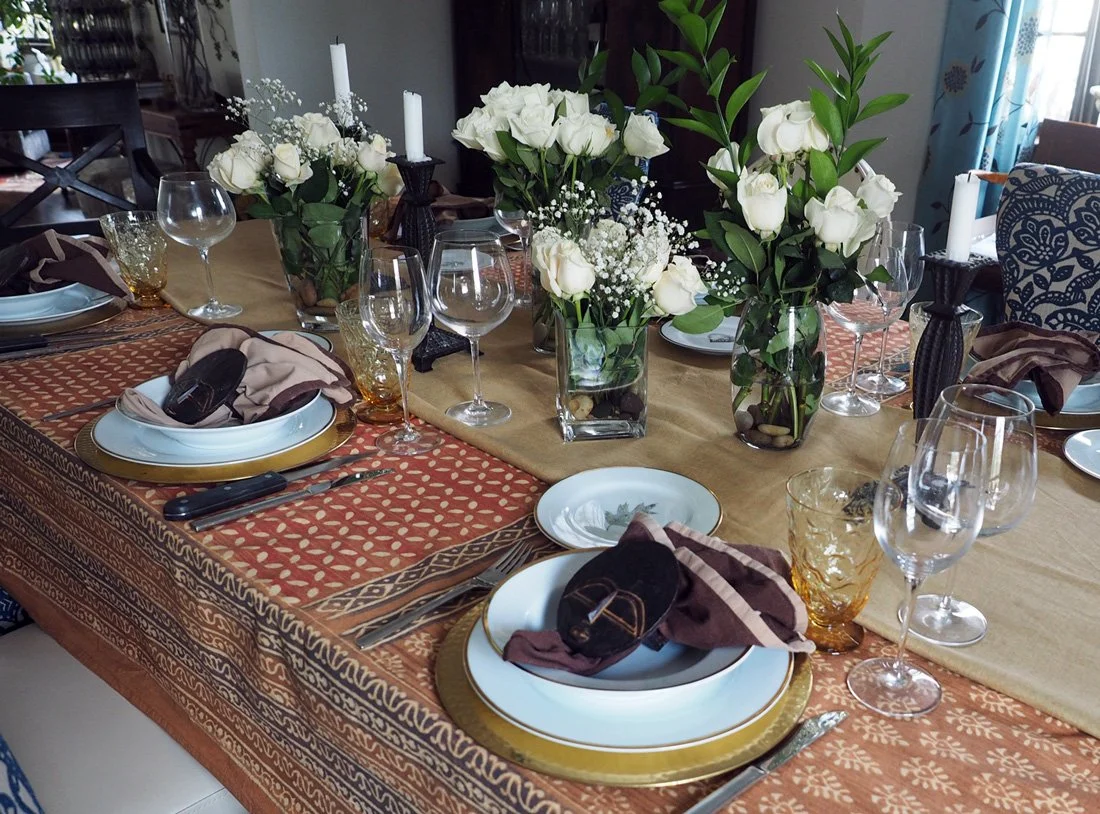
Like the beauty of a body of water as it reveals itself upon reaching the peak of a bridge, or the burst of color in floral arrangement that came together just as it was envisioned, or a table setting that brings joy knowing that people you love are about to come over, or the love that is felt when a text arrives from a friend reaching out with gentle support.
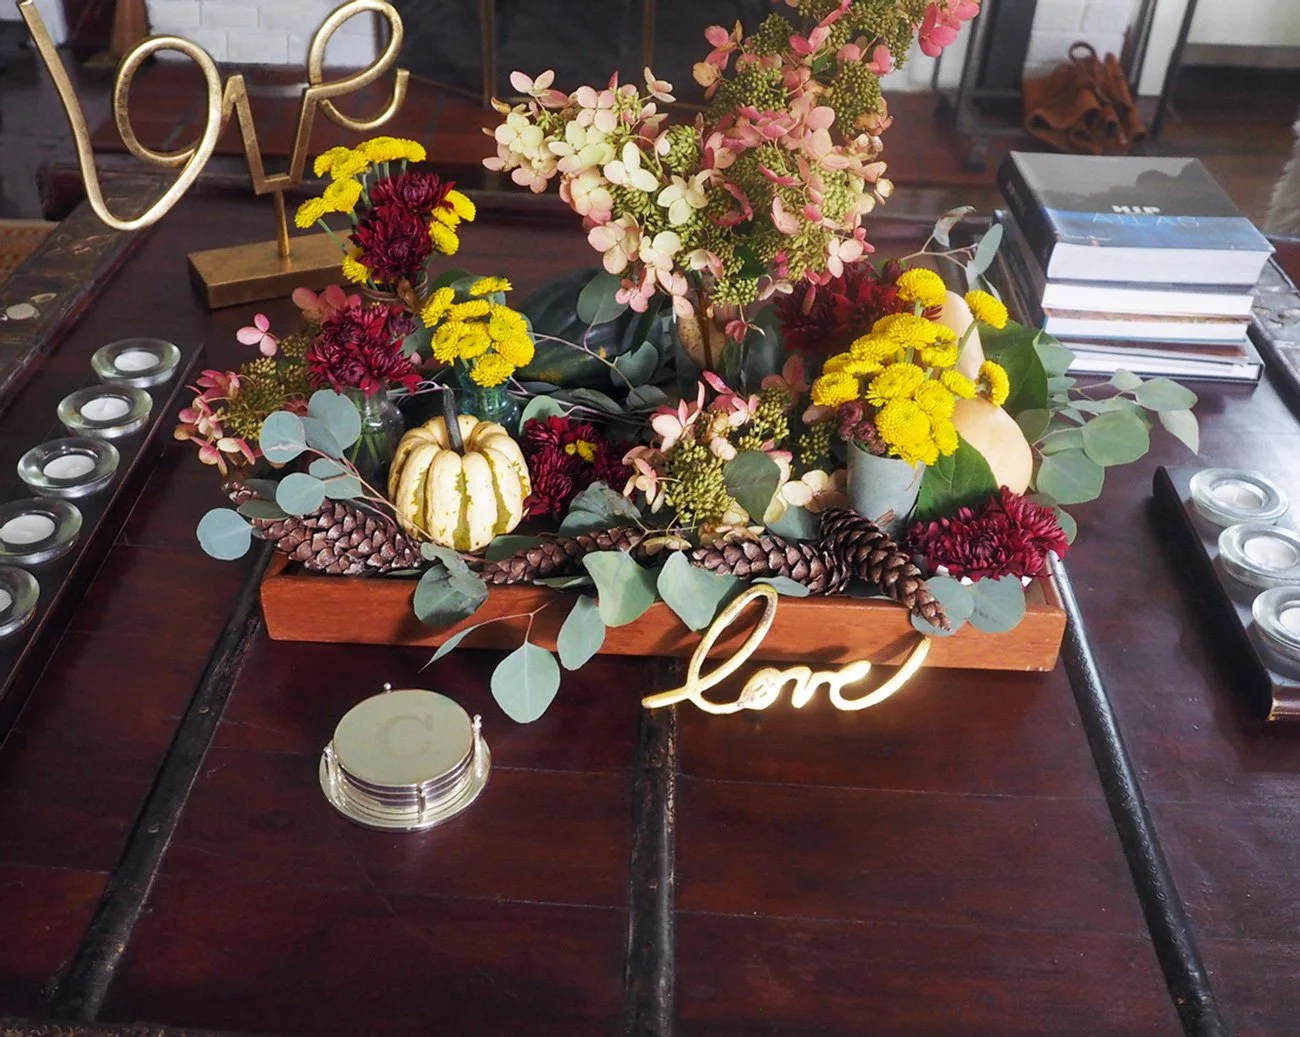
Fall Themed Centerpiece: A tray full of fall bounty.
I am fully aware at how the world we live in can seem bleak. So much destruction, so much bickering, and so much grief where you just want to hide. But if we neglect to appreciate, and cling to the good, then it will be overwhelming to get through the harder times. It’s best to dig deep inside of hide.
Don’t hide, rather dig deep.

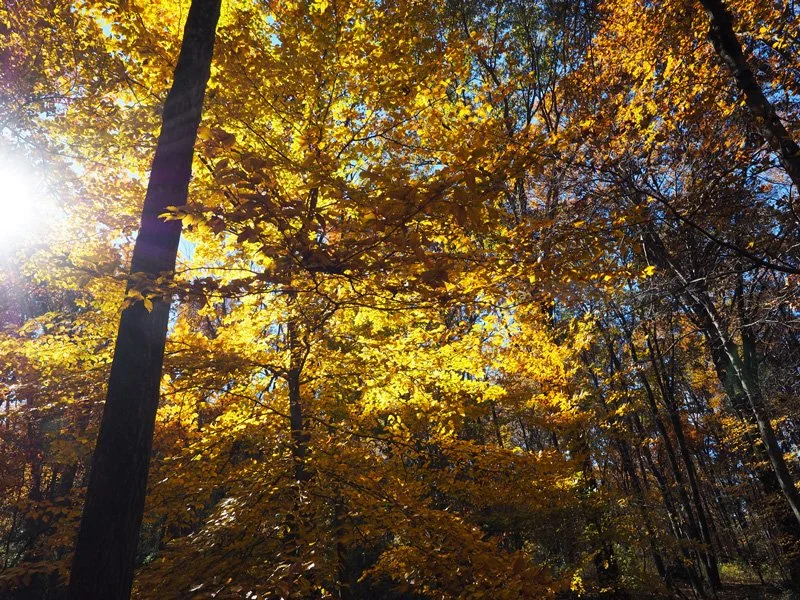
Life can be tumultuous but I see the beauty, the strength, the cleansing of it all.
So I focus on those. So many grateful moments. So many positive blimps in day. So much to make me smile every moment. I, too, need reminding of all that. With my super support system showing me so much joy, they help me flip the switch off on negativity and see the light.
May light shine on you. May it reflect back beauty. May it be bright and joyous. May it be filled with gifts you need to be your truest self. May you be the light to others, and shine brightly today and each day. Light of love.


May you have love and treats in your life.
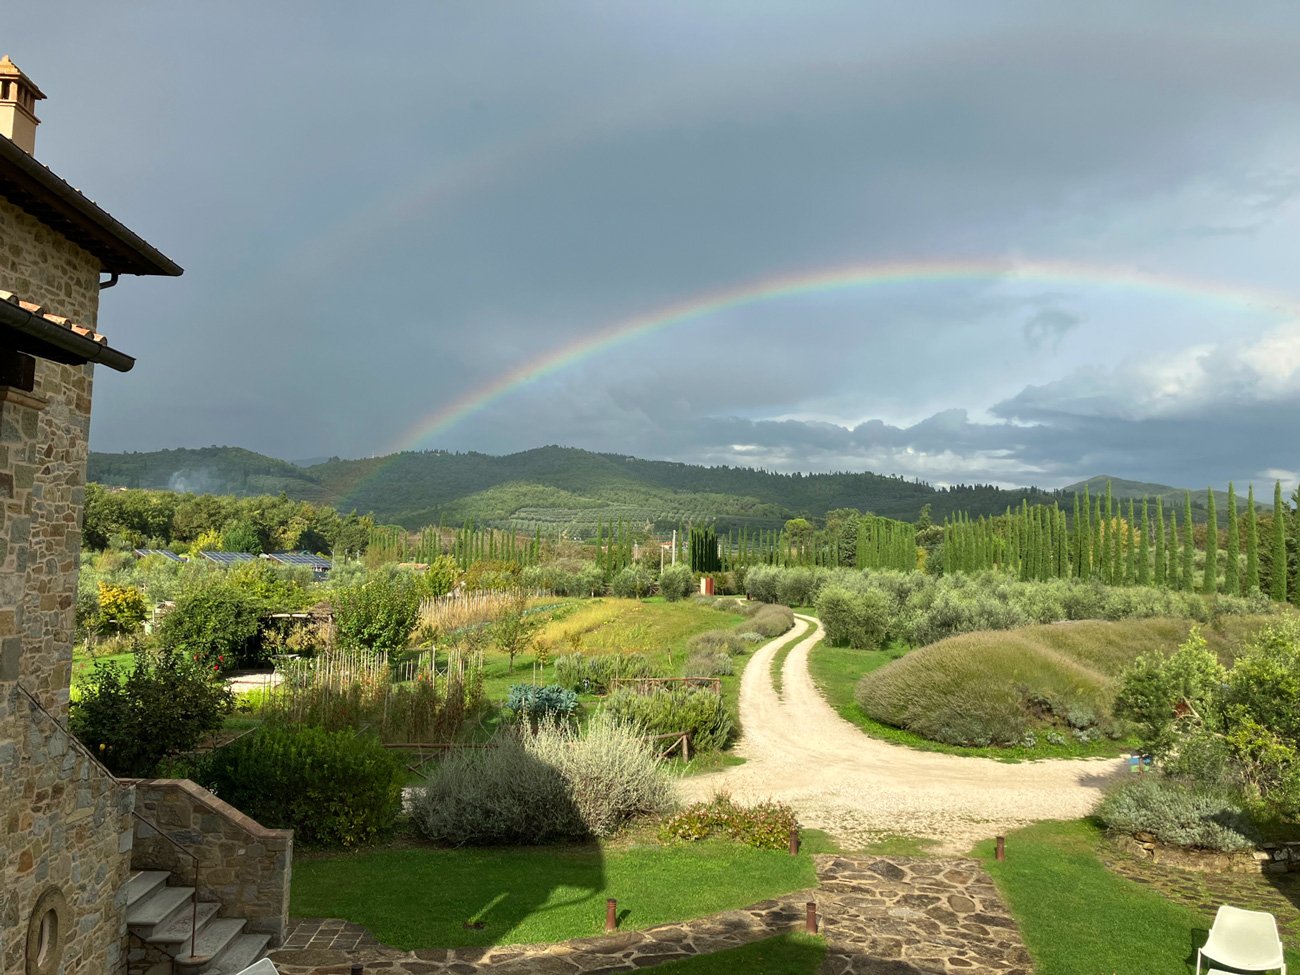
May the rainbow always find you.