Truth be told, I'm only 3/4 Italian. The remaining 1/4 comes from my Polish grandfather on my mother's side. His mom only spoke Polish and made all sorts of traditional dishes. Gołąbki, Kabusta, Kielbasa, and the all time favorite, Pierogi. Seriously, who wouldn't love a big ravioli style dumpling stuffed with potato, onion and cheese? Who, I ask? If you say no, keep it to yourself. You're in the minority.
My beautiful Italian grandmother married a handsome, blond hair, blue eyed Polish man who was the most gentle, lovable soul. He was adored by all, but especially by her. I'm just spit balling here, but I image those blue eyes and big smile charmed her into learning how to make all those familiar and delicious dishes. As they say, a way to a man's heart is through his stomach. And so this polish dish was then passed on and loved by a big Italian family.

After decades of marriage, she was still sitting on his lap, full of smiles as they shared food, laughter and love with family. Those smiles tell the story. Photo credit: Paul Majewski

LOVE, LOVE, yes, stirred with LOVE.

My twin sisters, Alyssa and Jill. Mom always dressed them in the same outfits. I love that being out in the 'country' turned them into barefoot, wilderness adventurers.
Making Pierogis was like a team sport
when we were growing up. I can
remember going to my great aunt's
house way out on Long Island. Which seemed like a long drive from Brooklyn,
but when you are a kid everything seems bigger or longer. Although, it was pretty far out on the Island. Living in the city, we didn't have big yard. It was a path of concrete with rose bushes and fig trees on either side. It certainly was not big enough for a swing set. So when we were out in the country we took full advantage of the outdoors and the playthings. All the kids would run around the yard while the adults made the meals.
Every now and again we would sneak into the kitchen to watch the elder stateswomen rolling, stuffing, boiling up hundreds of Pierogis as we anxiously awaited the potato filled platter to hit the table. We even had a contest to see who could eat the most. It was reminiscent of Cool Hand Luke pounding down hard boiled eggs! Only eating Pierogis was, and still is, way more enjoyable.

My great Aunt Ann Photo credit: Paul Majewski

My Grandmother Photo credit: Paul Majewski
After my grandmother passed away, making these belly filling dumplings took a hiatus in our house. That is until my sister, Alyssa asked my mom if they could make them together. For whatever reason, I have not been around during these sessions. So, I was thrilled that this year I was in town when they decided to make them again.
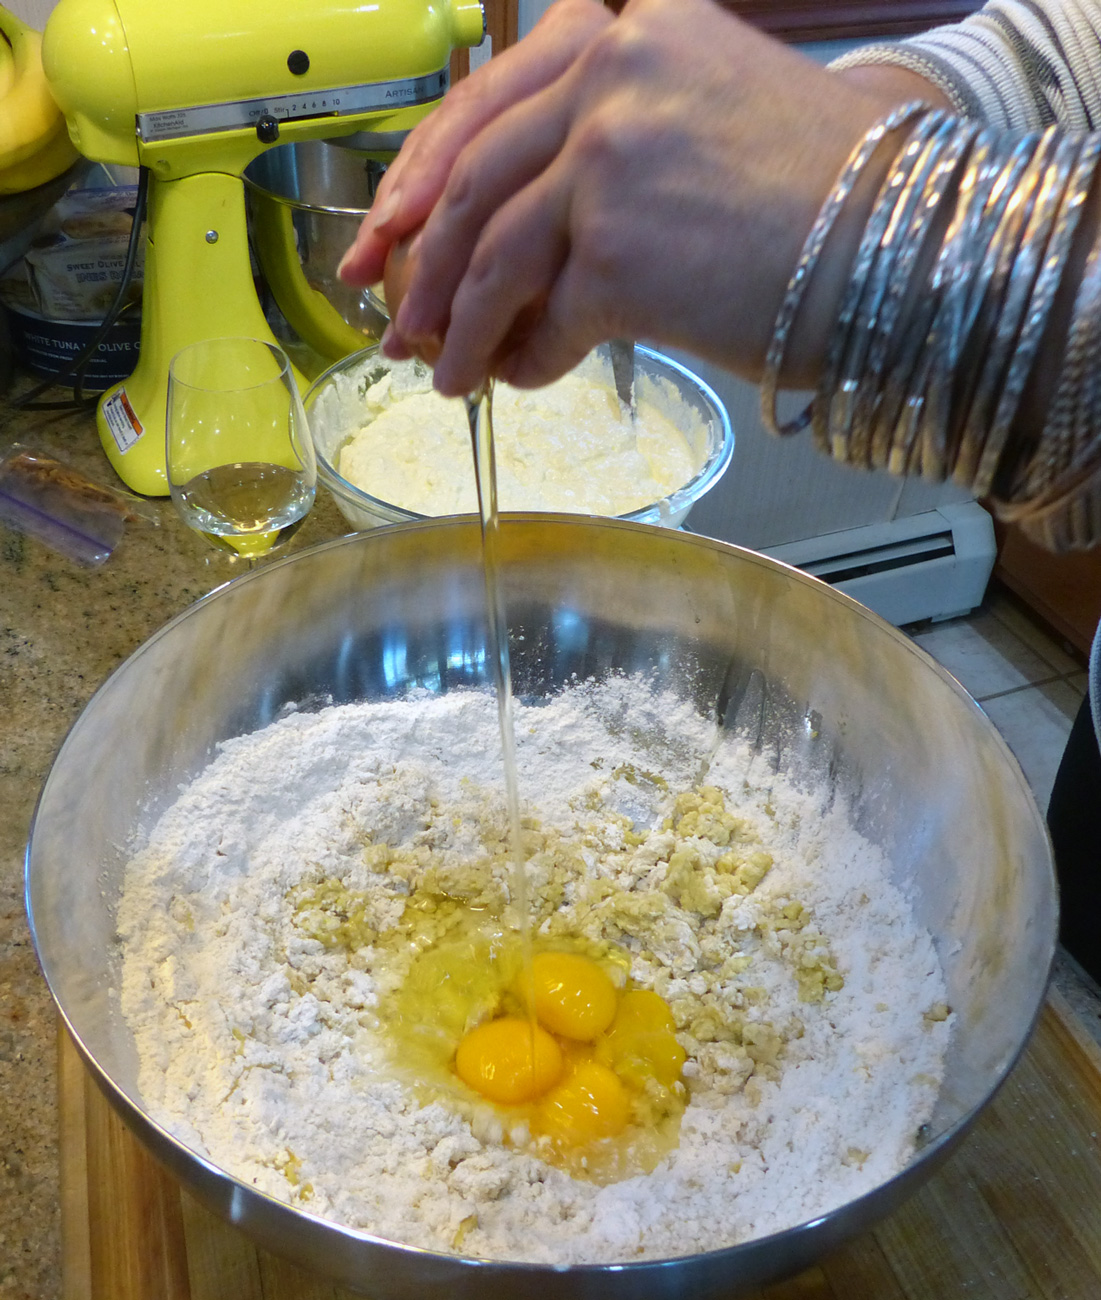
When my sister and I arrived at our parents' house we found our mom already deep into the preparation. She had peeled, boiled, mashed and already made the potato mixture. And was wrist deep into dough mixture. Oh well, so much for all the usual prep photos of each stage. Sorry, blame it on my mom, who seemingly couldn't wait for our grand entrance. We took off our coats, plopped our shit down and dove right in. (Yes, I washed my hands first, in case you were wondering.)
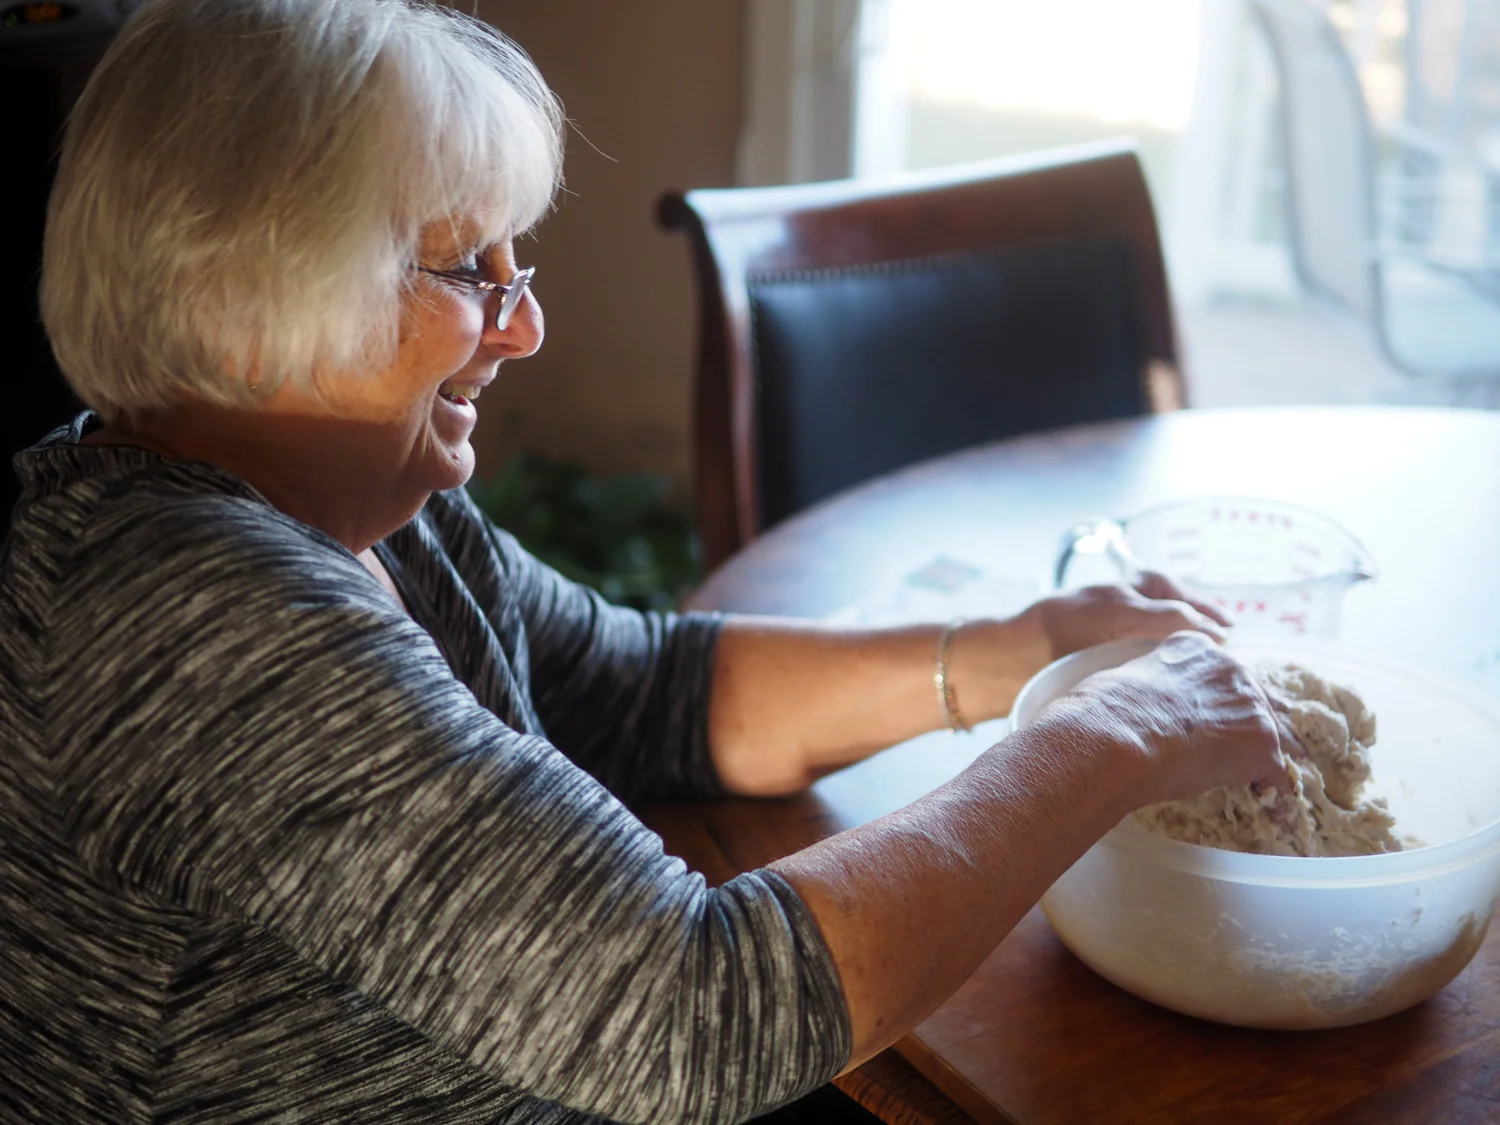
Happily mixing the dough. Don't you just love that smile. Reminds me of the above photo of her mother sitting on her dad's lap.
It is a fairly simple recipe but rolling out, stuffing and pinching the Pierogi to perfection does take practice. The good thing about these carb bombs is they taste just as delicious no matter what they look like. Another valuable point to note, they wouldn't be so labor intensive if you only made a 1/4 of the recipe. The amounts given below make 60 pierogis. Unless you are feeding a Polish army, you won't need that many. Although, if you are going through the effort, I say, go ahead and make the whole amount, freeze them, and enjoy them at a later date. Which is what we did.
Ingredients
Filling
5 lbs potatoes, peeled and cubed
1/2 lb cream cheese
1 onion, fine chop
1-2 T butter
Salt
Dough
6 cups flour
1 large egg
2 cups warm water
1 T butter
Salt
6-8 T melted butter for the finishing sauce

My mom spelled pierogi incorrectly but I love seeing her handwritten recipes.
Instructions
Peel and cube the potatoes, then boil them in salted water until soft. While the potatoes are cooking, sauté the onions in butter just until soft and translucent. When the potatoes are done, drain, mash and let cool. Then add the onions, cream cheese and salt to taste. Make the dough by combining the flour, egg, water, salt and butter together.
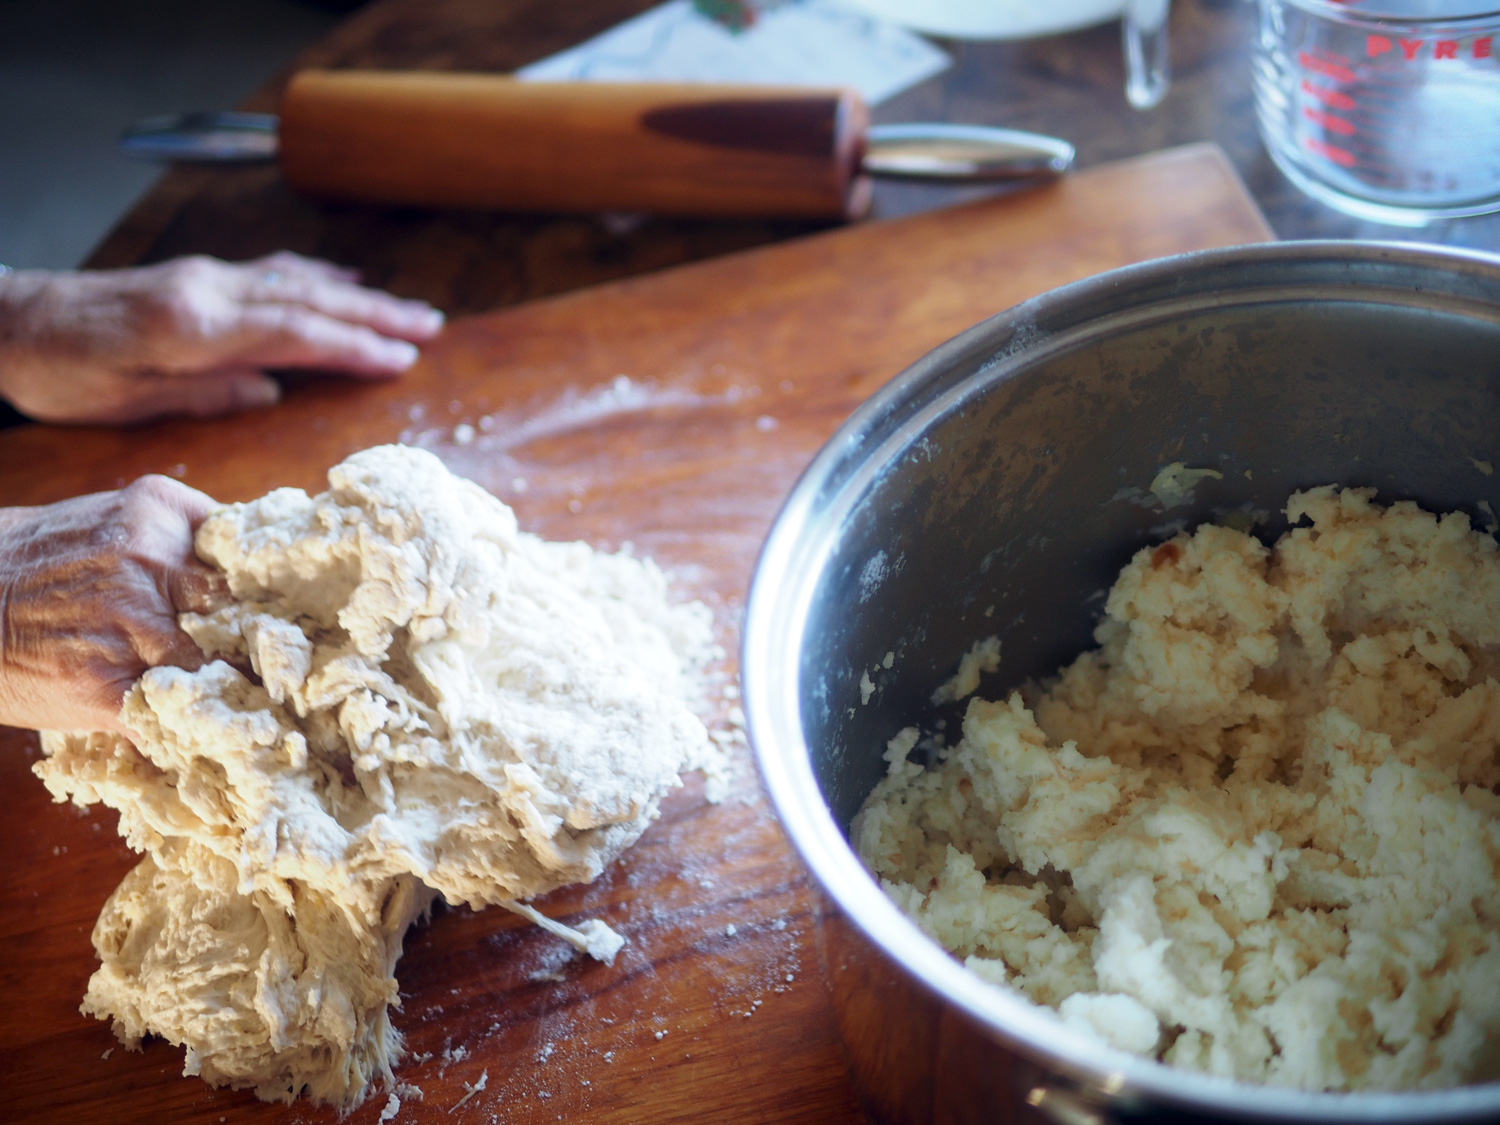
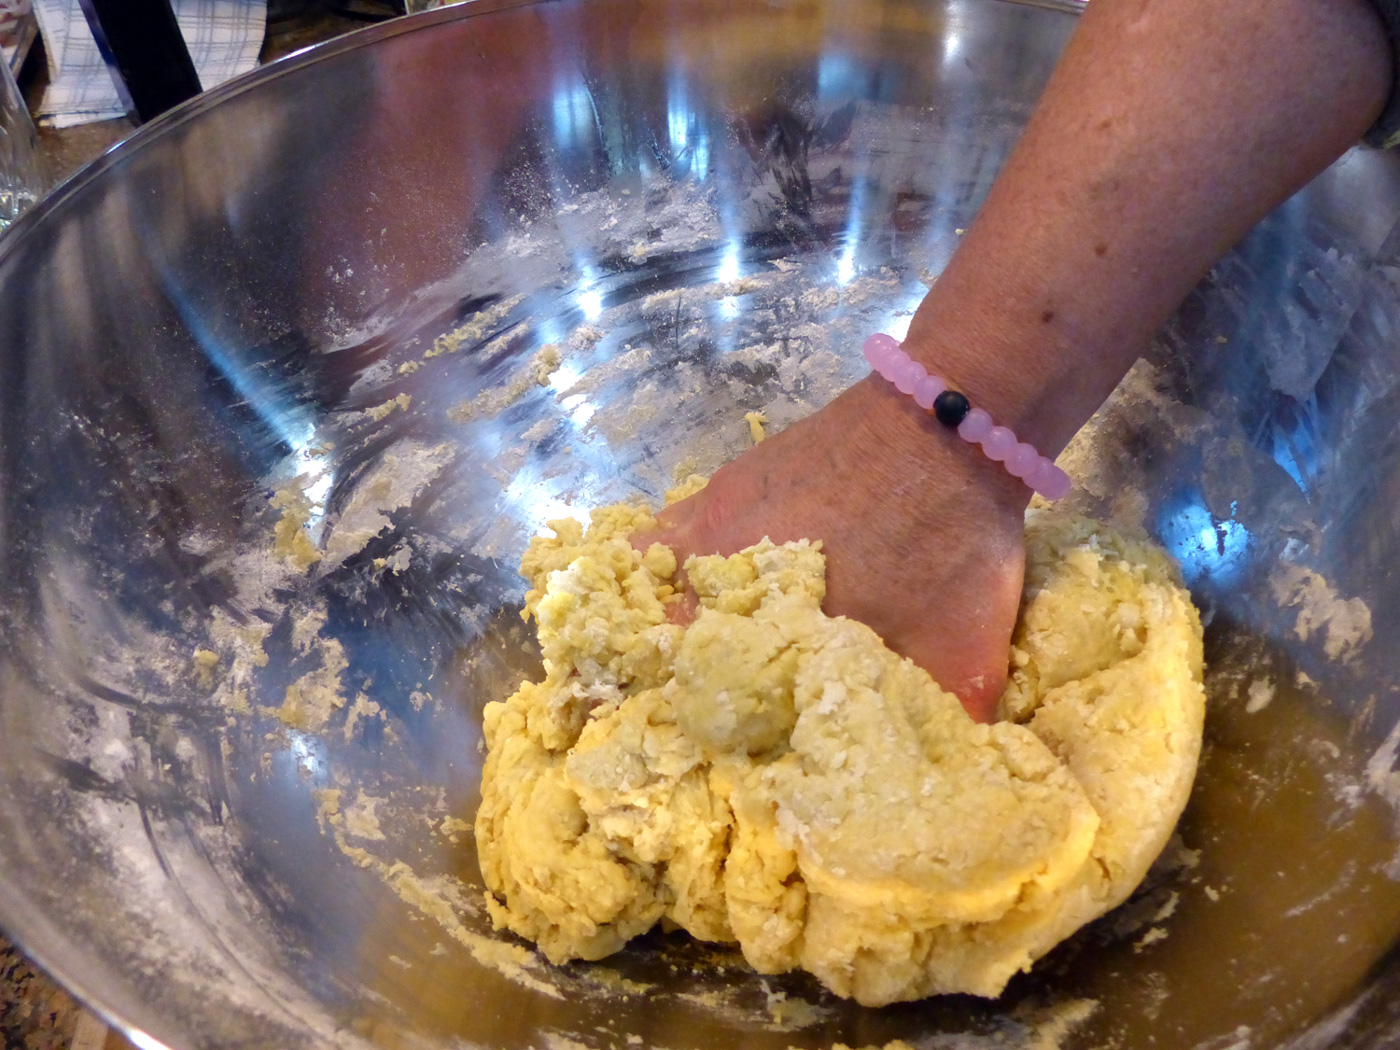
It starts out like any dough, rough and not pulled together yet.
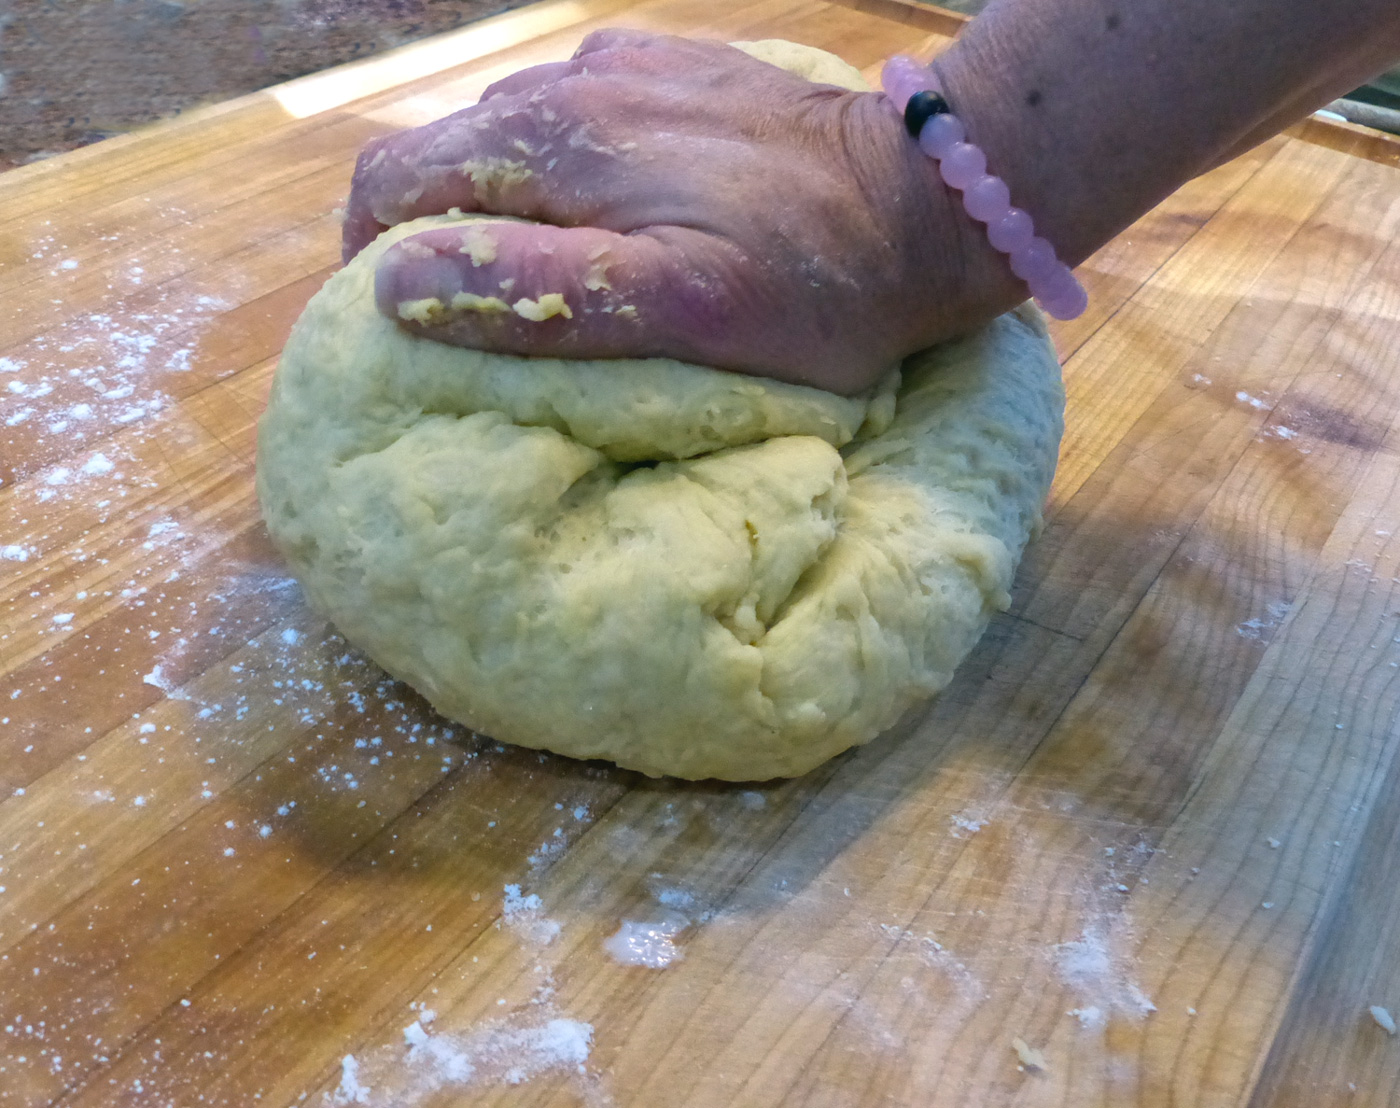
Knead the dough until it is smooth. You may need to add sprinkles of flour if it's too sticky, but add sparingly.

Keep kneading until smooth. Mom needed a rest.
It's important to get it smooth. Mom needed a break so I took over the kneading to get it to the finish line. By now, I have a ton of experience in dough kneading. That was not always the case. It took years before my grandmother would allow me to touch any dough, but then I graduated to bringing it to the finish line. On the job training that I hope to pass off to my nieces and nephew.
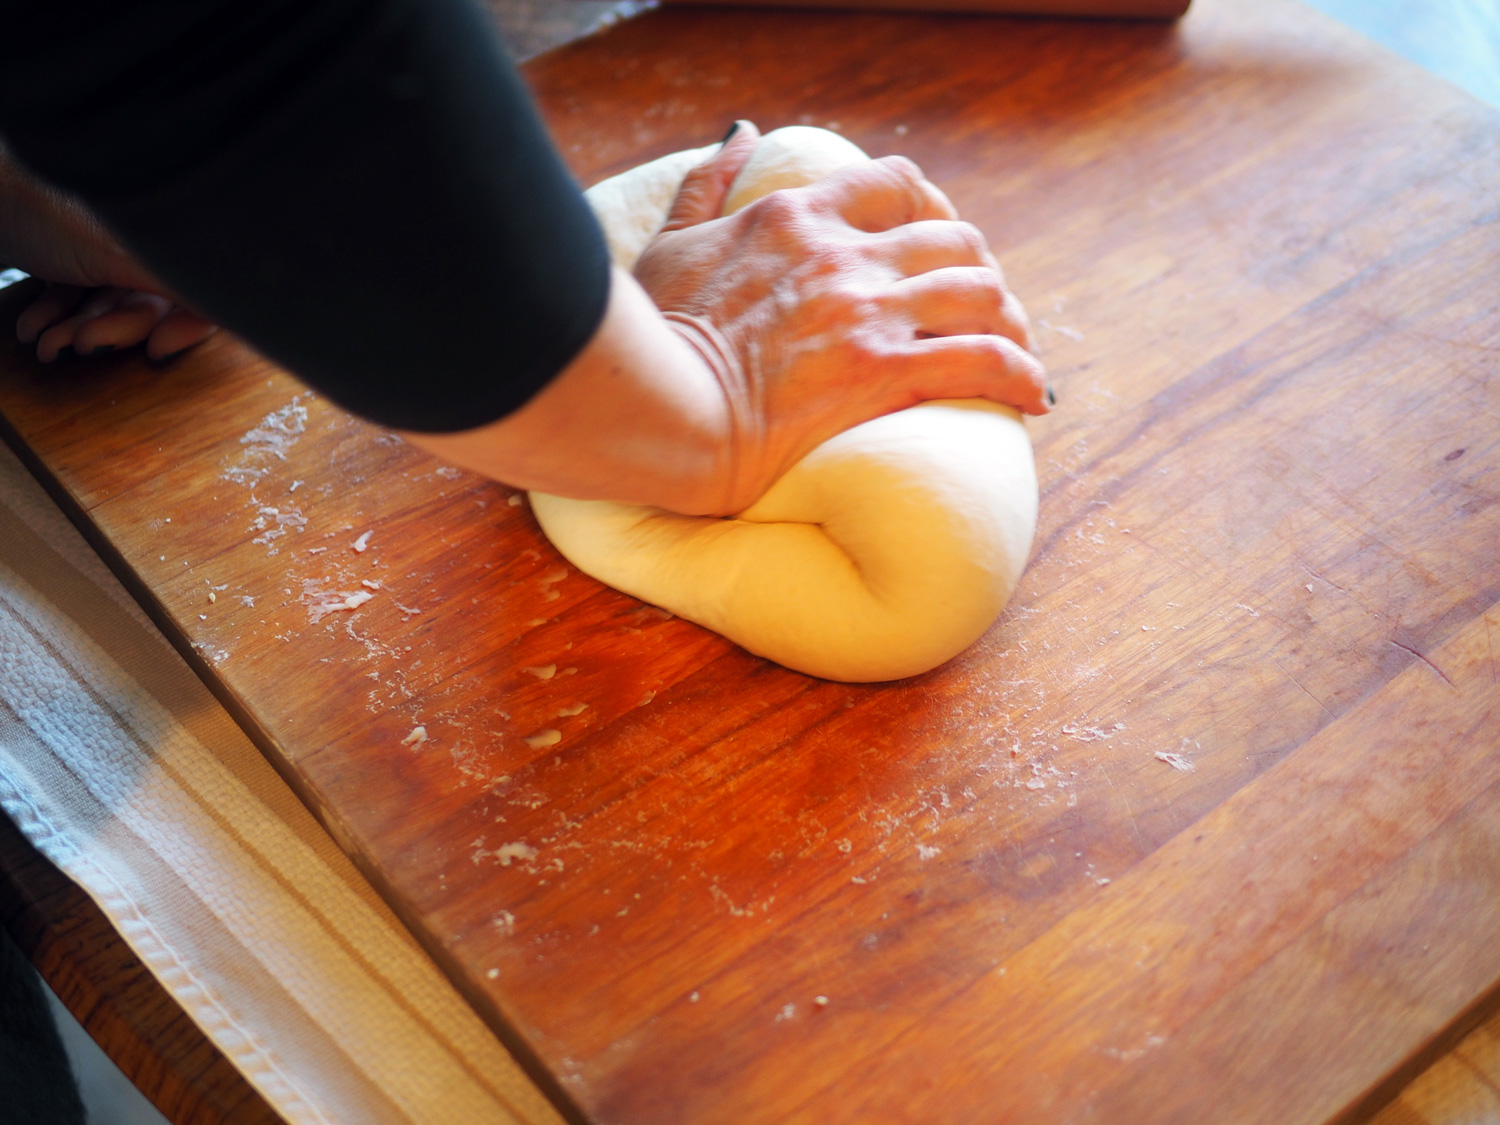
I took over to get it to a smooth consistency.
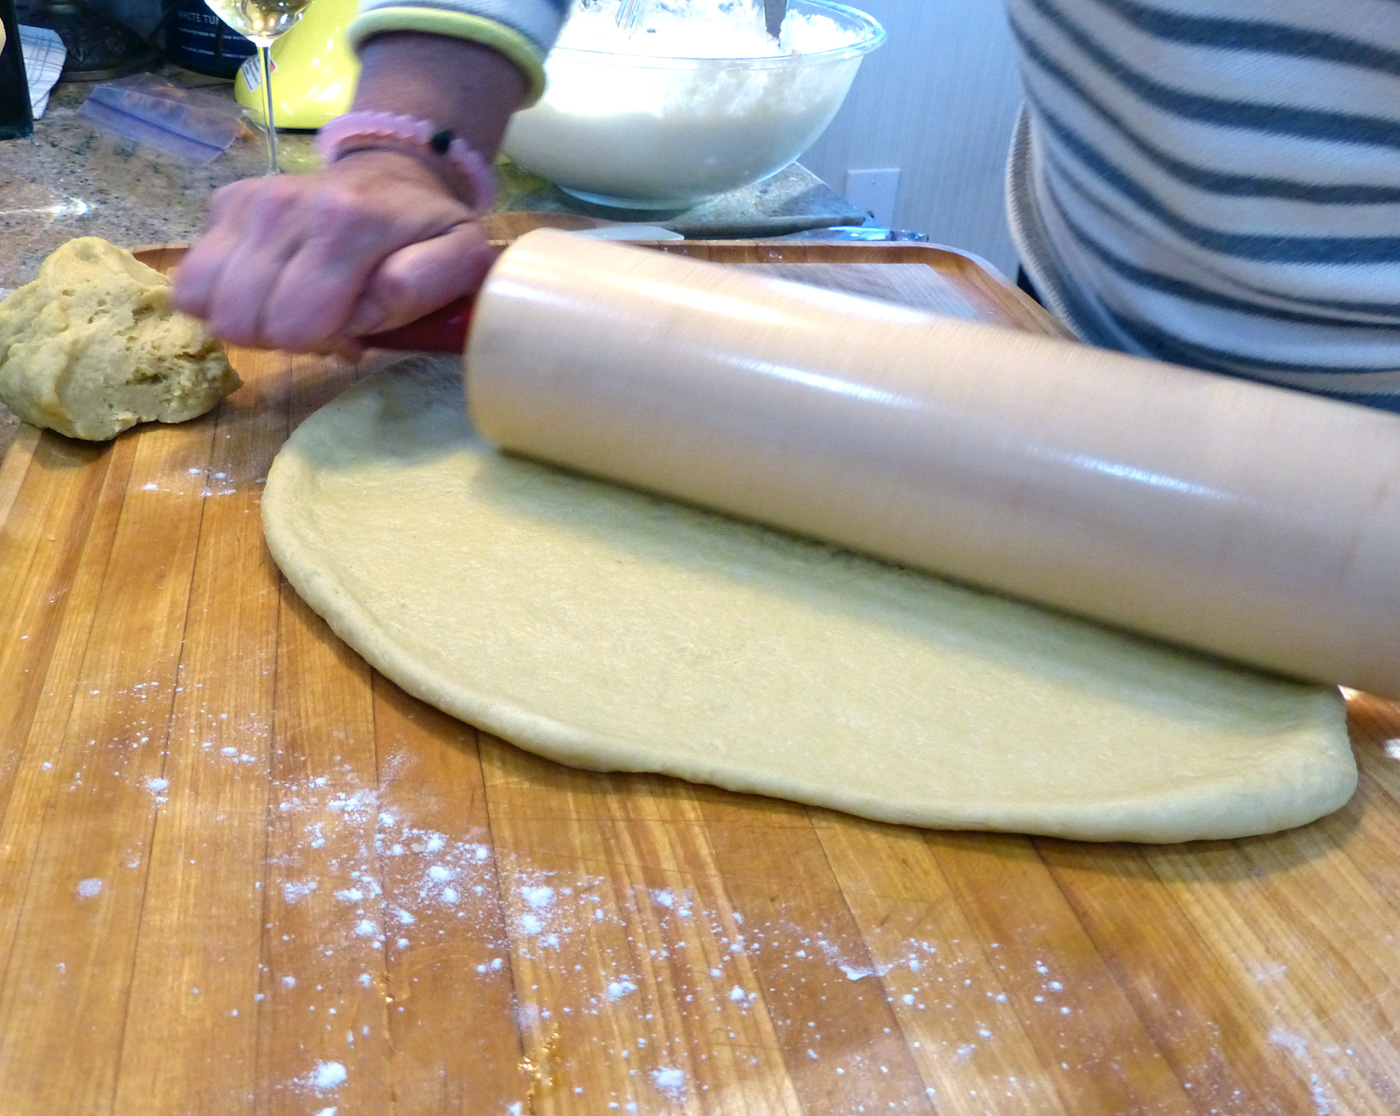
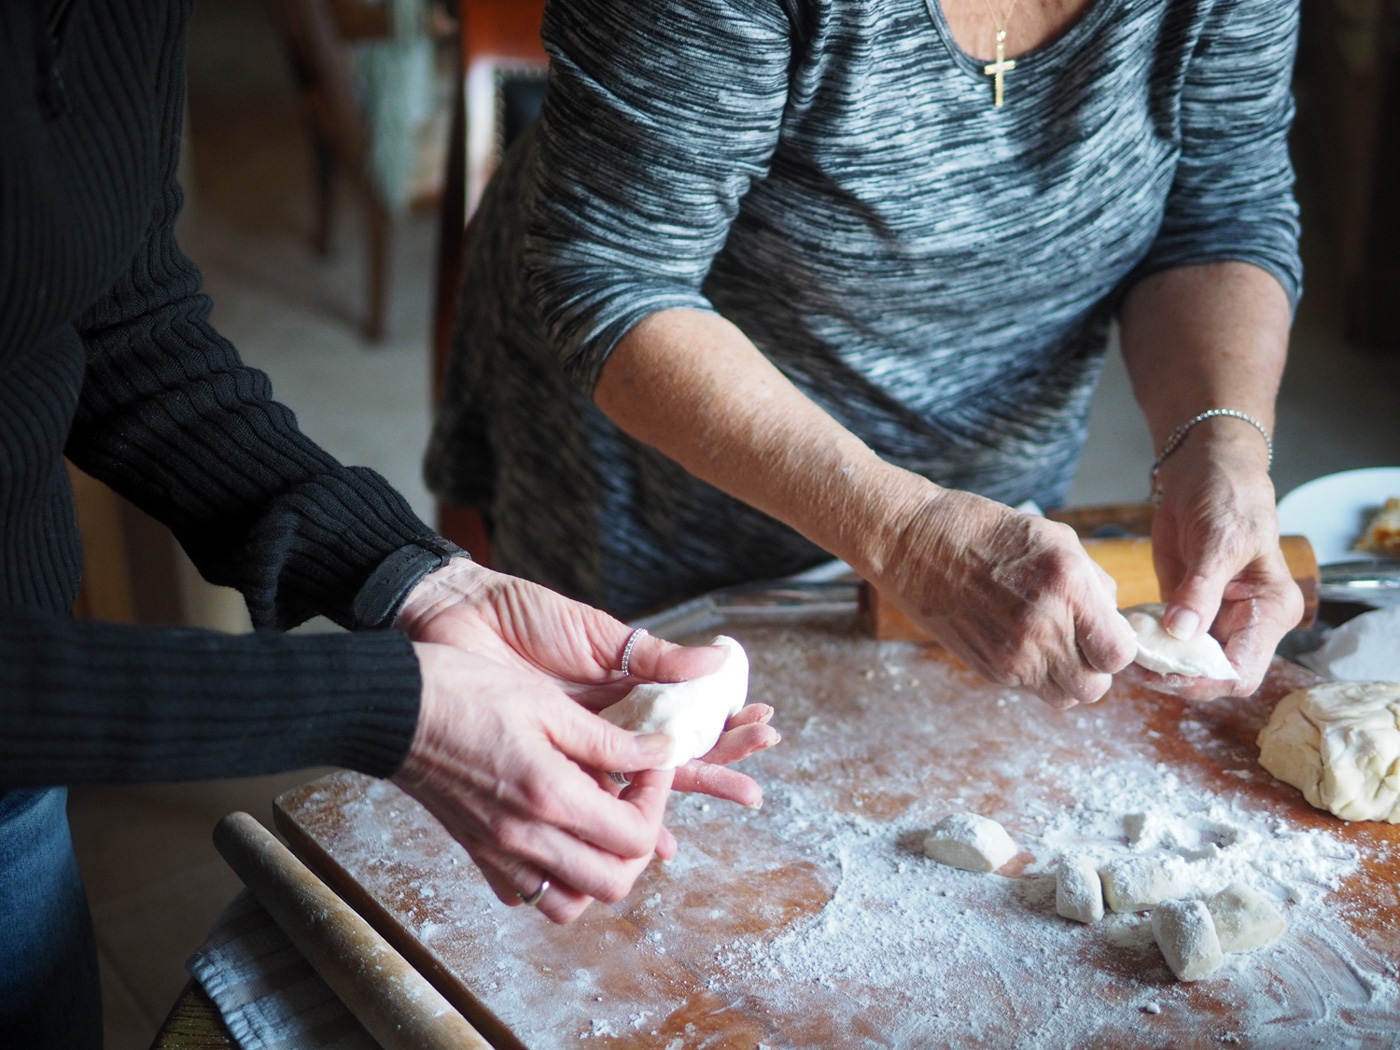
With the dough soft and smooth as a baby's bottom, cut a small piece, roll into a thick rope, then cut 1.5" pieces. Roll each one out creating a small round about the size of your palm, approximately 3.5" diameter. Then take a full tablespoon of the potato filling and place in the middle.


A nice round dough waiting to be filled.
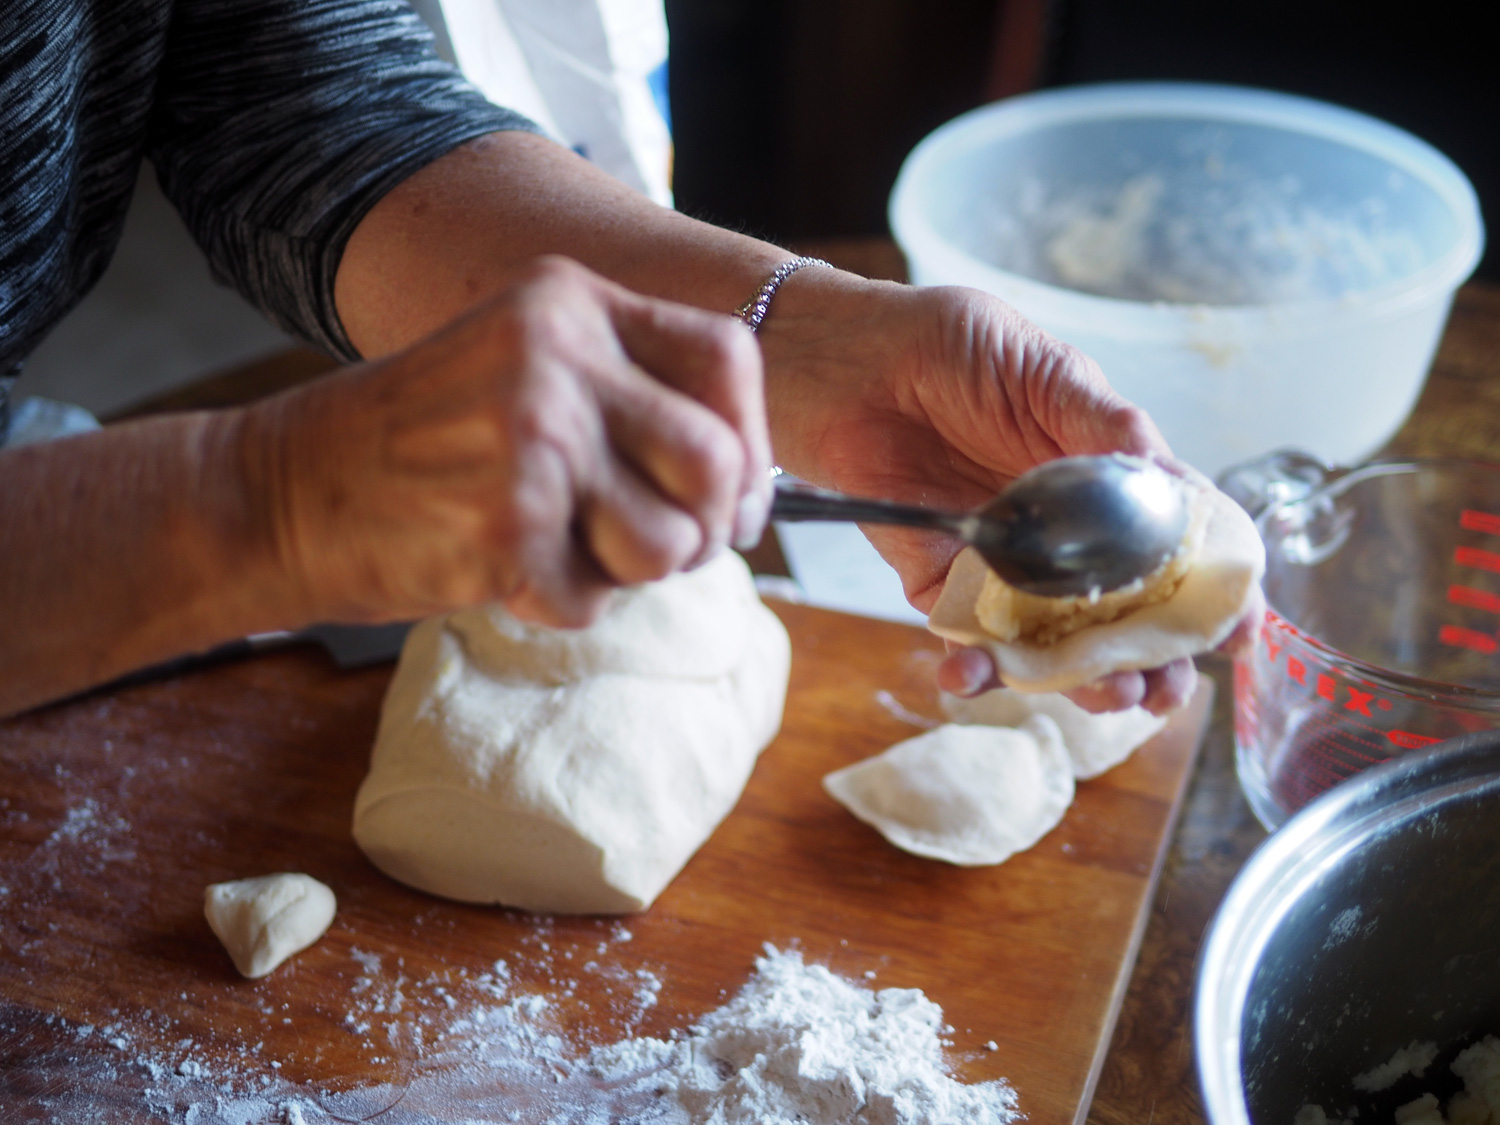
Place a heaping tablespoon in the center of the round. Take note of the small cut piece. That is the size before being rolled out.

It may seem like a lot of filling but they should be completely filled with the potato mixture. If it seems too much, simply stretch the dough to close.
Fold in half and crimp the edges, pressing flour into them. Place them on a dry towel until all are made and you are ready to boil them.
Team effort is the only way to make 60 pierogi unless you have time.
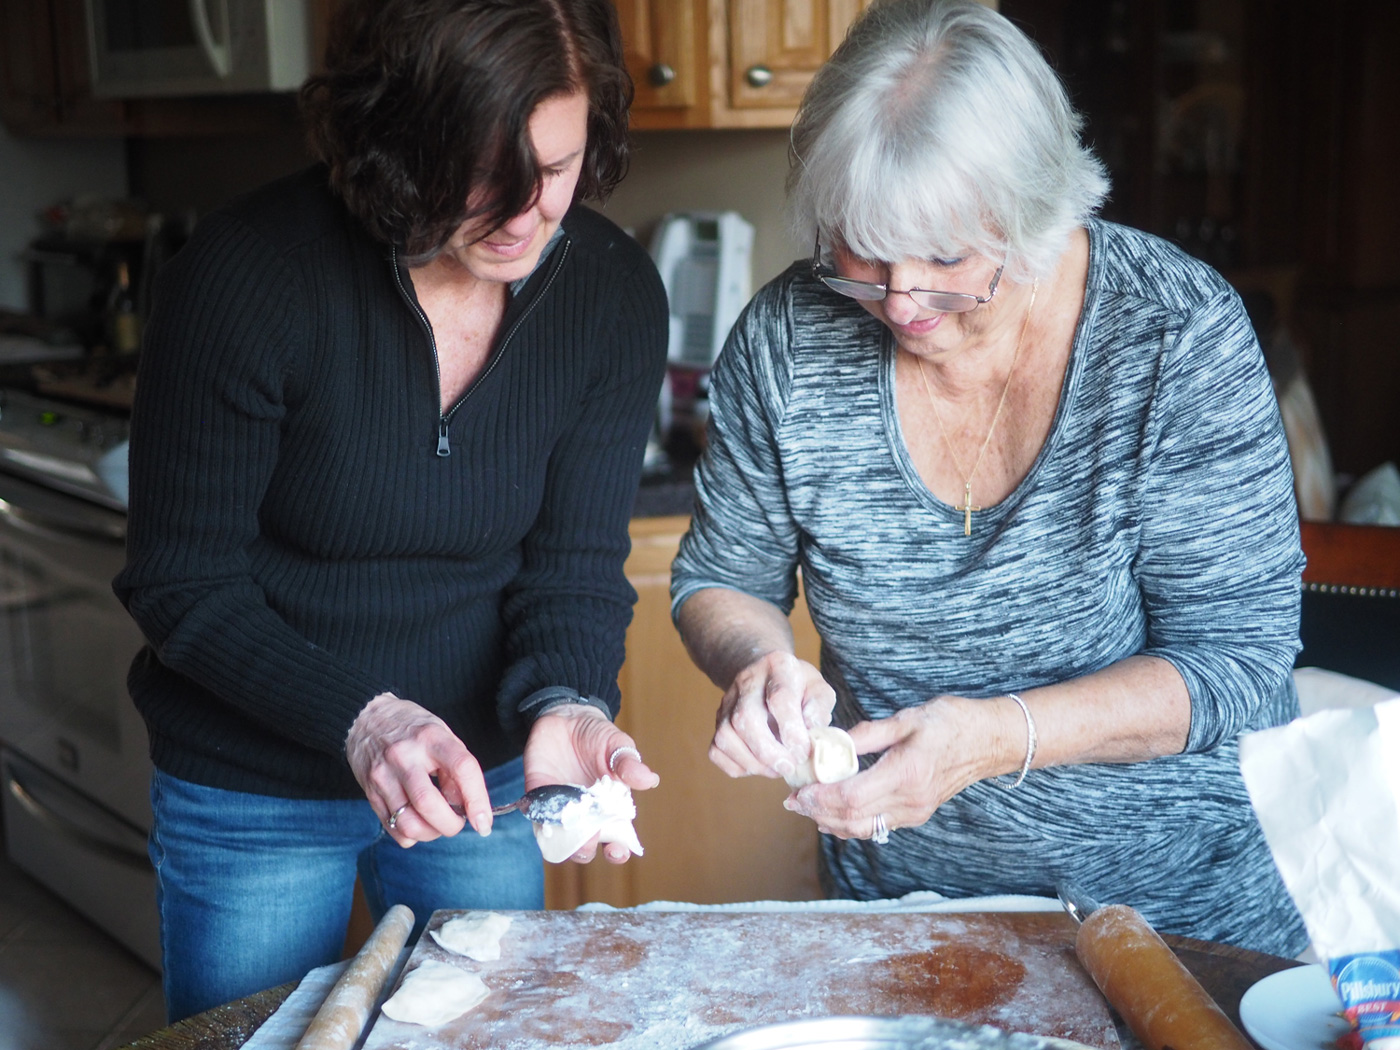
Alyssa and Mom happily making, and anticipating the finished product. Is there anything more heartwarming than keeping traditions alive with your mom? I don't think so.
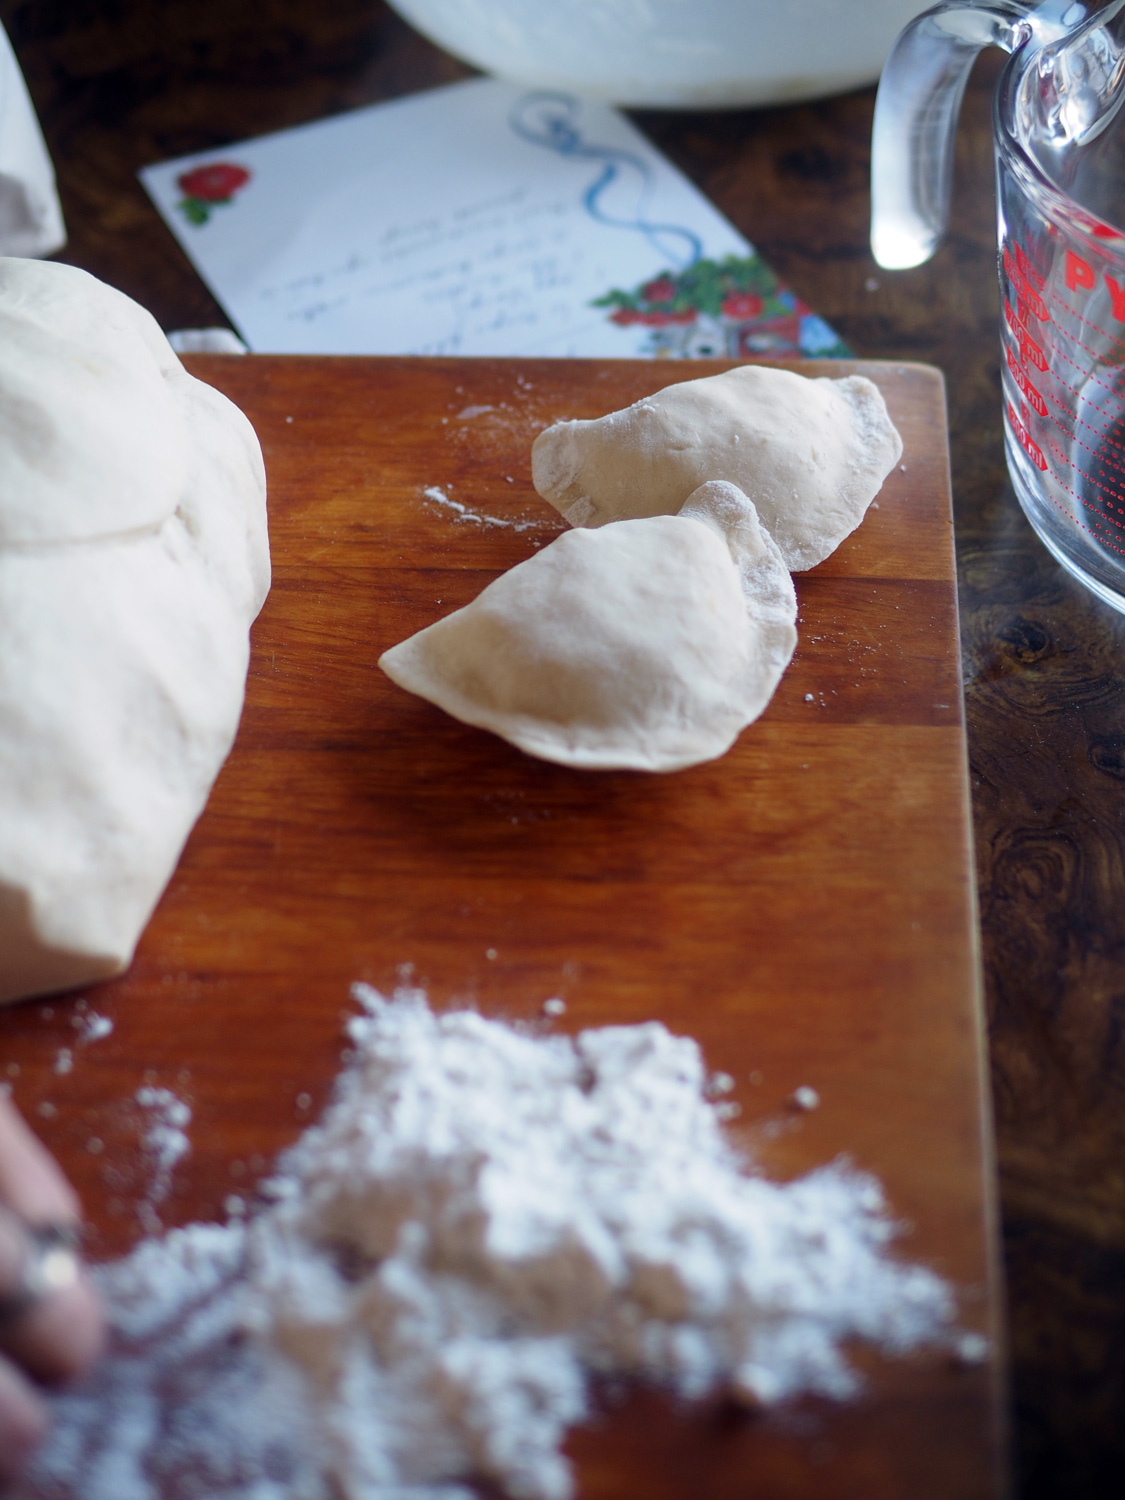
Perfect little potato dumplings. Well, not so little.

About to take the plunge...
Bring a big pot of salted water to boil then add 14-16 pierogis at a time. (It will depend on the size of our pot. You don't want to overcrowd.) Once they float to the top give them a 1-2 minutes more and pull them out.

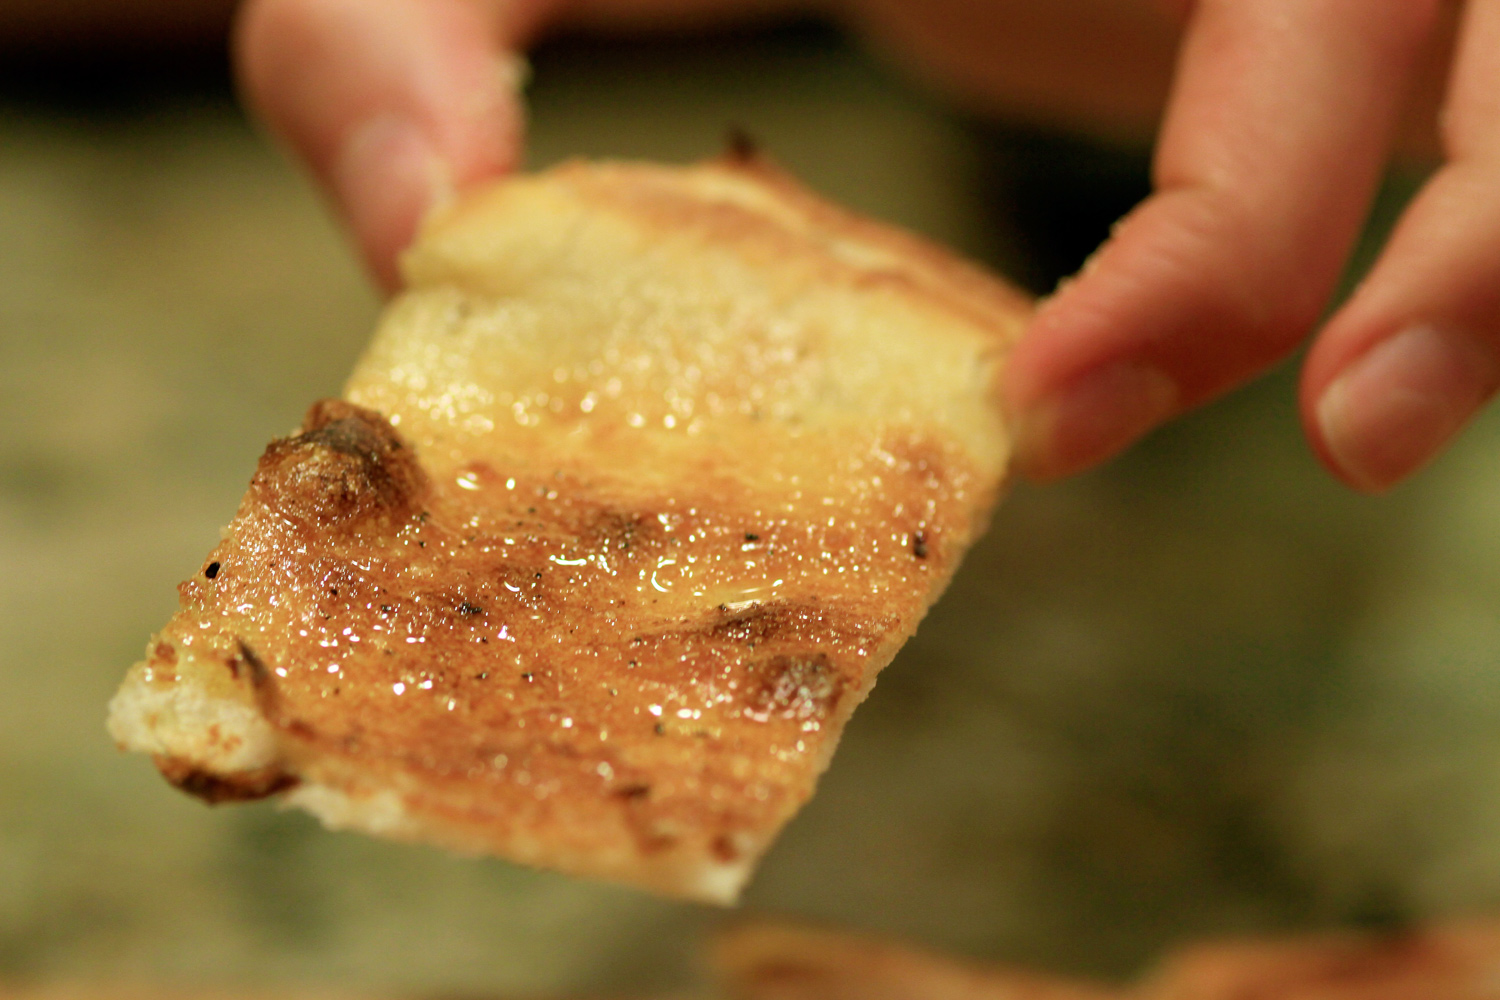
To serve, melt butter, then pour and slather over top of the pile of Pierogis. You can also go the next step and fry them in butter. This was the way we traditionally eat them the next day. Either way, they are one of those comfort foods that qualify as a non guilty pleasure. No guilt because you won't be making and eating these once a week or even once a month. So go ahead, take time to make them, eat them and treasure them as the specialty food they are without any apology.
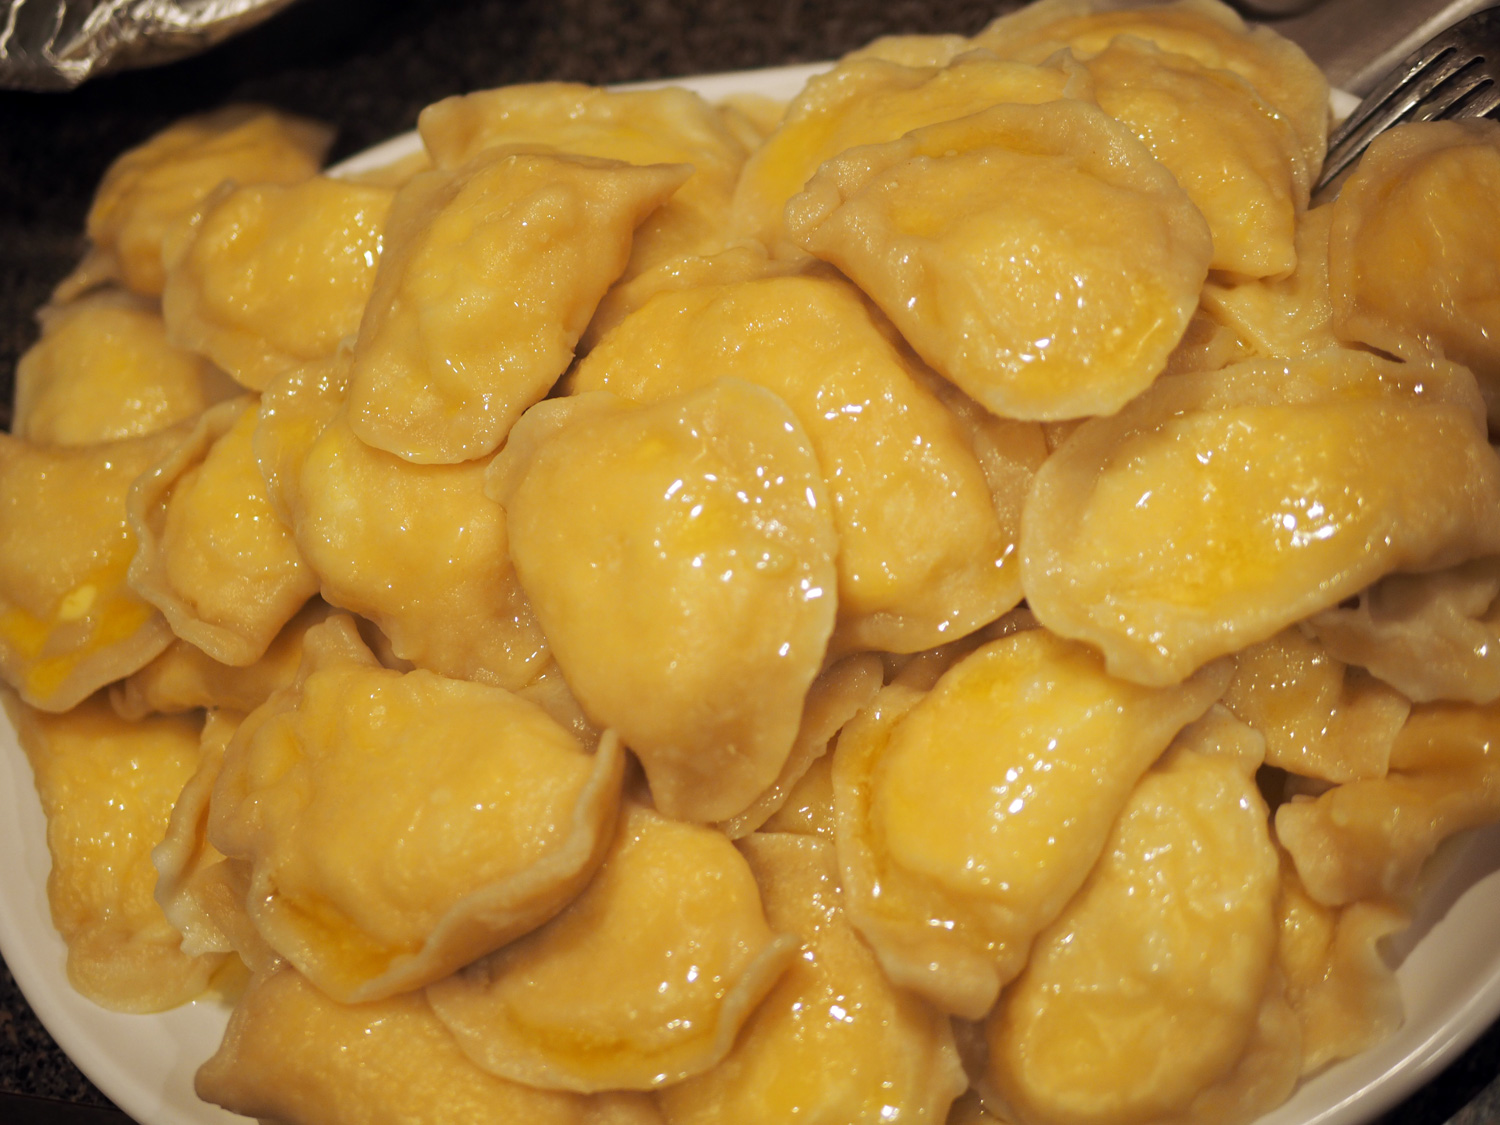
Boiled and smothered with melted butter.

Alyssa and me.
So here's to the 1/4 percent Polish I am, and to all the women in my life who passed down the tradition, and to the ones keeping the tradition alive and well. And especially to Alyssa, who revived it, setting up the next generation of potato dumpling makers. There is nothing I love more than tradition, and doing it together with the family I love.

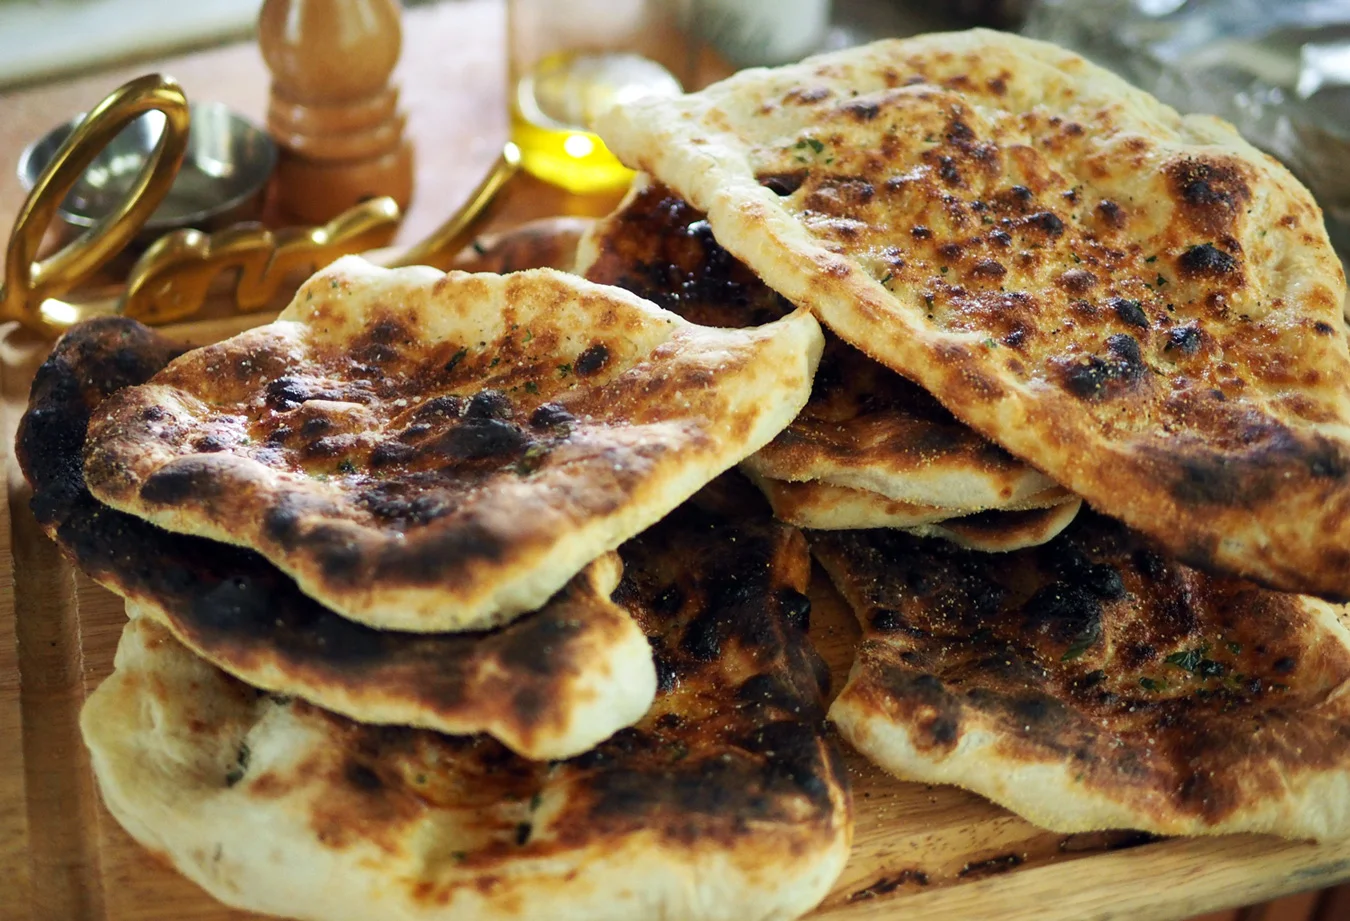
And nothing more delicious that frying these up. Crispy outsides, and soft, yummy insides.
Post Script: My aunt Ann's daughter and my cousin, Mary Ann sent me a two good suggestions.
Dough Kneading: She said for those who haven't mastered kneading dough or just want to make it a bit easier, you can use a bread machine or a mixer with a dough hook to knead the dough.
Freezing: For best results, her tip is to let them cool in iced water after they've been boiled, drain well and freeze to have whenever you need a fast potato fix.