Orzo Salad ala Greek

Fresh green salads are a no brainer for the summer.  They are refreshing, crisp and light, as a summer salad should be.  Yet sometimes you may want all of that in a salad but need a tad more substance.  This is when pasta takes its cue and comes to the rescue. (In my opinion, pasta answers any of my rescue calls. It's my lifesaver. Literally and figuratively!)  
This Orzo Pasta Salad with a nod to Greece, is an oldie but goodie.  As with some of my archive recipes, I made them a lot in the past but then just moved on.  Or so I thought.  Come to find out that both my sisters, Alyssa and Jill, have continued to make this particular recipe throughout the years.   Which gives me smiles.  What gives them smiles is when I have to call them so THEY can remind me how I originally told them to make it.  Who cares how we get our smiles, as long as we are smiling.

First, allow me to enumerate on the many great aspects of this dish.  

  • First, it's easy, and that is a huge plus. Good food doesn't have to be complicated or a royal pain in the...
  • Second, since it uses orzo, the pasta component isn't too heavy yet it satisfies superbly.  How perfectly is that!
  • Third, it contains crunchy vegetables. This is two fold good because we all need our veggies and they provide another textural element.
  • Fourth, it packs a ton of flavor.  

Geez, I could keep on keeping on, but do I really need to?   Trust me, it's good.  So let's get down to brass tacks and assemble this one up.  I say ala Greek because the ingredients are similar to a Greek Salad just no lettuce but instead a tooth bite of orzo.  
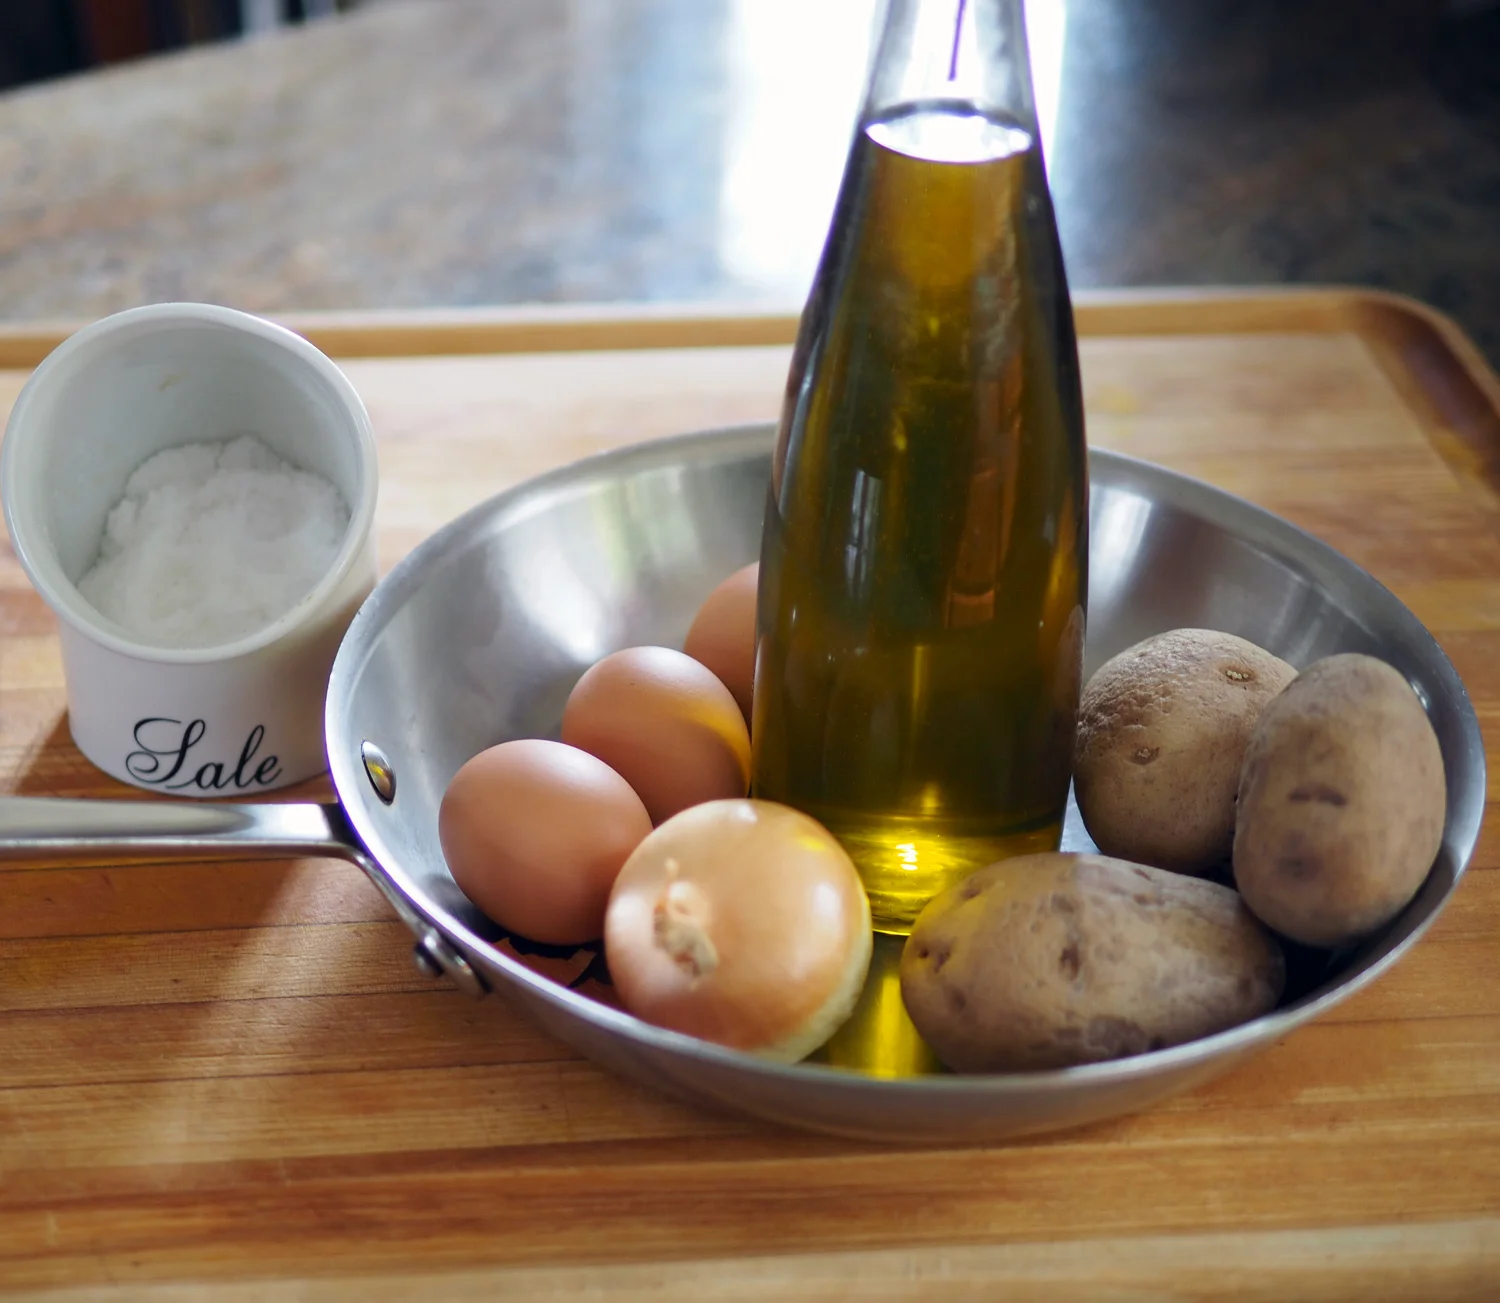
Ingredients

(Yields approx. 5 cups)

1 lb. box Orzo, cooked
1 c English cucumber, seeds removed, small dice
1/3-2/3 c Calamata olives, chopped
1.5 - 2 c red, orange, yellow pepper, small dice
1/4 c scallions, sliced
1/3 heaping c red onion, small dice
2/3 c fresh basil, chiffonade
2/3 - 3/4 c Feta cheese, crumbled

The line up

The line up

Alright, let me continue with the plusses on this salad. You can prep everything the day before if you wanted to. Just place the chopped vegetables in an airtight container.  You could even cook the orzo if you wanted to. Just add some oil to keep it from sticking together.  Heck, you can make the salad a day ahead of time. Just add the feta before serving.  I told you I could go on and on about the pros to this salad.  

Instructions

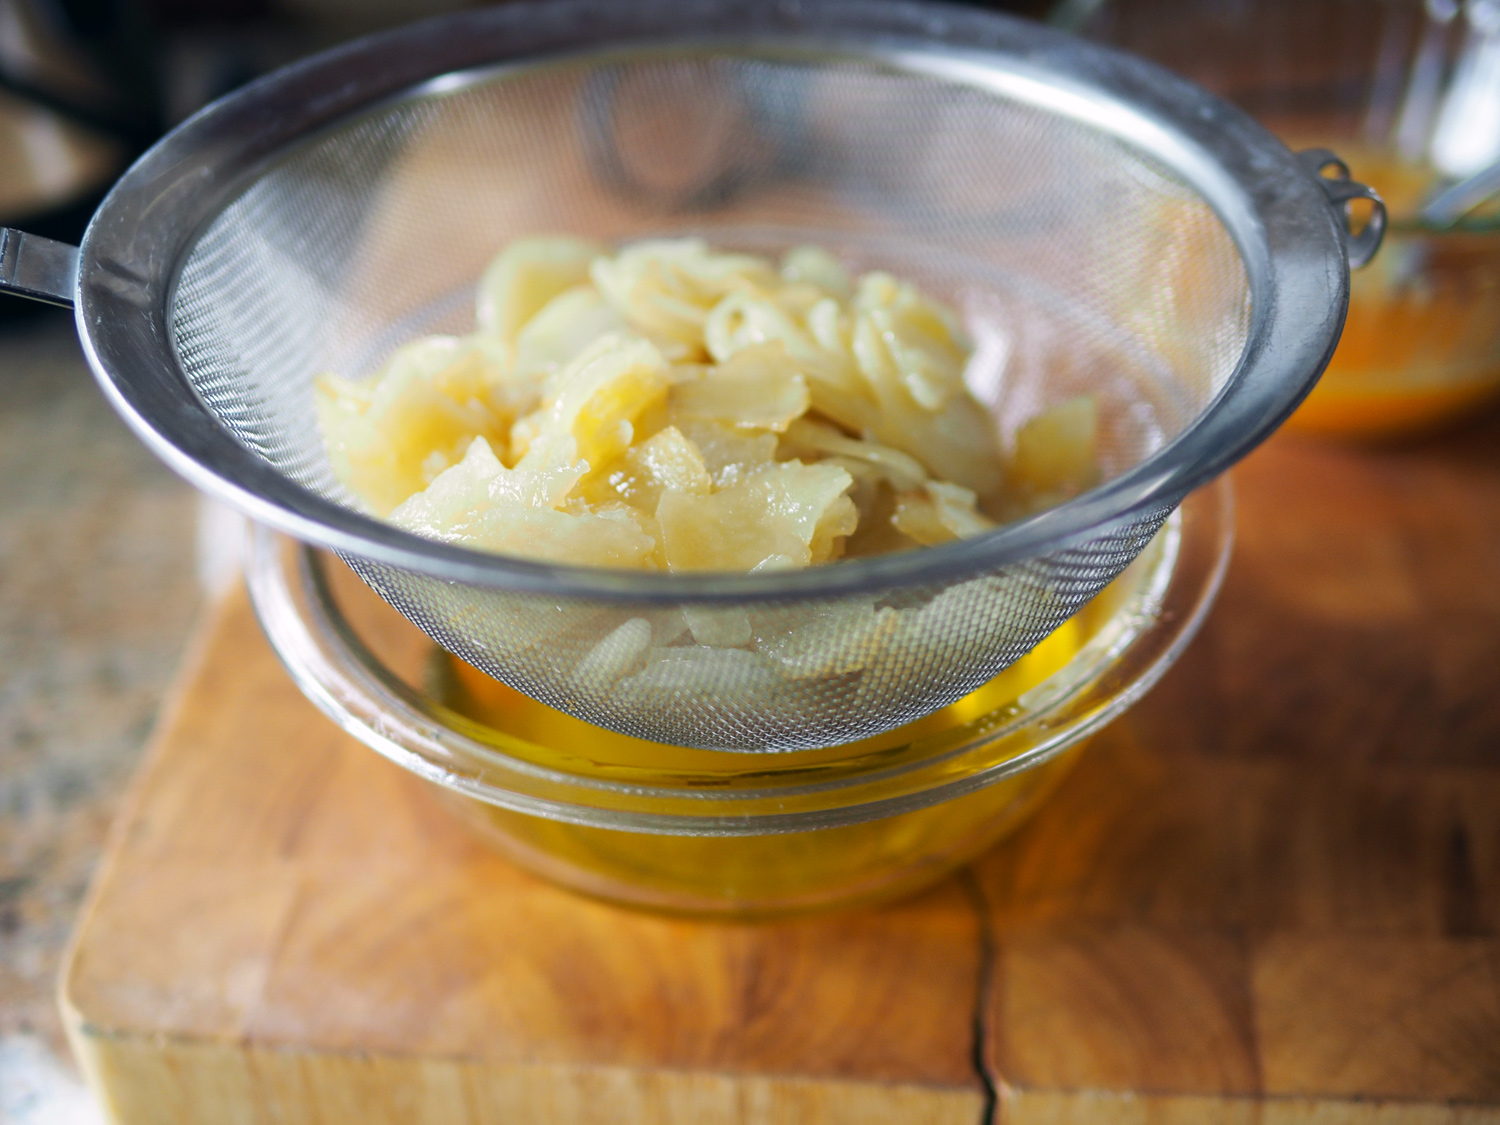
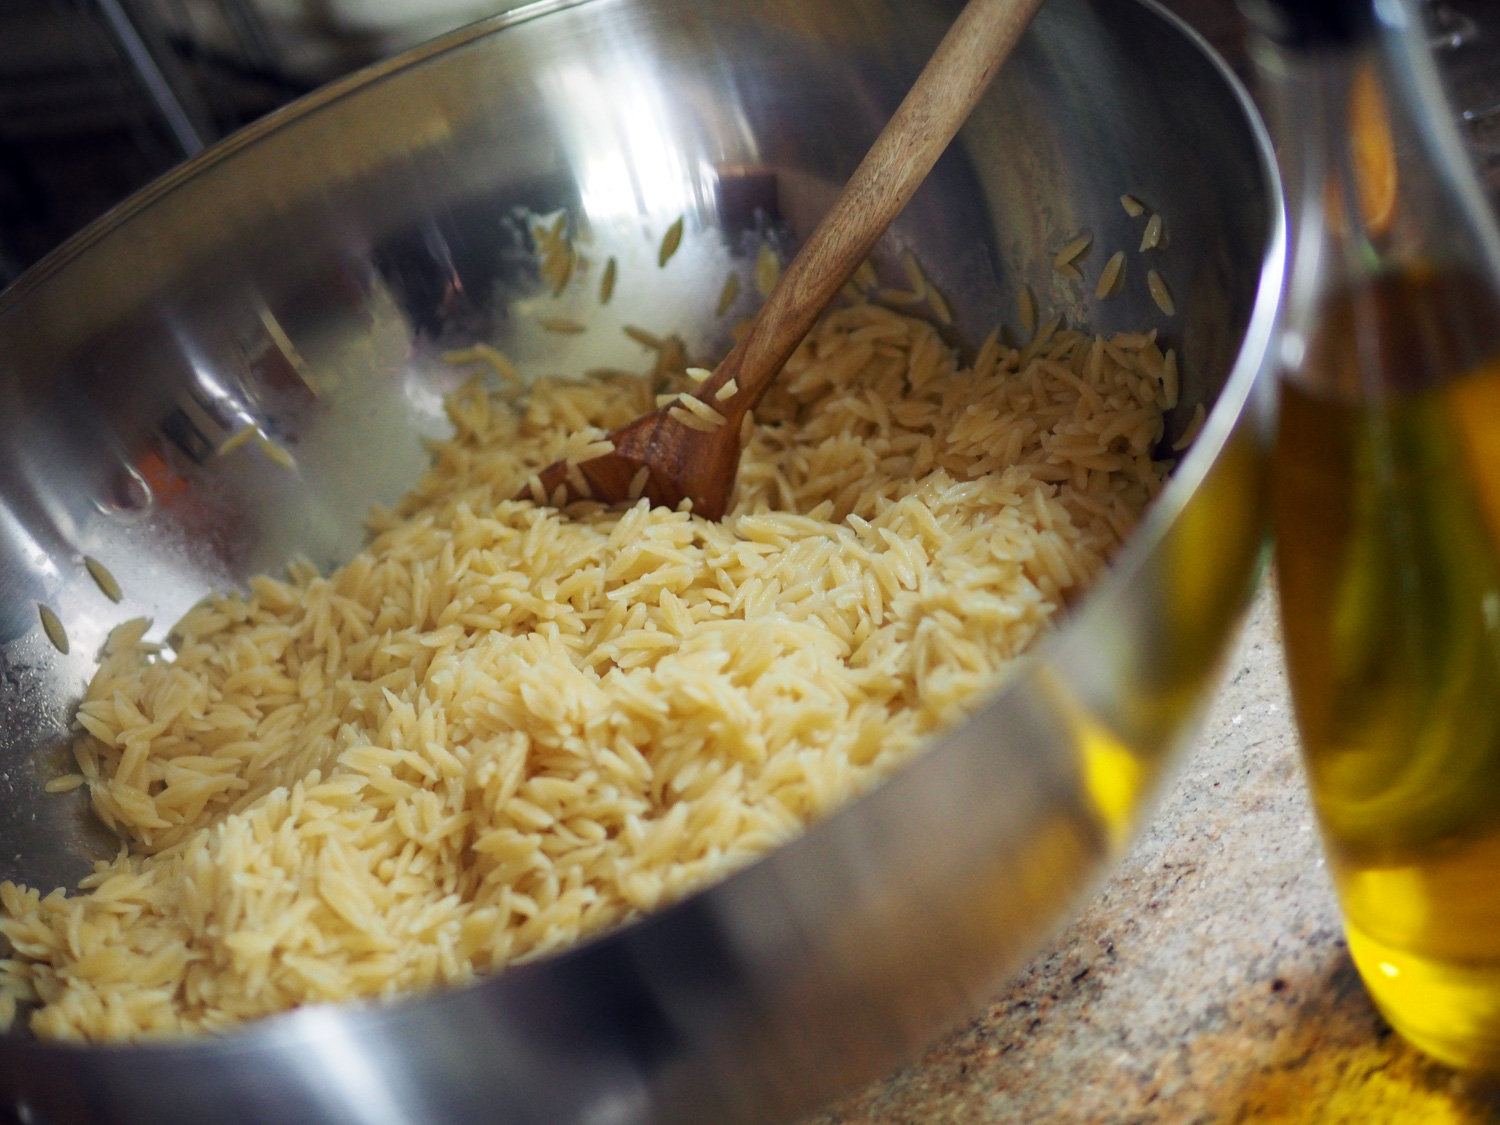
Cook the orzo according to the package.  I like mine, as with all my pastas, al dente.  While the orzo is cooking chop the vegetables and olives as suggested above.   Let the orzo cool a bit, then toss it together with vegetables and olives. 

Orzo, the perfect little pasta.  This time it's starring in a salad.  But try it in soups. Che buono!

Orzo, the perfect little pasta.  This time it's starring in a salad.  But try it in soups. Che buono!

When cutting up vegetables, I usually like to slice them up in different sizes to create varying textures and shapes. However, with this salad I would recommend cutting everything in relatively the same size.  It creates an balanced salad, a balanced bite as well as makes it easy to eat. 

This time the veggies are conforming to one size, but they don't mind.  

This time the veggies are conforming to one size, but they don't mind.  

Once you have everything cut, combine with the orzo.  Then move onto mixing up the dressing.

Vibrant, fresh colors of summer.

Vibrant, fresh colors of summer.

Whisk up or mix up in a jar, and dress the salad up.

Whisk up or mix up in a jar, and dress the salad up.

Dressing

2/3 c Olive oil
1/4 c Red Wine Vinegar
1 t dried oregano
2 heaping t salt
1/2 t crushed black pepper
2 t fresh lemon juice
Zest of lemon, optional

Whisk together and pour over the salad.  I do like to add the dressing when the orzo is slightly warm.  The pasta tends to absorb even more of the flavor.  Once combined, add most of feta cheese and chopped basil leaves.


Leave some so you can adorn the top of the salad with more feta and basil, and serve.  This salad is best at room temp.  But I have eaten it right out of the refrigerator. (Actually, standing in the refrig, spoon in hand and gobbling it right out of the container.)

Versatile and vibrant little summer pasta salad that goes with everything.  It's great for a midweek meal using any leftovers for lunch the next day. (That is if you have any leftovers).  Add a base of mixed greens and pile some pasta salad on top. And of course,  this dandy of a dish is simply divine for a summer BBQ crowd.  I even brought a batch into the staff at Despaña and it got all smiles all around.  Like I said, pasta to the rescue.

Tortilla - Tradtional Spanish Style

Oh so many years ago, I had the awesome experience of living in Spain.  Madrid, to be specific. And I loved every minute of it. Including the moment I arrived and ordered a Tortilla Tradicional.  

Tortilla, in Spain, is quite a different thing than that of Latin American countries.  In contrast to the flour or corn flat bread,  the Spanish tortilla is made with eggs, potatoes and onions, and is considered more of a cake or torta. Tortilla being the diminutive form, means little cake.  Hence this egg/potato combo is less omelette and more cake.  In Spain, it is simply known as Tortilla, but to distinguish it from a French omelette or from the South American flatbread, it is often called tortilla de patatas or tortilla española.

No matter what you call it, this 'cake' is a delight to eat either as a snack, which is how the Spaniards usually eat it, or for breakfast/brunch.  Heck, why not a slice for dinner with a vegetable or salad on the side.  (A true Spaniard would be appalled at that suggestion.  But I am here in the U.S., and we need our greens!)

I will admit that making this was new to me. Years ago I tried my hand at making a tortilla but it didn't quite turn out to the thick, dense omelette it should be. A few reasons for my failure as a true Spaniard.  I didn't have an equal amount of eggs to potatoes which is what creates both the thickness and density. Plus I didn't poach the potatoes first. I cooked it altogether in a frittata style.  Working at Despaña has taught me a ton, including how to make a proper Spanish Tortilla.  After asking Chef Jaume Guerra, and watching the cooks make countless tortillas, one after another, each looking exactly the same, I felt ready to attempt it again. Please, do not get me wrong, I'm still not an expert.  Mine did not look as stunningly perfect as theirs but I have more confidence that I have the right technique now.  With that, an ever-good student knows how important it is to teach after she has been schooled. So here is the proper way to make this famous, delicious, versatile Tortilla.  Best part, It requires very few ingredients.

Ingredients


6 eggs, beaten
6 potatoes, thinly sliced
1/2 yellow onion, thinly sliced
Oil, salt


Instructions

Slice the potatoes and onion thinly.  I use a mandolin.  You can use the single cutter side of a box grater, or simply cut thinly with a knife.  In a sauté pan add at least 2/3 cup of oil and slowly heat, and add the potatoes and onions. Beat the eggs and set aside.

Ready, set, poach.

Ready, set, poach.

Yes, it's a ton of oil.  but not all of it is absorbed so don't freak out.

Yes, it's a ton of oil.  but not all of it is absorbed so don't freak out.

The key in cooking the potatoes is to poach them in the oil not fry.  So low and slow is the goal.  Let them cook in a gentle manner until the potatoes break apart. Then drain them, reserving the oil.  (Since the oil was not heated to the boil point you can reserve it and use it to cook at a later time.)  

Slowly poaching away to a soft tenderness.

Slowly poaching away to a soft tenderness.

Let the potatoes cool slightly. You don't want to add them to eggs when they are too hot, but you do want them to be warm so that when you mix them with the eggs it creates almost a custard.  

Drain the potatoes, and reserve the oil.  It can be used again.

Drain the potatoes, and reserve the oil.  It can be used again.

Mix with eggs while still warm, but NOT hot.

Mix with eggs while still warm, but NOT hot.

Put some of the oil back in the pan and add your egg/potato mixture.  Cook over low heat slowly. Let the mixture set a bit and then using a spatula start to form sides and keep the omelette moving.  Allow this to cook 3/4 of the way. Then once it is set with rounded edges, slide it out of the pan onto a plate and then place the pan on top of the plate and flip it over back into the pan to let that side cook.  

You can see that it's potatoes being held together lovingly by eggs.

You can see that it's potatoes being held together lovingly by eggs.

Slide it onto a plate.

Slide it onto a plate.

Then place the pan on top and flip it over.

Then place the pan on top and flip it over.

Despaña makes a variety of tortillas.  Some have chorizo, others have cheese, or zucchini.  The traditional is made of just the ingredients listed above but you can add whatever floats your Spanish Armada.  With Mother's Day approaching, this could be a nice way to start the day and treat your 'reina' - aka Queen.

tortilla.platter2.jpg

I made this for dish when my niece, Lauren who studied in Barcelona, came for a visit. She loved living in Spain too, and has a passion for Spanish food and culture.  So I thought it only fitting to make this classic tapas treat for her.  


It was the perfect offering for a late Saturday lunch along with a charcuterie and cheese platter. Slice the tortilla up by cutting a pie wedge, serve with a glass of red wine and some crusty bread.  Can you say OLE! Sure can. And now you, too, know how to make a proper Traditional Spanish Tortilla. Viva España!

Lunch with a Friend - Casual with Style

My dear friend, Donna, and I had been trying to make plans to get together for months. We had set a date to meet in the city for lunch, but alas those plans got axed.  Once we switched the day, it meant she was able to come up to my house for a 'ladies lunch'.  Does that make us sound old?  If so, then forget it.  We were just eating together.

It had been a while since we had last seen each other, so the idea was to enjoy each other's company and not have cooking occupy my time. The plan to keep it easy peasy was to create a menu where the majority of items could all be roasted in the oven and the rest could be made ahead of time.  Leaving me hands free for when she arrived.  I like starch (pasta, potatoes, rice not the kind used for ironing), and wanted to include that too. My immediate thought was polenta. However, after surveying the menu, a last minute swap out for rice felt like it paired better with the rest of the offerings, which also included a salad.  When it came to dessert, this needed to be super simple because I didn't have the time to bake.  Add to that, I wanted something that I could enjoy too. A traditionally baked item uses flour and eggs, well, no good for me. 

Sure sandwiches would have been even easier. Sure we could have eaten at the kitchen table.  But a little extra detail is much nicer. And so...

How hard is it to keep it casual but amp it a bit to feel special?  Simply throw down a runner the opposite way to create an more intimate area on a large table, add some placemats. Toss cloth napkins on the plate and put glasses on the table.  That always ups the ante, and really it doesn't take more effort than that.

So when you want to keep it chill yet with touch of style for no fuss lunch, here's a menu that can be pulled off without a hitch. The best part of this for me was that since it was pouring out and despise schlepping in the rain, I already had everything in the house, and didn't even need to shop!!  

Prep everything in their pans, season right before putting in the oven and have a glass of wine.

Prep everything in their pans, season right before putting in the oven and have a glass of wine.

If you need some recipes guides for the below menu, the highlighted items link to previous blog posts that feature each one. Also at the very bottom, you will find printable recipe versions.  If you have any questions on how to pull this menu off, write a comment below or email me

Lunch Menu

Simply roasted salmon nestled up against beautiful roasted vegetables all on one plate.

Simply roasted salmon nestled up against beautiful roasted vegetables all on one plate.

Paella rice risotto style with 3 kinds of onions (red, yellow and scallions)

Paella rice risotto style with 3 kinds of onions (red, yellow and scallions)

For the Paella Rice Risotto style, first sauté a mixture of red, yellow onion and scallion until caramelized.  Set aside. In a medium sized pot, simply sauté some more onions in oil, salt and pepper then add the rice to toast it. Then add either hot water or hot stock (chicken or vegetable) a few ladles at a time until the rice absorbs the liquid. Continue until the rice is tender then stir in the sautéd onion mixture. 

Another option, you can check out my Garlic Rice recipe.

You know this salad. This is the Citrus Salad Bowl, but in one big bowl not individually plated. This way we could go back for seconds.

You know this salad. This is the Citrus Salad Bowl, but in one big bowl not individually plated. This way we could go back for seconds.

The skinny on how the dessert portion was pulled together with just a few ingredients: Open the fridge. Check out what you have and use your imagination.  I found strawberries and blueberries, and tucked in the back a tiny bit of left over chocolate ganache* (previously used for some profiteroles I had made).  And just like that I had a dessert.  Fresh Fruit Bark.

* Ganache is chocolate melted down by adding warmed cream to create a glaze .  When I originally made mine I used much less cream since I wanted a thicker consistency for the profiteroles.  If I had a traditional ganache, it would have never worked for this dessert.  

Spread the chocolate onto parchment paper.

Spread the chocolate onto parchment paper.

Instructions

I melted down the chocolate, spread it over parchment and jammed, I mean lovingly placed, the fruit into the chocolate. For texture, I sprinkled some crushed Marcona Almonds and popped it in the fridge to set and chill until time to serve. 

Arrange the fruit in a way that is appetizing to you.

Arrange the fruit in a way that is appetizing to you.

Since this was made with a semi ganache, it had a softer consistency than traditional bark.  That didn't bother either one of us, and the fresh fruit route was the perfect choice since Donna prefers fresh versus dried fruit. Phew, good call on my part.  This literally was the truest form of 'something from nothing', pulling a dessert out of the hat from whatever I had handy.  We both agreed it was quite delicious.  Bigger bonus, it gave her a new way to use up all the gorgeous summer fruit she gets at her country house.  

Starting with the lovely Shinn Estates Rosé that Donna brought, we had a relaxing time, ate well, caught up on each other's lives and travels, enjoyed a surprise yummy dessert, and of course, finished the entire bottle of wine. It ended as a perfect Lunch with a Friend.  

Sprinkle chopped Marcona Almonds all over the top.

Sprinkle chopped Marcona Almonds all over the top.

Chick Pea Salad with Warm Potatoes - A Hot/Cold Salad Saga

I am a huge fan of beans.  With the wide variety of legumes and the infinite ways to cook them, the recipes ideas are endless.  They each have a different flavor, texture and purpose.  I love when they play together, and I love when they play with others.  In this episode  of "How the Bean Turns", the chick pea and the potato meet in a warm vs. cold encounter.

As you will often hear me say... "I made this dish many years ago because these were items I had at the time." Since starting this blog I have been rummaging through notebooks to see what cryptic notes of recipes past I may have left.  I came upon a scrap of paper with a simple description of this salad with no quantity specifics.  Which means this was early on when I realized I needed to start writing my ideas down but didn't think the amounts were important. (And I still don't, but I do realize that, like for my sister, Jill, amounts are essential.)

A funny thing about my recipe ideas is that since I made them up on the fly, some of them never got repeated. Mainly because I don't specifically go out and buy those items in order to make it again. Add to that no notes, tons of other ideas and I have a memory like a sieve.  I see food items that interest me and just come up with something else.  However, this blog has given me a wonderful platform to revive recipes that I thankfully wrote down in some fashion or another. I have to give total credit to JuanCarlos, who years ago bought me a notebook and said, "Start writing them down."  Hail King JuanCarlos for his brilliant foresight. 

So here goes another warm & cold salad for all occasions.  Which is ideal for this time of year when the nights have a little chill but the days are warm. 

onions-chopped2.jpg

Ingredients

1 29 oz. can Garbanzo/Chick Peas
3 c potatoes, cut in 1" pieces
1/2 yellow pepper, cut into mince like pieces
2 scallion, sliced
1 garlic clove, minced
1/4 c shallot, minced
1/3 c red onion, diced
2 c grape tomatoes, cut in half (if you can find the red, yellow or orange versions buy different colors.  It adds to the overall festive feel of the salad. No worries if you can't, just use all red.)
4-5 stalks Hearts of Palm, optional

Dressing

2 T fresh lime juice
1/4 c sherry vinegar
2/3 c Olive oil
salt & pepper to taste
1/4 c each Basil, mint, chopped
Whisk together in the order listed above.

Instructions

Boil the potatoes until they are slightly undercooked.   Then remove, drain and set aside.  Using the same pot, sauté the shallots, red onion and the white parts of the scallion until soft.  Then add the potatoes and yellow pepper cooking until all are nicely caramelized.  Add the garlic and 1 c of grape tomatoes and cook until warm.

Meanwhile, in the serving bowl, add the chick peas, the green parts of scallion and the remaining 1 c uncooked grape tomatoes (and Hearts of Palm if you so choose).  Toss with the half of the dressing, then mix in the warm potato mixture and stir in the remainder of the dressing.  Serve immediately.

If you recall from an earlier post entitled Salad: Hot & Cold, I am an advocate of mixing temperatures in salads. Although this one is more warm and room temp, it does give a nod to that thought.  This salad is great for a big party, a Sunday brunch plate, a Saturday afternoon lunch, or now as the weather turns warmer, for a BBQ.  It's a good hearty dish that really plays well with so many main courses.  I made this for a dinner party for a family of friends, three of which were young teenagers.  I got thumbs up from all, which put a smile on their faces and mine. Warm up your smile, with another salad saga of Hot & Cold.  

Post Note: I recently made this again when our nephew, John, came by for dinner.  Here's how it played nicely with all our other offerings.

Simple green salad with carrots/red onion, sautéed Haricot Vert, sautéed Cremini mushrooms, Shrimp & Monkfish in a saffron broth and our star potato/chick pea salad.

Simple green salad with carrots/red onion, sautéed Haricot Vert, sautéed Cremini mushrooms, Shrimp & Monkfish in a saffron broth and our star potato/chick pea salad.

Citrus Salad Bowl - Served One by One

With Easter fast approaching, you might need some ideas for dinner.  I thought now might be a good time to share a little wisdom, and fun trick I learned from hosting last year's Easter dinner.  It was a small gathering with both our immediate families and we decided to keep it really simple with a select few offerings.   When it came to the salad, I got it stuck in my thick skull to serve it individually plated instead of one big bowl.  This idea sprouted from a clear vision I had on how the salad should look. Little did I realize that the individual plating and serving before the main meal would work out even better than I could have imagined.  

Traditionally, I make a big salad and place it out with the main course.  Without fail, everyone says, "Wow, that looks amazing but I'll have salad later.' Then they dive into all the other offerings, getting too full, and thus leaving lots of yummy salad left over.  This brilliant, new plan allowed me to serve the salad before the main course came out. An added bonus was timing, as the hunger meter was beginning to tick, with our guests starting to want more after appetizers.  Perfecto mundo!  cue the individual plates and witness the entire salad course disappear.  Now, I'm no magician, but this was a nifty trick in having no left over salad and plus I got them to eat greens!!!  I wholly recommend plating your salad and forcing your guests to enjoy your nutrient rich offering.

The salad I served was a variation on one that I've made many times.  This time I scaled back on some ingredients and focused on the Boston lettuce with citrus fruits to keep it clean and fresh, like a burst of Spring.  I think this is a light, colorful salad to serve for Easter or brunch during this time of year.  It is one of those salads that can actually be prepped a day in advance, making the day of your event much easier.  Each of the items below can be cut and stored in containers, then just assembled 15 minutes before serving.

Your starting line up of glorious greens and oranges colors of nutritious, deliciousness.

Your starting line up of glorious greens and oranges colors of nutritious, deliciousness.

Ingredients

(makes approx. 10)

Salad                                                                                                     
3 heads of Boston lettuce, leaves carefully separated
3-4 red grapefruits, segmented
4 oranges, segmented
3 avocados, cubed
4 Persian cucumbers or 1 English cucumber, sliced
1 c fennel, shaved
1 c celery, sliced
1/2 red onion, thinly sliced
2-3 Scallion, thinly sliced


Dressing * 

1/4 c chives, chopped
Fennel fronds, chopped
1/3 c Juice of grapefruit & orange
1/2 c Olive oil
Salt, pepper

* This mixture using only the citrus juices is quite mild. If you want more punch, add a splash of balsamic vinegar.

Instructions

Cut the cores from the lettuce so the leaves can be separated and kept whole.  Wash and set aside to let dry.  (If prepped the day before, make sure they are dry, then store them with a slightly damp paper towel and place them in a container or plastic bag in the fridge.)

Segment the citrus fruits, collecting all their juices and reserving for the dressing. Shave, slice and dice up the remaining ingredients and combine them in a bowl.

Chopped and ready to go. The most important part of an assembly line, having everything prepped.

Chopped and ready to go. The most important part of an assembly line, having everything prepped.

To prepare the individual plates, place 2-3 full lettuce leaves in a bowl like shape on the plates.  Then add several pieces of grapefruit and orange to each plate.  

Lettuce bowl

Lettuce bowl

Assembly line awaiting their topping and a rain of citrus juices

Assembly line awaiting their topping and a rain of citrus juices

In a separate bowl, combine the citrus juices, oil, salt, pepper and some of the fennel fronds. Whisk together. Since this will be individually plated and not all tossed in a bowl, I recommend combining all elements minus the lettuce and the citrus and lightly dress these items, reserving some of the dressing to drizzle and finish off each plate.

Top with the sliced mixture and drizzle the remaining dressing over each salad topping with some of the fronds.  Serve immediately. 

Drizzle some dressing over top as the final touch.

Drizzle some dressing over top as the final touch.

Have I mentioned just how pleased I was serving the salad this way?  Instead of praying our guests leave room for salad at the end, it was a slam dunk that they ate up every last bite.  Truly savoring this super fresh, vitamin packed salad first.  And because it is light, they had room for the rest of the meal, too. A ploy I may just employ a bit more often. I hope you do, too.

Side note:

This salad tastes equally delish if served in one large bowl.  You can decorate this any way you like. You can toss all the ingredients together for a green and orange rainbow of color.  Or you can present it similar to the individual plates, placing all the lettuce on the bottom and focusing all the other ingredients in the middle. Any way you toss it, you and your guests will get a fresh bite of salad that will brighten more than your senses.

Print Ready Recipe